It’s hard to believe that it’s taken so long to wrap up our laundry/mudroom renovation. I should know by now that even the smallest spaces usually take more time to complete than you anticipate. With a two year old running around, we had to take lots of breaks and limit our work time to evenings and weekends. We took a week off to celebrate Josh’s 40th birthday in Arizona and spent several weekends in Savannah visiting family, but I’m happy to report that we finally finished the renovation! Today, I’m sharing all the details of our renovation with product links below. I must admit, I’m a bit rusty when it comes to blogging. Forgive me if I forget or leave anything out.
Let’s revisit! Here is now the room looked at the beginning of the year. After we purchased our home last August, I started removing the wallpaper, but stopped when it occurred to me that the tongue & groove planks would cover up the paper. It’s a nice size laundry room. Because it acts as our mudroom from the back yard, it’s important that the room not only look nice, but functions well.
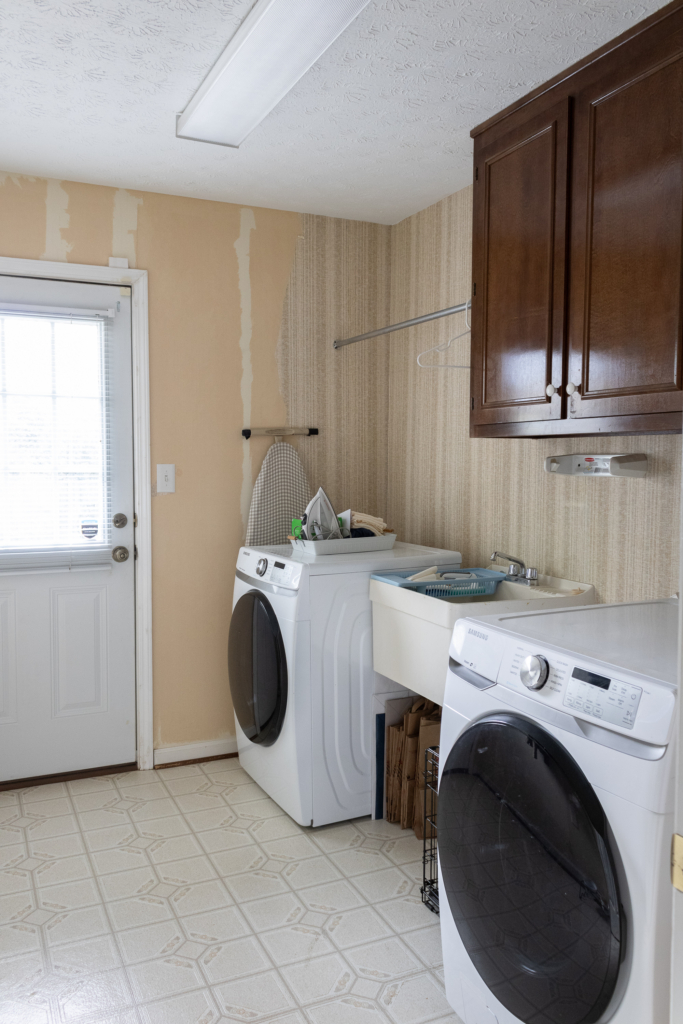
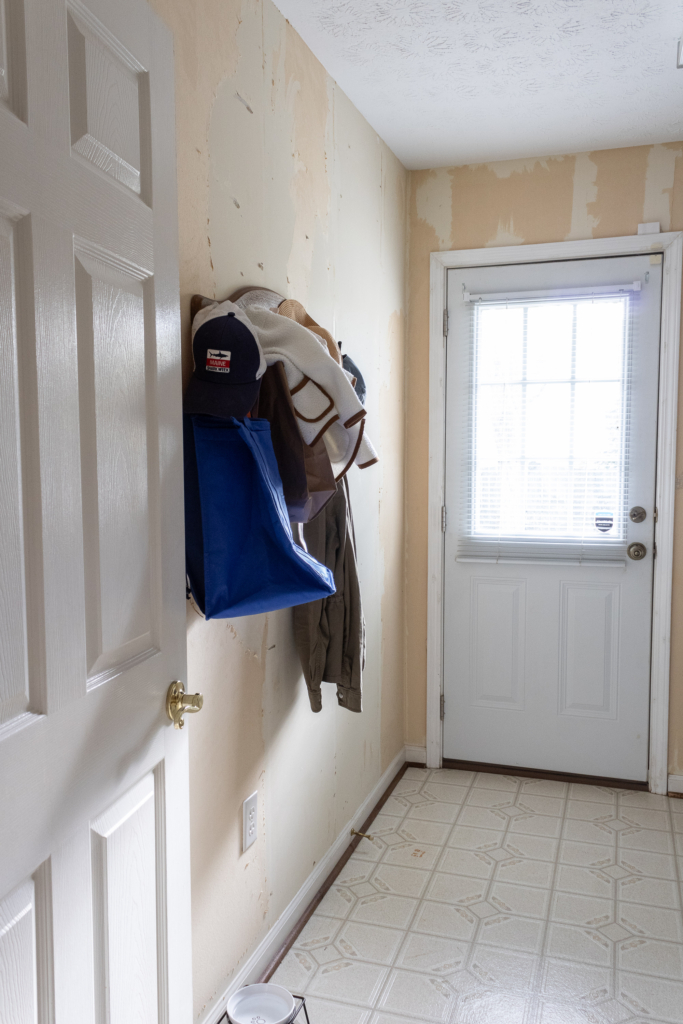
As I mentioned in my previous post, the placement of the washer, dryer, and sink wasn’t ideal. The function was definitely missing. I hated that the washer and dryer were separated by a sink and that there was so much wasted space in between them. Fixing that issue was a major priority for us and I think we nailed it!
Here’s what we came up with –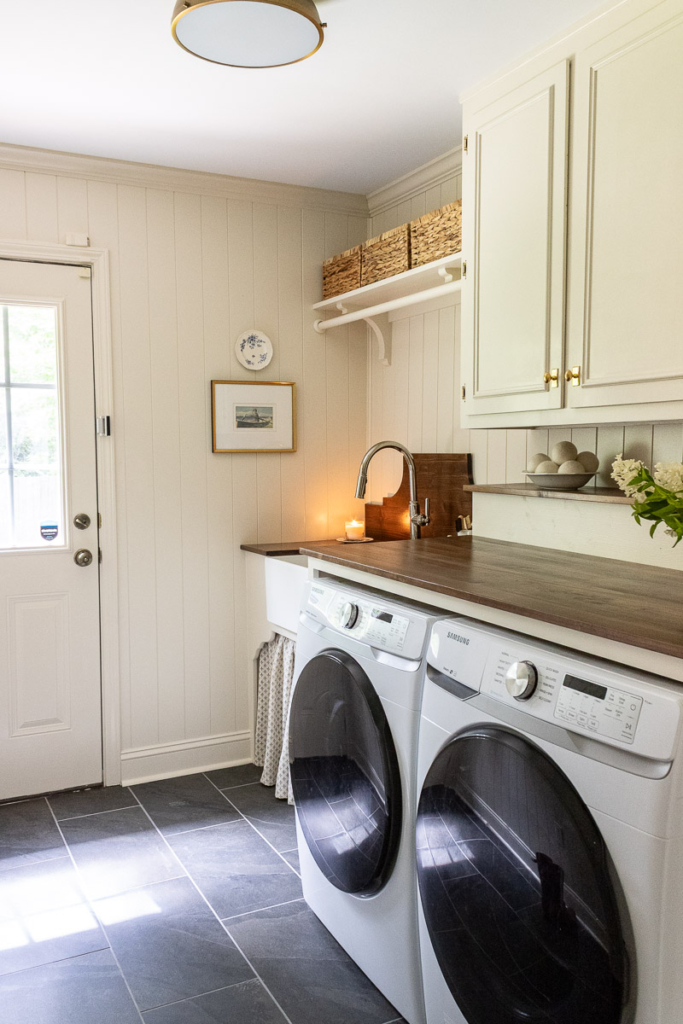
The room is much more functional now and feels more like our home. I chose finishes that are traditional and timeless, but were also affordable. I wanted to be very mindful of the cost. This is the first room that we’ve completely renovated in this house. We didn’t want to go over the top with finishes, especially before we’ve had a chance to update our kitchen and master bathroom. However, I chose to fix up this space first because of its smaller size, lack of function, and the fact that we use this room so frequently. Keeping all of that in mind, I couldn’t be any happier with the outcome.
The first thing we did was to scrape the textured ceiling. We’re well versed in this step. We did all the ceilings in our previous house, as well as our son’s room here. It’s messy and rough on the arms and neck, but such an inexpensive update.
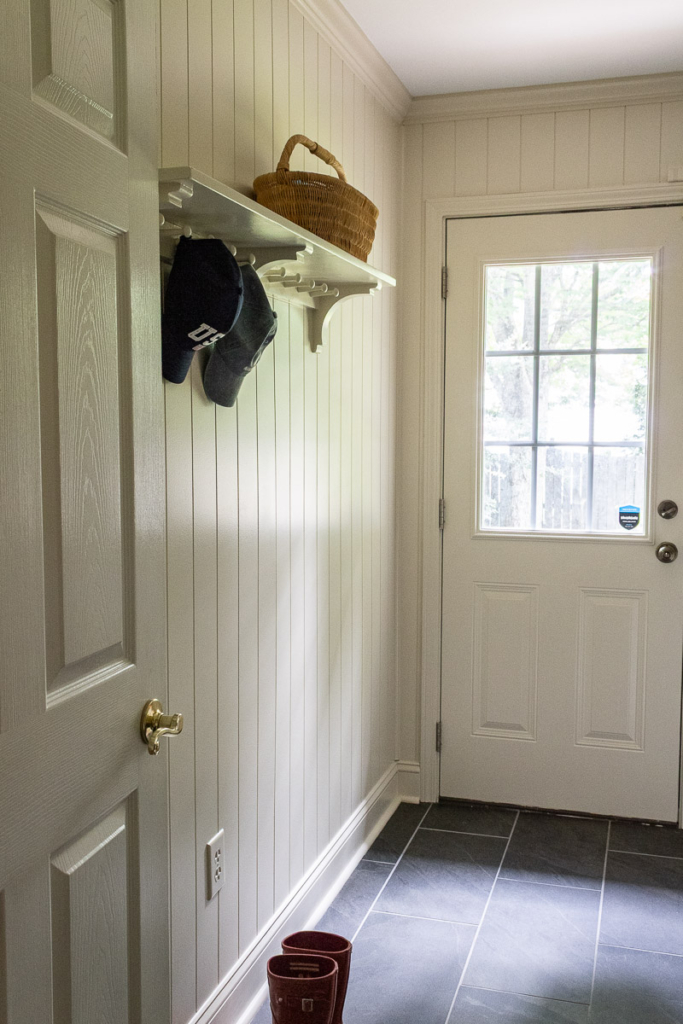
I had planned to install tongue & groove on the walls, but found these panels for much less and they look great. We installed it just as you would install bead board panels. The walls are painted in Benjamin Moore’s Carrington beige at 50% in a satin finish. The trim, cabinets, and door are painted in the same color, just in a semi-gloss finish. You know how much I love the tone on tone when it comes to paint.
For the flooring we purchased a porcelain tile that looks similar to slate. After reading pro’s and con’s of slate tile, we decided to go with a porcelain tile. It’s super durable and is non porous. We used a porcelain tile in our previous laundry room and I was super pleased with it. We chose a dark gray grout. For the life of me I can not remember the name of it. I’m sorry! It had been quite a while since Josh or I have tiled. It took us a little longer to get started, but it came back just like riding a bike!
I may add a small runner in front of the washer and dryer, but I’m concerned it will forever be dirty. This room sees so much foot traffic to and from the back yard. It would have to be a washable rug. For now I’m enjoying the tile, so we’ll see!
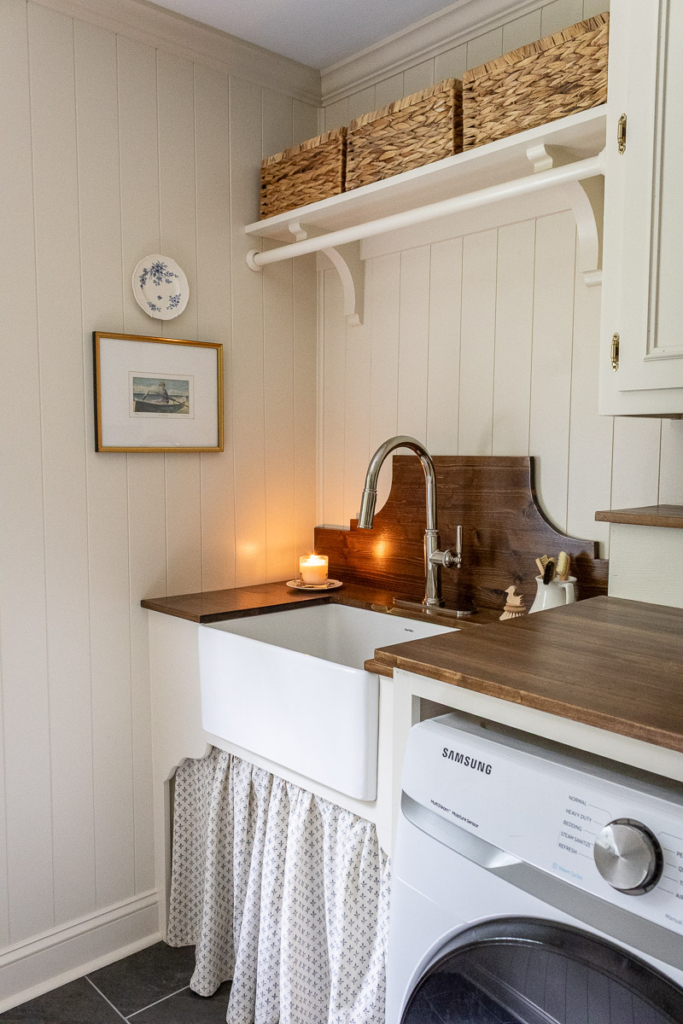
Just like our previous laundry room, we went with stained wood countertops. They’re not butcher block, but instead an inexpensive pine furniture board from Lowes. I wouldn’t use these in a kitchen, but they work great in a space like this. Just be sure to seal them really well if they’re going near a sink. I prepped them just as I did the butcher block counter tops in our previous kitchen. I used wood conditioner, followed by a stain blocker, two coats of Provincal stain by Miniwax, and lastly three coats of semi-gloss poly.
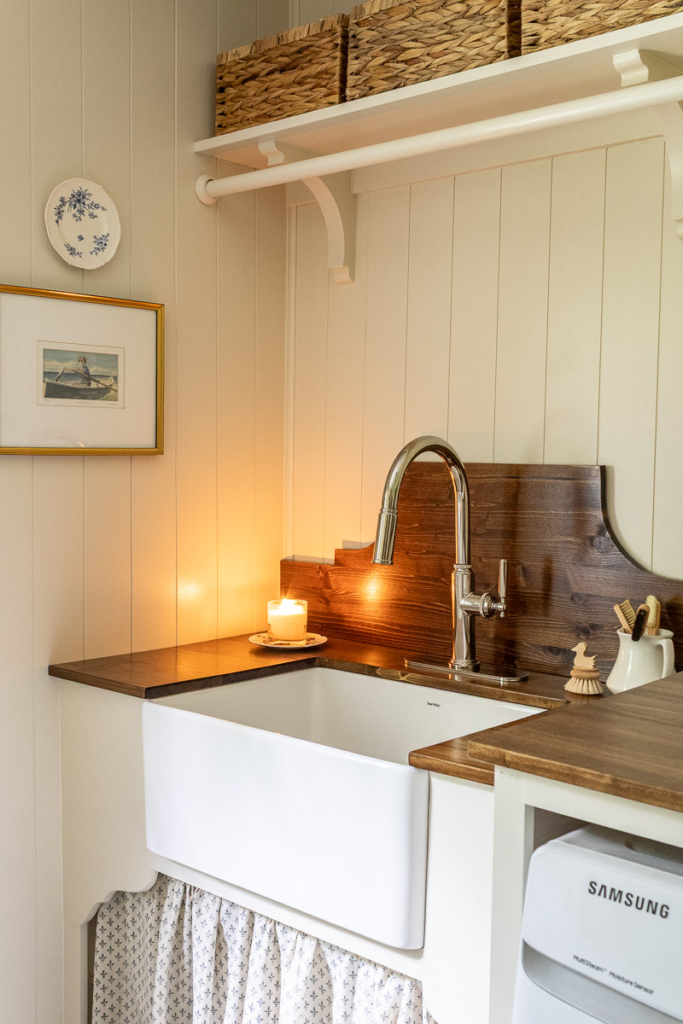
I love the new sink and faucet. Not only does it look so much better than the previous sink, but the pull down faucet is such an upgrade. I joke with Josh that I’ll be washing dishes in this room now, ha! For the sink cabinet, we built a base out of 2×4’s. It has four legs that rest on the floor along the walls, while also attaching to the studs of the wall. We cut the face frame out of the same counter top boards and attached it to the 2×4′ frame. It was super inexpensive, but really functional.
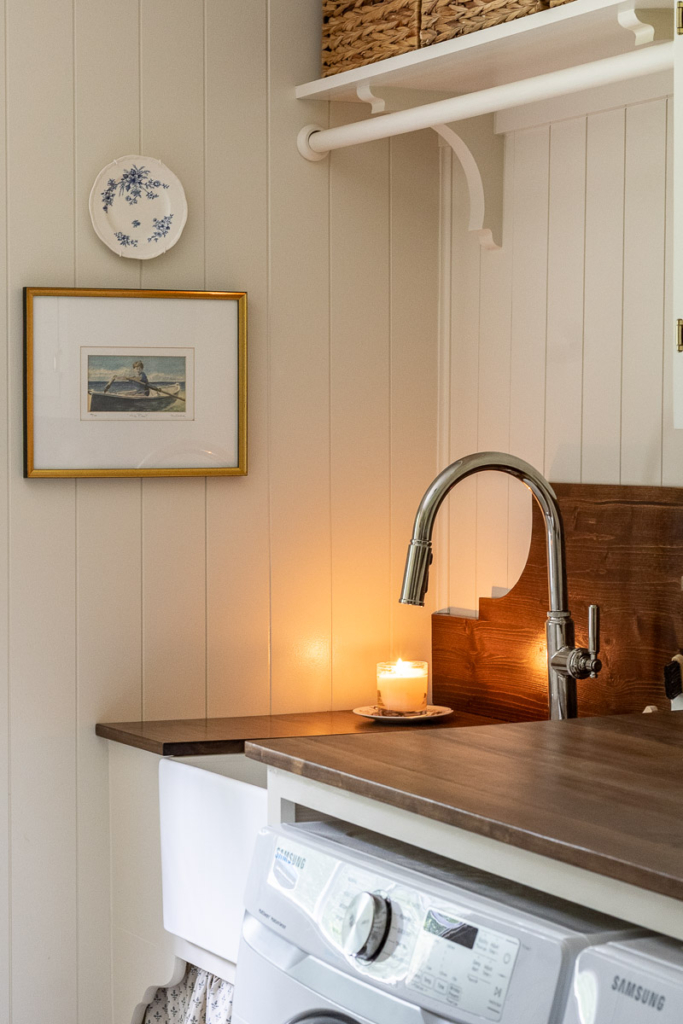
The wooden backsplash, made from the same wood boards, is one of my favorite things in this space. I used parchment paper and a dinner plate to draw the design and trace onto our board. Josh used a jigsaw to cut out. I stained and finished it just as I did with the countertops. I left enough space between the backsplash and the drying rod to add framed artwork or a small holiday wreath possibly in the future.
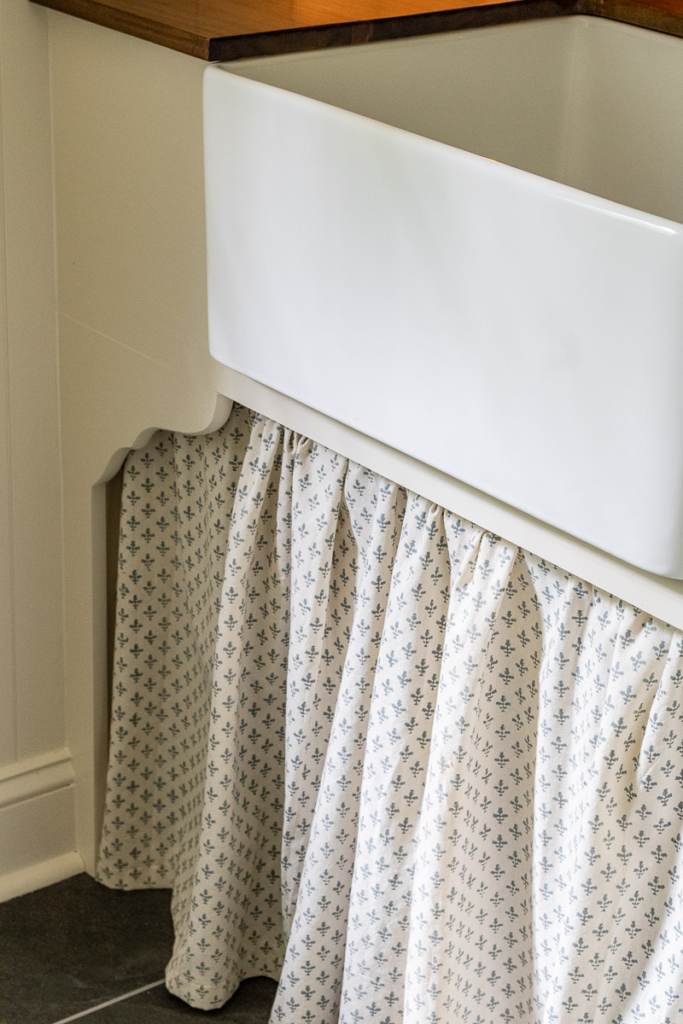
The sink skirt is cafe curtains that I had made for our previous home. I just shortened them a bit and fixed a cheap tension rod from Target just below the sink to hang them. Sadly the JSH fabric has been discontinued.
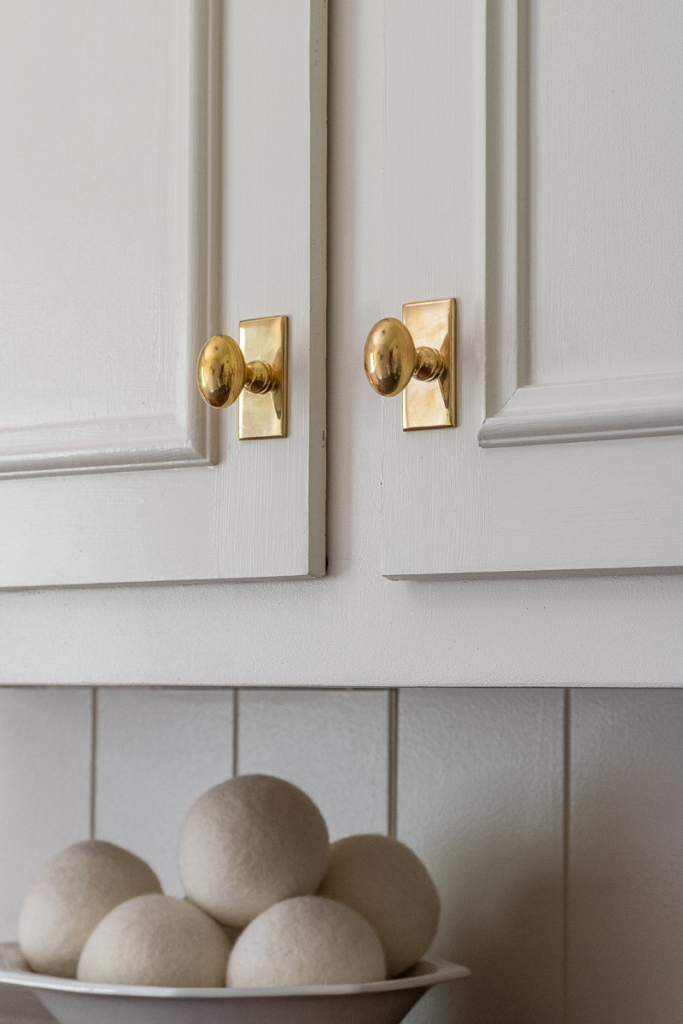
We kept the existing cabinetry. While the doors are not completely my style, they’re solid wood and work just fine. They got some fresh paint and new hardware. I chose one of my favorite finishes – unlacqured brass. I will always love the patina that it takes on over time. It’s so charming. I’ve linked the hardware at the bottom of the post.
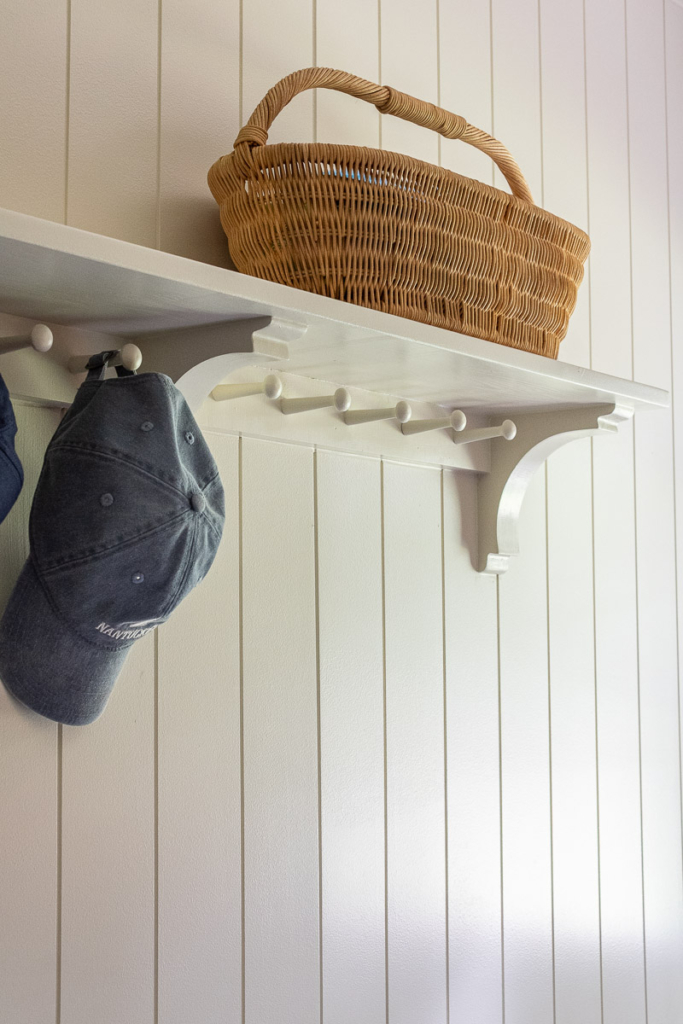
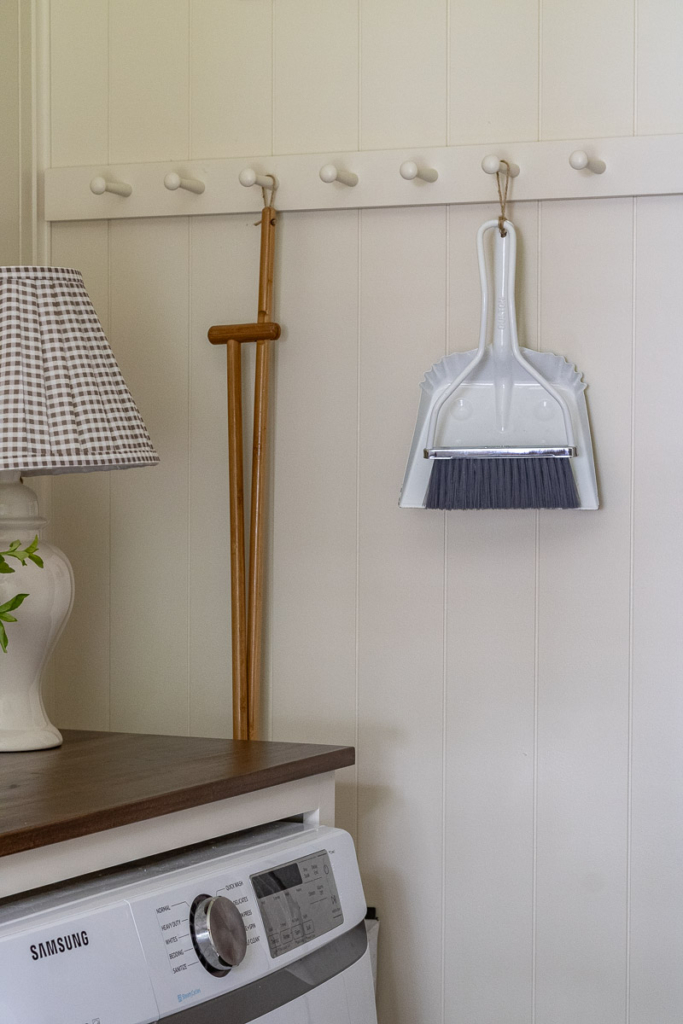
We used pine boards, wooden shelf brackets, and wooden pegs to create shelving to hold baskets for cleaning supplies, our pup’s stuff, etc. All of the pegs have been so useful already for hanging hats, jackets, and wet towels from the pool. I made sure to add a few pegs beside the washer as well to hang the broom and dustpan. The drying rod is a wooden rod from Lowes that I painted the same color as the walls.
I would like to add a custom roman shade to the back door window in the future. I’ll use the same method for a shade that I used on these living room shades. I’m sure I’ll tweak a few things here and there, but I’m truly loving our new space. It feels so nice to have a room complete that really feels like us. Although, it took much longer to finish than planned, It was certainly worth the time and effort it took to get here.
I’m excited to share a few other things I’ve been working on. While working on the laundry room I got distracted and started other projects, ha! That would include painting the dining room, removing the wallpaper in the hallway, and removing the weird fireplace mantel in the family room. I had one other larger project planned, but because the laundry room took more time than we anticipated, It might have to wait until next year. Regardless, I can’t wait to share all about those projects very soon. Until then, I hope you’re having a great summer friends. Talk very soon! 


Room Sources:
Wall Color: Benjamin Moore’s Carrington Beige at 50% (Satin)
Trim Color: Benjamin Moore’s Carrington Beige at 50% (Semi-gloss)
Wooden Countertop Stain Color: Minwax Provincial
Baskets: Homegoods
Broom & Dust Pan: Homegoods
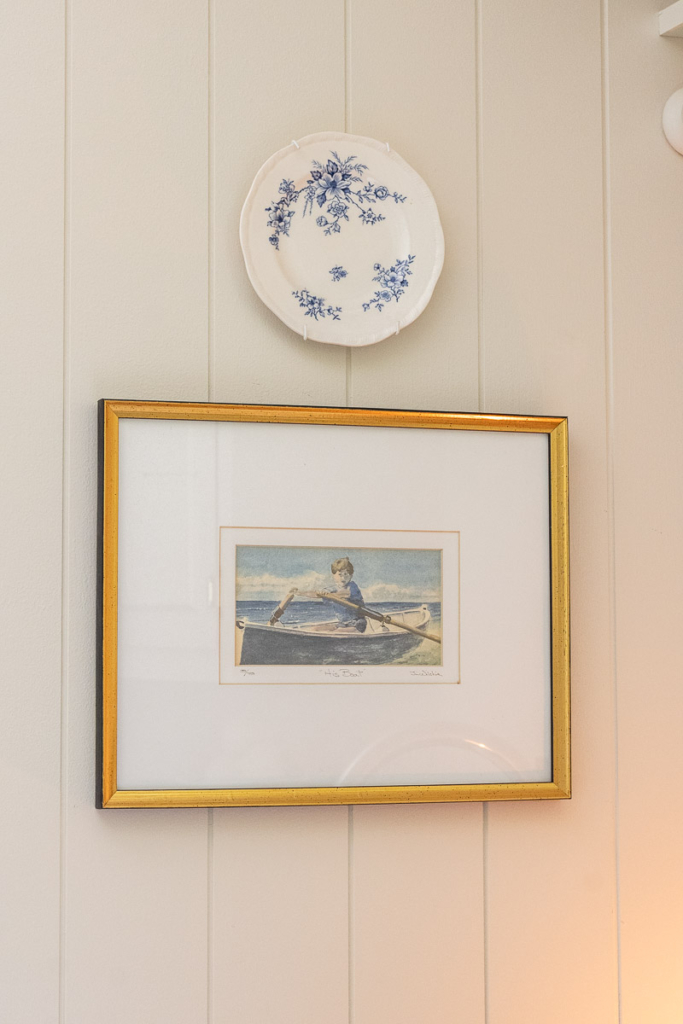
Watercolor Boat Artwork: Antique Store
English Blue & White Plate: Passed down by family
Ironstone Pitcher: Antique Store
Wooden Duck Scrubber: Local shop in Savannah, Ga.
Pewter Pitcher: Antique Store
Ginger Jar Lamp: Antique store

Amanda,
I love your style and your descriptions of exactly what you do with each project is helpful to this novice DIYer.
Your laundry room is so pretty and appears to be very efficient. Thank you for sharing.
Karen B.
Thank you, friend! I felt out of practice putting this post together. I didn’t realize how long it’s been since I’ve blogged regularly. I tried to include as many details as I could possibly think of. I’m sure there is something I’ve forgotten, alas. Thanks for stopping by and saying hi!
Amanda…Your laundry room is beautiful and will be such a joy to do laundry in…
Thank you so much, Kathi! I has certainly made doing laundry more enjoyable. I’m starting to feel more at home each day.
It turned out so cute! Love the wood backsplash. Can’t wait to see more!
Thanks Casey! The sink backsplash was on my must have list. It just adds a little extra something to the space.
Beautiful! Your style is my style so I eagerly anticipate every project! I was glad to see this in my email this morning!
We spend so much time doing laundry that a beautiful laundry room certainly helps with the chore. It’s lovely!