Hi Friends! I’m really excited to be sharing today. On a whim I recently made what might be one of my favorite decor pieces yet. Who loves a good wooden tray? I bet everyone’s hand is up. Not only are they really handy but they look adorable all styled up. I while back a made a wooden tray with handles that we still use to this day but I decided I wanted something that was on the smaller side that could be used more as a center piece for our breakfast table. There’s a million DIY tray tutorials out there but this one is only a 3 step wooden tray how-to!
**This post contains affiliate links. You can see the full disclosure here.**
3 Step Wooden Tray How-To
Okay, I’ll say this now. It really doesn’t even deserve a how-to. It’s that simple!
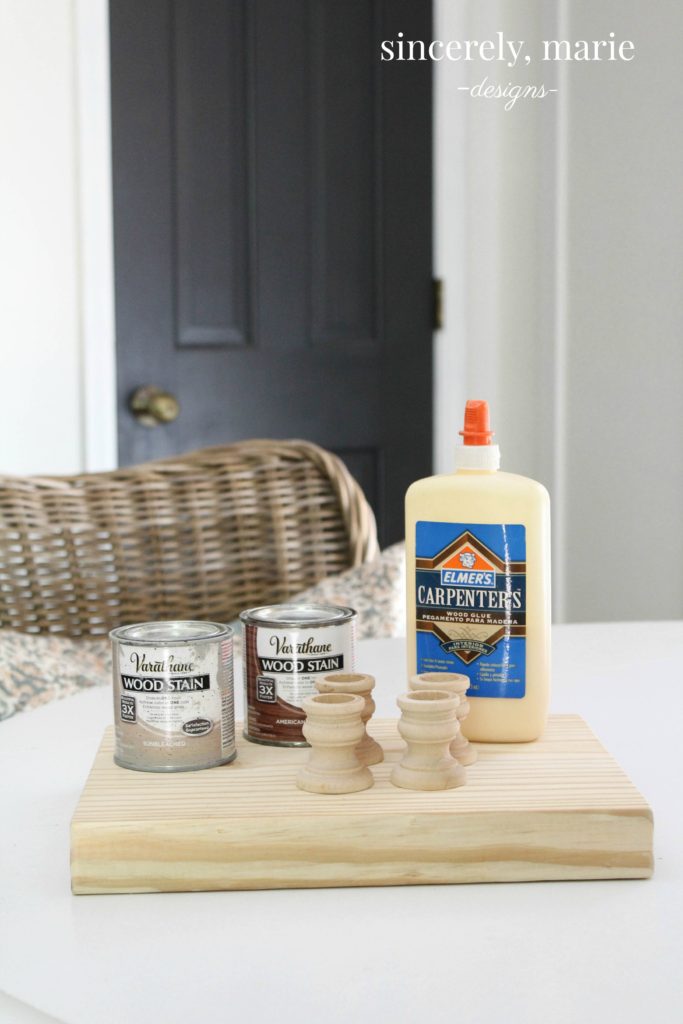
Supplies:
- 2×12″ board of choice cut to 12″ long (sanded)
- 4 wooden candle stick holders (You can find these unfinished at most craft stores. I purchased mine at Hobby Lobby. P.s. don’t forget to upload their 40% off coupon!)
- Wood Glue
- Stain or paint of choice
Start but cutting your board to size. Make sure to sand it smooth with 120 grit sandpaper followed but 400 grit.
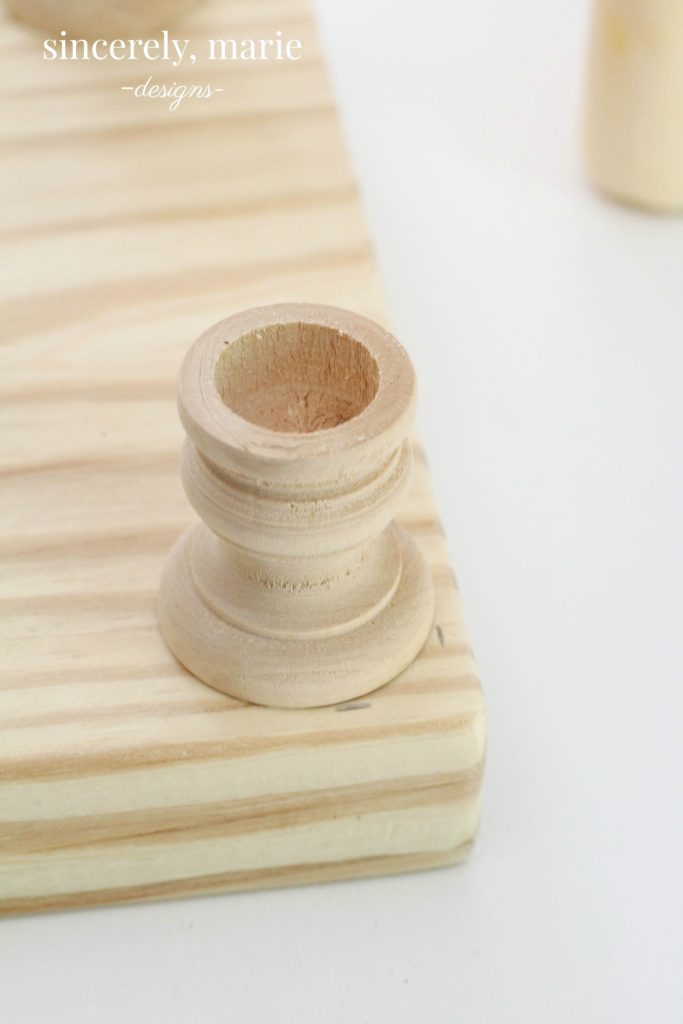
Using wood glue, glue each leg onto the bottom on your tray. I measured and placed my legs a 1/4″ from the sides.
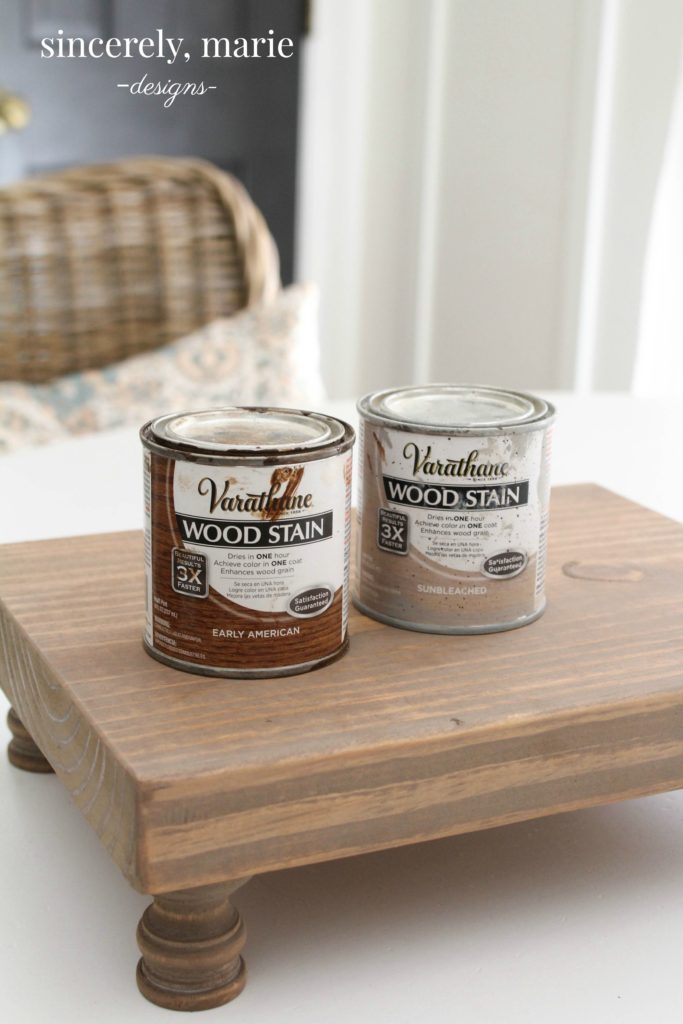
After the glue has completely dried, stain or paint your tray. I used Early American as my base stain color and added Sun-bleached as a top coat. I made sure to wipe it off almost immediately to prevent it from being too gray. Varathane is my favorite stain to use for projects because it dries in 1 hour! If you hate waiting for anything to dry as much as I do, 1 hour is a win in my book.
There you have it!
Just like that you’ve finished the easiest wooden tray ever.
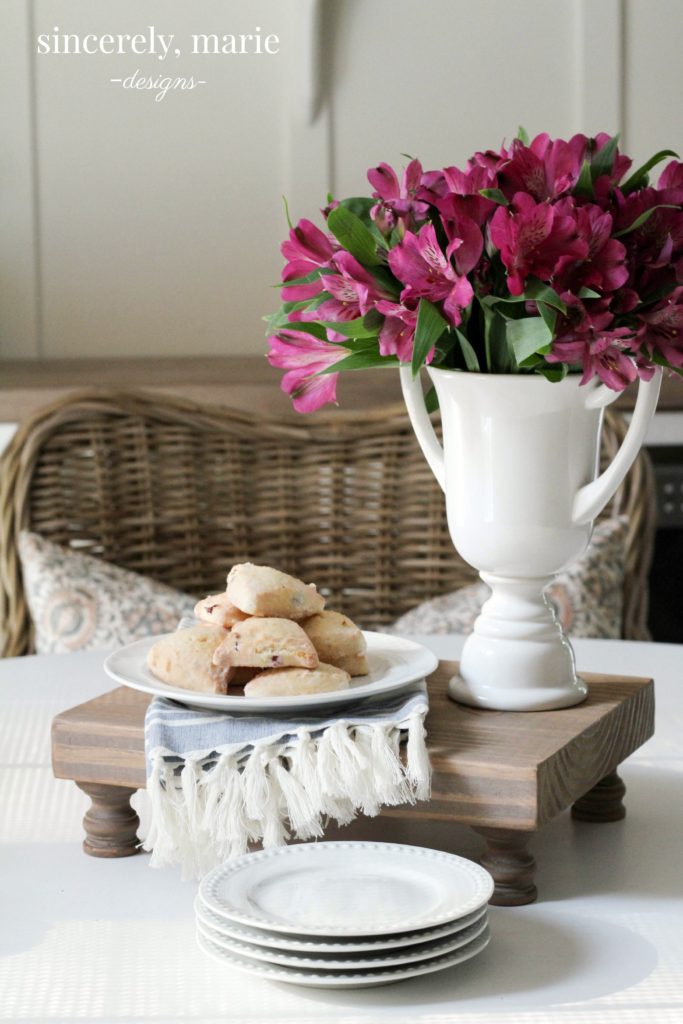
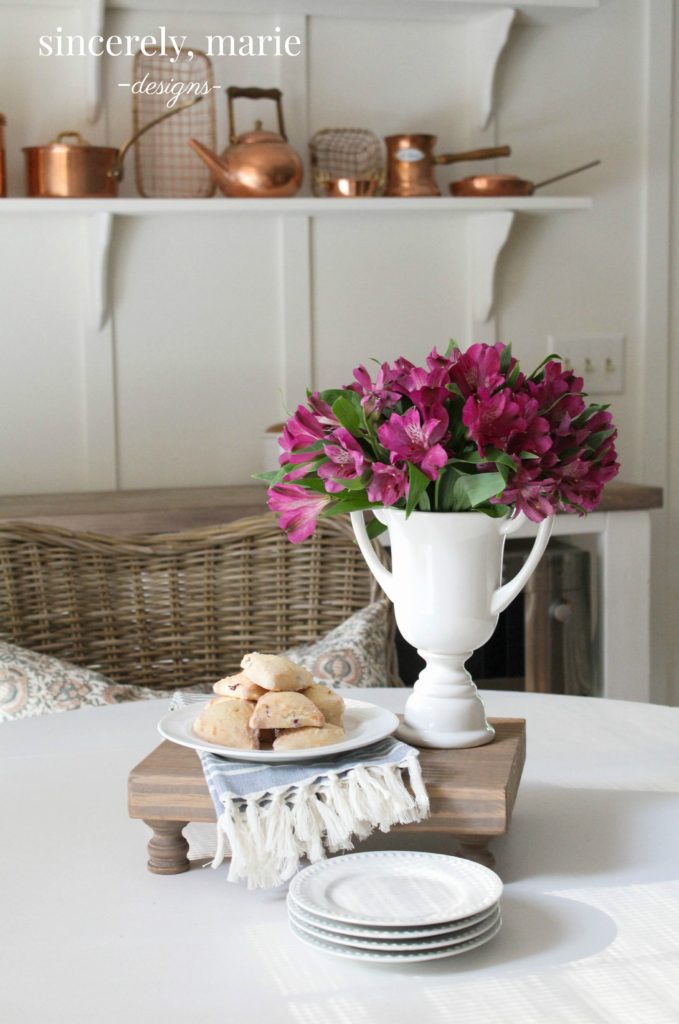
Isn’t it just adorable? I’m completely smitten with it. We’ve been using it on our breakfast table the last week but I’m sure it’ll move all over the house in time. It’s so versatile that it would be fitting in most any room of the house. What I love most about this wooden tray are those cute little turned legs. It adds major character.


Does anyone love scones as much as I do? If you’re ever in the Target bakery pick some of these orange cranberry scones up. Of all the scones I’ve had, these are on my top five list. They’re that good!
Seriously, it’s that easy! It’s honestly a 3 step wooden tray. This is a great afternoon project that doesn’t break the bank. You just might already have anything on hand, like I did. If you decide to make one for yourself I’d love to see how they turn out. Be sure to share!
Don’t worry, I haven’t forgotten to share our dining room refresh. I’ve been working on little details to wrap up the space. The room was pretty terrible when we bought the house and you can check out the quick and easy makeover we did shortly after we moved in but I think you’re going to love the updated space as much as I do!
Until then, have a wonderful week everyone!

-Shop the Look-

Leave a Reply