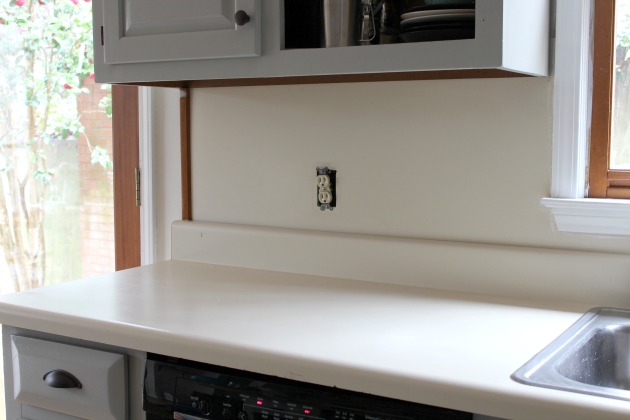
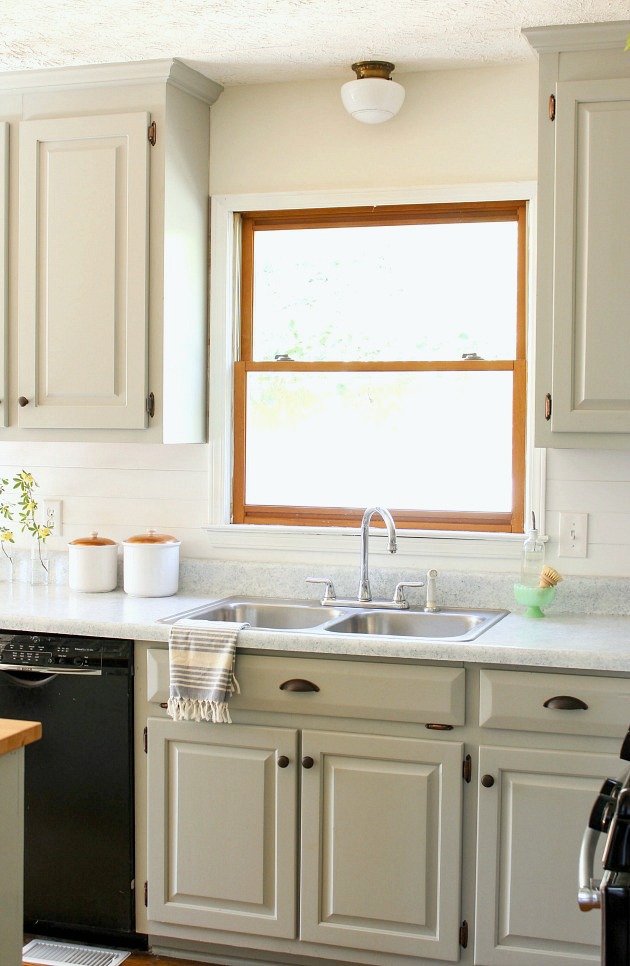
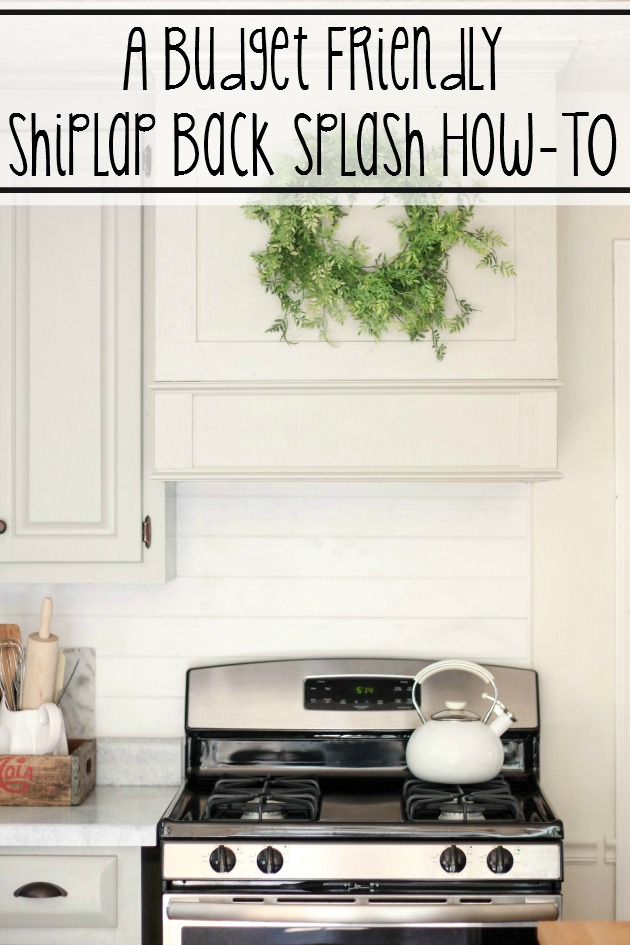
Friends, please forgive me. I have been meaning to share this tutorial with you all for some time. It just kept getting pushed to the back burner. I’ve had a few request to share our shiplap back splash on the blog. I’m thrilled that so many seem to love it as much as I do. It’s such an easy process that I almost feel silly writing out the step by step but never the less, here it is! Here is a snap shot of what our tired and outdated kitchen looked like before. You can find the entire kitchen remodel here. The old back splash was just a laminate sheet. It was as boring and outdated as the counter top. I did remove the laminate sheet on one side of the kitchen. Honestly, it was terrible! That stuff ran half way up the back of the upper and lower cabinets. Since we weren’t getting rid of our cabinets, I had to use a Dremel to cut the laminate and pry it off. That stuff is brittle! After the first side took way too long and caused much frustration I decided to leave the other side in place and plank over it. Boy, was it so much easier!
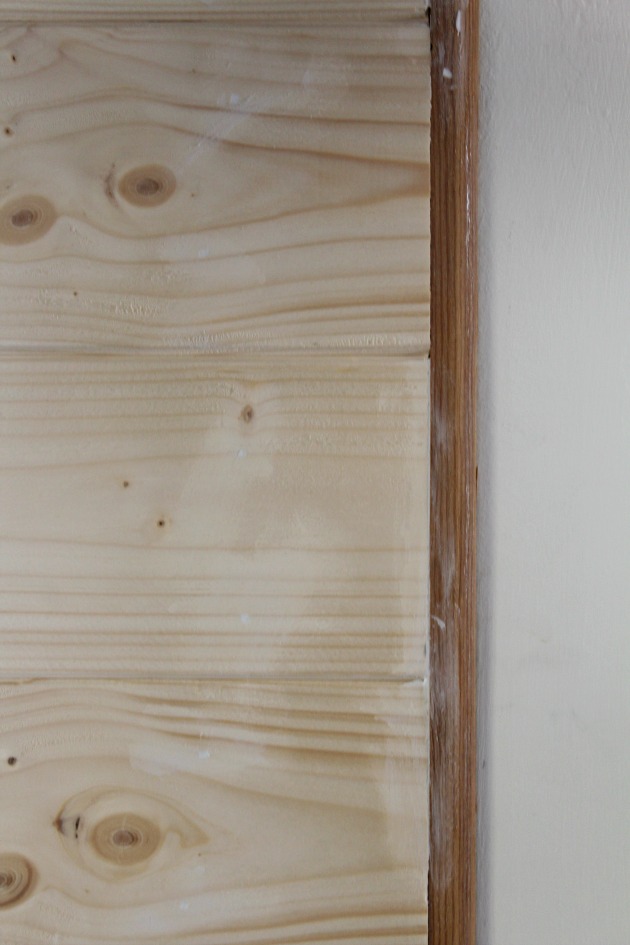
We used unpainted tongue and groove boards from Lowes. You could also use under-layment strips like we did in our guest bathroom makeover. You can find that method here. I did remove all the outlet covers and loosened the outlets from the wall to plank around the boxes. I started from the bottom and worked my way up. The top is not as noticeable because of the cabinets over-hang so start at the bottom.
I did not glue them in place. I simply just nailed them on with a nail gun. We eventually want to tile the back splash once we take the jump of installing new counter tops so I figured the nails would be fine. I used a jig saw to cut around the kitchen window and the outlet boxes.
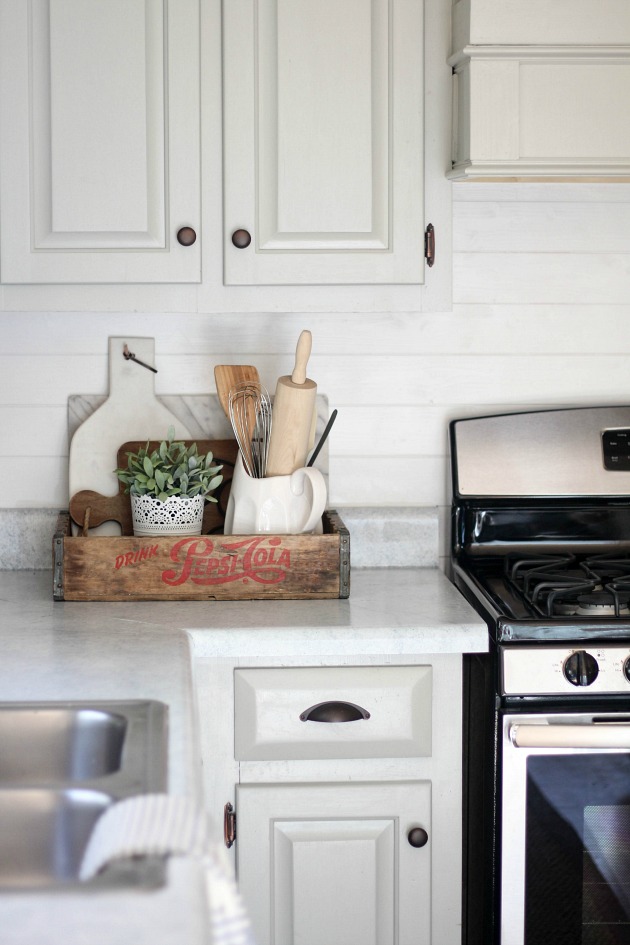
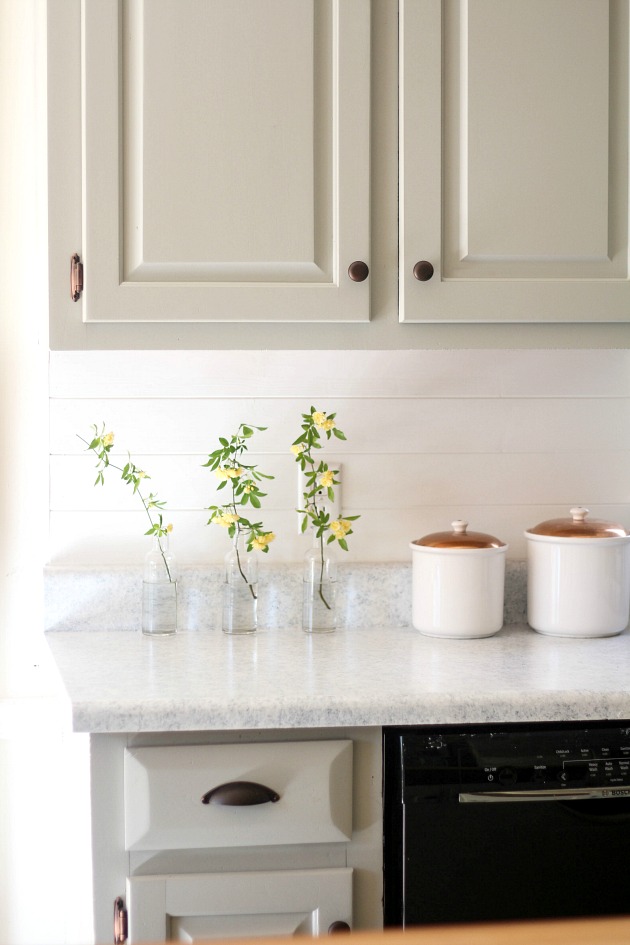
Once all the planks were installed, I capped off the two ends with a small trim piece that was in the kitchen before. I made sure to fill all the nail holes and cover the corner joints with wood filler. I painted two coats of primer and two coats of Simply White by Benjamin Moore.
For under $30 I would say it was well worth the evening of work. This is such a simple and inexpensive back splash. I’ve loved how much it’s brightened our kitchen and how much character it adds to the room. It makes for a great temporarily back splash or maybe permanent… we’ll see 😉
Have a wonderful rest of the week friends! We’ll be hard at work on finishing up our patio makeover 🙂



A great solution! We had the same awful laminate backsplash that I was terrified to try and remove so we covered it with beadboard paneling. 🙂 I like the idea of shiplap too!
You’re much smarter than I Denise! It was terrible. Several piece flaked off and got into my eyes, not worth it! I actually did think about the bead board as well. Since I’m planning on adding it to our master bath I thought I’d do something a little different in the kitchen. I’m sure your kitchen looks amazing!
So pretty, Amanda!! Love the crisp, white look! pinned 😉
Thank you Rachael! I’m so sorry I’m just now replying to this. I hope you’re move went well 🙂
Looks so good! What a clever idea!
Thank you so much Christina! So sorry for the late reply.
Such a great idea! Your kitchen is inspiration for our future remodel. Question: are you still planning on doing a post on the wreath on your hood? I really really want to make one and I keep checking back to see the diy post… If not- dish here please! :)!
You’ve made my day Cally! Thank you so much. You know, I completely forgot about it. I just bought a metal wreath form from Michaels, 6-8 fern/boxwood style bunches and clipped them off into smaller pieces and used floral wire to attach it to the metal form. I just kept adding until I liked the way that it looked. 🙂
Yay!!! Thank you!!
This is stunning! Did you just cut a small piece to go “under” your kitchen window? I can’t tell in the picture 🙂 we just bought our first home and I’m wanting to try this!
You did a stunning job!!!!! I do have a question…..what is the difference between shiplap and beadboard?
Thank you!
What color did you paint your kitchen cabinets! Love them!