First off, happy Valentine’s Day everyone! My little family and I will be enjoying a movie in tonight while we stuff our faces with chocolate fondue and fruit. We keep V-Day low key around here and it’s really nice. No crowded restaurants for us today! You guys, how I have waited this long to talk about our staircase makeover is beyond me! I have been meaning to share this with you for months. When I think about it, it took a couple of months for the staircase to be completely finished. With just a gallon of paint and some time this really is a budget friendly staircase makevoer!
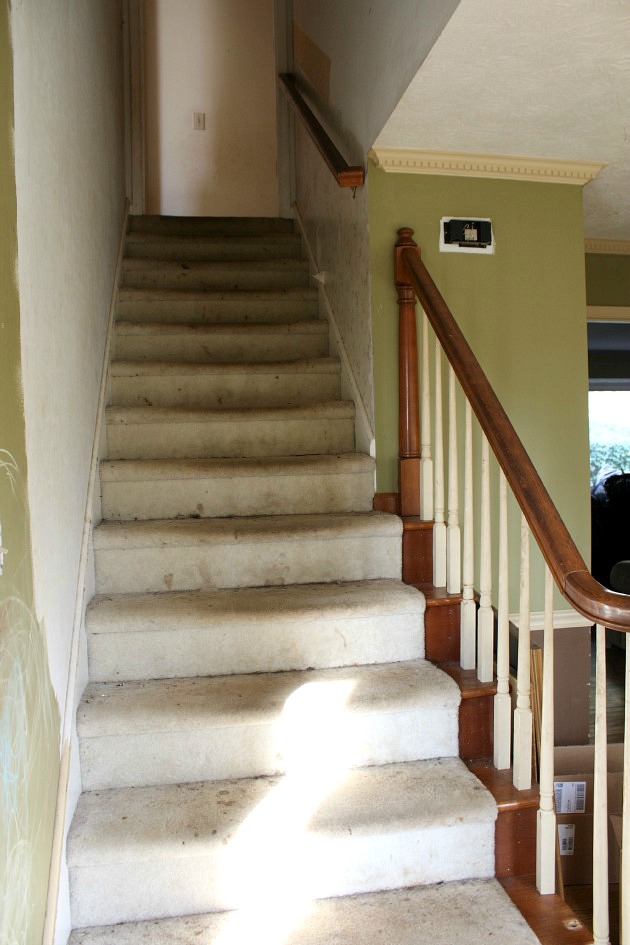
This stairs was one of my most dreaded projects after we bought our house. I had never done anything to a staircase before and wasn’t sure exactly what I even wanted. Well, I did want one thing, that gross carpet gone immediately! This is a photo of the entry and staircase before we moved in. Where to start? It was all so terrible.
A Budget Friendly Staircase Makeover
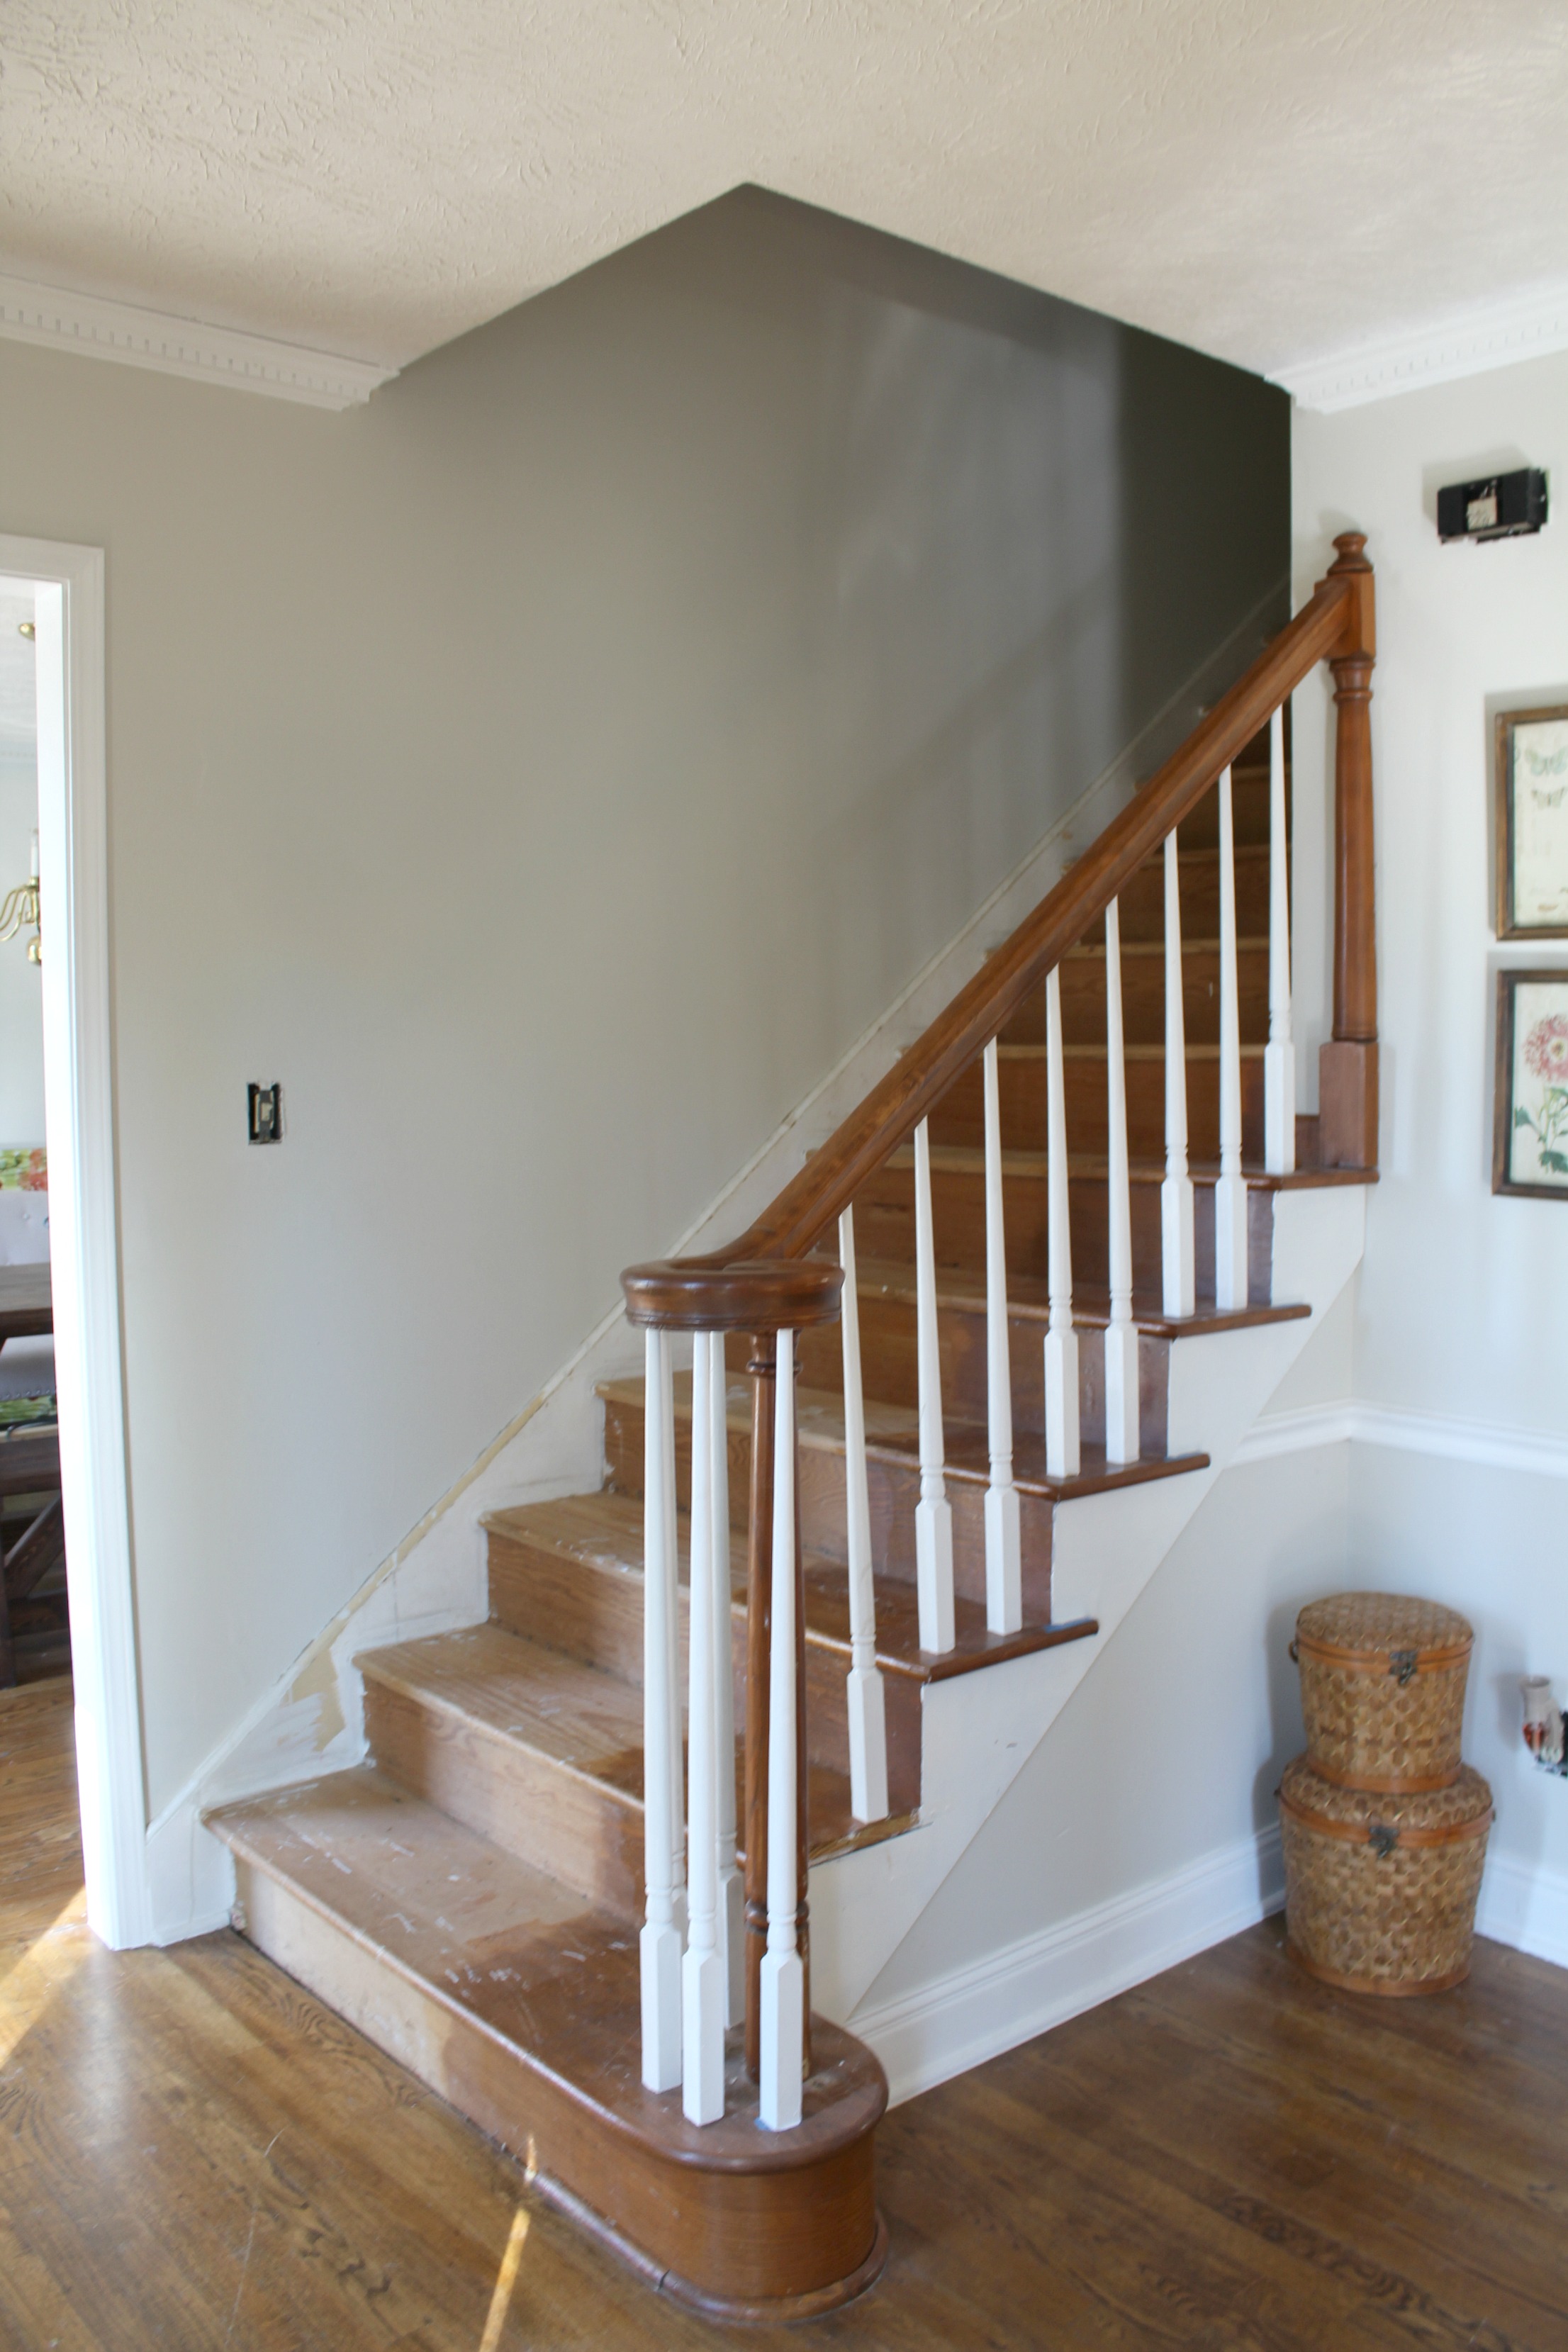
My husband removed the carpet and all the staples and we just painted and renovated around the stairs. After some time had past I decided on a plan. There were several great options that I could have gone with and they would have looked great but after much research and paint recommendations, I decided I wanted to paint the stairs. Here’s a look at them once we removed the carpet.
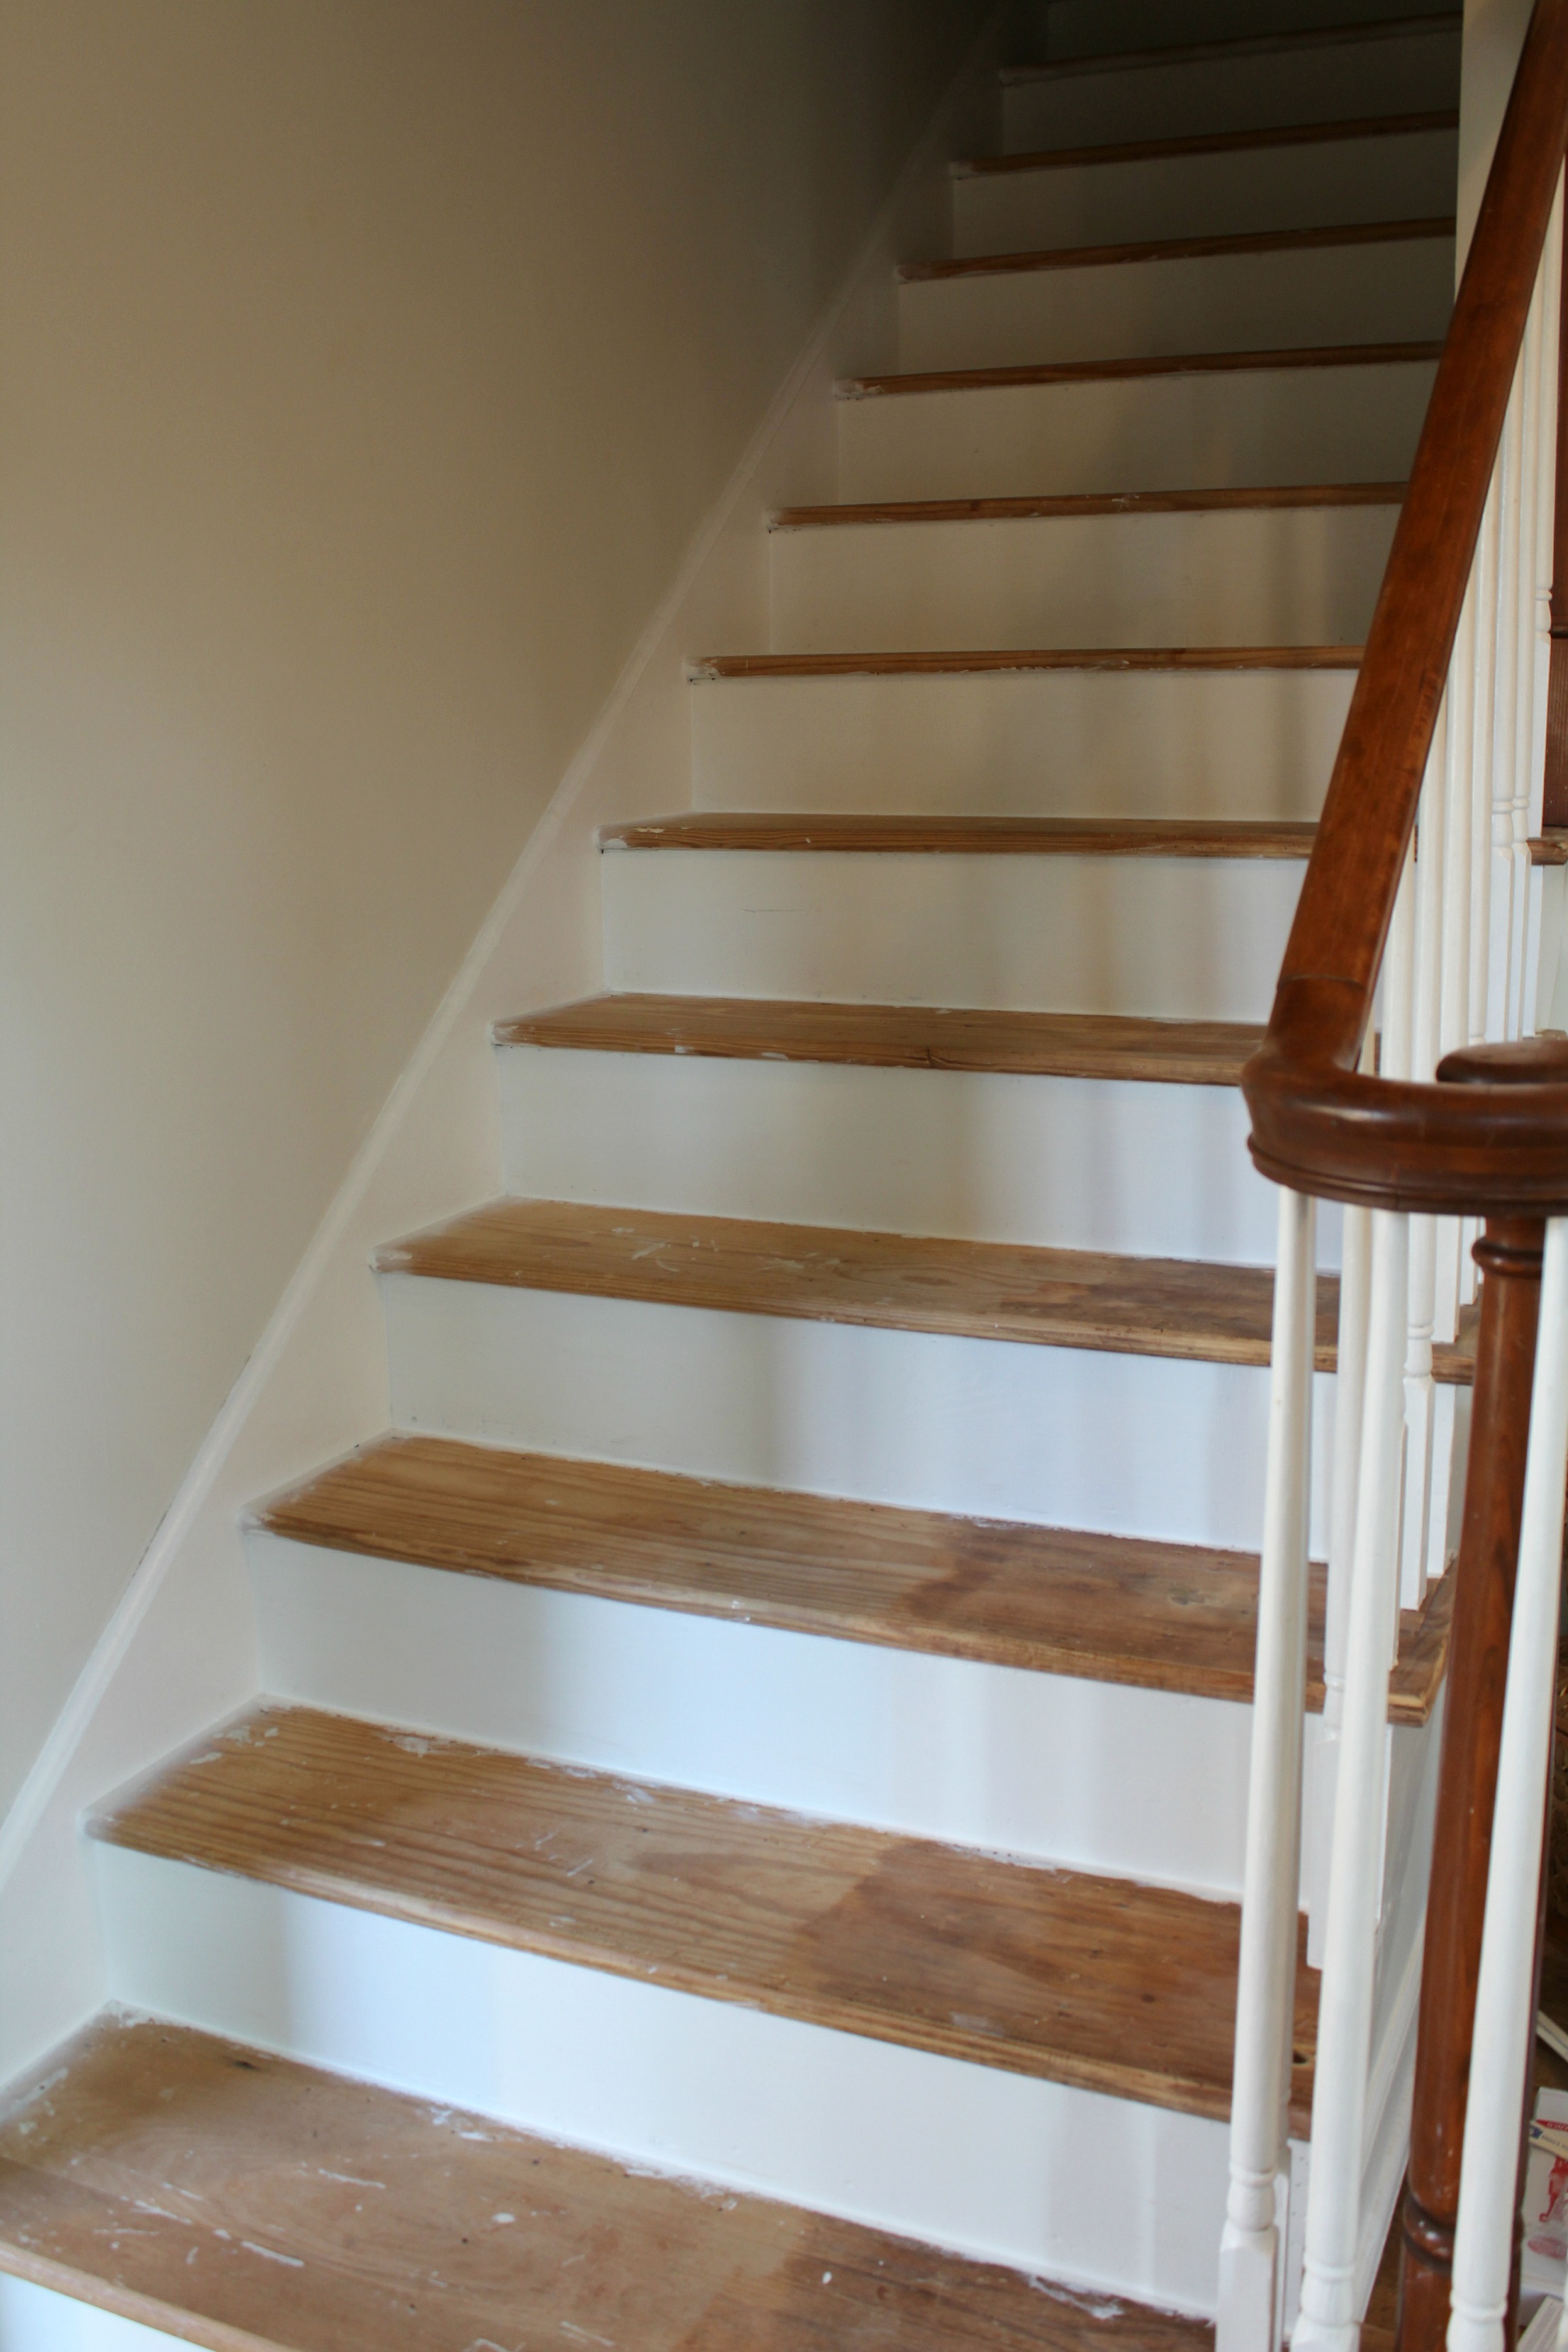
The next step was to make sure we sanded the stairs and surrounding trim really well. I decided to use my HomeRight paint sprayer to paint the toe kick and trim to save time. It was a life saver! I used construction paper that I purchased on a roll from Lowes to protect the walls from the trim paint. Painters tape worked like a charm to hold it to the wall. We made sure to fill any holes with wood filler and used a caulking gun to fill in all the cracks between the steps.
Here is the what the stairs looked like after a couple coats of paint. I used just basic, white semi-gloss paint by Valspar.
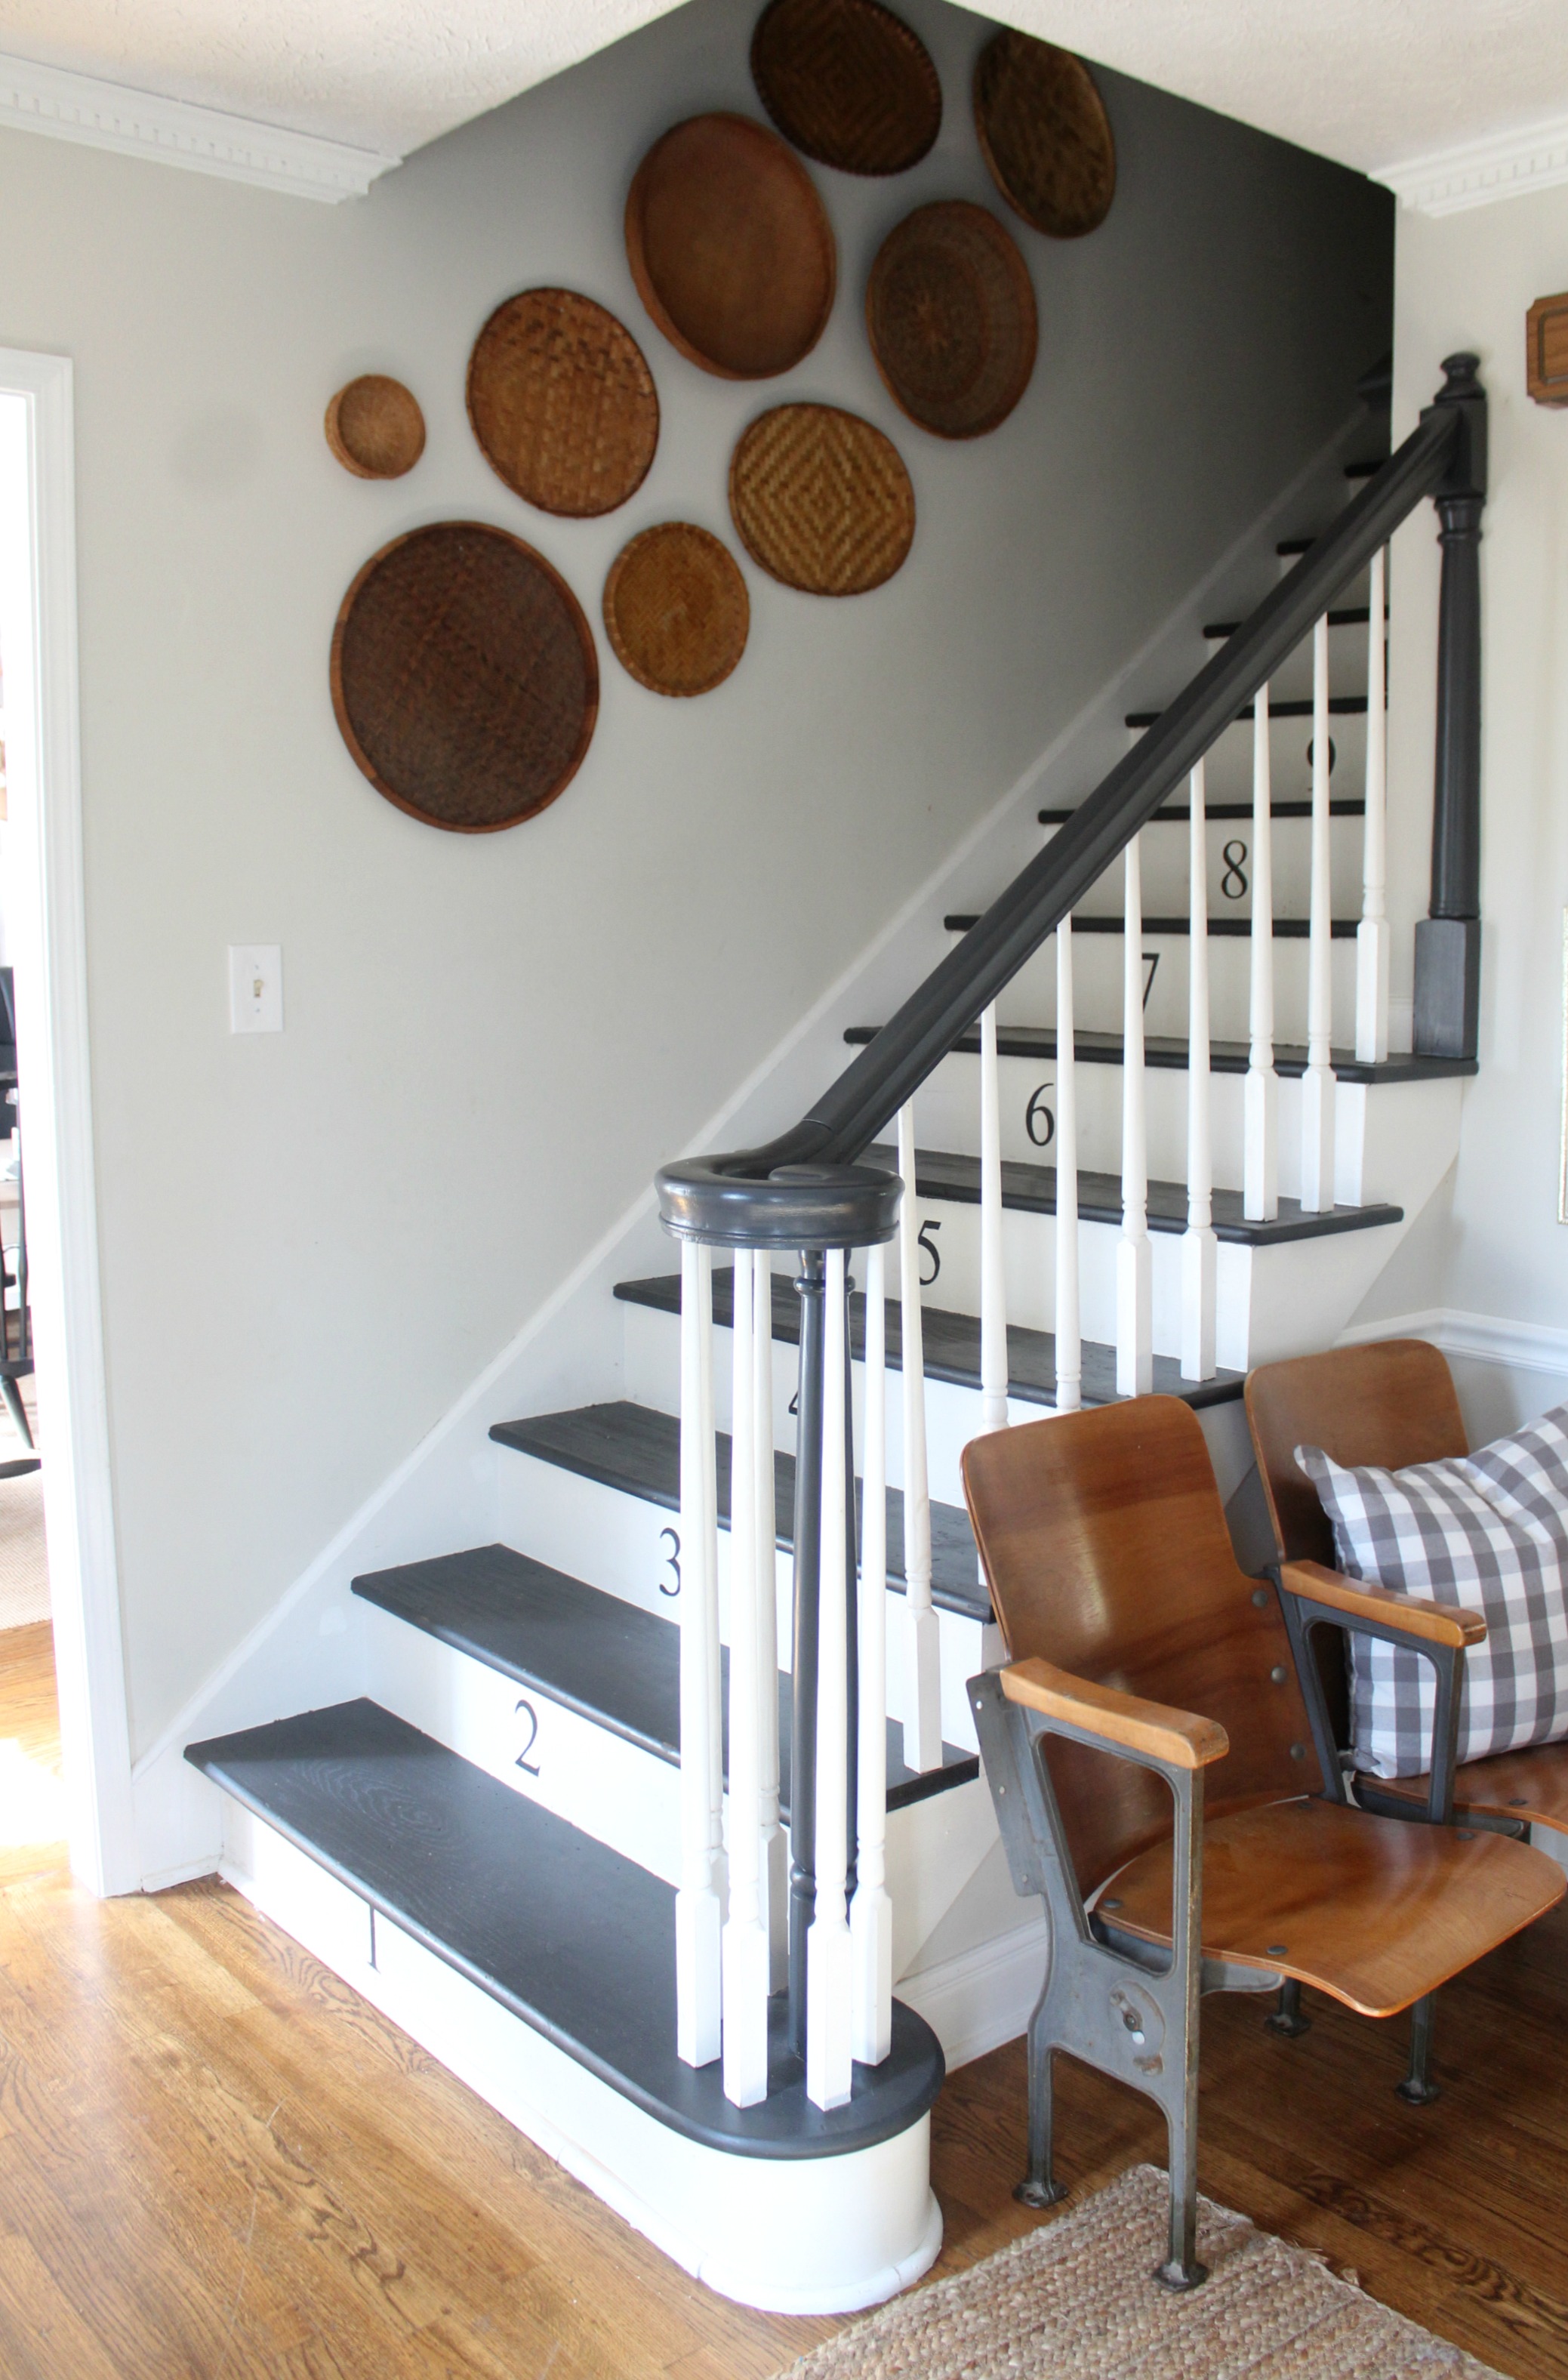
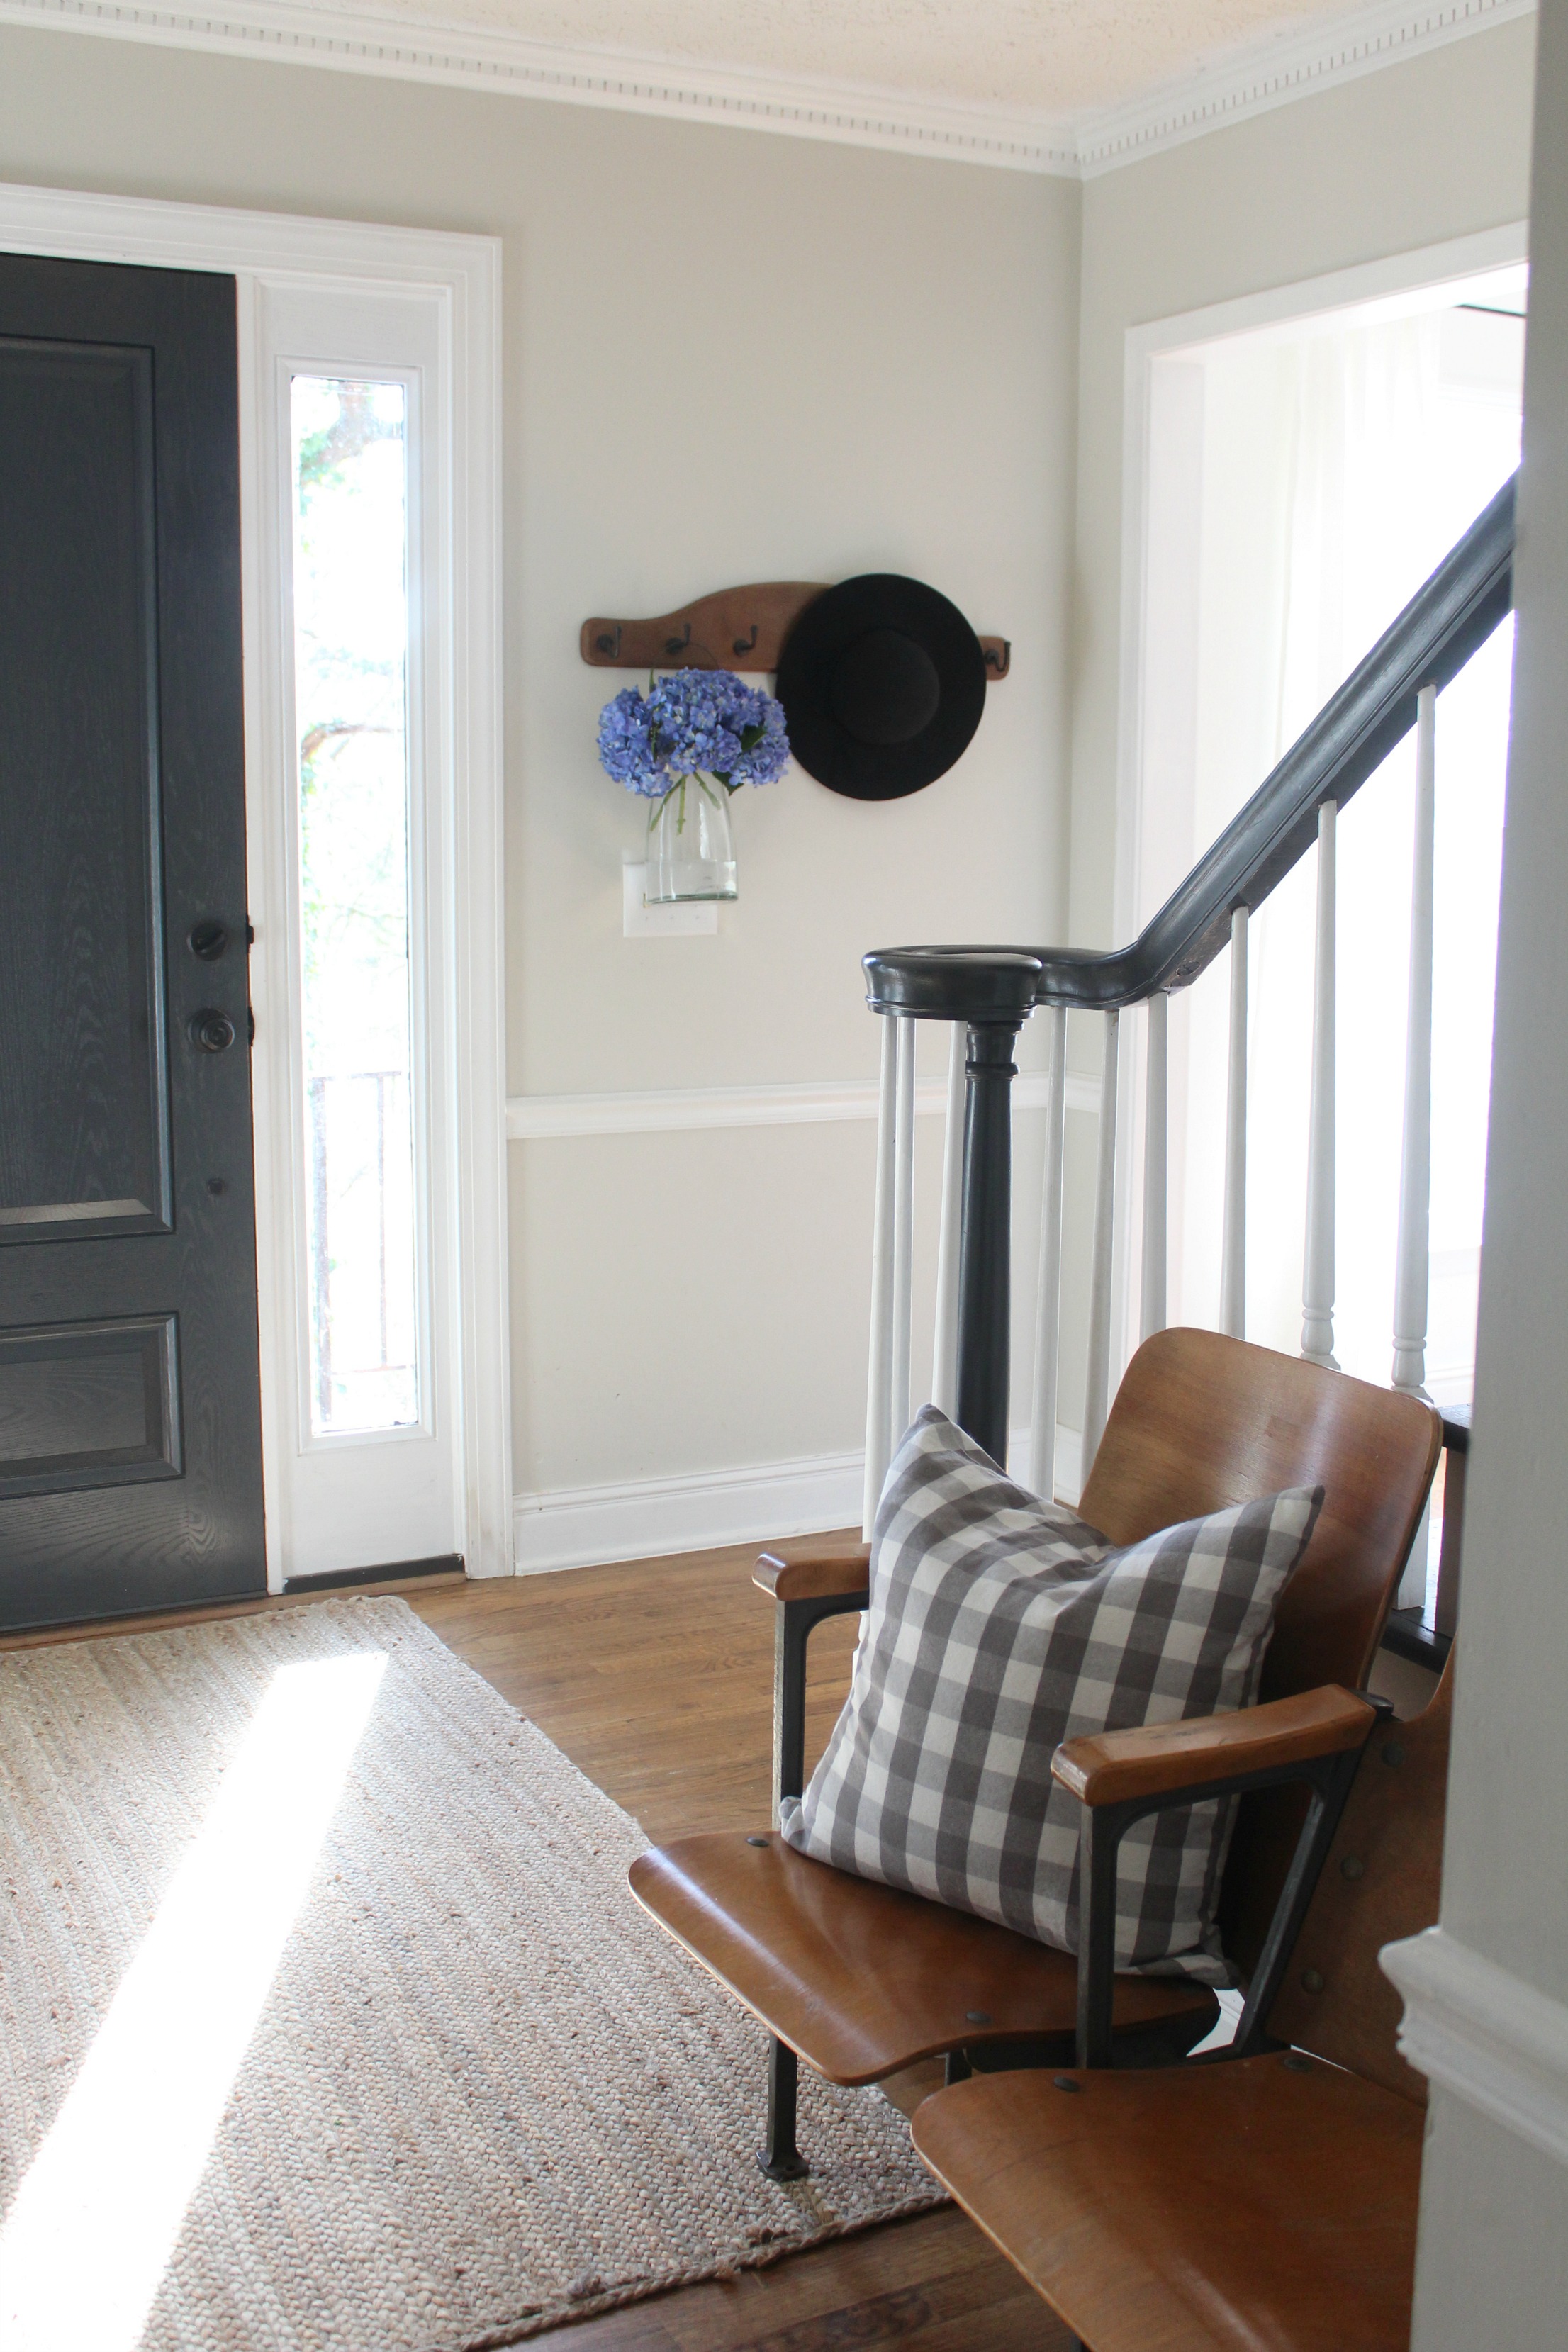
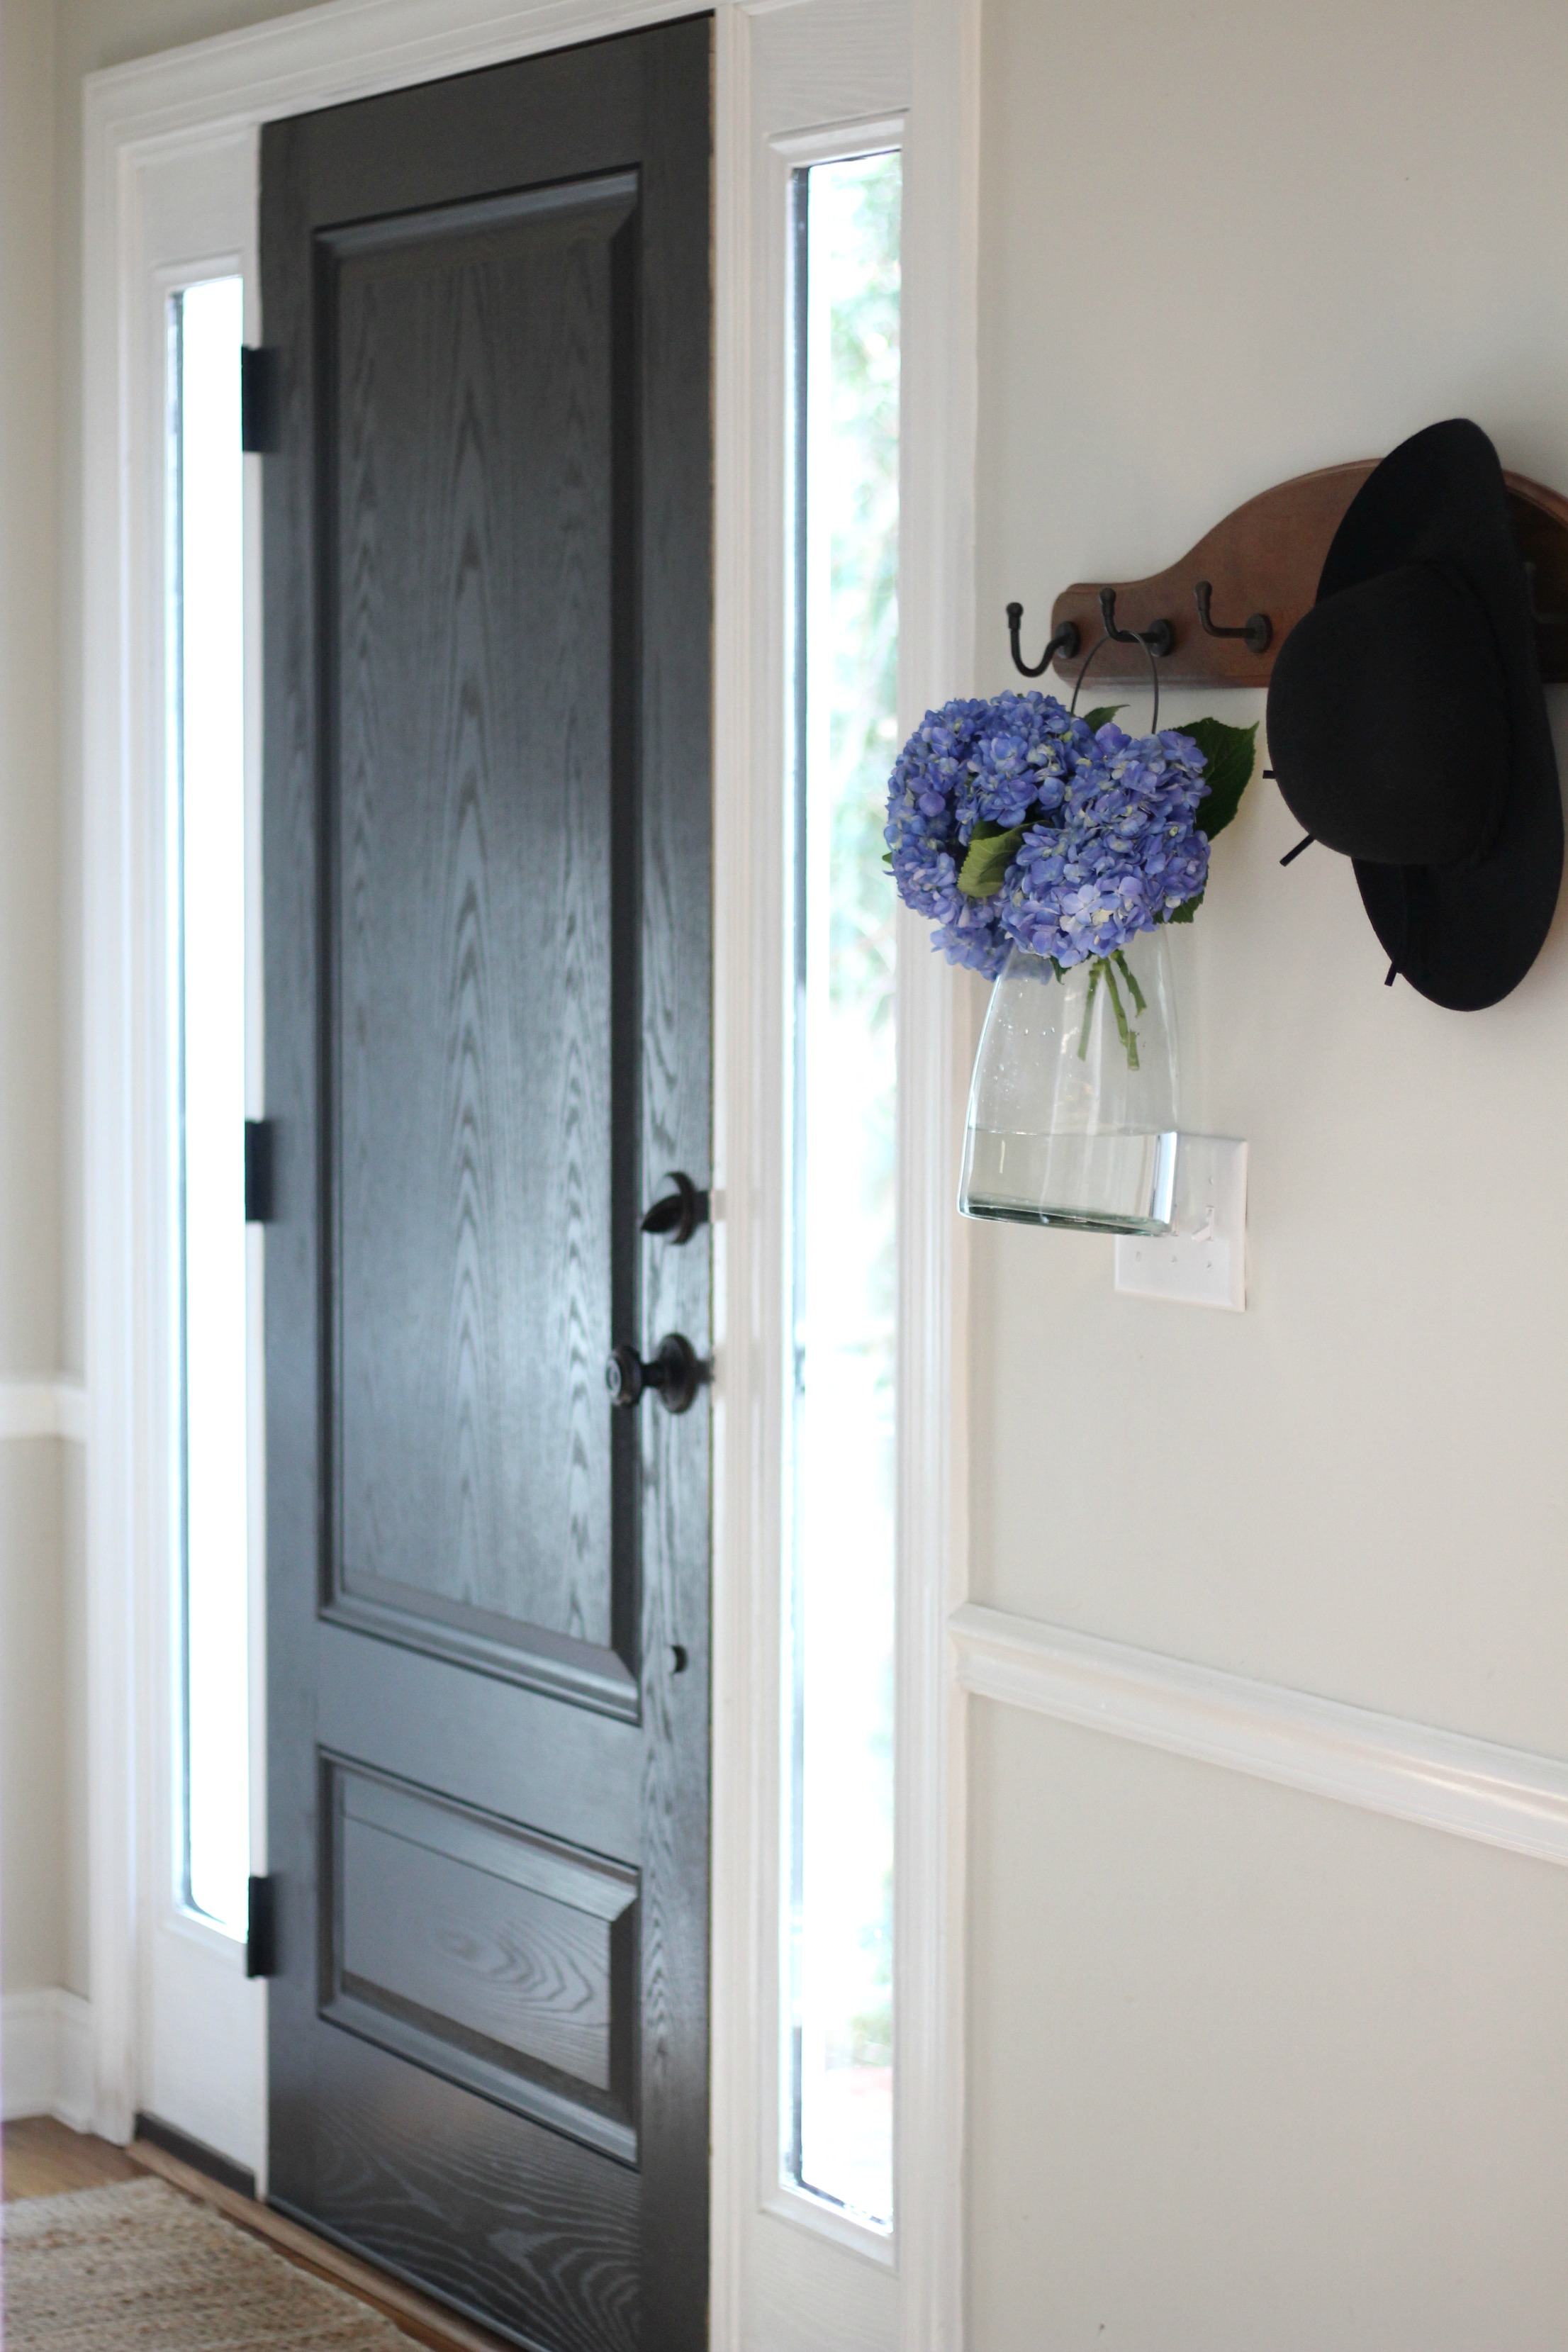
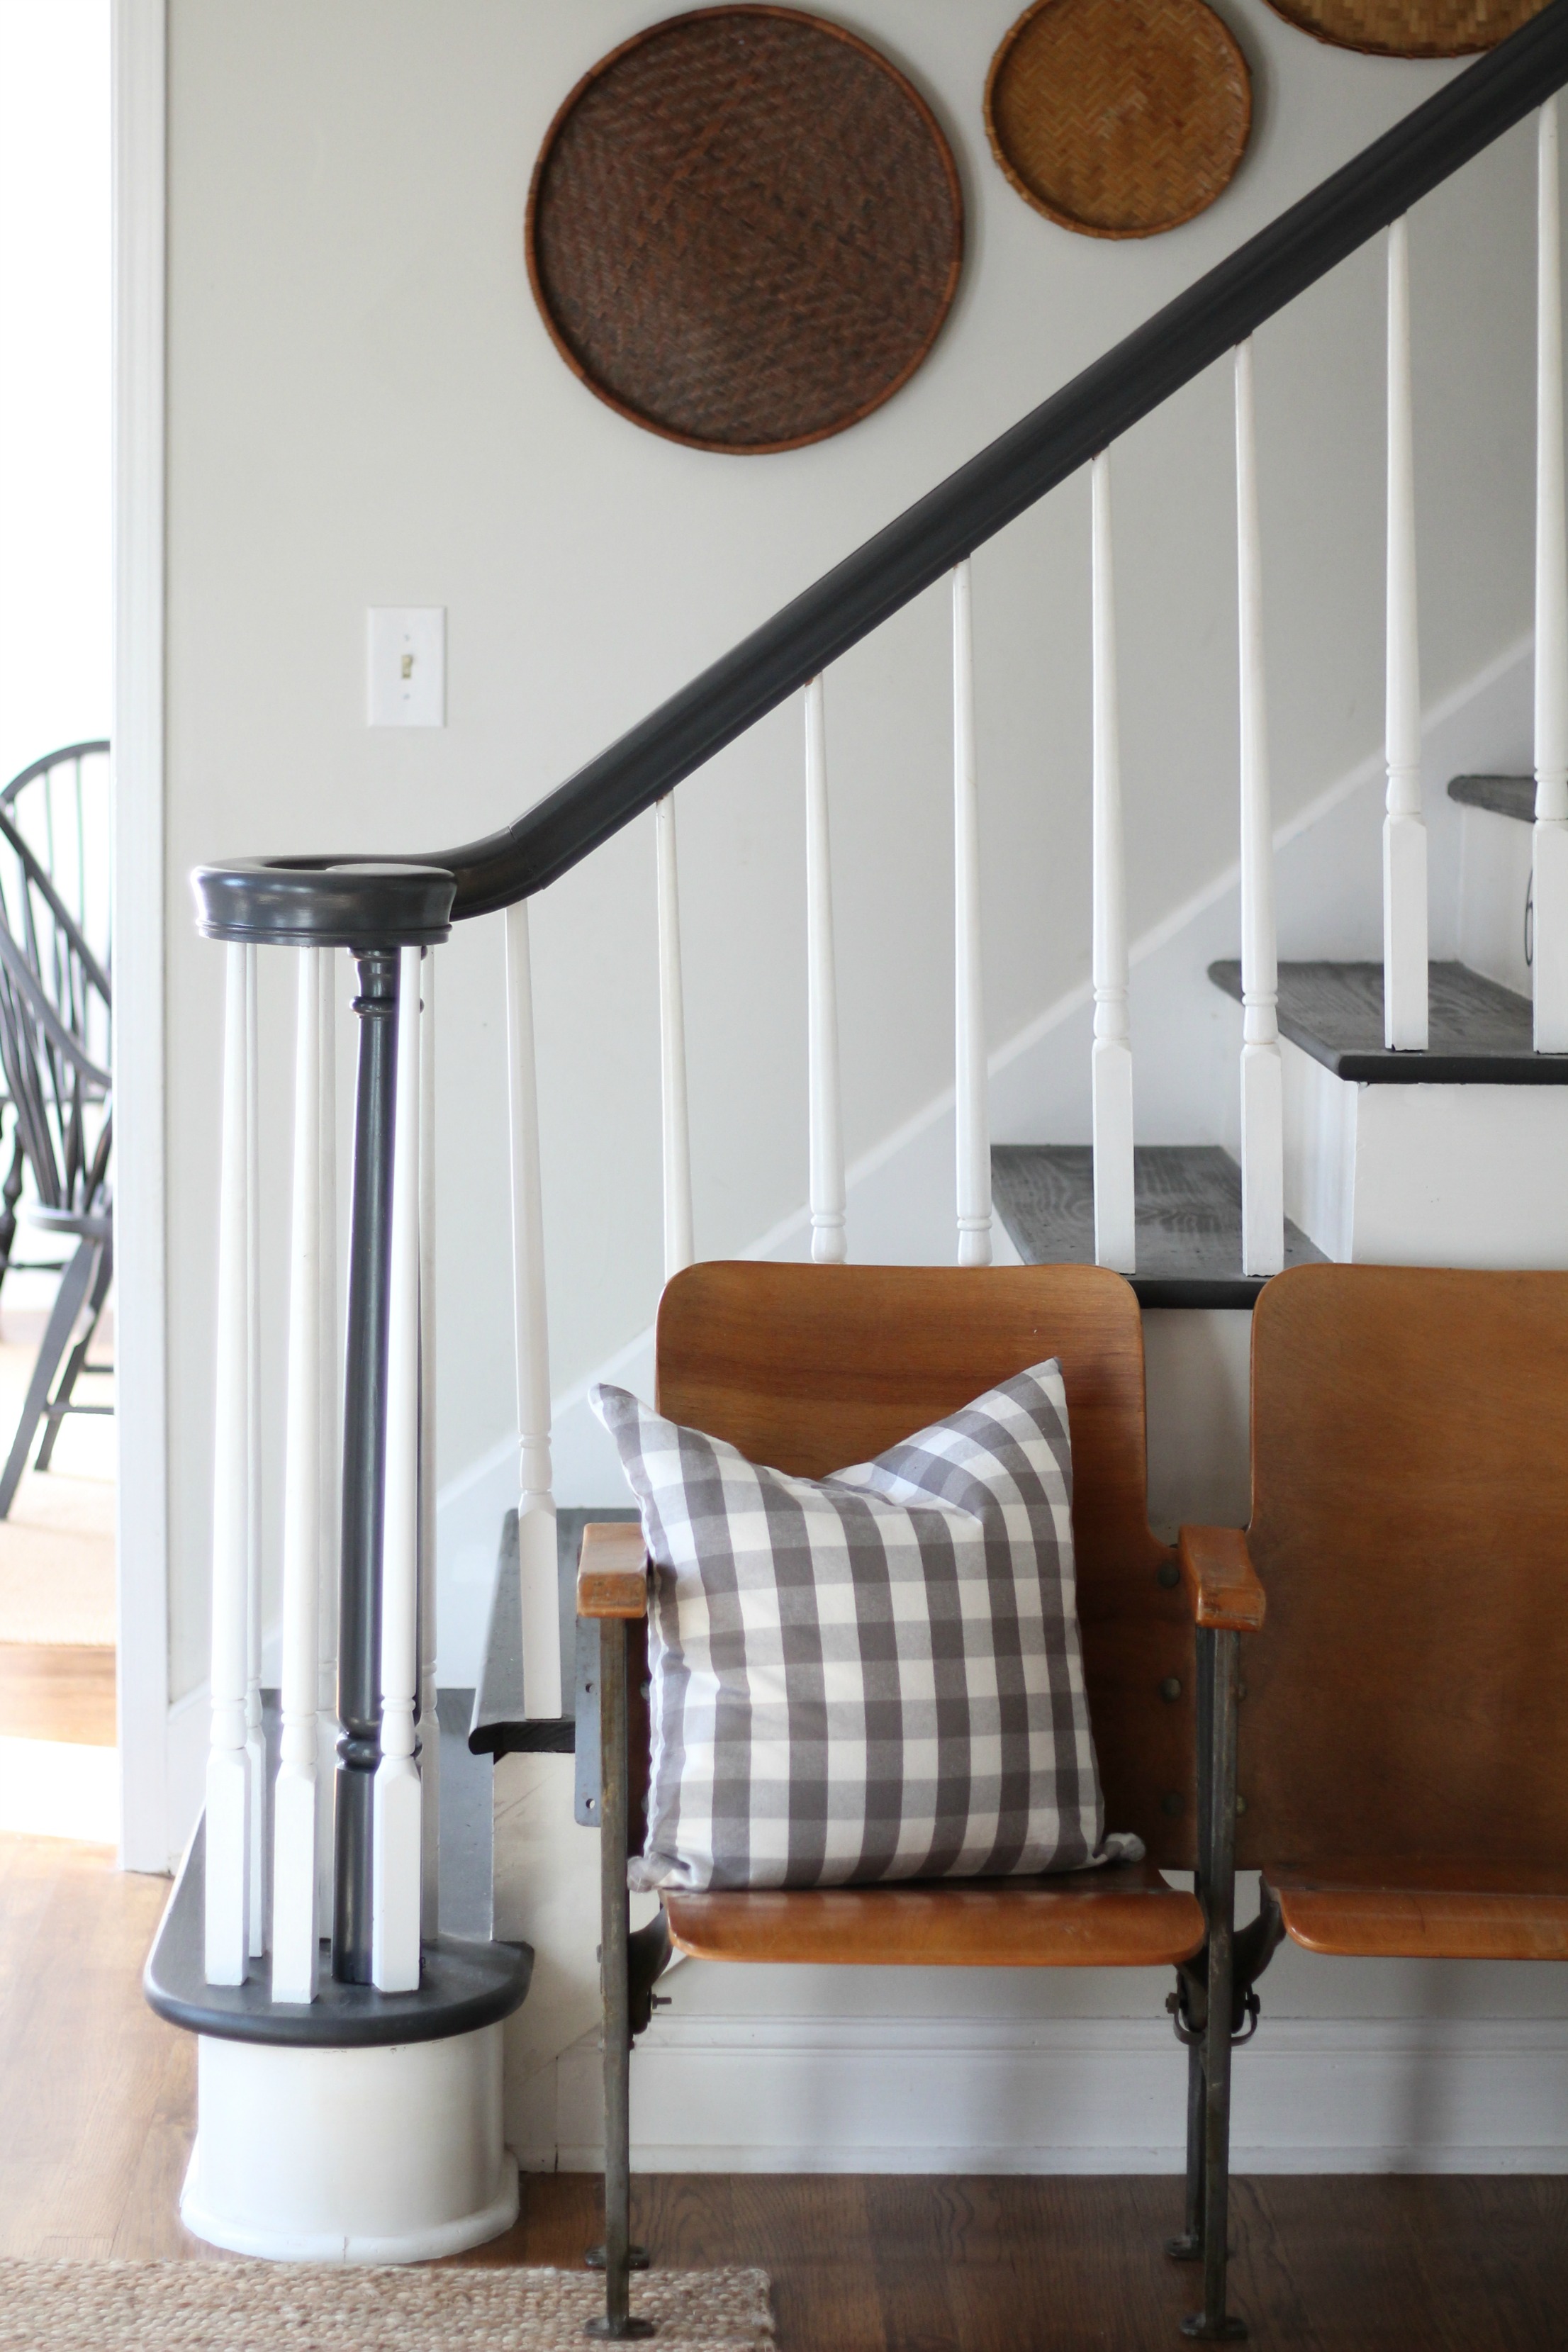
Next I painted the treads. I chose to use the same paint color I had chosen for the doors. It’s a color called Graphite by Benjamin Moore. I used Valspar’s floor and porch paint for this part. The paint went on really well! I started at the top and worked my way down. I did use painters tape to cover the toe kick that have been painted the day before. You can roll your steps or just use a brush like I did.
The hand rail sadly did not get painted until a couple months later. If I’m honest I have to admit that I can be a procrastinator at times. I was more than dreading sanding and painting that hand rail and null. It wasn’t as bad as I thought it was going to be. I finally got sick of looking at it and it’s sad state that I sucked it up and painted it. It took most of the day but was so worth it in the end. What a difference it made!
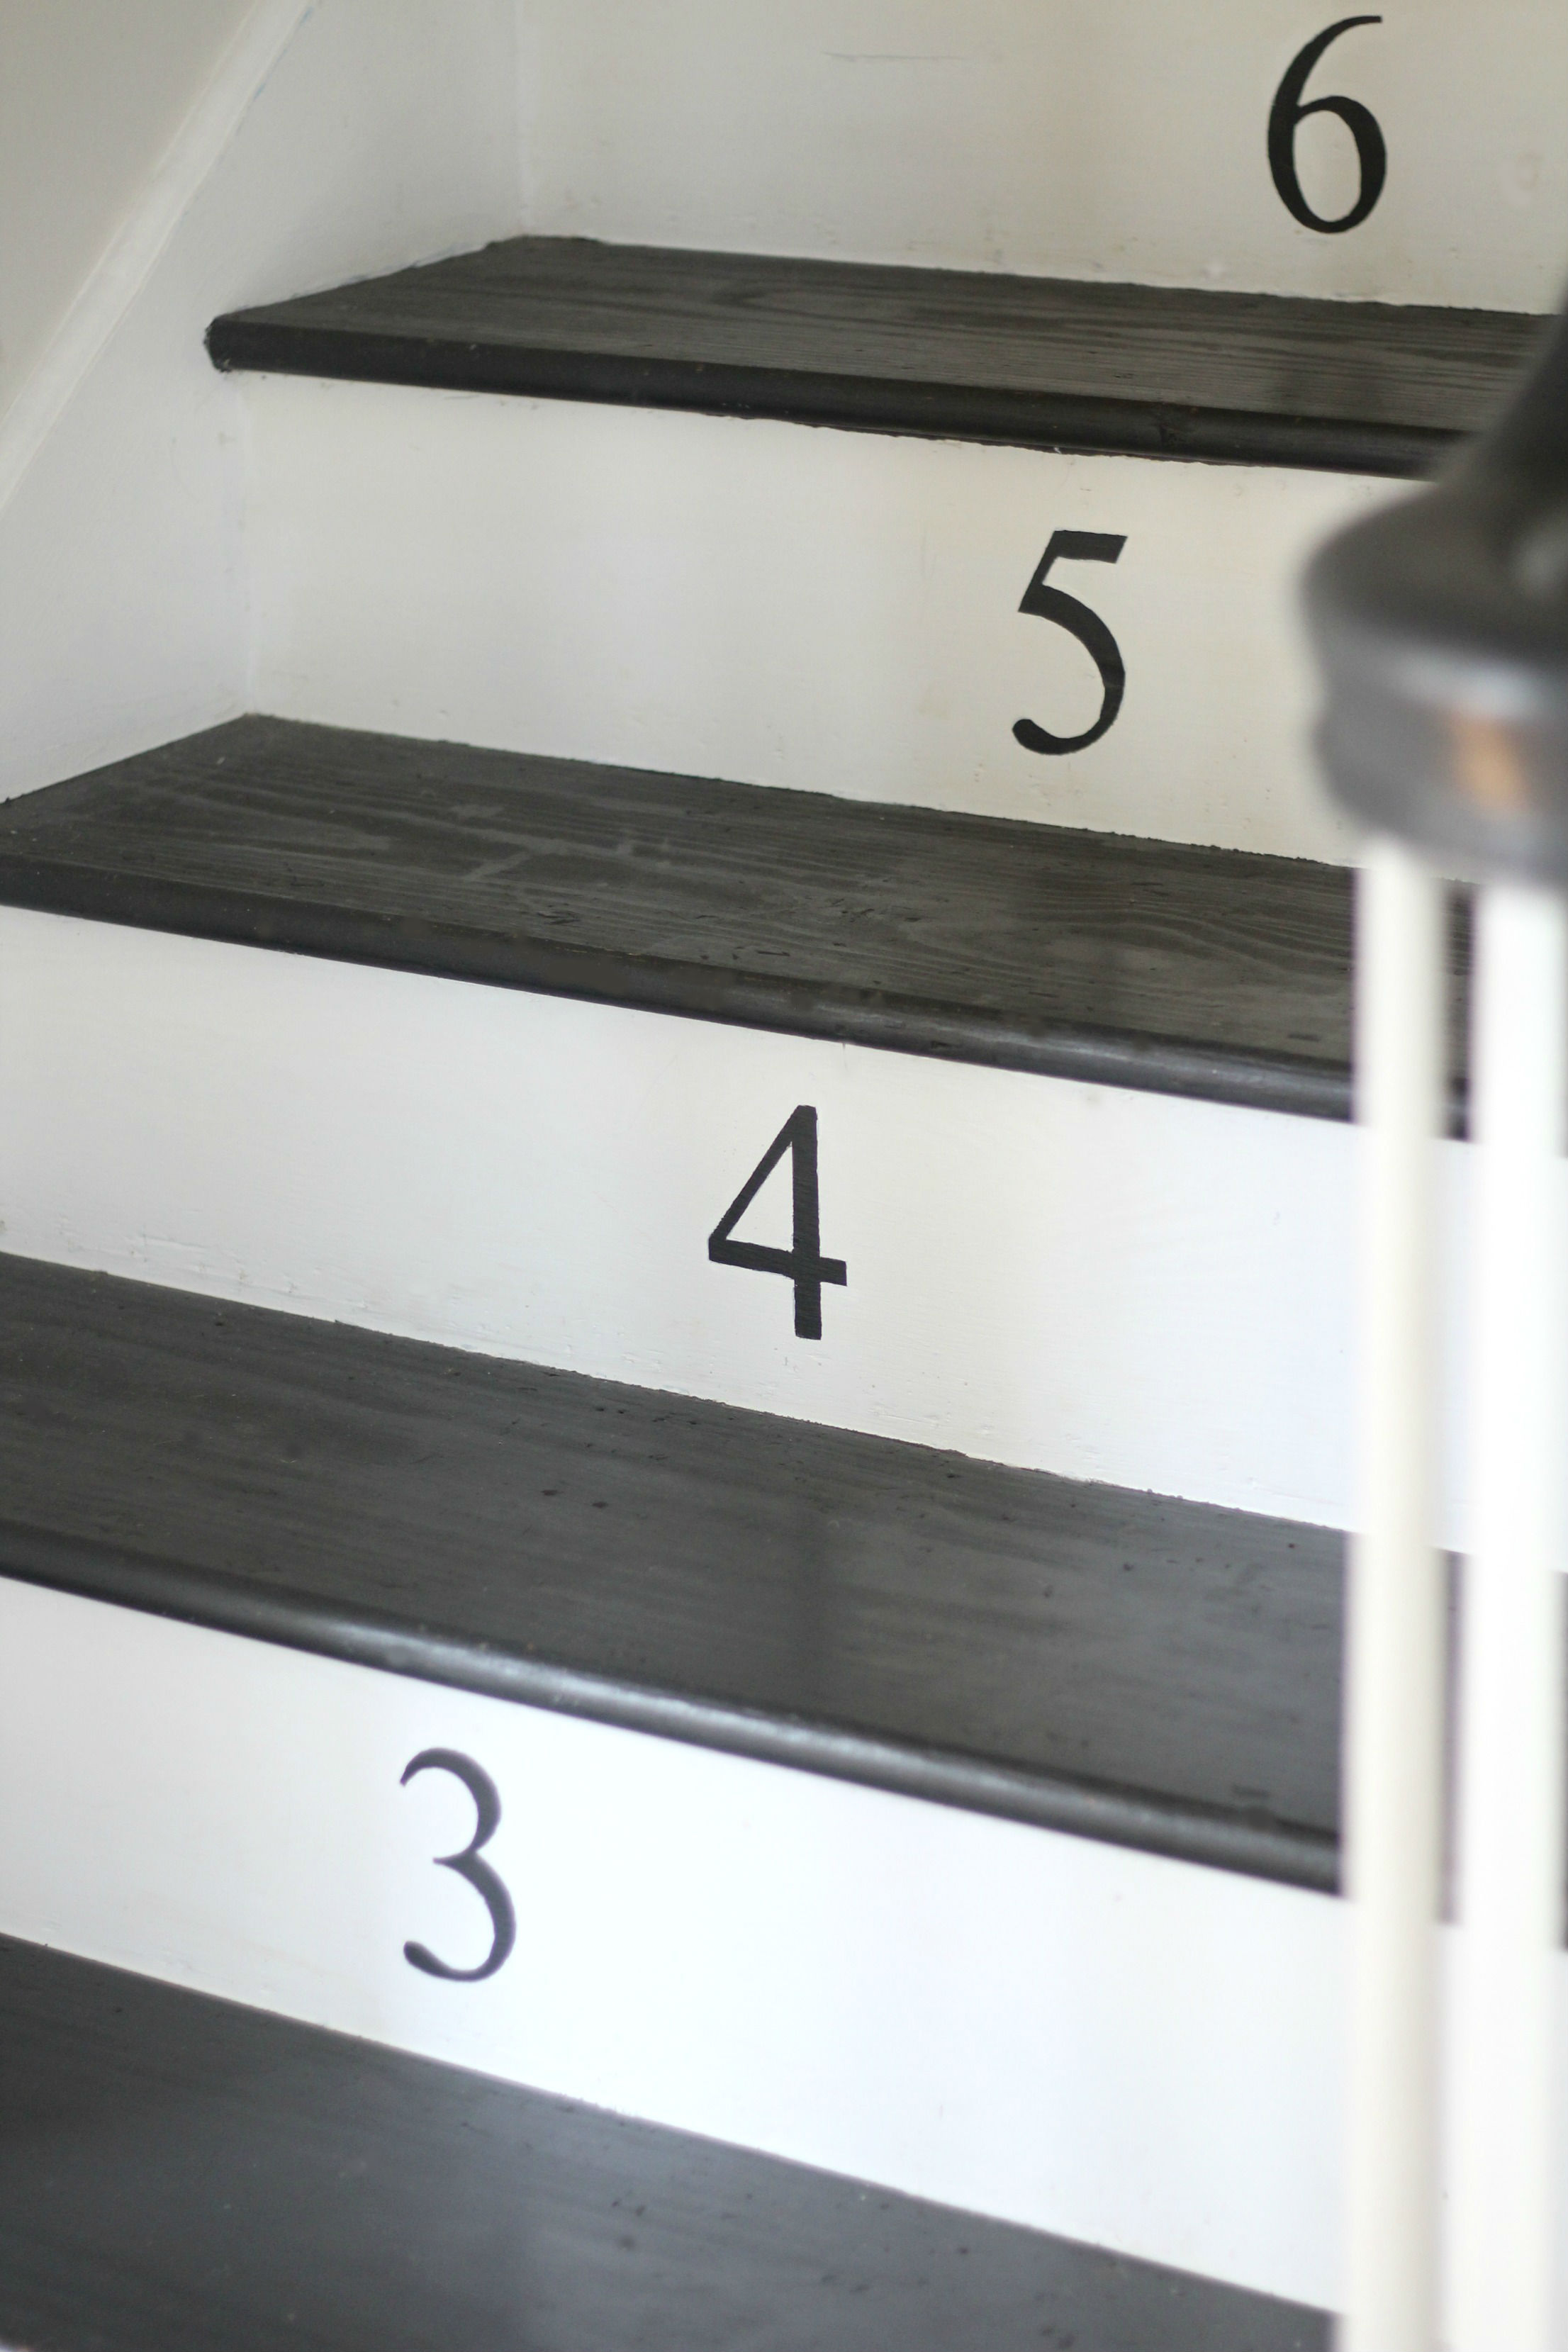
For a fun touch I decided to add some numbers to them. Years ago I saw this gorgeous old house in a Country Living magazine that had number stairs and I have been in love ever since. It was just so charming and unexpected. At the time I didn’t have a big staircase but I knew I would hold onto the idea until the day I did.
I didn’t take pictures of this part because it’s so simple. I purchased a stencil from Hobby Lobby and cut each number out separately. I used painters tape to paint the stencil in the center of each step. I started at the top and went down. Make sure you do not use the center of the bottom steps as they can be wider than the top half. Your steps will be off centered if you do that. I used the same floor paint one the numbers that I had used on the stair treads. I applied one coat and let it dry and decided each step needed a second coat. I was a bit tedious but worked great!
I hate that this project took us so long to complete or even start for that matter but so glad we finished it. I was one of the cheapest projects we’ve done so far but the impact it makes is huge! It’s been months now and we use these stairs every day, all day and I’m thrilled to report they look just as good today as they did the day I painted them. I’ve kept some paint on hand for touch ups but so far I haven’t needed it. I would say that’s a win! It felt great to say goodbye to that nasty, old carpet and hello to our fresh and clean painted staircase.
Have a lovely week friends and I hope you enjoy this Valentine’s Day with the ones you love!
This post includes affiliate links.





The steps look amazing. Love your staircase.
Thank you Marty! Have a great week. 🙂
Beautiful! I love the numbered stairs, I’ve thought about doing that to mine…you may have convinced me!
Thanks Deb! You should go for it. They would look beautiful on your stairs!
Great job!!! Simple and fun with the numbers.
Thank you so much Nancy! 🙂
The transformation is amazing!! And it makes a huge statement in your house….so pretty! Thanks for sharing. Happy Valentine’s Day to you!
Ahh thank you so much Lanita! I can’t believe it too me this much time to share it. Better late than never, I suppose. Have a wonderful Valentine’s Day!
Oh my goodness, such an amazing transformation! Those before and after pictures are unreal. I never would have guessed it was the same stairway. Nicely done! How lucky to find that beautiful hardwood beneath that carpet too.
Thank you so much, Jack! It’s amazing what a little paint can do. We were really luck to have the stairs underneath be in such good condition. You never know what you’ll find under old carpet!
This looks incredible, girl! Seriously amazing, love the after so much!
xoxo
Thank you so much sweet friend! I can’t believe it took me so long to finally finish.
Your staircase looks great! I’ve been thinking about doing something similar to ours for the past couple of years (!) but have been reluctant to move forward with the project. Your pics could be the inspiration I need to get started. Just wondering what paint or stain you used… also is it black or dark brown? Is special paint required for the steps since they get so much traffic?
Any tips you can provide would be so appreciated! Thanks!
Oh I’m so glad! It’s really not so bad and you’ll be so happy you did it once it’s all complete. 🙂 I used Valspar’s plain white semi-gloss paint on the spindles and risers. For the banister I used semi-gloss in a color called Graphite by Benjamin Moore and the steps are also in Graphite but in a floor paint. I used a Valspar floor paint but I’m sure all paint brands carry a paint for that. You want a floor paint that is made for wood. Our steps have held up great! There’s only three of us in the house, so I haven’t really had to touch up. If you’ve got a big family I would make sure to keep a little paint on hand for any touch ups here and there but I can honestly say we love ours and it’s been very low maintenance. I hope that helps. Let me know if you have anymore questions.
Thanks so much! That definitely helps 🙂
Big improvements! Looks fantastic ❤️
Thank you so much, Jillian! I couldn’t bring myself to move in with that carpet. I’m so glad the painting trick worked out. It’s been so easy to maintain as well.
I absolutely love how the staircase came out! I know that was a lot of work – and so worth it!!
Love how your staircase turned out! It’s stunning. Equally as stunning, your front door! I think you’ve inspired a new project in my house!
Great post! Did you use a satin finish? Thanks!