Hello guys and gals! Let’s talk furniture. I’ll be honest. Normally when I see a furniture piece from a thrift store or at a yard sale, if it’s MDF I happily go on my way. I don’t mess with that stuff. I’m normally a solid wood gal all the way but when I saw this console table at a Goodwill for only $12 I had to look twice. I knew right away from the damaged top that it was made out of MDF but I loved the size, lines and most of all the price! So I thought what the heck! I’ll just take the top off and plank it instead.
I certainly could have planked the top and it would have turned out great but I never make things easy on myself. I decided I was going to find a way to repair it and if by some rare chance I was able to repair it, I would get to share the awesome how-to with you lovely people. Damaged MFD furniture is a dime a dozen it seems and that’s why I thought this tutorial would be so handy. If you follow along on Instagram you’ve seen a sneak peek of the finished product.
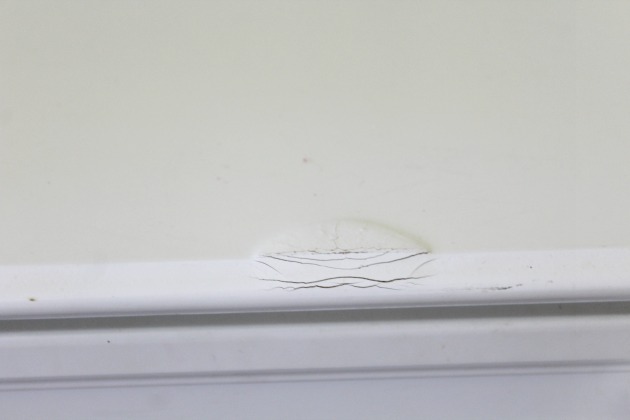
Lets start with the before. It’s nearly perfect with the exception of that unsightly bubble on the top. It’s right out front and hard to miss.
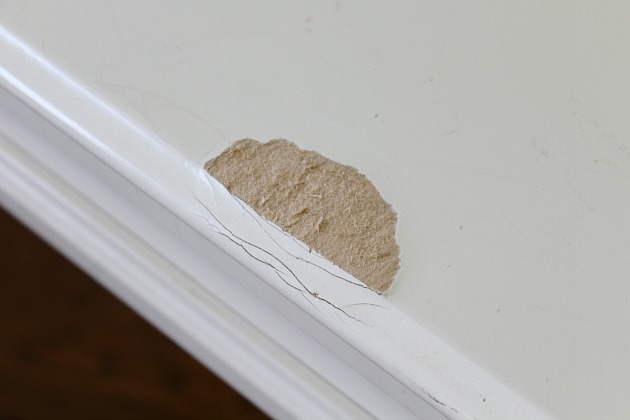
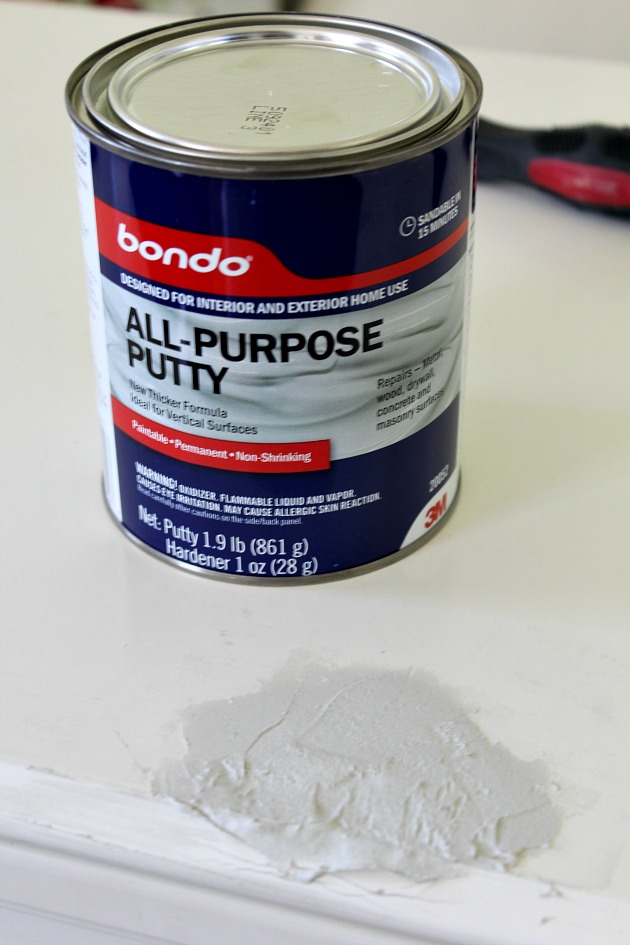
Here’s what I came up with to repair it. First, I started by taking a sharp razor knife and cutting the top of the bubble off. Once you do that, you’ll see all the cardboard goodness. I decided the most durable and easiest way to patch it was to use Bondo. In order for the Bondo to adhere I had to scrape out some of the MFD. I used a small putty knife to do that. You don’t want to dig it out too much, just enough for the Bondo to sit inside.
You can pick up Bondo at any home improvement store. It fairly inexpensive.
You have to work fast. This stuff hardens very quickly.
Try to smooth it out as much as you can. I tend to over do it, as you can tell by the photo. It wasn’t the smoothest but it got the job done. Once it’s completely dry, an hour or two later, sand it with a fine grit sand paper until smooth and even with your top. I did add a second layer of Bondo after I sanded the first time. There were small cracks that were not level with the top. If that happens to you, skim over the top one last time with Bondo and repeat the last step. Just like that the damage was gone!
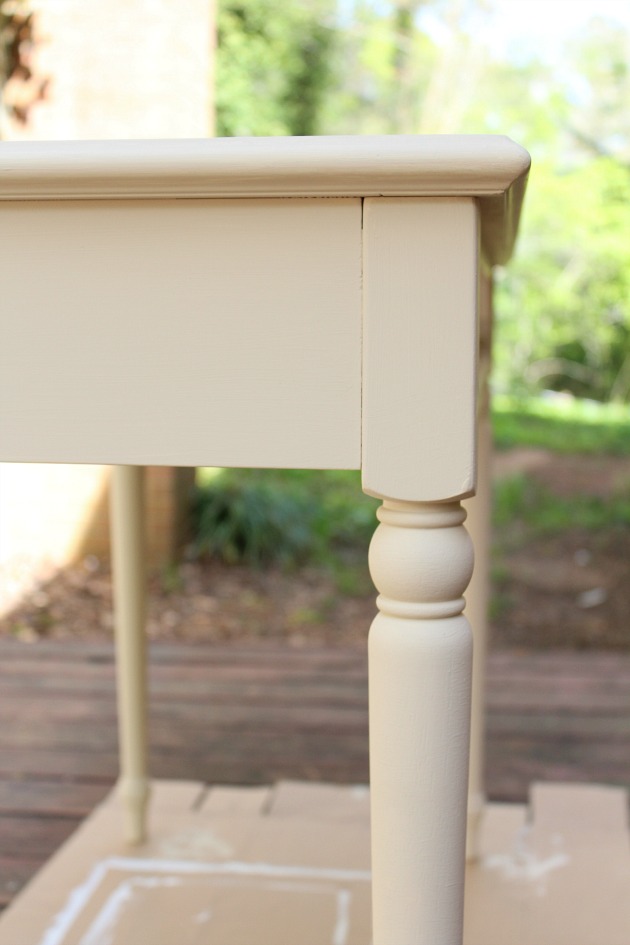
Now for the fun part, the paint! I could have painted the table white and called it a day but I really have been enjoying using antiquing wax on furniture and crafts lately and decided that was the look I wanted to go for. Remember you are still working with an MDF piece so your paint choices are limited. I lightly sanded the table all over with 150 grit sand paper to give the paint just a little something to hold onto. I used chalk paint which is recommended when painting MDF furniture. I went with a color called Timeless.
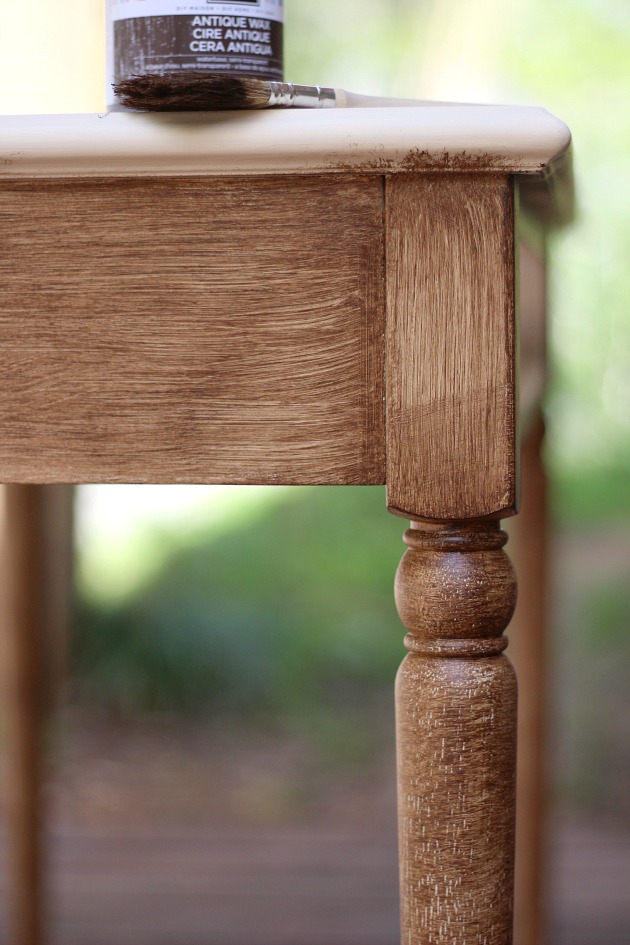
After I had applied two coats of the chalk paint I painted on a liquid antique wax. The liquid wax leaves your brush strokes giving the illusion of wood grain. I loved the look so much I decided not to work the wax in or rub off the excess. I brushed on the dark wax all of over the table, brushing it on just like paint. I let it dry completely over night. Once the wax is dry it completely hardens and doesn’t leave an oily feel, which I love!
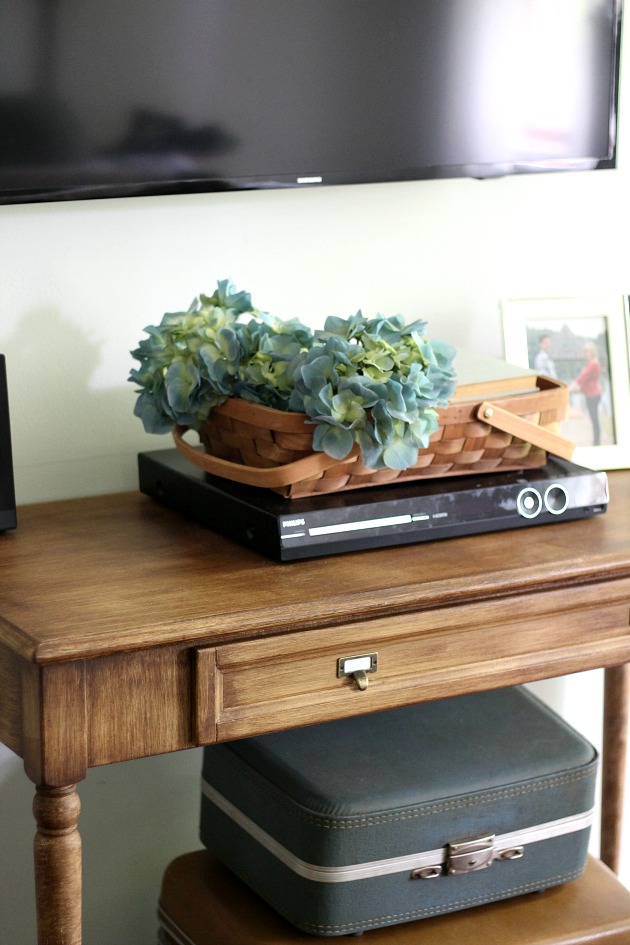
I decided to ditch the old knobs and added these beauties. You can order a bag of five here for just under $6.
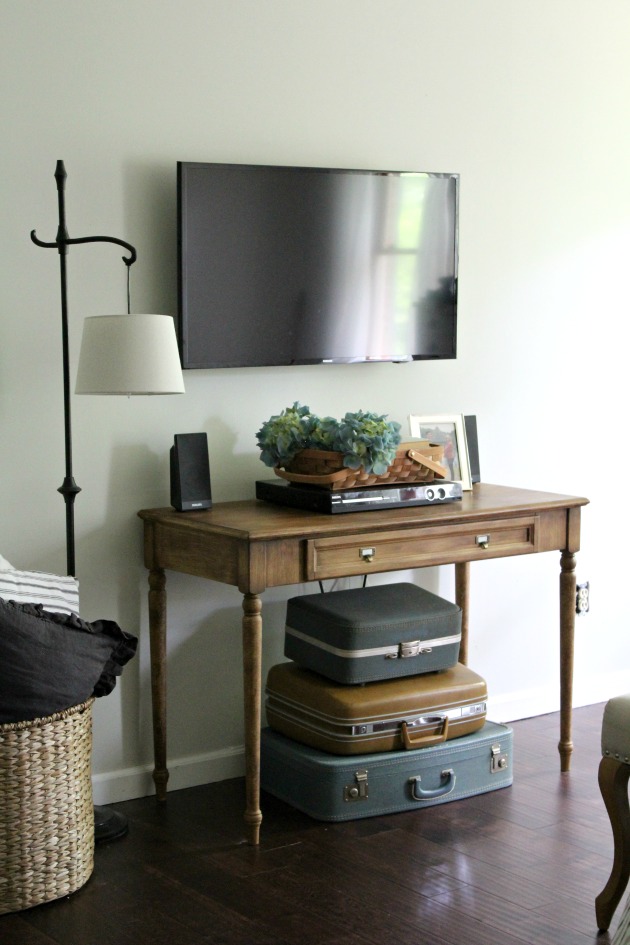
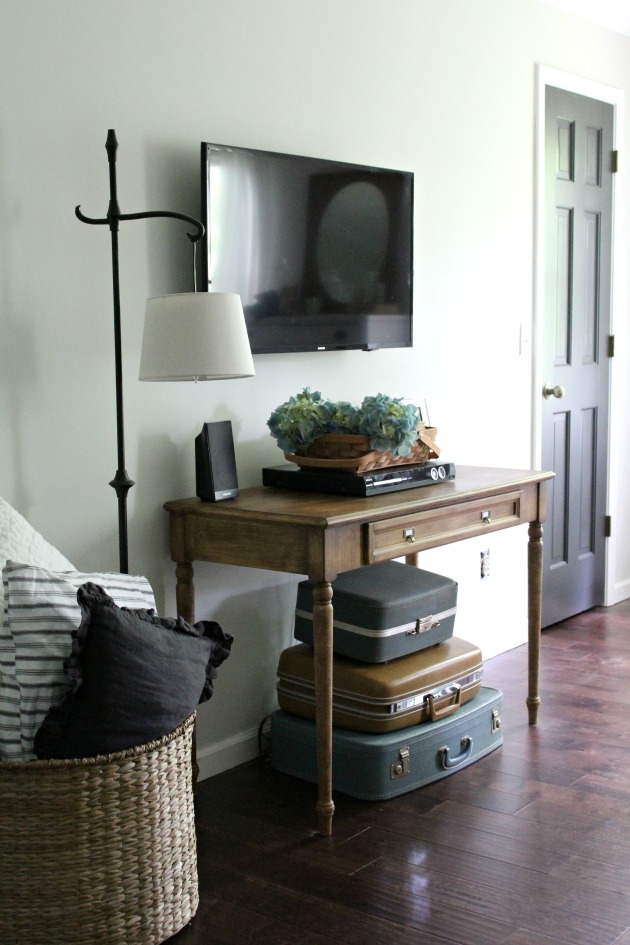
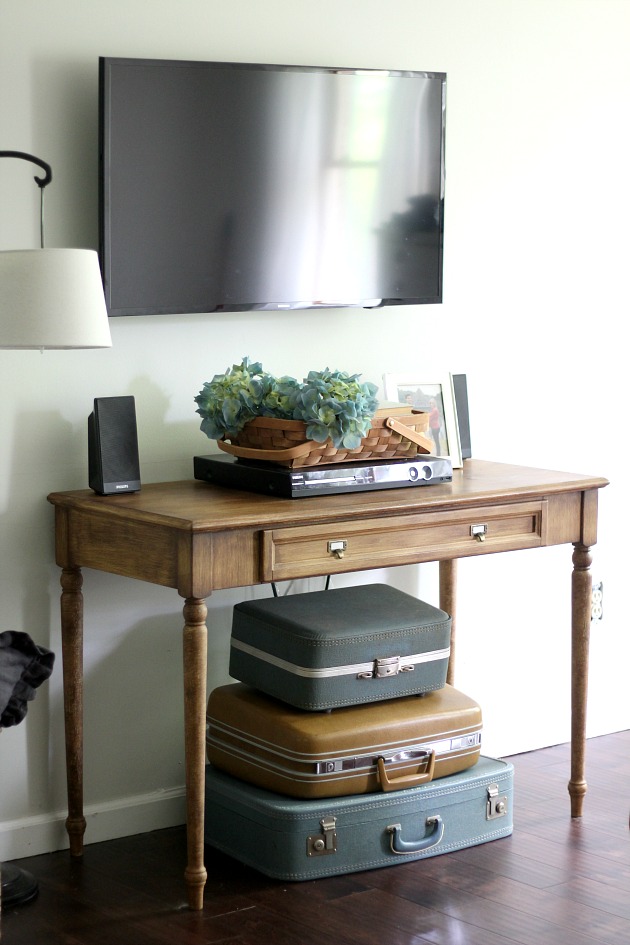
Check her out now!
I apologize for the BRIGHT photos. I have a hard time controlling the amount of light that comes in our master bedroom during the day due to the fact that I have yet to buy shades. When you sit on top of a big hill and have no one across the street from you, you tend to neglected those kind of things.
I can say wholeheartedly that I’m in love with this makeover! It turned out way better than I envisioned it would. Don’t you just love when that happens? Now if I could only find a way to camouflage that ugly DVD player . . .
Oh and I bet you can’t find where the bubble was on the top. I would have to say my little Bondo trick worked well 😉
If you have any of your own MDF furniture pieces you’ve been putting off or were going to throw away, get to tackling them! I would love to see the makeover. Maybe it’s just me but I love bringing things back from the dead, taking an ugly furniture piece and turning it into a jewel. You may have visited my online shop this past weekend. It was the grand opening last Friday and I just want to say thank you to all you lovely readers. I had a great weekend! I have officially sold out of all my furniture except for my antique ironing board . . . which I’m kinda okay with. I will be restocking soon. I wasn’t expecting everything to go so quickly, so I was a little unprepared. Again, thank you! I love blogging, decorating and selling and you guys make that possible.
Have a great week friends and I hope to see you all back at the end of the week for my One Room Challenge reveal!





beautiful makeover Amanda! Love how you decorated that little corner too!
Thanks Deb! 🙂
Using a “Bondo spreader” helps to minimize any sanding. They’re extremely cheap and work wonders. I just applied bondo on a crown molding corner that was way wack, and it now has a nice crisp corner and you can hardly tell there was a huge gap to begin with. I hardly had to do any sanding.
Also, any paint can go on mdf. A nice sandable primer helps, especially with the “fuzzy” edges, and then you can put whatever paint on it that you want. With your piece already “finished,” you could have just painted over it, but a light sanding and primer never hurts. No need to use the expensive “chalk paint” unless you want to.
Looks good overall. I like the faux wood grain.
Great to know about the Bondo spreader! I’ll have to pick one of those up. My hubby is much better with spreading it out than I, so that sounds super handy. What paint do you use when you paint MDF? I have never had good luck painting MDF with regular latex paint. Even after sanding It always peels or scratches. If I’m painting a larger piece of furniture, I’ll make my own chalk paint which is super cheap!
BM advance. It’s usually over SW wall and wood primer. I don’t know why I shop at the 2 different places….I’m usually doing trim work, but I’ve built bookcases out of MDF and just painted with Valspar whatever from Lowe’s. But, BM Advance is the best paint I’ve come across if one desires a smooth, traceless finish with a brush. It cures slowly, but it will be solid after a week or 2. Prime the MDF with a nice primer (the one I suggested above or Zinsser 123) and you’ll be fine with any paint.
Oh okay gotcha! I have primed and painted bare MDF when we’ve built a piece I guess I should have made that more clear. I have trouble getting it to stick when the furniture already has a finish on it… like more of a veneer finish, if that makes sense. It’s almost like the surface is too smooth or not porous enough to grab ahold.
Thank god I landed up on your page, wonderful transformation. I absolutely loved what you did with the table. No one can tell it is MDF and not real wood. I also love the details you managed to give to the table, like the brush strokes look so perfect (like actual wood grain) and also there are some subtle light and dark variations you created. Was there any technique you followed to achieve this look ? I have espresso color shelves in MDF that I have been wanting to transform exactly like the way you did. I would like to paint them white first and then use the antique wax like you did. Also what brand and color liquid antique wax you used?