We finally finished a project that has been on my mind for some time. I’m thrilled to be sharing our new DIY faux fireplace and German smear how-to with you today! Shortly after we moved into our home we gave our dining room a makeover. The space was a quiet terrible and we wanted to make sure it was a functional and one that our guest could be comfortable in. We made just a few changes that worked great but ones that I knew were not permanent. You can see that before and after here.
One wall in the dining room has been sitting blank for some time now. I’ve never been able to find the perfect thing for it. I suspect it was all meant to be because I have always had a love for old fireplaces. My heart is so happy to walk into a home with a fireplace in each room. It doesn’t matter if they’re bricked up or working, they just might be one of the most charming aspects to a room. I knew pretty early on that’s what I wanted for the space. I’m sure you know that time doesn’t always allow every project to get done right away but I’m excited to say J and I finally got around to it a couple of weeks ago and I’m totally smitten!
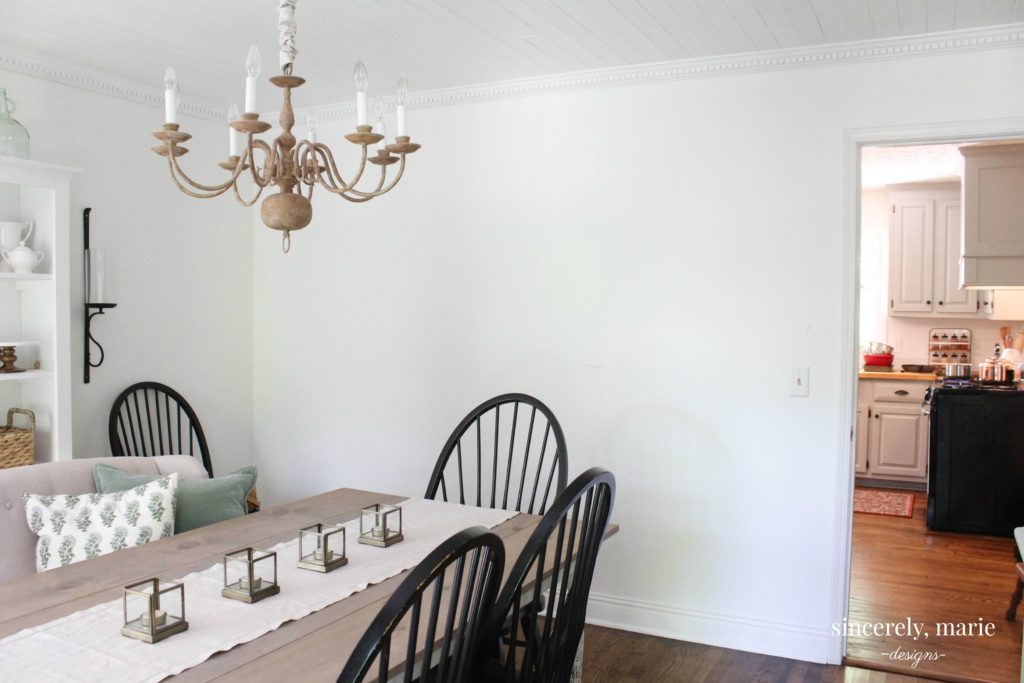
Here’s the space before the fireplace. There’s that big blank wall. Kinda sad, right?
**This post contains affiliate links. You can see the full disclosure here.**
Our house is a traditional colonial home. I wanted something that would stay within that style. The mantel we made is very simple and true to an old colonial home. The best part, we made it almost entirely out of scrape wood we had on hand!
Here’s our DIY faux fireplace and German Smear
I’m kicking myself that I didn’t take photos of the process. It was just so simple I didn’t even think about. Don’t worry though anyone can do this! We constructed it in our wood shop and carried it into the dining room once it was finished. We cut all of our pine boards to a size that fit our room. The size of your fireplace may vary depending on the size of your room. Our mantels measures 48″ tall by 54″ wide. We simply stacked the boards on top of each other and used wood glue and finishing nails to hold them together. The center 1×3″ board is attached to the two sides using pocket holes and pocket hole screws. We did this using our Kreg Jig. We also attached the mantel ledge with pocket holes as well as a few wood screws that we screwed in from the top and filled with wood filler. We wanted to be sure that it could handle the weight of any decor I threw its way. The last pieces we added was trim pieces to dress it up a bit.
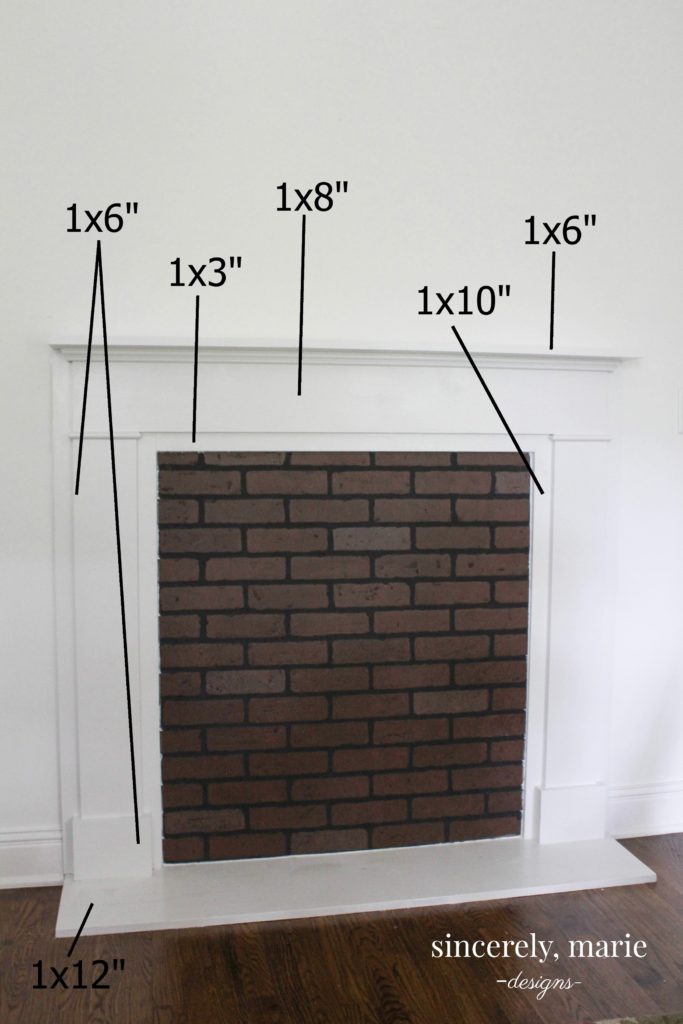
You can not see it but there is also a second 1×3″ board behind the top center board as well and it serves as the way to hang the mantel on the wall. You could certainly just nail the mantel onto the wall but we wanted to hang it to make sure that we hit several studs and this way we don’t have a bunch of screw holes to fill.
Josh took a 1×3″ cut it to the same size as that bottom center 1×3″ but also cut it length wise on his table saw at an angle. You can see here half of it we screwed onto the wall, hitting three studs.
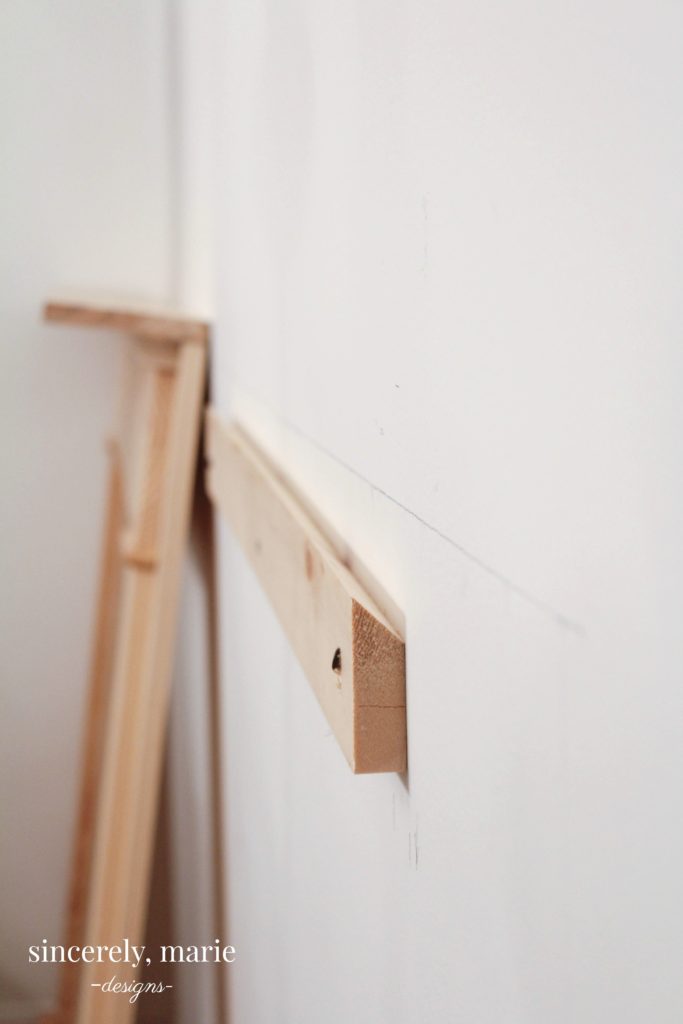
The board attached to the mantel also has an angle that locks into this half, creating a brace. If you don’t have a table saw at home you can buy metal braces similar to this at home improvement stores.
We used our Dremel to cut out the baseboard. We placed a 1×12″ board in between the baseboard to rest the mantel on. It serves as a faux hearth. You don’t have to do this but I do think it looks better with it. We used a couple finishing nails on the corners to hold it in place on the floor.
Once the mantel is on the wall add a couple finishing nails to the sides to hold it to the wall at the bottom. Fill all the cracks and nail holes and paint. I used our semi-gloss trim paint. Once it was dry we measured and cut a piece of faux brick for the center and nailed it to the wall. The brick is just from one of those cheap sheets of faux brick that they have at home improvement stores. It sells for $25 for a 4×8′ sheet. It’s not the most attractive thing but don’t worry that’s where the German smear comes in!
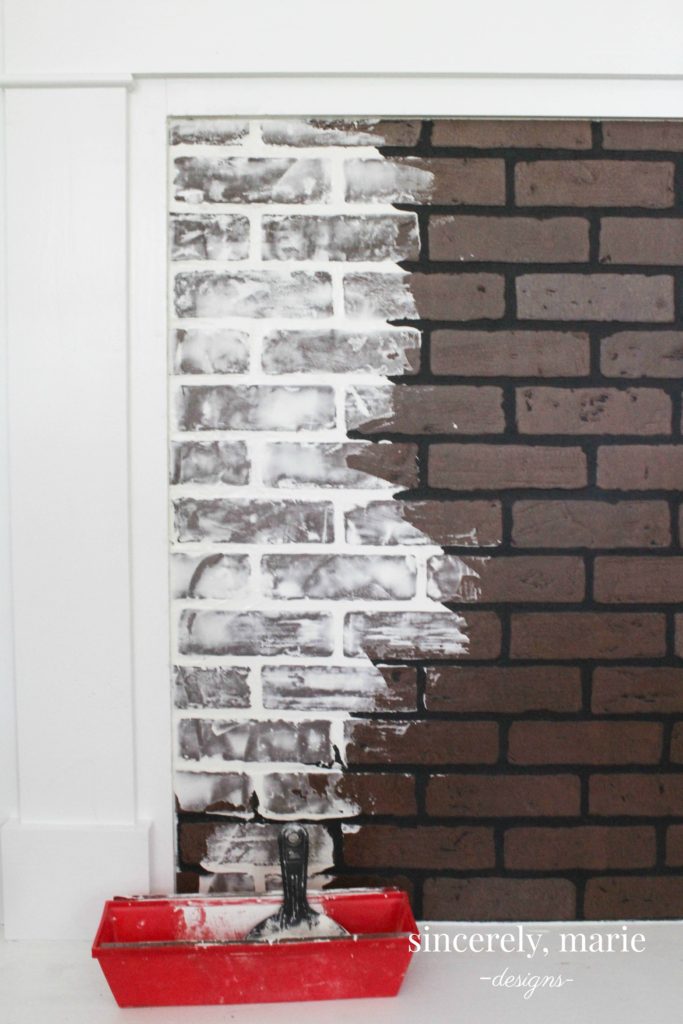
To give faux brick a German smear finish simply “smear” white wall spackle over it. I applied the wall spackle from the left to right using a plastic putty knife. I put it on fairly thick and then would thin it away and smooth it going in a down and over movement. It’s really similar to icing a cake. How thick or thin you want it is all up to you. It doesn’t need to be perfect. The imperfections give it texture and character. I wanted to make sure that some of the red from the brick was coming through for color. I used about a half of a quart for my brick. Once the spackle is dry you can seal it. A few hours should be plenty of time or if you’re like me and have project ADD, you can wait a couple days and come back.
To seal it, simply take 40% paint and 60% water and create a whitewash. Brush it over the fireplace in a thin coat and let it dry. That’s it! With the exception of the brick sheet at $25 and a quart size of wall spackle $6, this faux fireplace was well under $50 to make. If you don’t have any scrap wood on hand it would probably come in around $75-$80 to build. That’s extremely affordable for something that gives the room such huge impact. Here it is all finished –
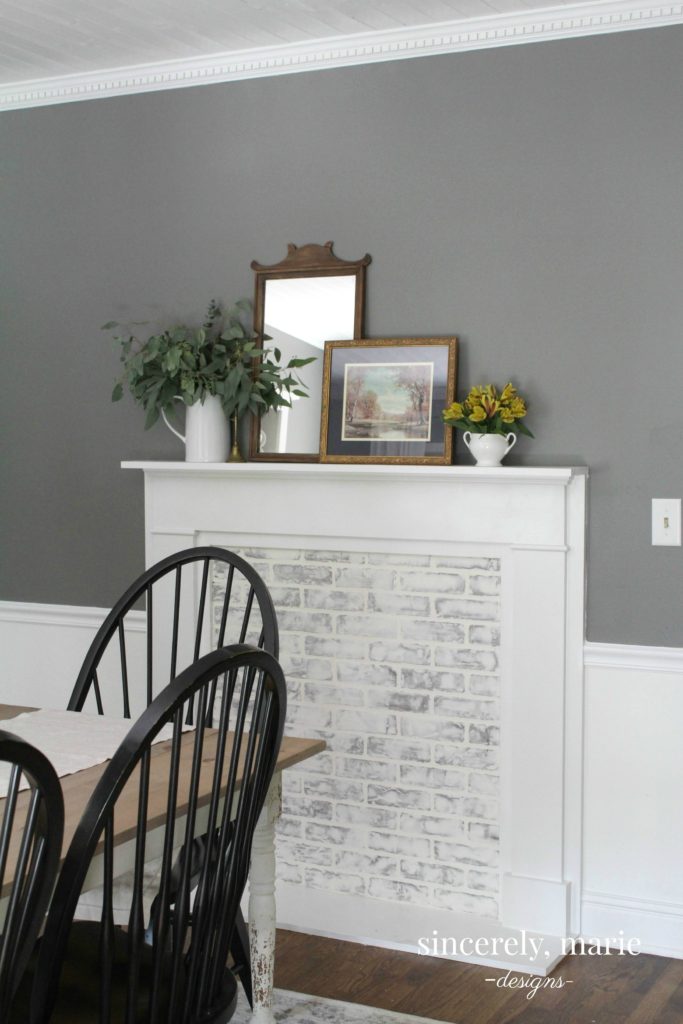
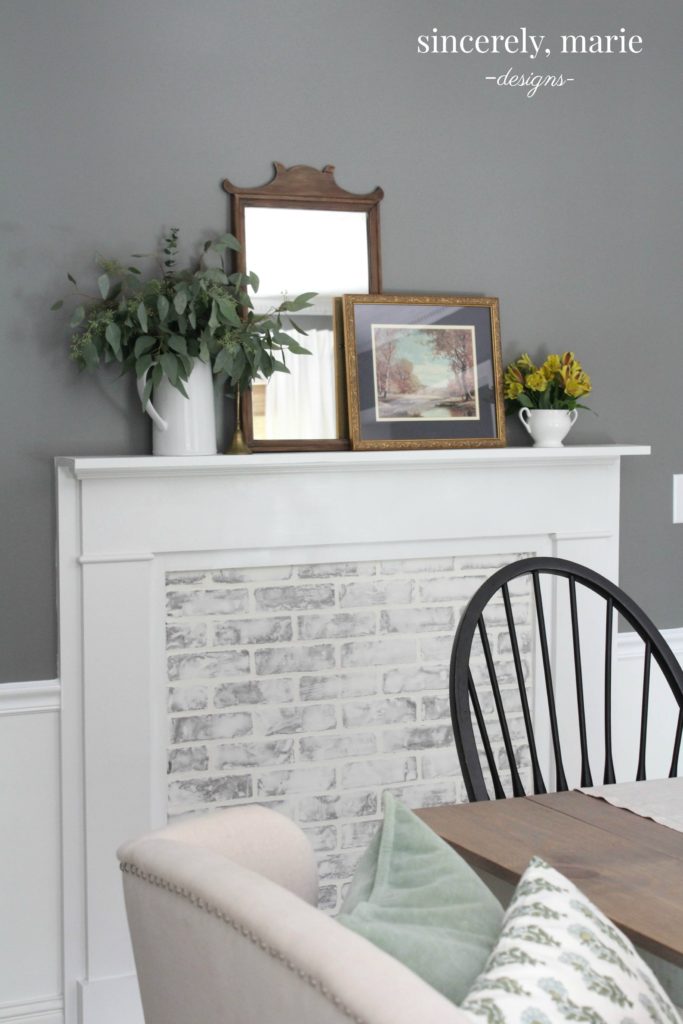
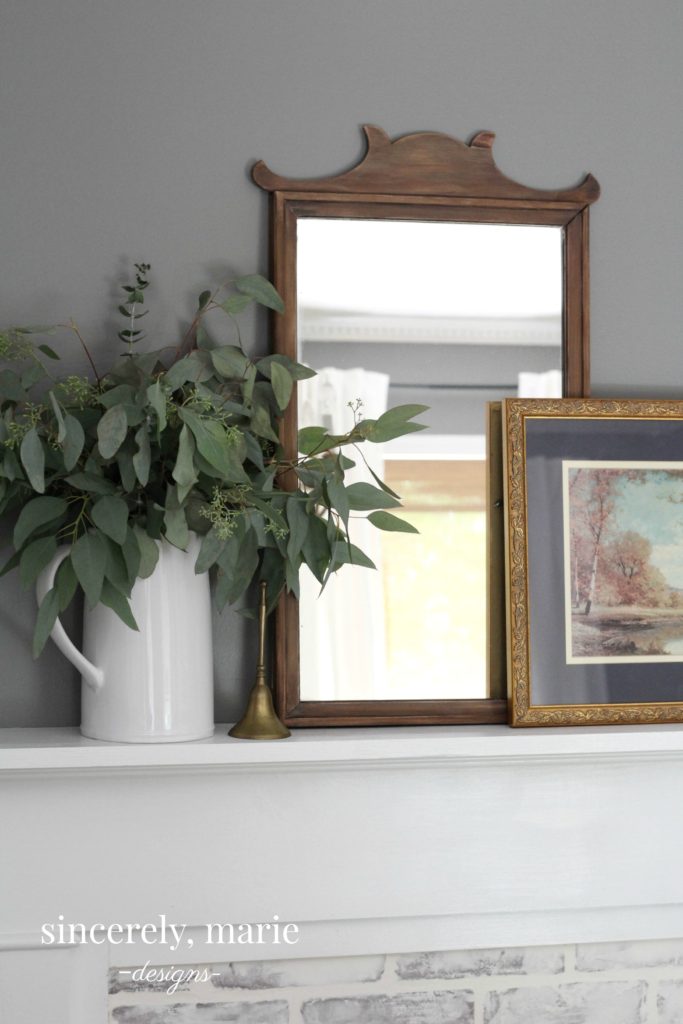
I finally have the perfect place to put my vintage mirror a found months back.
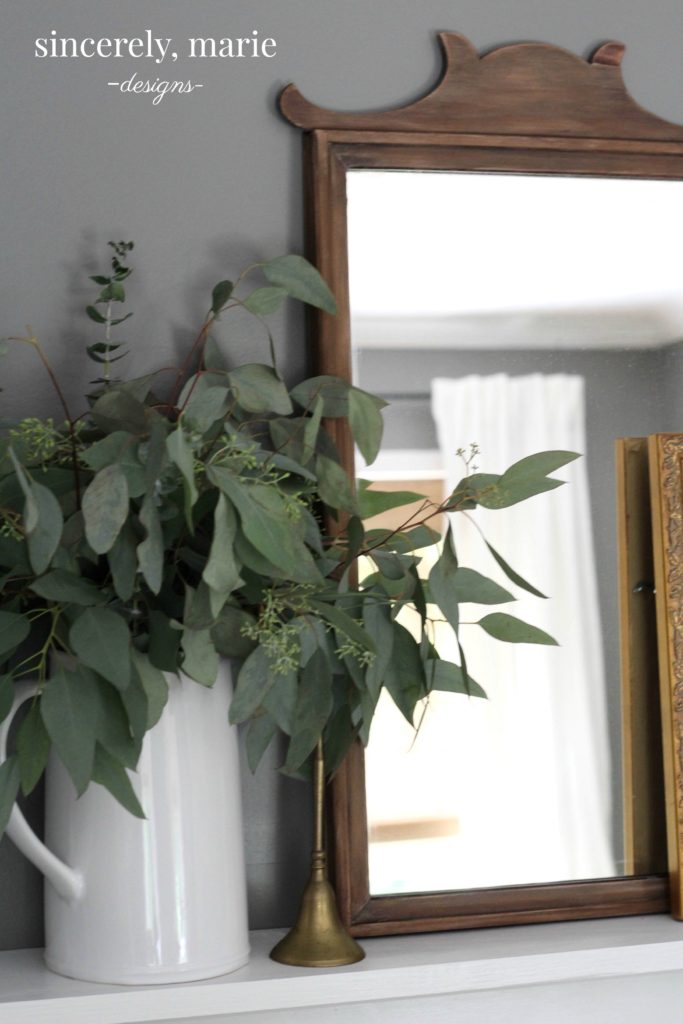
Here’s a little sneak peek of the new chandelier! I can’t wait to share the whole space with you all next week. It has seen a lot of changes in the last month but we did it all under $200!
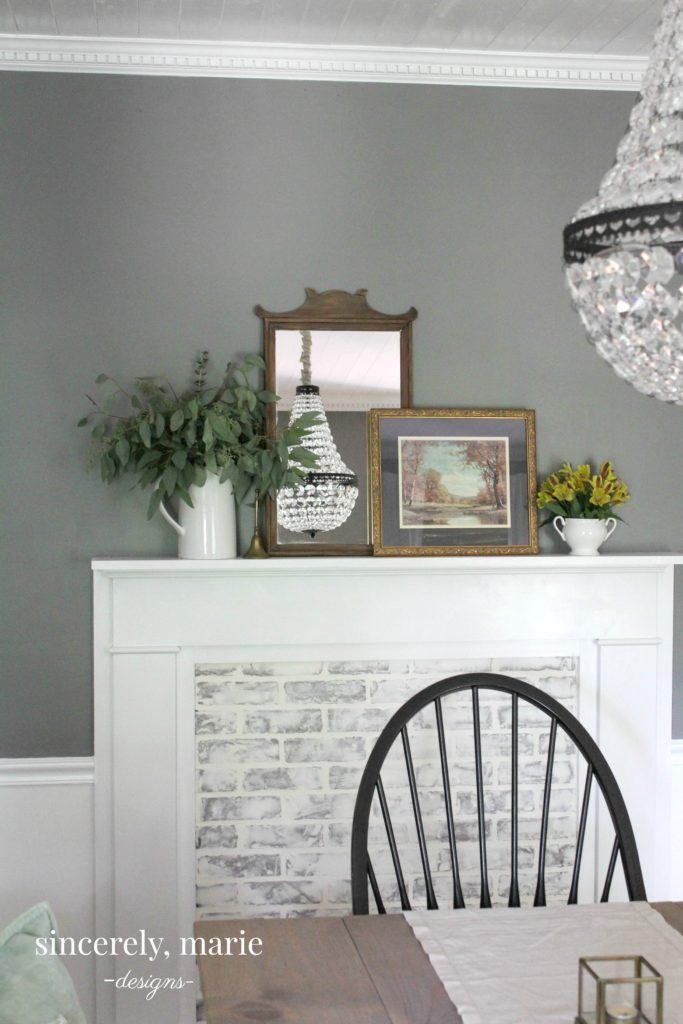
I think the fireplace fills that wall perfectly and it’s such a great touch in the dining room. I hope you’ll come back next week when I share the whole room makeover. I couldn’t be any happier with it. This was such a fun project and well worth the wait.
I hope you all have a lovely week and happy building friends!

-Shop the Look-

It looks so beautiful! Well done. 🙂
Thank you so much, Larissa! Have a wonderful week, friend!
Love this! I am going to try the German Shmear for the first time very soon. Look gorgeous!
Thank you so much Denise! I really can’t believe how easy it was. I can’t wait to see how yours turns out!
Oh my goodness…..it looks wonderful!!! Such a great addition to the room and all within the tradition of your home! I love the antique missor you’ve placed on the mantel, too! Thanks for sharing……
I’m so glad you like it Lanita! I’m so happy I decided to wait and go with the fireplace. I agree, I think it fits the style of our home perfectly. I’ve had that mirror for months and could never find the perfect spot for it. I guess it all worked out! 🙂 Have a wonderful weekend sweet friend.
It looks wonderful! I am crazy about German Smear since I first saw it on Fixer Upper. Last summer we wanted to revitalize my son’s room from being a pre-teen to being nearly an adult turning 19 next month. So we German Smeared a whole wall in his room. Instead of using a red brick panel like you did, we chose one that had more gray and peach tones to match the gray that I planned to paint on the other 3 walls. It turned out amazing!! I posted it on Home Talk if you ever want a peek. I love your faux fireplace. My kitchen needs one of these pronto and it’d give me another opportunity to try German Smear again! Thank you for the wonderful idea for the faux mantle using smear to make the bricked in part look old. I’m definitely going to replicate this at my home!
Thank you so much, Karen! The wall you did sounds awesome. I also love a gray & peach brick. I’ll def. have to hop on over Hometalk. Thanks for stopping by! Have a great week 🙂
I just found your blog and all I can say is wow. I love the fireplace and the brick floors. Looking forward to seeing what you do next. Thank you for sharing your great ideas.????
This looks great and we just did our fireplace and we really love that grey wall color. Can you give us the maker of the paint and the color name? Thanks much
Thanks Jeff! The wall color is Chelsea Gray by Benjamin Moore. 🙂