It’s hard to believe that I’m already sharing my first fall project of the year! While it still feels very much like summer outside, fall will be here before we know it. This is the perfect time to get those fall projects going.
Today, I’ve joined several fellow bloggers, hosted by Krista from The Happy Housie, to share a fall decor idea with you! Over the weekend I finally got around to making a wreath that I have had on my list year after year. This harvest nut wreath is a foam wreath covered in mixed nuts with a muted satin ribbon.
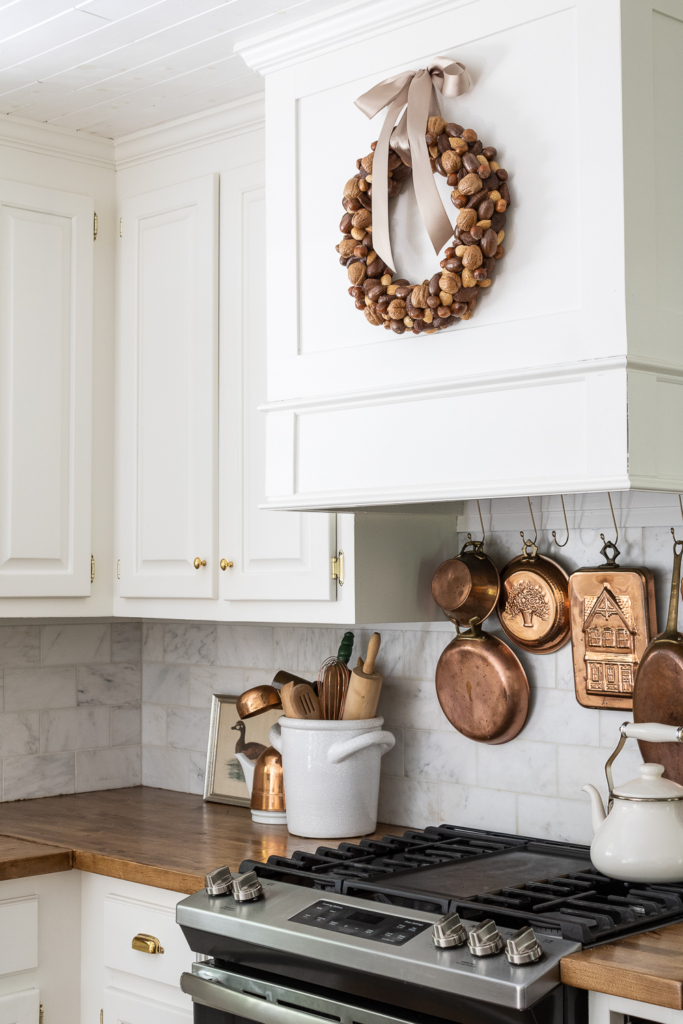
I love hanging a wreath on our hood vent during the fall and winter months. It adds a fun seasonal touch to the kitchen. The past two fall seasons I’ve hung our wheat horseshoe wreath above the range but I wanted something a little different this year to change things up a bit. I prefer to stick with more natural autumn touches, as so many of you know, so I’m loving this mixed nut wreath so much already. It compliments our cream cabinets and butcher block counter tops so nicely and is festive without being out of place with the rest of our home and decor.
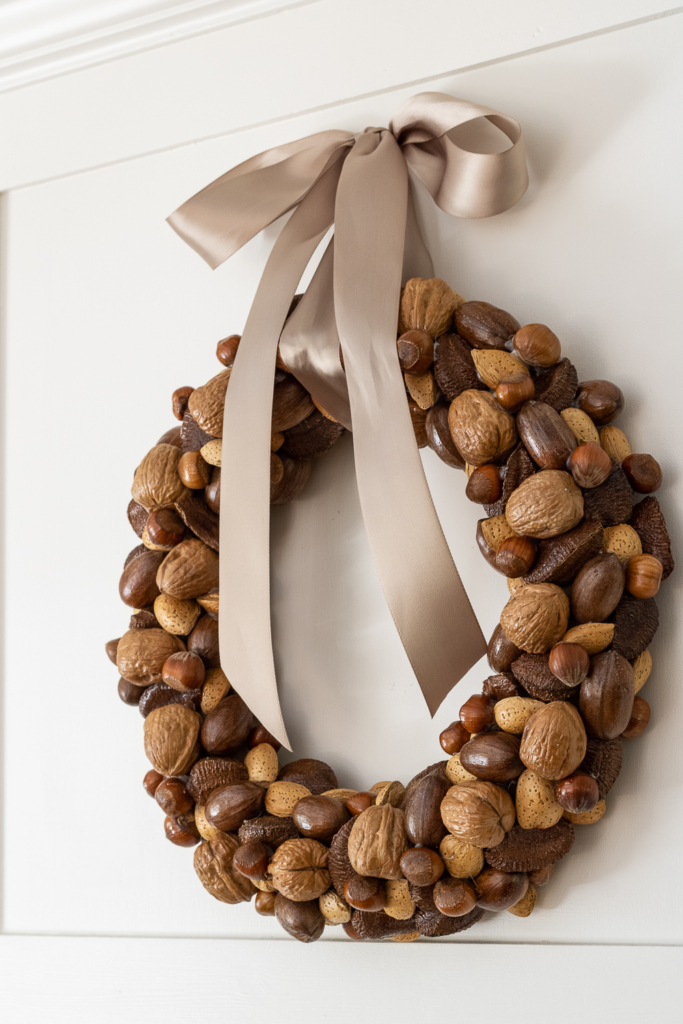
It’s one of the most simple wreaths I’ve ever made and can easily be done in one afternoon. Here’s what you need to make your own.
Items needed:
- A 12” foam wreath form
- Light brown spray paint
- Mixed nuts in shells – I purchased a 5 lbs. bag from HERE. One bag will make two wreaths.
- Hot glue & hot glue gun
- Clear gloss spray paint
- Ribbon of choice
Instructions:
- Start by painting your wreath form with brown paint. I chose to spray paint mine in a light brown color, but you can also use basic craft paint and a brush.
- Once your wreath form is done drying, Attach the mixed nuts to the wreath using a hot glue gun.
- Start with the larger sized nuts and fill in gaps with the smaller ones. Be sure to cover the outside and inside of the wreath as well.
- After you’ve covered the entire wreath and you can no longer see the foam form anymore, lightly spray the wreath with a clear gloss paint. This will give the nuts a nice shine.
- Once the gloss has completely dried, attach a satin ribbon or ribbon of your choice to hang your wreath.
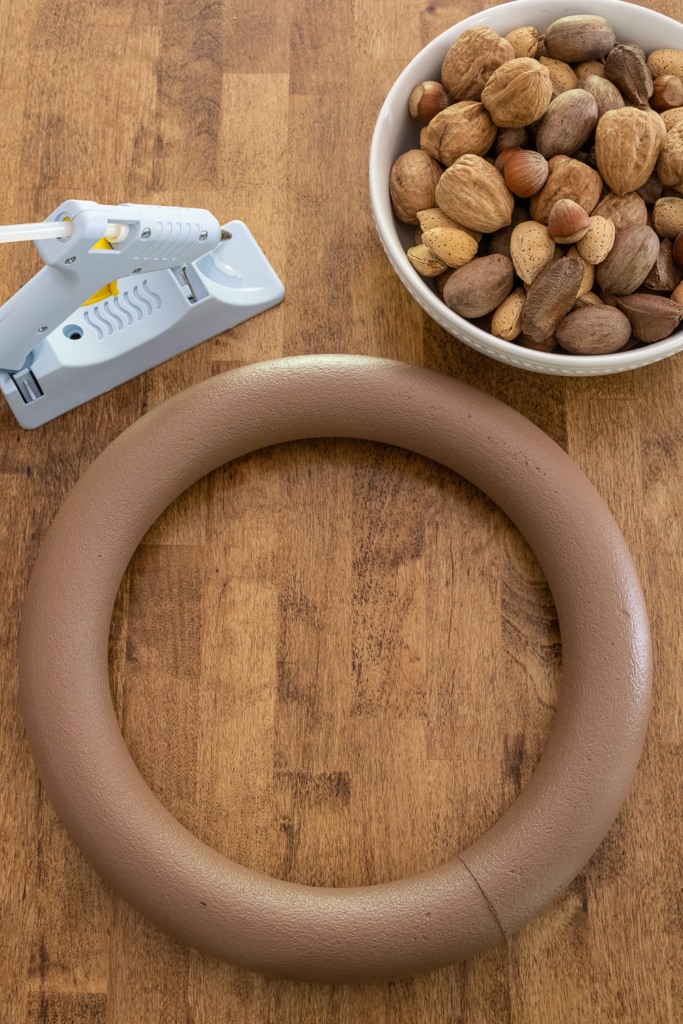
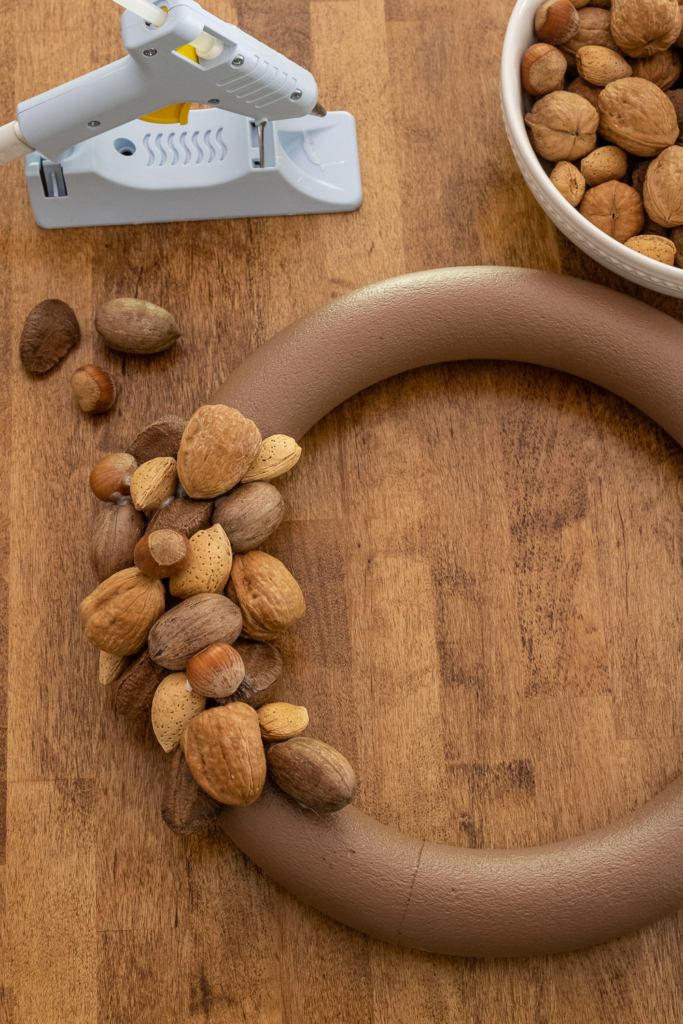
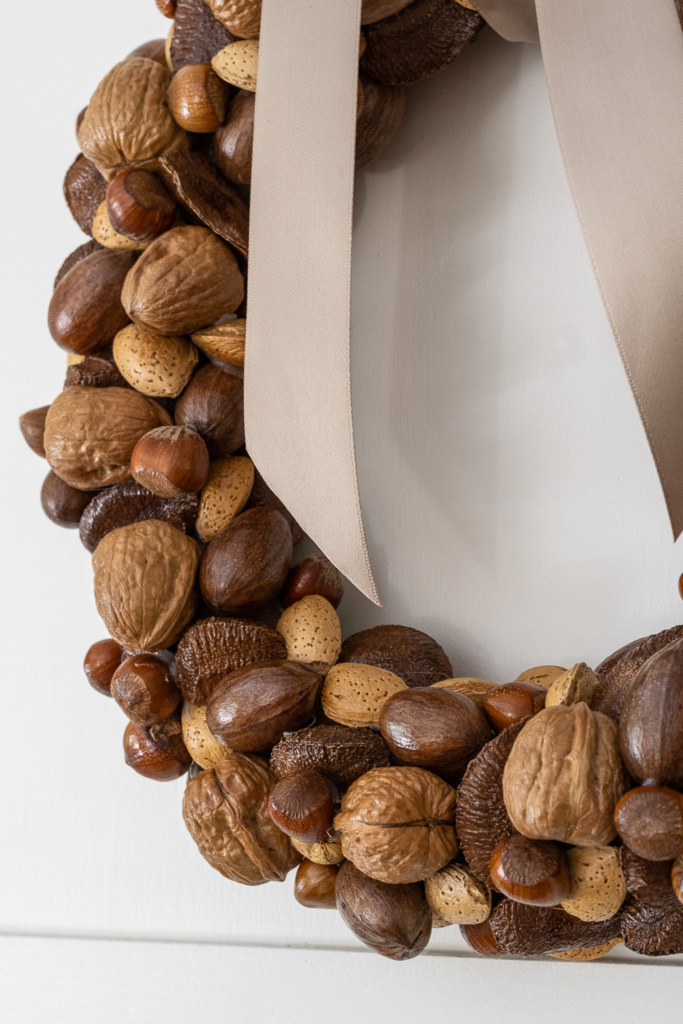
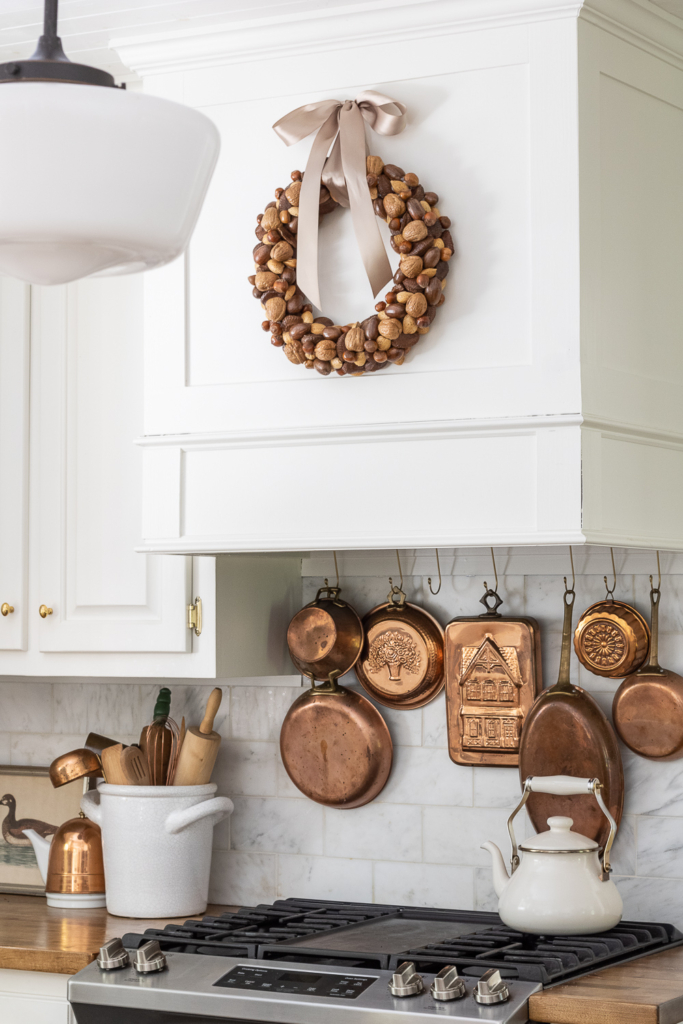
I made sure to keep a close eye on the wreath while the top coat was drying outside. I could just picture all the neighborhood squirrels gathering around, thinking they just hit the jackpot, ha! For that very reason, I would suggest hanging this wreath indoors. I plan to store my wreath in a plastic tub the rest of the year to be sure that it will last for many years to come.
Have you started any fall projects yet? This week I just began to swap out some of our linens with warmer tones and cozier textures. We like to take a gradual decorating approach in our home. A wreath is always a great place to start! Be sure to hop over to the next blog on the hop. There are so many great ideas to get you started in your fall decorating. Have a great rest of the week friends and happy decorating!


This week I’m joining some of my talented blogging friends for the Fall Seasonal Simplicity Series. Today we are sharing our Fall DIY and Craft ideas with you! Be sure to check out all of the beautiful inspiration by visiting the links under the images below.

DIY Textured Vase at The Happy Housie
DIY Fall Frame Wreath at Confessions of a Serial DIYer
Dried Floral Cloche at Deeply Southern Home
Fall Wreath How-to at Hallstrom Home

Fall Dried Flower Arrangement at Modern Glam
Elevated Toilet Paper Pumpkins Free Craft at Tatertots and Jello
DIY Inexpensive Fall Wreath at The Happy Happy Nester
How to Make a Fall Wreath at A Pretty Life

Air Dry Clay Leaf Twinkle Lights at Clean & Scentsible
Embroidery Insects at Life is a Party
Dried Florals for Fall at Lemon Thistle
DIY Feather Wreath at Dans le Lakehouse

DIY Fall Wreath Tutorial at She Gave it a Go
How to Make a Succulent Table Runner at My Sweet Savannah
DIY Fall Harvest Nut Wreath at Sincerely, Marie Designs
DIY Fall Cutting Board with a Cricut at The DIY Mommy


My gosh I love this wreath so much! It looks wonderful in your kitchen against the white and your copper pots…so pretty!
I’ll have to try this! So pretty and would go great with our farmhouse.
That turned out gorgeous, what a fun DIY!
Such a cute idea!
This is just beautiful on your vent hood! The gloss spray really gives it a high end look and enhances the beauty of the nuts! XOXO
Love this! Looks so perfect in your stunning kitchen.
I love the glossy finish on your wreath, and it looks so amazing with your copper pots.
Your nut wreath is so perfect for that spot. Love your copper pots too!