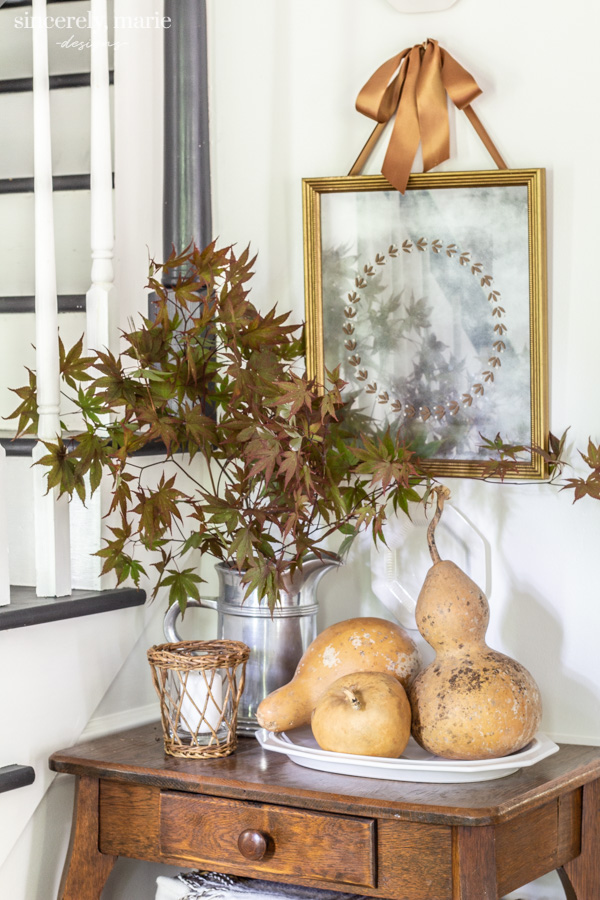
Our DIY vintage mirror with painted wreath is the perfect decor for your home this fall. It’s easy to make, understated and yet so elegant!
It’s hard to believe I’m writing my first fall decor post for the year. This year as been flying by at lightening speed! I have to be honest. I wasn’t super inspired to decorate for fall before I shot the photos for this post. With temps still reaching 90 degrees here, I felt so far from the fall season. This past weekend we got a great gift, 70 degree weather and for the first time this year I stepped outside and could smell the first scent of fall in the air. Even though these cooler temps aren’t sticking around just yet, It gave my decorating heart a boost. I’m thrilled to be sharing today along side some dear friends for our Seasons Simplicity hop hosted by my sweet friend Krista from The Happy Housie!
When it comes to seasonal decorating I prefer simply, natural and understated decor. I love incorporating real foliage, pumpkins and gourds in my autumn decorating. Using natural elements allows you to free up storage and to really live in the present season. We recently planked our foyer’s ceiling and gave the space a fresh coat of paint. I decided to give the wall by our staircase a new look with some fresh decor pieces. With fall right around the corner I decided it would be the perfect place to hang a vintage style mirror.
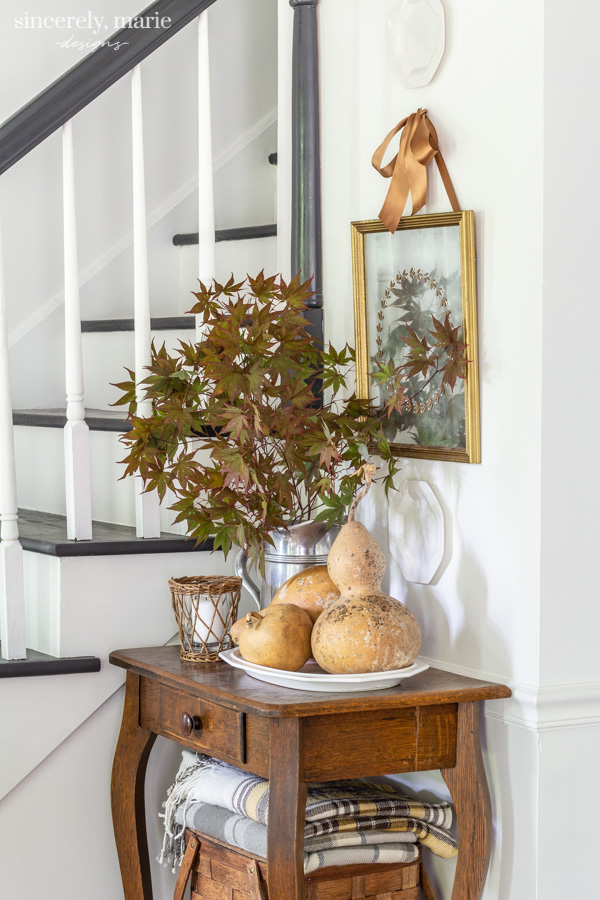
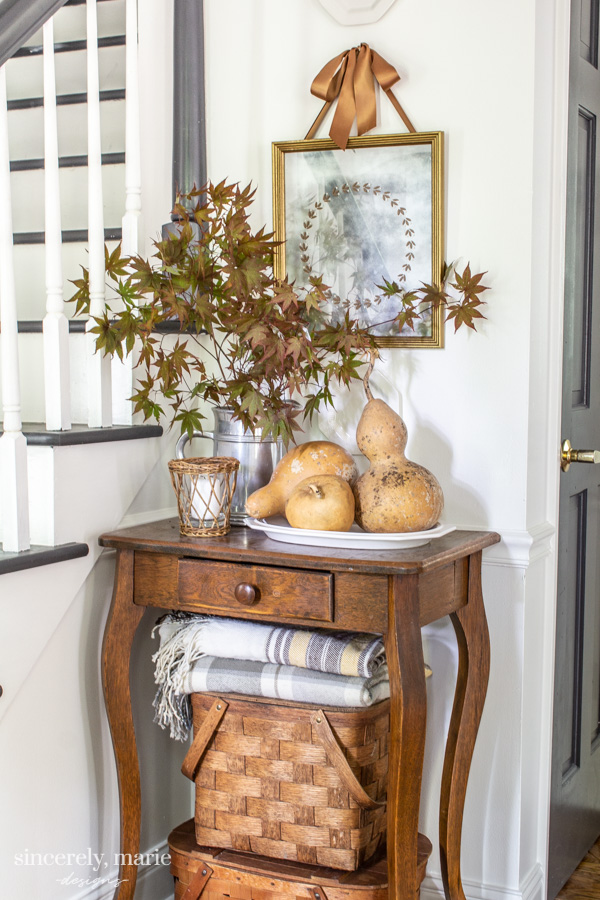
This mirror was made from a dated framed print purchased at Goodwill for just $3. With a little paint and ribbon I have a sweet vintage looking mirror that reflects natural light and gives the room warmth. The hand painted wreath makes this mirror a perfect addition to our fall home.
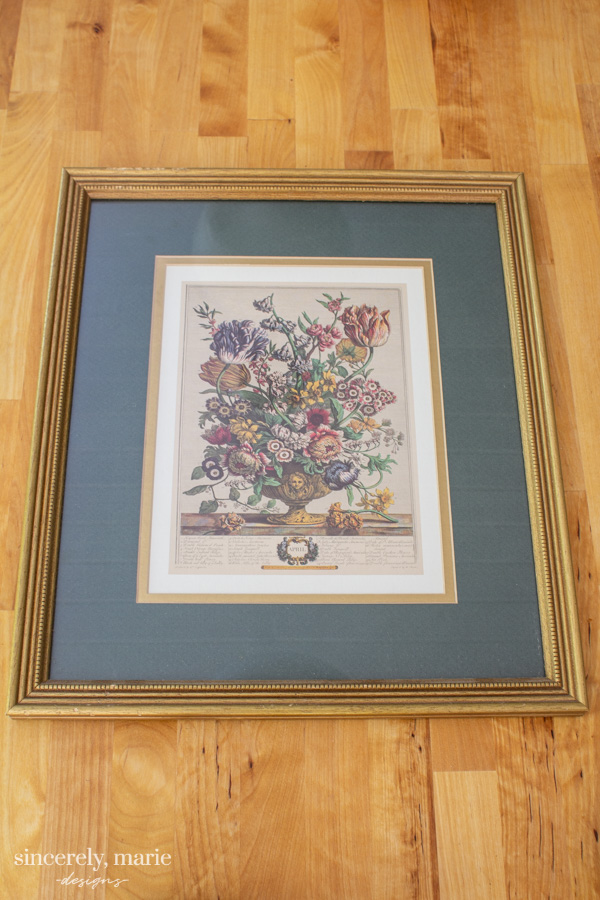
I started with a basic framed print from Goodwill. I actually didn’t hate the vintage print itself but the matting had seen better days. I liked the simple and timeless frame and the grass was free of chips, so it was perfect.
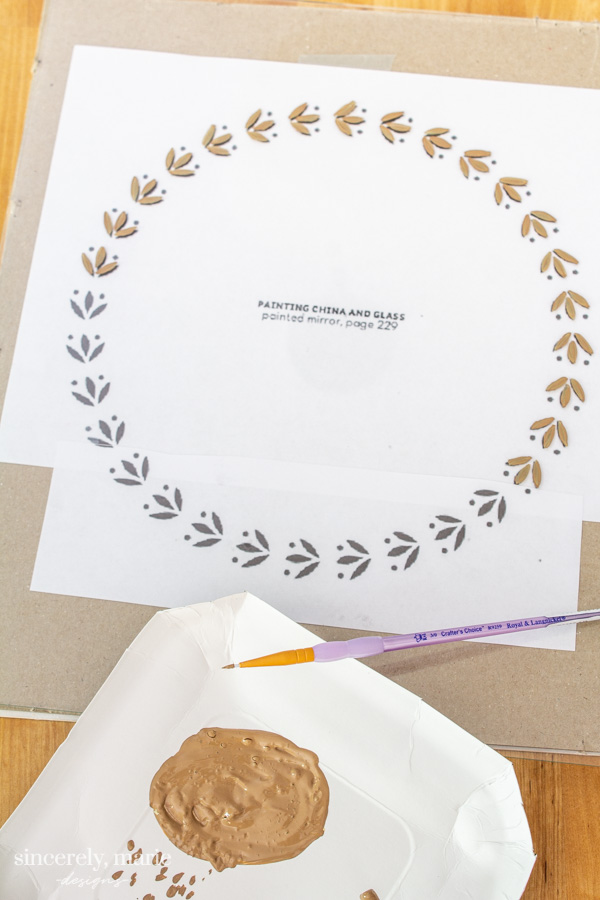
I started by removing the glass from the frame and I cleaned both sides with glass cleaner. Once the glass was clean and dry I used a free Martha Stewart laurel print from her book, Encyclopedia of Crafts as template for my wreath. I did scan the original wreath image and enlarged it by 275 percent.
(If you’re interested in Martha’s version of this project, she uses a regular mirror with a piece of glass cut to size in front of the mirror. She uses decal paper to etch the wreath onto the glass. It’s a different look and process. I like my method a little better because it gave me the vintage look I wanted, required less steps and was cheaper to do. I bet you have an extra picture frame around your house too!)
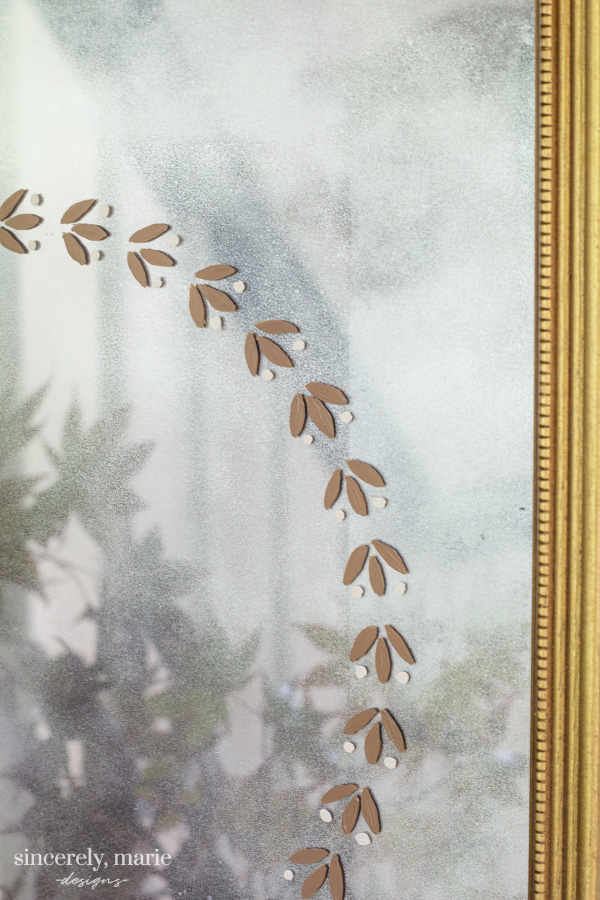
I found the center point of the wreath and the glass and taped the paper template to the back of the glass. Using a paint mixture of 3/4th Martha Stewart craft paint in Sycamore Bark and 1/4th MS – Orangutan Brown for the leaves and MS- Ivory for the dots, I carefully painted the wreath onto the glass. I did a 2-3 coats using a fine tip brush.
You can use any craft paint that adheres to glass in whichever colors fit your home’s decor.
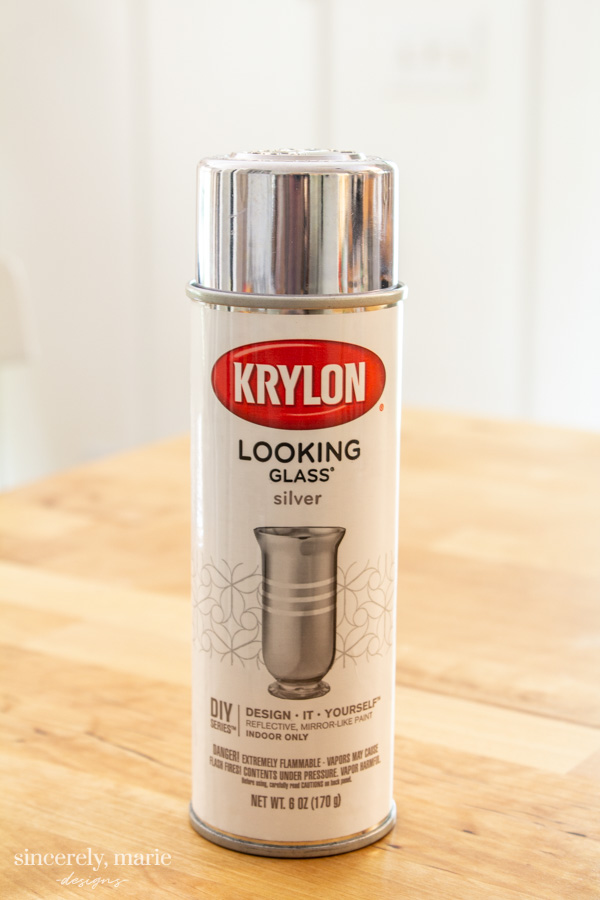
Once the wreath was completely dry I flipped the glass over and painted the other side of the glass in Looking Glass by Krylon. I applied five light coats as suggested on the can and I let it dry over night. **Note** The glass will look hazy on the side that it was applied even once dry but when you flip it over to the wreath side of the glass you have a pretty vintage mirror effect.
Instead of hanging the frame traditionally I used two eye hooks 3″ down from the top to feed the ribbon through.
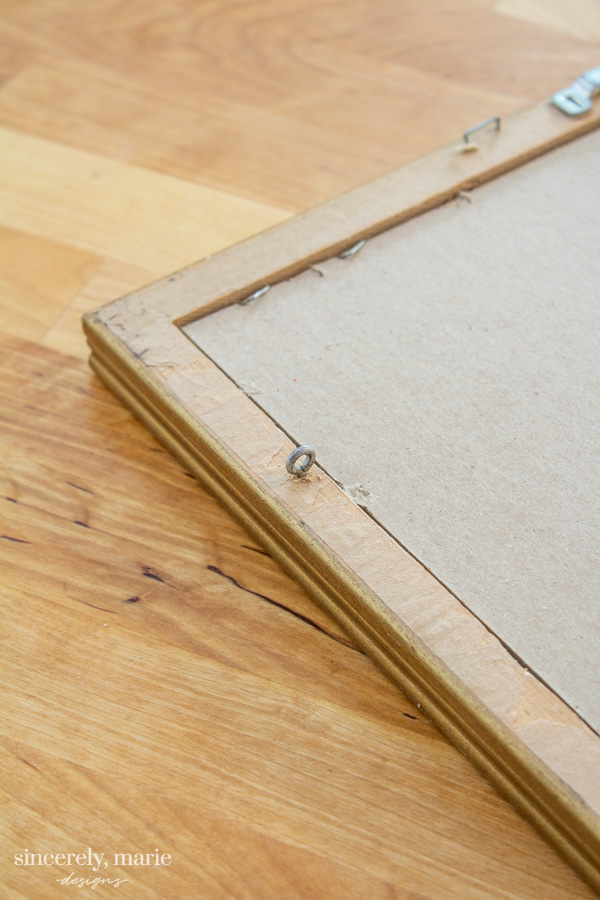
I cut a couple feet of satin ribbon in a rich gold/brown, put it through the eye hooks and tied a simple bow for hanging onto the wall. The amount of ribbon you’ll need will depend on how much slack you prefer for hanging.
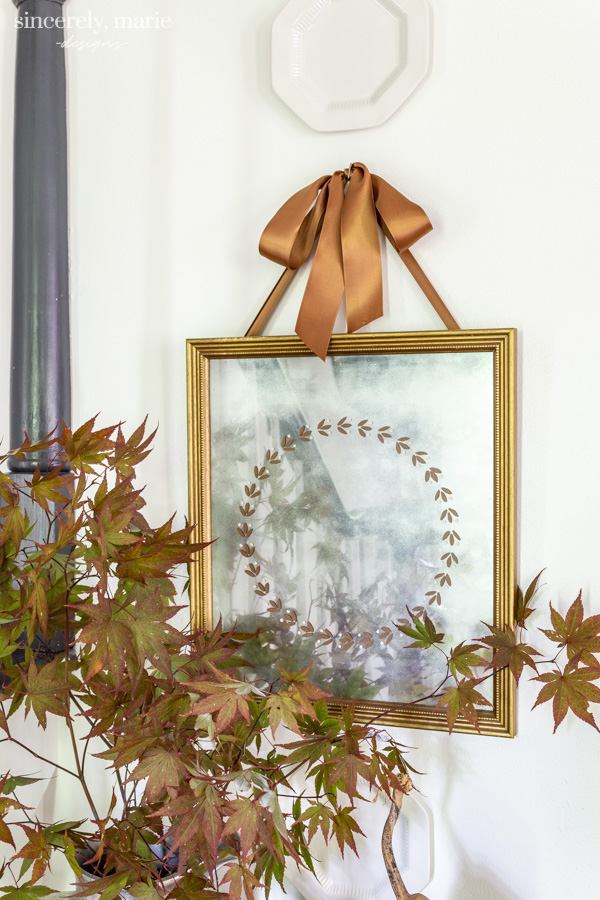
I just love the simplicity of the finished mirror. It’s understated yet elegant and the satin ribbon adds a nice pop of color against our white walls. This would also be a great DIY for the Christmas season using a holiday color scheme instead.
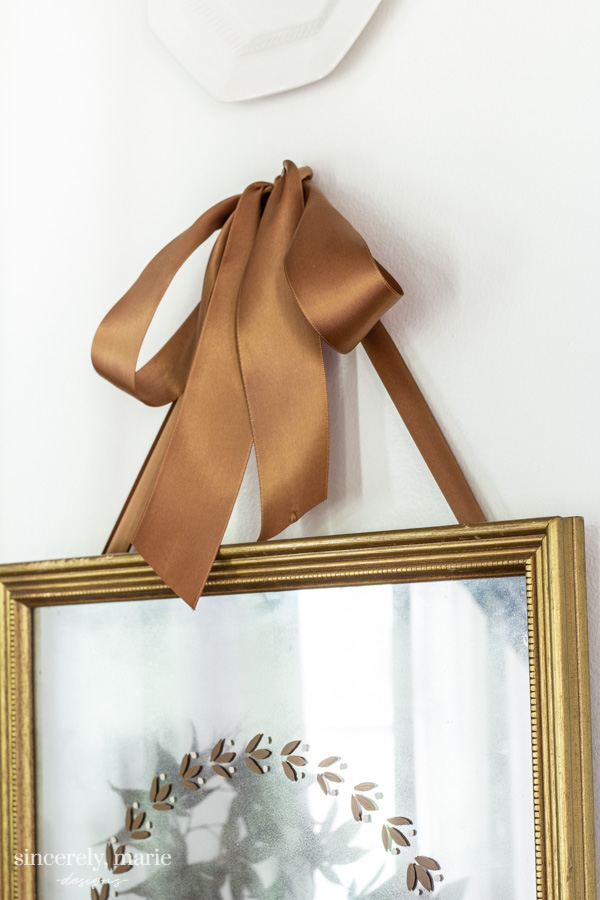
For easy hanging I used a Hercules hook to hold the ribbon. I love them and use them quite often around the house, especially when hanging heavier items.
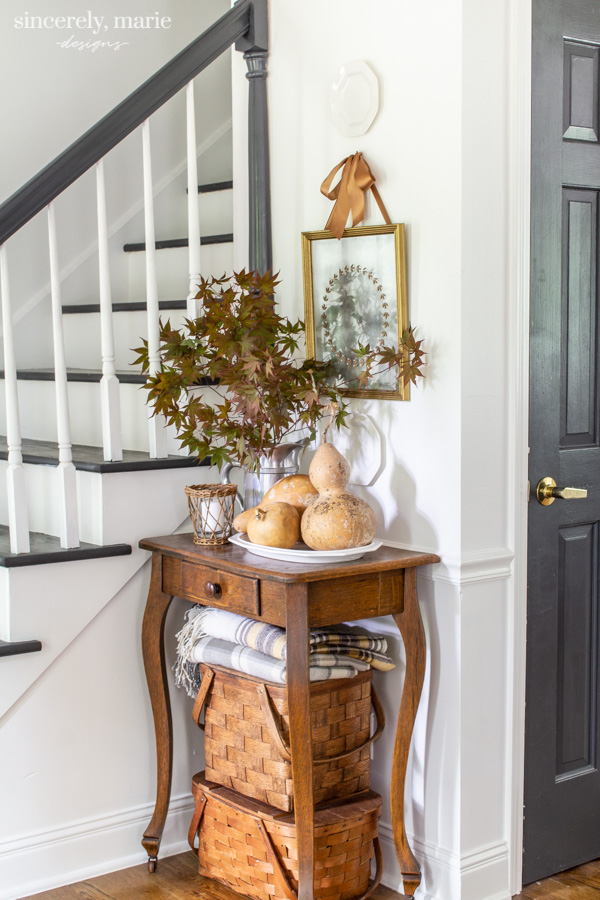
This is the first space in our home that I’ve added fall touches to but I plan to tackle the rest of the house over the next couple of weeks. This cozy little spot has really inspired me to start thinking about the decorating plan for the rest of our home. I hope you’ll join be back here in a couple weeks for the full tour. Until then be sure to hop over to the next blog for inspiration to kick off your fall season!


Modern Geometric Painted Vases at The Happy Housie
How to Make Easy Fall Sweater Pumpkins at Tatertots and Jello
Room Spray for Fall at Modern Glam
Fall Candle Rings at She Gave it a Go
How to Build a Tray at The Handmade Home

Textured Vase at Craftberry Bush
Farmhouse Slat Pumpkin at My Uncommon Slice of Suburbia
Pumpkin & Dough Bowl Fall Centerpiece at The Turquoise Home
Happy Fall Sign at Lolly Jane
Personalized Fall Mug at Jenna Kate at Home

Fall Terrarium Centerpiece at Clean and Scentsible
Black & White Modern Ceramic Vases at Taryn Whiteaker Designs
Fall Chalkboard Art at Happy Happy Nester
Fall Faux Centrepiece at Inspiration of Moms
Monogrammed Vase at My Sweet Savannah

Tobacco Basket Wall Hanging with Flowers at Hallstrom Home
10 Minute $10 Sunflower Garland at a Pretty Life in the Suburbs
Small Wood Projects to Use as Decor at Grace in My Space
Fall Inspired Wood Photo Holders at In My Own Style
Neutral Fall Floral Arrangement at All Things With Purpose

Vintage Amber Glass Candle at Seeking Lavender Lane
Vintage Wreath Mirror at Sincerely, Marie Designs
Fall Acrylic Sign at Lemon Thistle
Wooden Bowl Candle Holder at Cherished Bliss
Blanket Ladder from Copper Pipe Dowels at The DIY Mommy
Thrift Store Basket Turned Fall Arrangement at Confessions of a Serial DIYer


This is so pretty!! The ribbon really sets it off! XO
This is really lovely! And a doable and inexpensive piece!
Question – did you have to cut out each leave/dot on the stencil since it was a printout! I’m not quite visualizing that part. But it is a lovely project I would like to try!
Thank you for the inspiration!
Thank you Barbara! For the wreath I printed it out on my printer and simply taped it to the back of my glass and traced over it with paint, so no cutting needed. I hope that makes more sense.
😊 Ohhh…….So basically free-hand painting with the printout as a guide as opposed to a stencil painting. Thank you so much for your quick response! Now it makes sense to me!😉 I will definitely try my hand at painting!🤞🏻
The mirror is beautiful and I love the whole vignette together.
What a fabulous vignette for Fall!
xoxo
This is just absolutely beautiful Amanda! Your style is always one of my favorites.
What a cute idea and the vintage frame really adds a special touch!
So pretty…it’s amazing what a little paint can do! It looks lovely on your vignette!
Such a great idea! Love the touch of fall it brings!
Wow this is so lovely. Painting that wreath must have been steady work, my hand would have shook lol
Aw thanks Maureen! It honestly wasn’t too bad. I totally understand the unsteady hand. Just take it slow. 🙂
This is so beautiful! What a great idea!
Thank you sweet friend! It’s quickly becoming one of my most favorite DIY’s.
What a beautiful DIY project! You could definitely use it year-round or at least into the holidays. Thanks for sharing on the blog hop Amanda.
I just discovered your post and I love your cozy style. And your vintage mirror is lovely, but where could I find that wreath ?
I look forward to more of your posts