This post was sponsored by efaucets.com
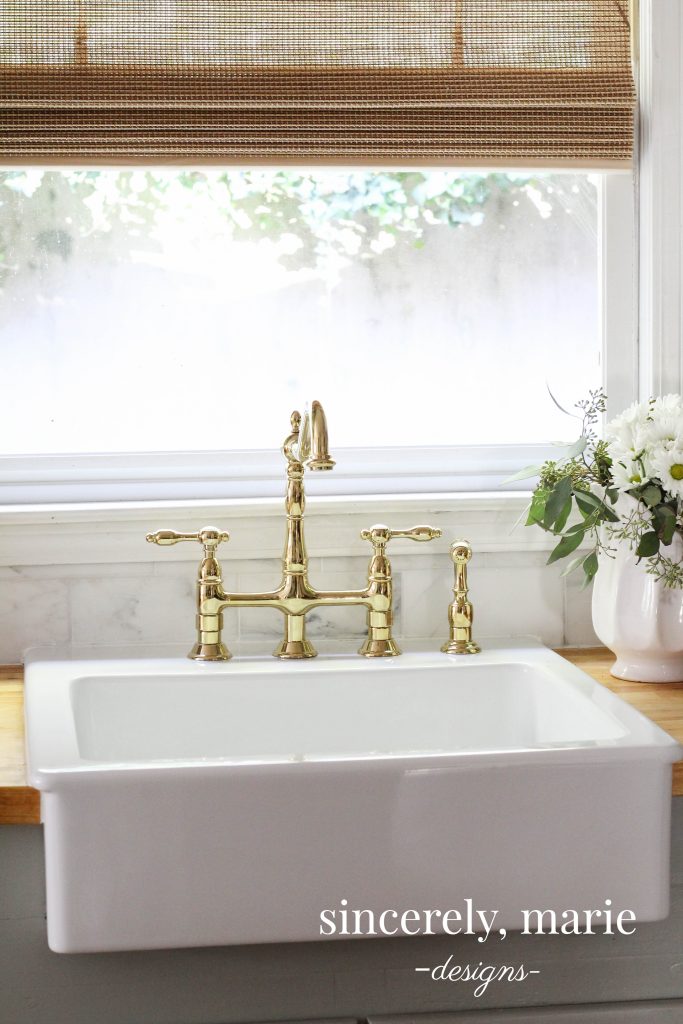
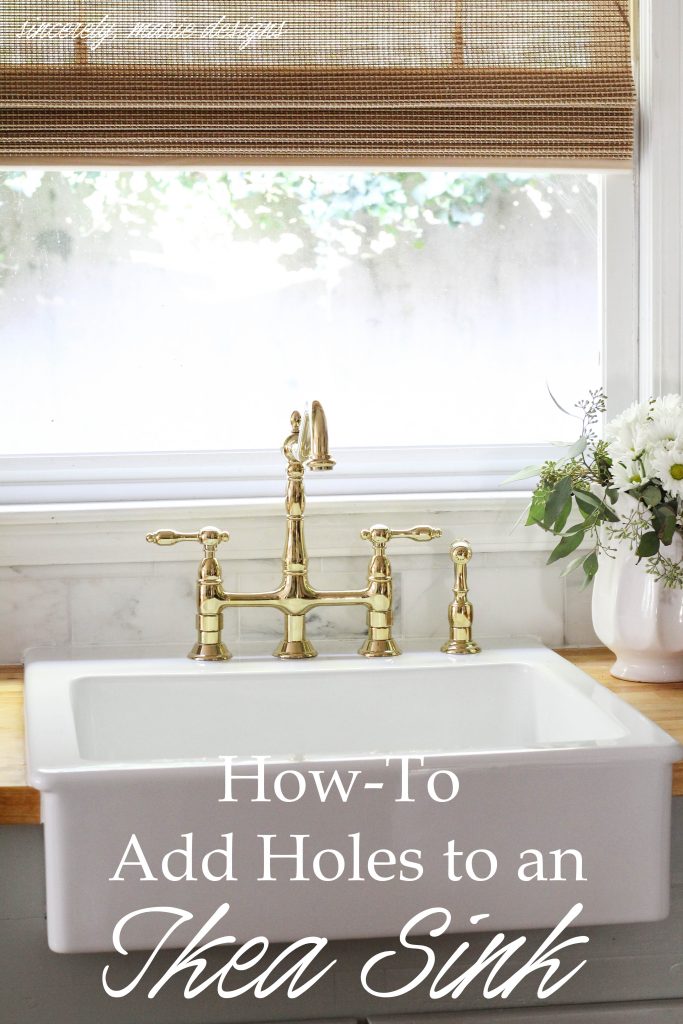
We did something this weekend that I was initially too scared to do. If you read last weeks post you know what that was. We took the plunge and drilled three additional holes in our Ikea apron sink! We installed our sink over a year ago and I have been in love ever since. I had always dreamed of an apron sink with a brass bridged faucet. When we started sink shopping we discovered that Ikea had the most affordable apron sink by far. Even though it only had one hole for the faucet we decided to do it anyways. A little discouraged I shopped for pull-down faucets and found one on Amazon that has worked great!
Over the last few months we’ve been wrapping up our kitchen renovation and my heart still longed for a bridged faucet. After faucet shopping, again I decided to pull the trigger and let J try his hand at adding those additional holes. The faucet I chose required three extra holes and to say I was nervous about cracking the sink would be an understatement. Thinking about it now it seems silly. We’ve drilled through porcelain tile before, which is very similar. Here’s what we did.
We purchased a diamond drill bit set and made sure to follow the directions exactly.
This post contains affiliate links. You can read my full disclosure here.
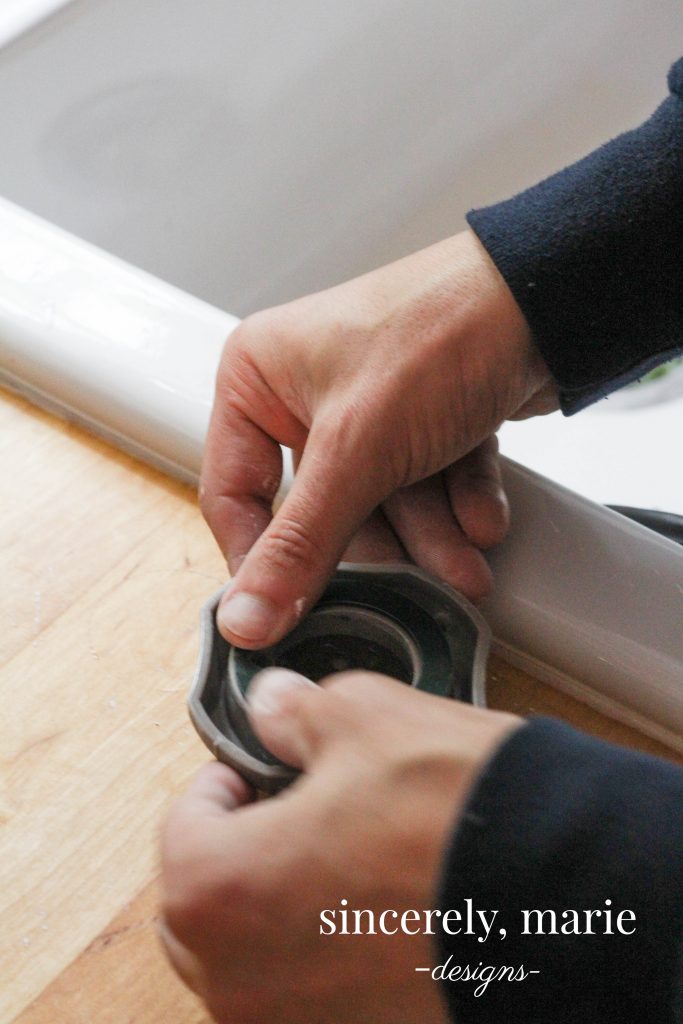
It was beyond easy. Just add the adhesive rings to the bottom of the guide and sink it to the sink where you’ve marked your holes. Those will vary sink to sink.
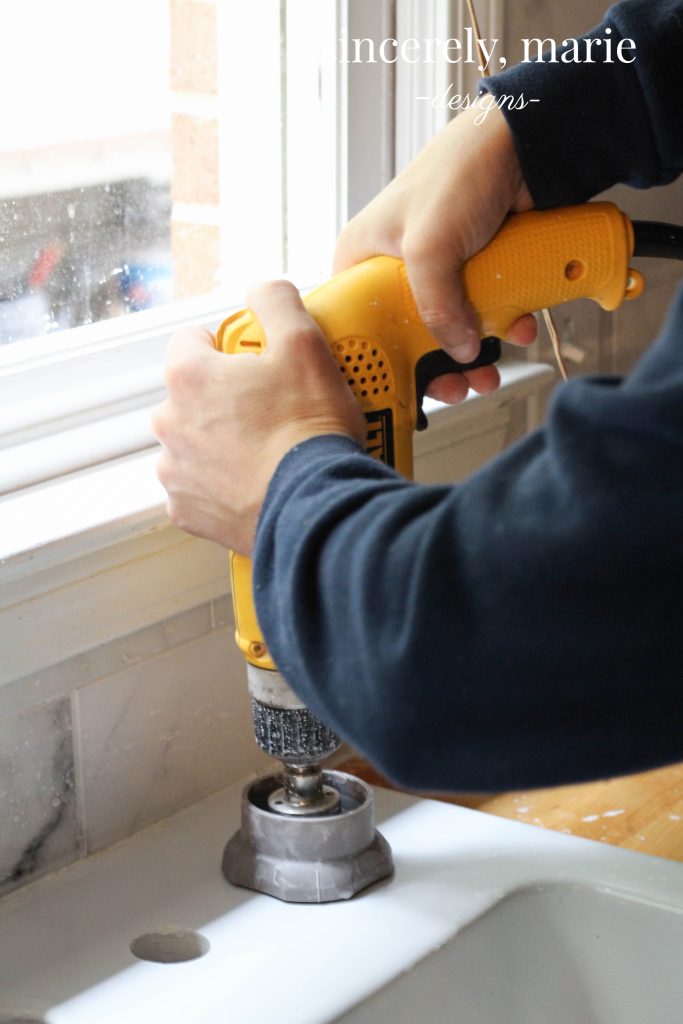
You fill the mold with the noted amount of water. We used our corded drill because it’s a bit more powerful than our cordless drill.
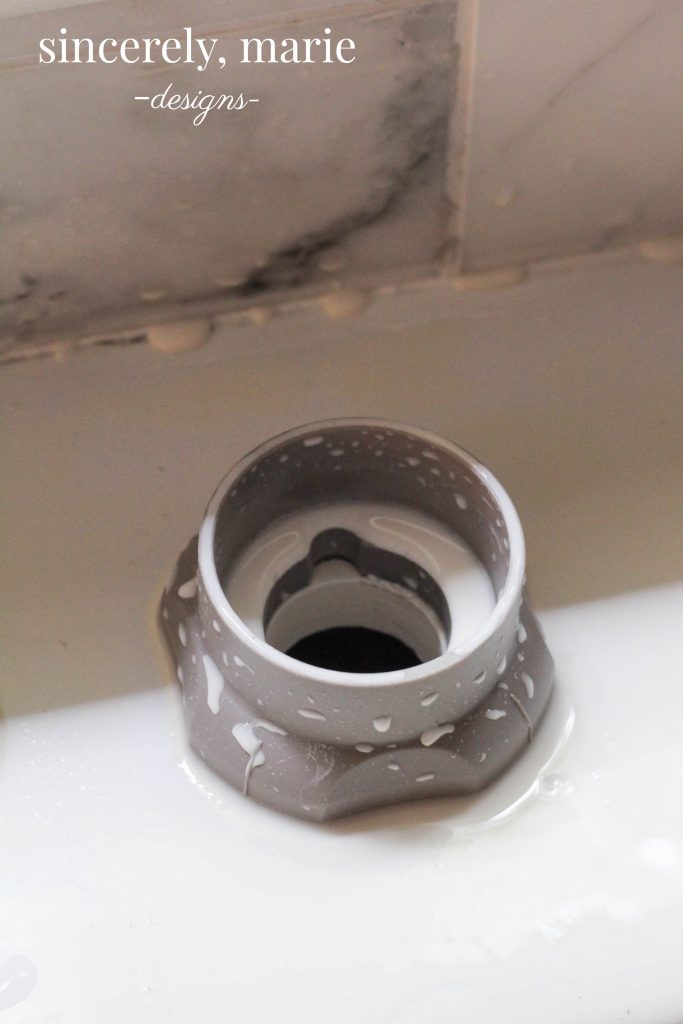
Look at that! It cut through like butter.

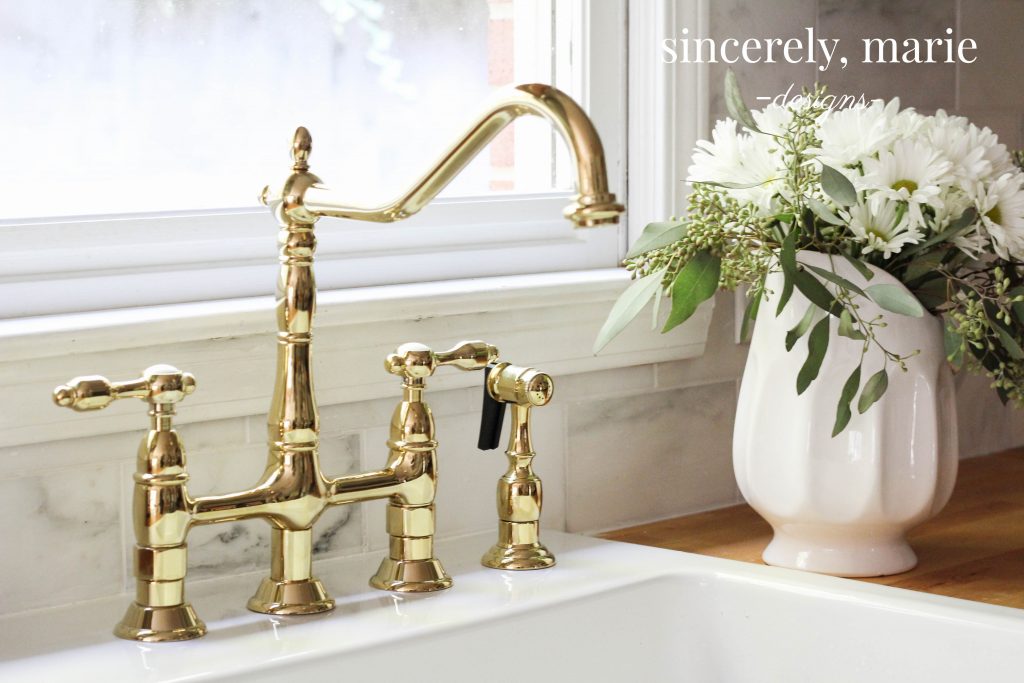
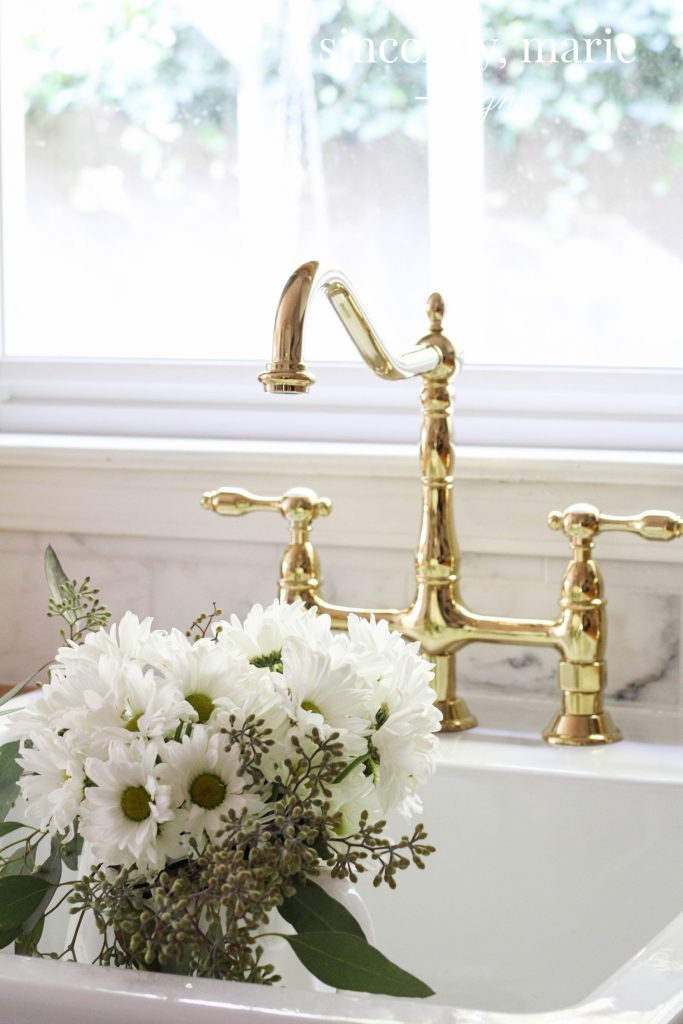
Isn’t she pretty? I’m referring to her as a she because well, it’s quite elegant! I chose the Kingston brass bridged faucet. I’m completely smitten! I don’t think I’ve ever wanted to do the dishes but you know I just have too after J got it installed.
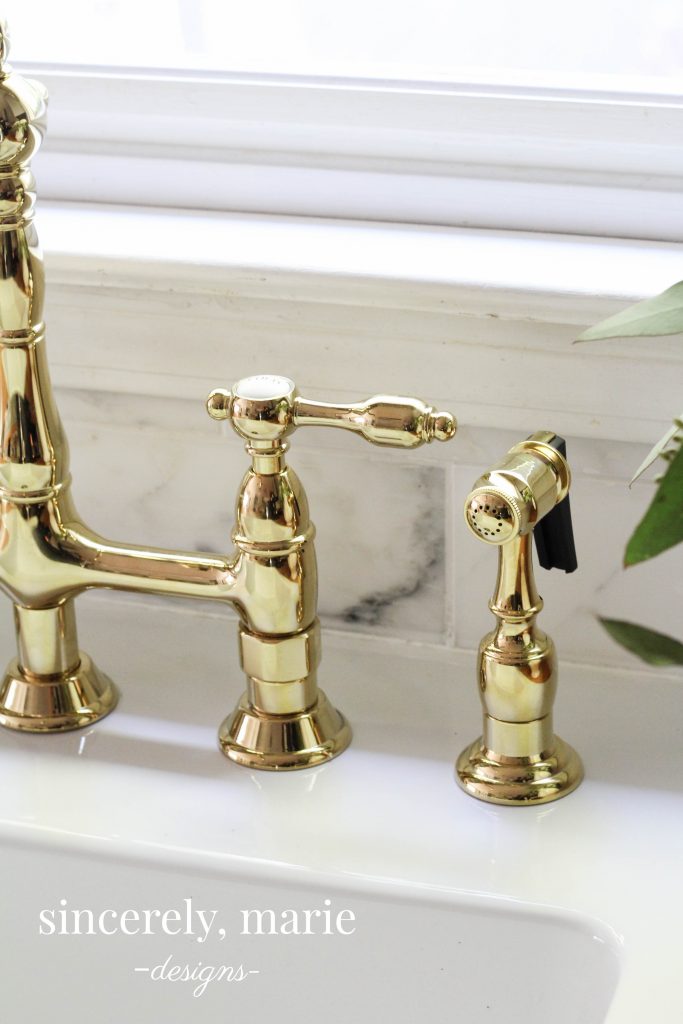
It has the prettiest little sprayer I ever did see!
I’m so happy we took the leap and decided to go with my heart. The brass faucet is exactly what I wanted and the whole process was so simple and easy. If you have an apron sink from Ikea and would like to add more holes I say go for it! You wont regret it.
Make sure to stop by next week. I’m going to be sharing our finished kitchen and breakfast nook and I couldn’t be more excited!


Hi, how is your Kingston faucet holding up? I’ve been eyeing them up but not sure about that name brand..
Thanks so much
Hi there,
I know this is an older post but I wonder if you’re able to find a link to the drill bit/assembly you used? It looks like the link in the post directs to something different. SO grateful to have found this post – it’s exactly what we’re hoping to do with our Ikea sink next week!
Thanks so much, Julianne
I would like to know as well which drill but set because it’s says it’s not available anymore to see on amazon.
Hello! Do you have updated affiliate links for the items you use? Thank you! This is exactly what I am looking to do.