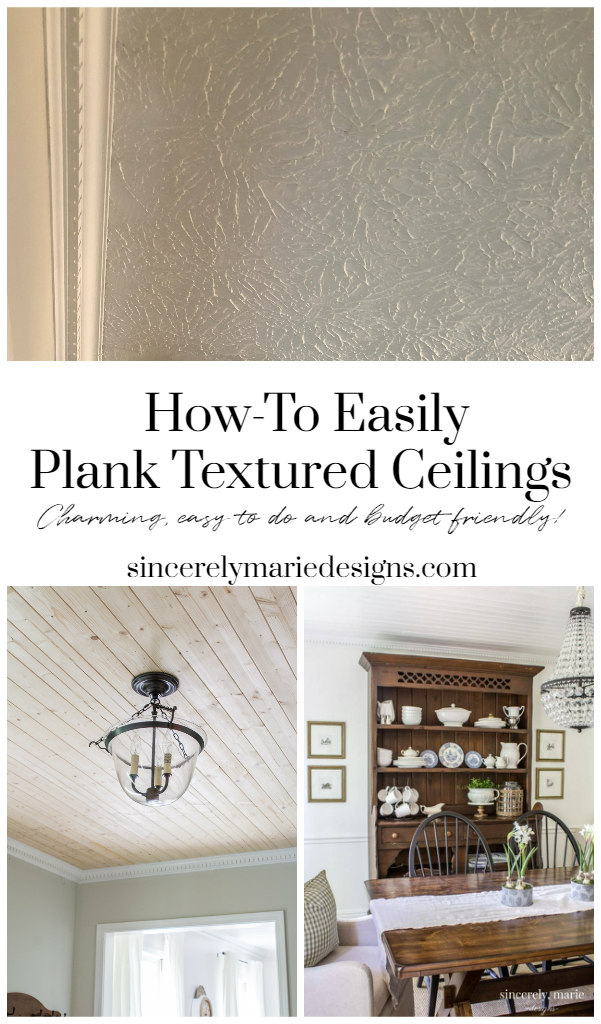
Hide those ugly textured ceilings easily with planking. Here’s our simple how-to for planking a textured ceiling that any beginner can tackle!
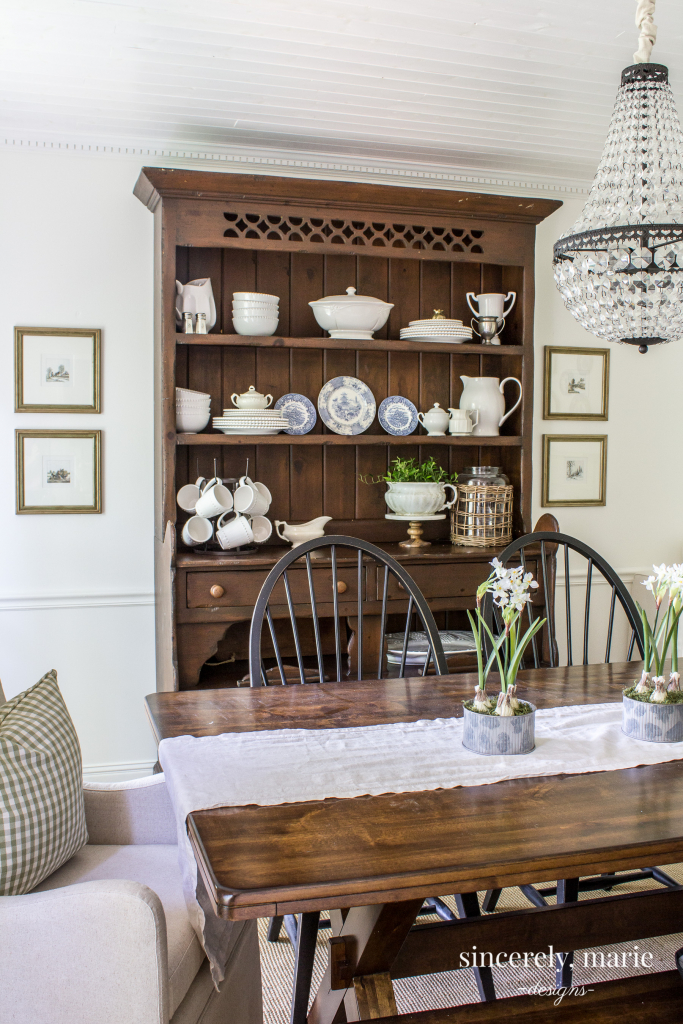
Planked ceilings, they’re charming, easy to install and give any space a big bang for the buck! We planked our first ceiling not quite four years ago in our dining room and haven’t looked back since. When we bought our colonial it had not popcorn but textured ceilings. I’m not a fan of either so we’ve been slowly planking over them. Not only is the wood planking easier to keep clean but it’s also very in keeping with our colonial style home. One thing about old homes that I’ve always loved is their use of planking and bead board on ceilings. There’s just something so welcoming and inviting about it not to mention how timeless they are.
We thought about scraping all of our ceilings essentially but if your ceiling is textured vs. popcorn like ours were scraping isn’t quite as easy. It can be done and we’ve actually done before but there’s a lot of sanding and dust involved. If you’re not the best at dry wall work it can prove to be a bit frustrating. We quickly decided that planked ceilings were the way to go. Not only do they look great, they’re easy to do!
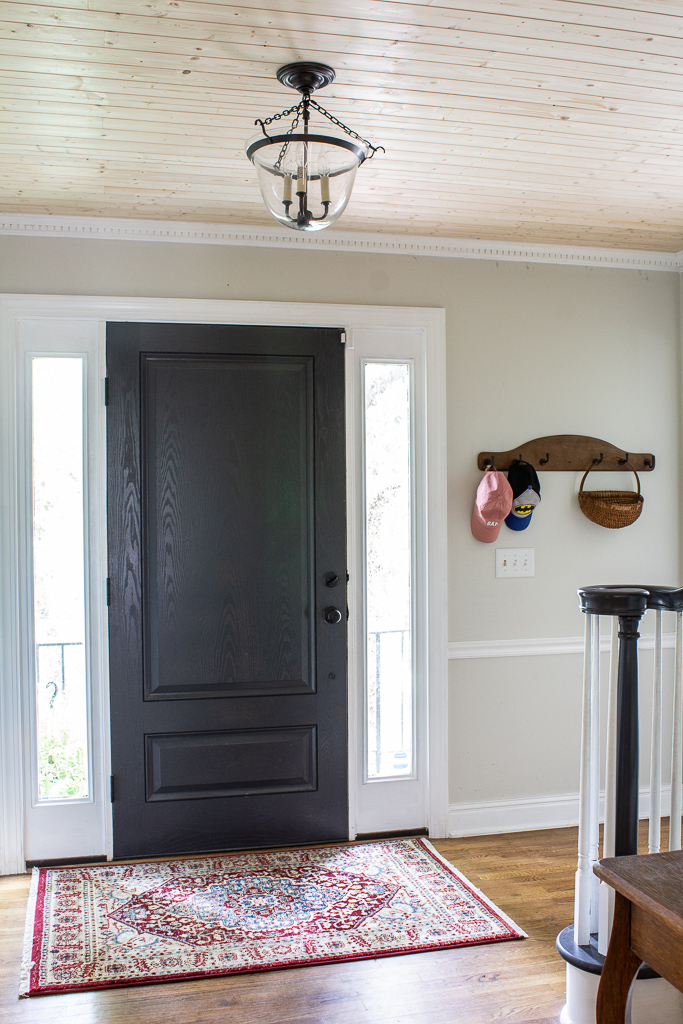
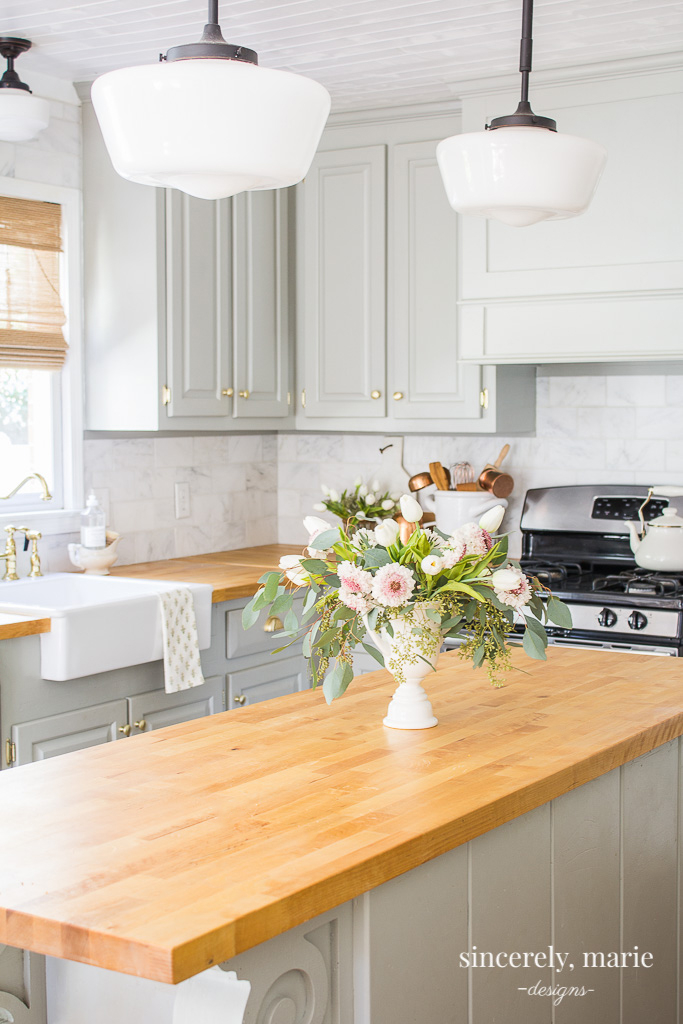
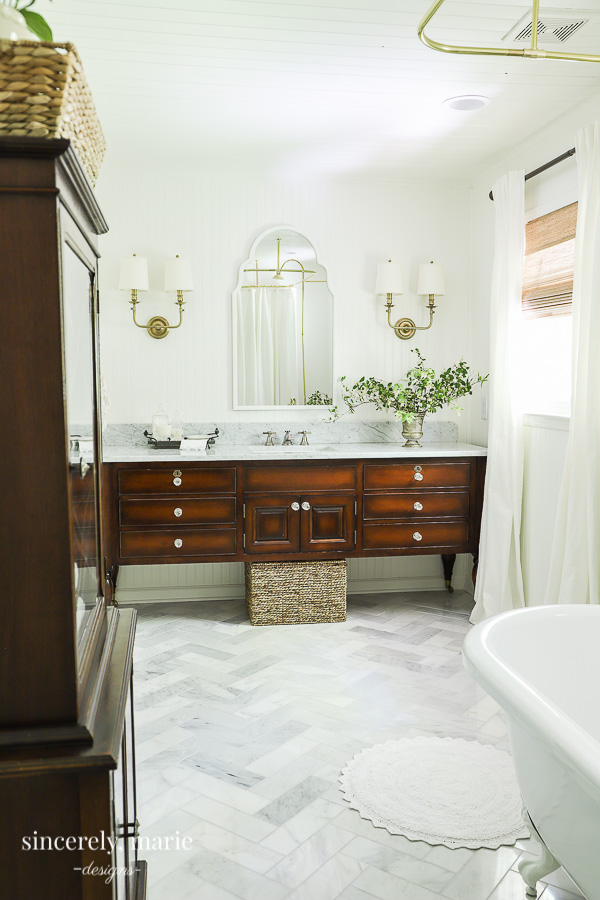
Our most latest planking job is in our foyer. This past weekend we finally go it up and all we have left is to paint it. We’ve also installed planking in our kitchen, dining room, master bathroom and laundry room.
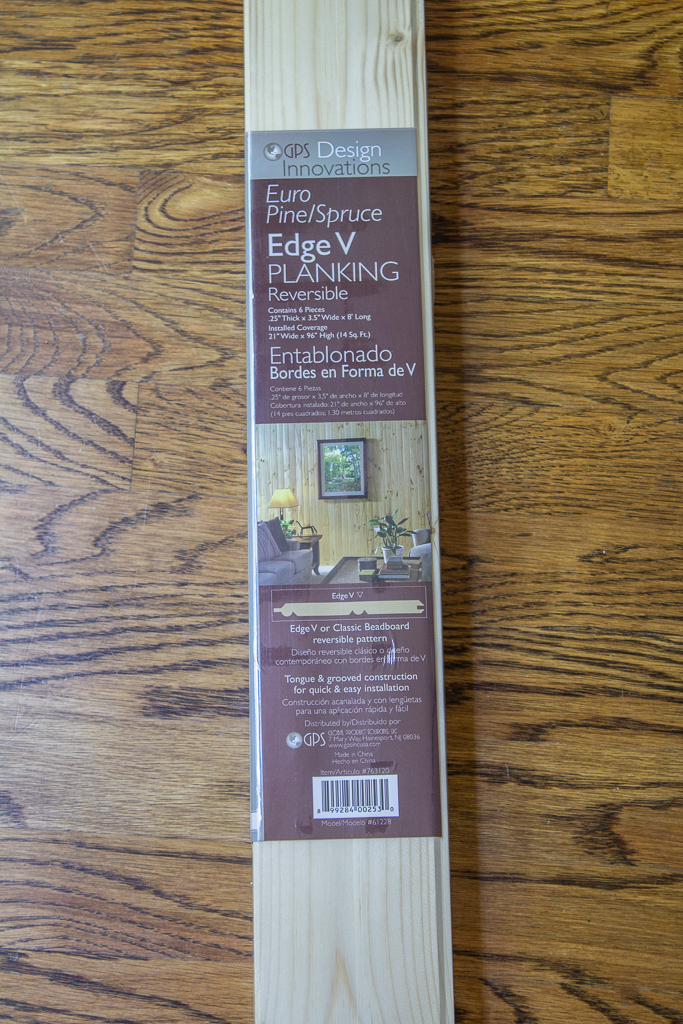
Believe it or not, this is my first time writing about it. Why it’s taken me so long to share I have no idea! There are a lot of tongue and groove products out there. Some people even use 1/4″ plywood cut into long strips. For the ceilings on the main floor in our home we wanted to use an authentic tongue and groove. In each room so far we’ve uses a product called Edge V Planking from Lowes. It’s not as cheap as using cut plywood but it’s also not the most expensive planking product. One side is plain and smooth and the opposite side if bead board. You’ve go two options with this one friends! They come 8′ long and each pack covers just over 14 sq. ft.
Here’s a look at our foyer’s ceilings before. I apologize for the sad phone shot but you get the picture. On the left you can see where I started to scrap the ceiling. I actually managed to scrap the whole room before I decided to keep things flowing in the house and plank it like our other rooms. Ideas and plans change and sometimes you just have to go with it and not think about all the time wasted scraping, ha!
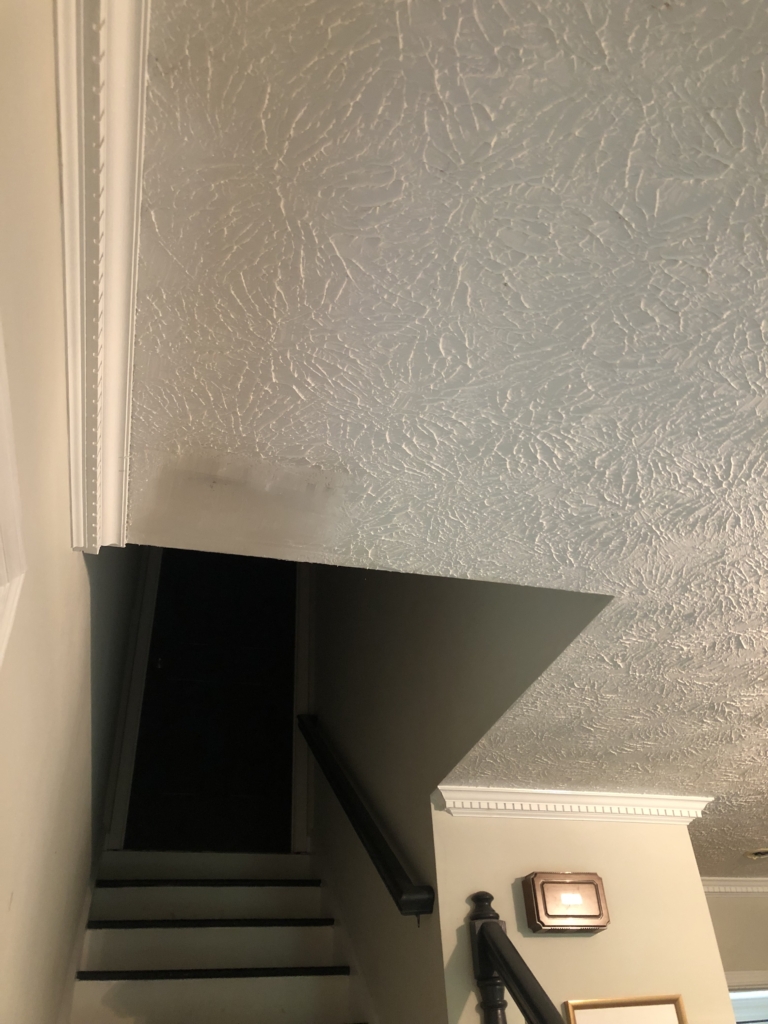
Note – this planking can be installed right over textured ceilings. In our other rooms that’s exactly what we did and it’s held just fine!
Here’s what you need –
- Tape Measure
- Chalk Line
- Stud Finder
- Miter Saw
- Jigsaw
- Nail Gun & Air Compressor
- Brad Nails
- Rubber Mallet
- Caulking Gun
We began by carefully removing all of the crown molding. Next step is to locate the studs or floor joist in the ceiling using a stud finder. You’ll want to mark them using a chalk line. This will be where you’ll want to nail in each plank.
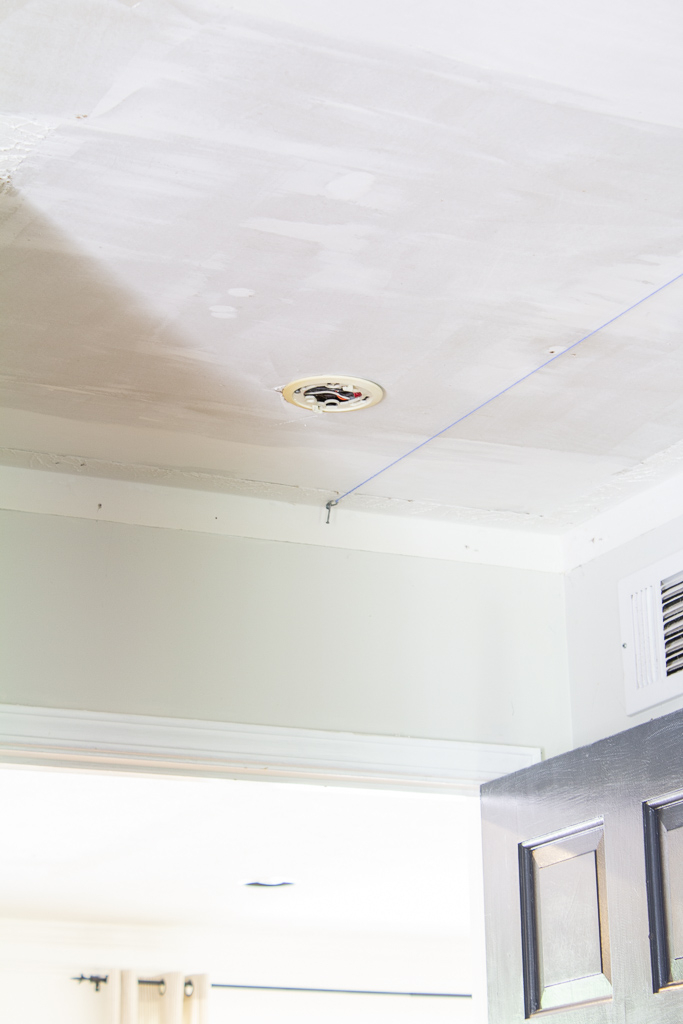
It’s very subtle in the photo but you can see the blue chalk lines that we marked. You’ll run your planking across your chalk lines starting with the wall your prefer. In the kitchen and bathrooms we used not only nails but liquid nails as well. We haven’t had any sagging issues with the room that we didn’t use liquid nails in so for the foyer we chose to just nail it. Again, that’s up to you.
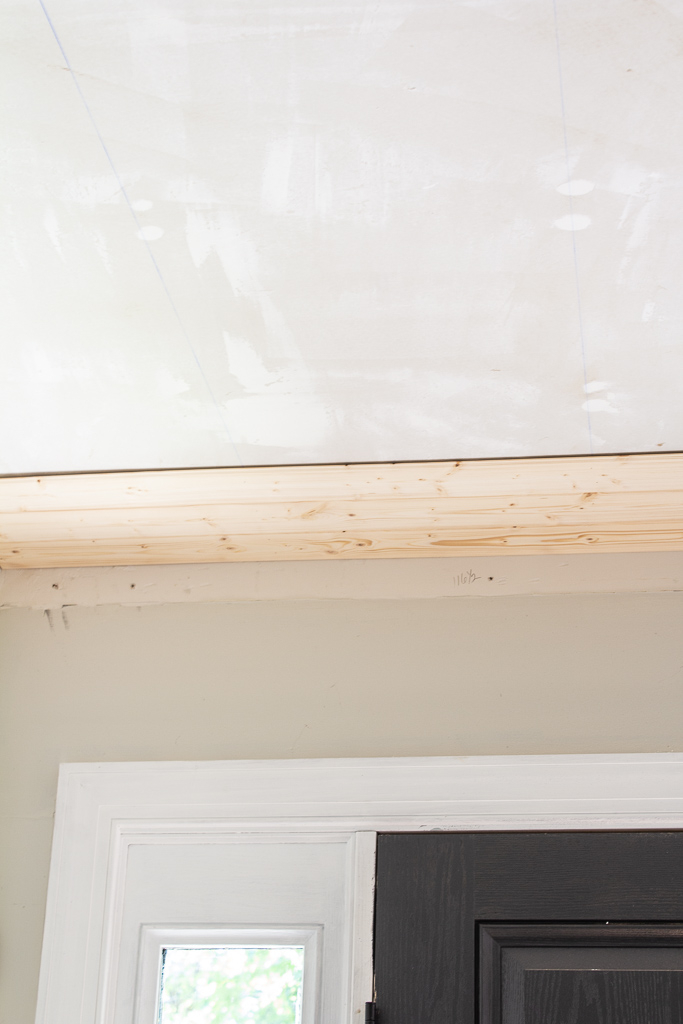
We installed the planks tongue facing out. I don’t know that it really matters though. You’ll start with your first board making sure that it’s square on the ceiling and then cut and install each board after that. Make sure to stagger your joints so that they’re not all on the same side of the room.
You’ll want to leave a small gap around the outside edges for possible swelling. We left about 1/4″ gap around the room. Crown molding or finishing trim you choose will cover this. This project is much easier with two people. Sometimes getting the boards snapped together takes a little effort. They don’t always like to fit together the first try. This is where a small piece of scrap planking and a rubber mallet come in handy! Tapping lightly will ensure that the boards are a snug fit.

You’ll need a jigsaw to cut around light fixtures and vents. We just hold up our next board and use a pencil to draw a cut line. Once you’re finished installing your planks, nail all your trim back up and caulk all the cracks. You’re welcome to fill in any nail holes or do like we do and leave them. Once the ceiling is painted they’re hardly noticeable at all but that’s totally up to you.
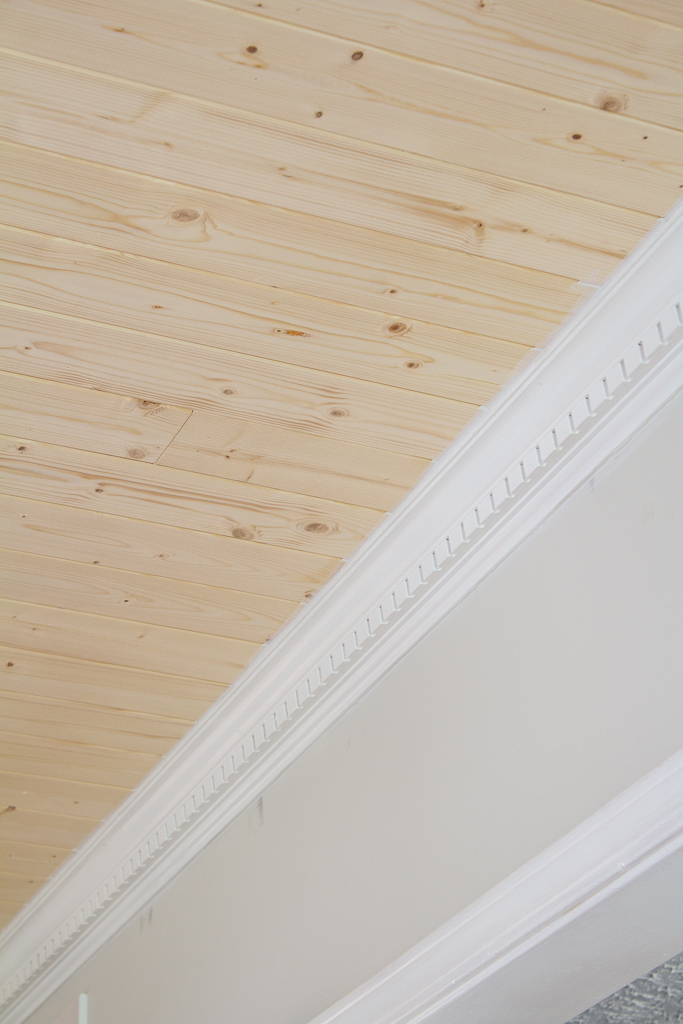
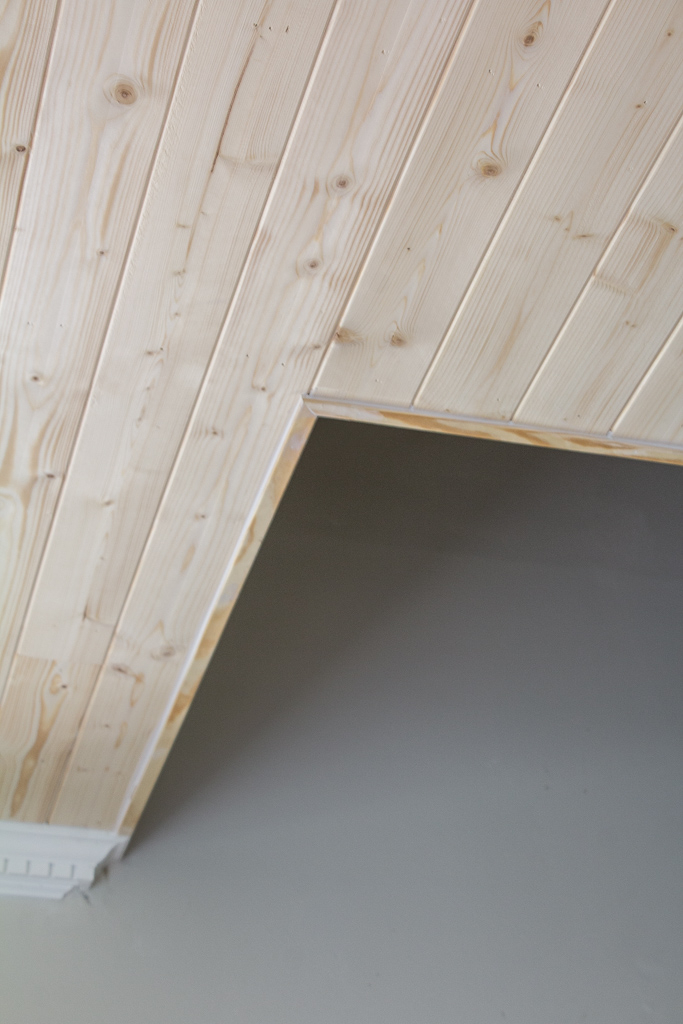
For around the staircase opening Josh used pine corner trim to finish off the planking and to give it a clean edge.
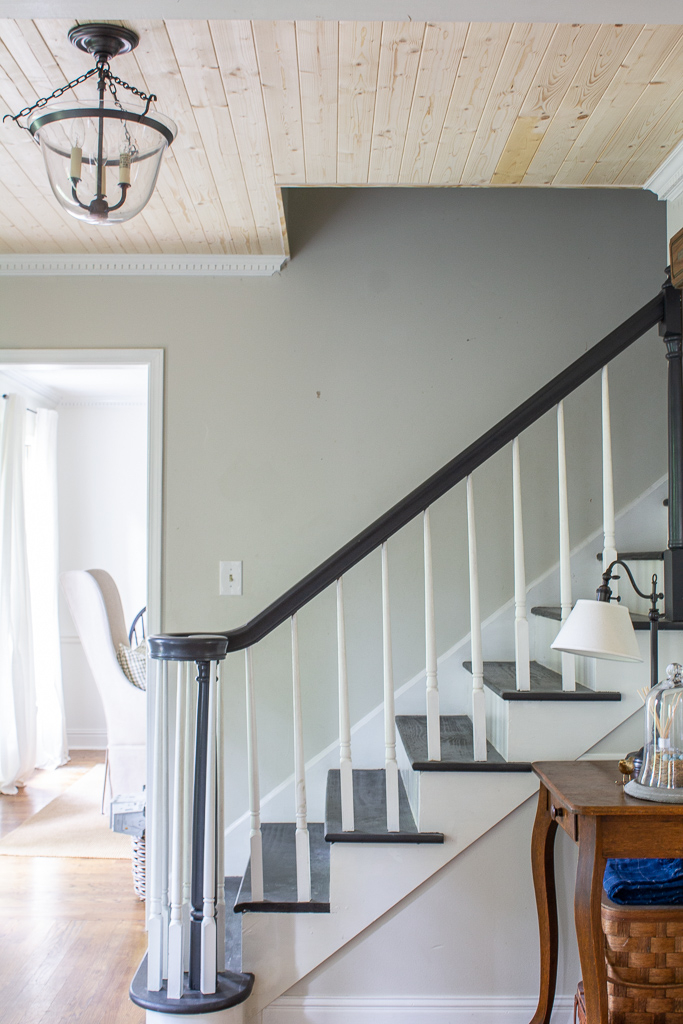
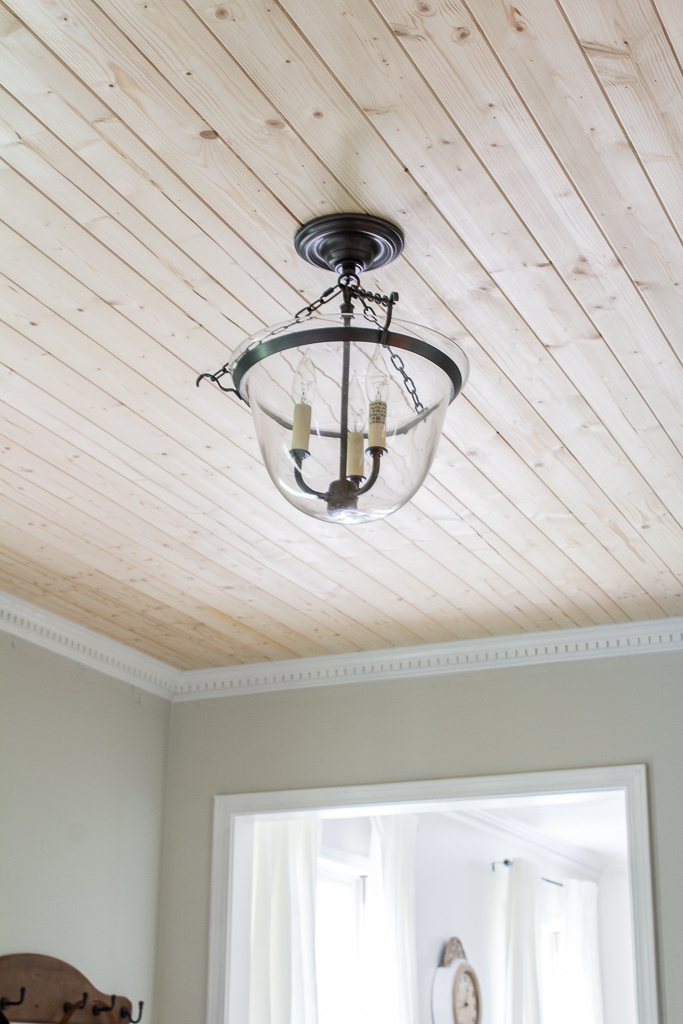
Our foyer also got new light fixture! This classic bell jar style fits perfectly with our home’s colonial style. You can find the fixture here.
Today I’ll be painting the ceiling and trim. You can certainly stain your planked ceiling if you prefer or even leave it in it’s natural pine. I like the crisp feel of a painted ceiling personally. I’m going to use Benjamin Moore’s Simply White for our foyer’s ceiling as well as the trim and walls. I’ve been planning a mini makeover for this room so fresh paint on the walls is going to really brighten up this space. I can’t wait to share the finished room with you soon!


Do you know how to do a plank ceiling if it is concrete? We live in a condo and would love do do this.
Thanks
Glue and screw wood stringers into the concrete and nail the planks to those.
Great looking job, and what a huge improvement!
Thank you Paula! W’re so happy with the result. Beats the dusty textured ceiling any day. 🙂
Looks great!! Did you use any special paint on bathroom ceiling due to moisture?
Thanks! We used two to three coats of semi-gloss and primer.
This turned out gorgeous!
Wouldn’t it be easier to paint the planks before putting them up, then just touch up where necessary?
Yes, probably so. We weren’t sure at the time what color we were going to paint them since we had plans to repaint the foyer walls and trim. If you know what color you’re going with I would recommend painting them first.
Love it! Can you put this right over the textured ceiling without sanding it down first? I’m worried it’d be hard to get thrbplanks to lay flat and evenly. Our ceiling is exactly like yours were. Thanks!
Thanks Sarah! You can! We installed it right over the textured ceiling in our dining room, laundry room and master bathroom. I would have done that same thing in our foyer but originally I had plained to scrape and the ceiling but decided last minute to plank it instead for added character. If the texture is a worry for you, you can always attach some cheap fur strips to the joists in your ceiling and attach the planks to those. It would drop your ceiling a try bit but not much.
How much in cost on average would you say each room has proven to be? Both methods. Plank vs packaged beadboard..
Looks amazing! We plan to do this exact same thing to our 70s ranch we just bought. How do you plan to paint it? Sprayer? Etc?
Can you give an estimate of about how much this project was?
How can you plank old plaster ceilings that are popcorn
Thank you so much for your gorgeous pictures. I was trying to find a picture of planks in a kitchen and found your site. My kitchen and dining room are connected and opens to the living room; so I know now I would want to do all three rooms together.
This ceiling turned out amazing!!! I would love to recreate this in our dining room. We are doing some kitchen cabinet painting next week, but this might just have to be our next home project. Thanks so much for sharing your beautiful home!
I have a very smilar colonial style house and I’m about to plank our foyer like you did. Do you have a link to the dentil crown moulding you used and is it 4″ or 6″? Also curious, how tall are your ceilings?
Unfortunately, I don’t. That crown moulding was original to the house. I was never able to source any that looked the same. I’m sorry.