I have to tell you all how much I love gallery walls! I know I’m not the only one. They’re extremely popular and fun. If you’ve ever made a gallery wall or thought about it, you know that they can get expensive quickly. I want to share a few ideas for a gallery wall that wont break the bank!
I recently finished my son’s night stand. You can see that project here.
Once I put the night stand in place, I realized the wall above it was very bare. After debating on what to do for a week or two, I decided a gallery wall is what would look best. The challenge – creating one for a reasonable price.
Here’s what I came up with.
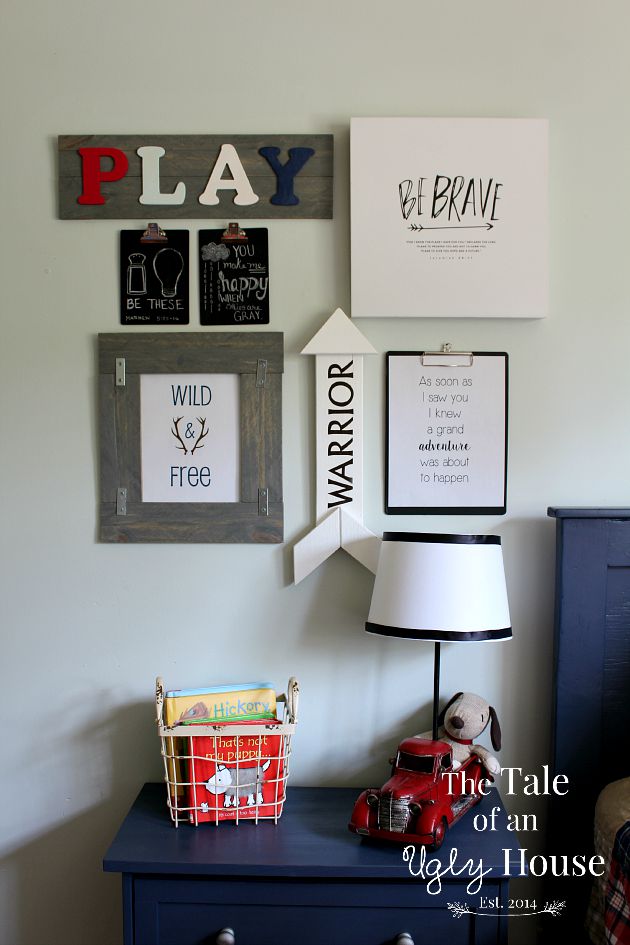
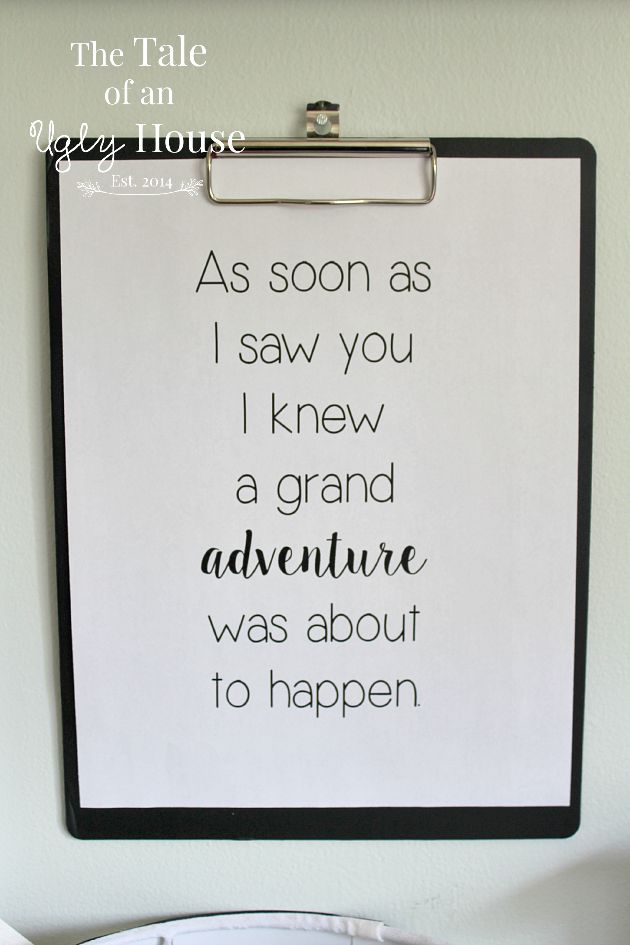
Clip boards are a great way to display pictures or prints. They’re really easy to hang and it’s super easy to swap out your prints! I purchased my clip board at Target. It was originally pink but with a little chalk board paint, it was ready to hang to go!
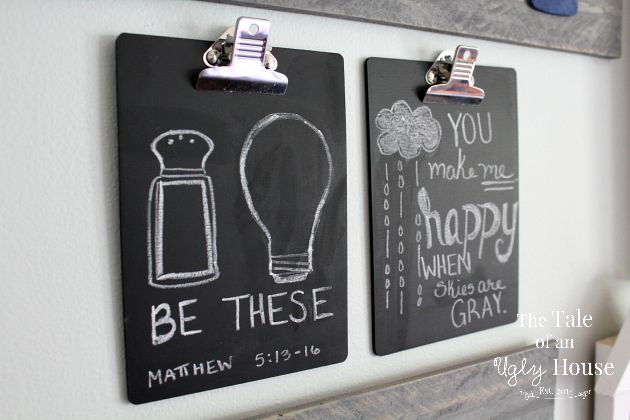
These chalk board clip boards are also from Targets dollar section. You can also find clip boards by the dozen at thrift stores. Typically they’re no more than a dollar!
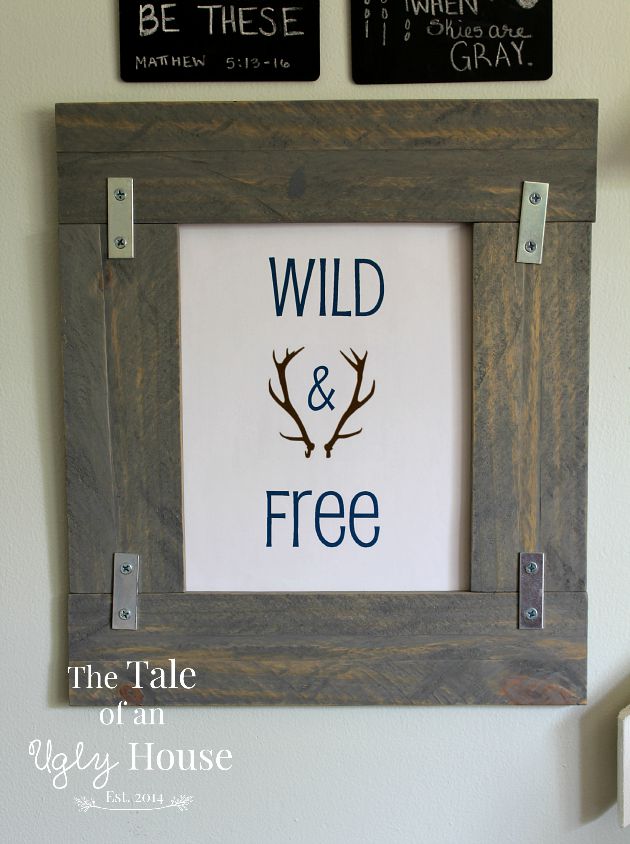
This frame was made with left over lumber that I had from a previous project. I stained it with Rust-Oleum’s Weathered Gray and attached them using joiner hardware from a home improvement store.
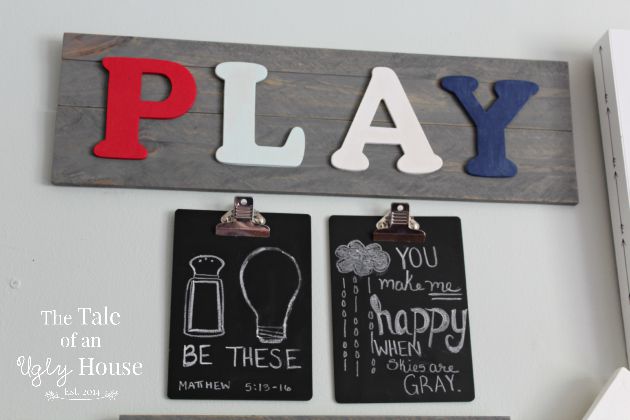
The wooden PLAY sign was also made with left over lumber. I’ll be sharing how to make your own sign like this one later this week!

I went with a canvas print from Hobby Lobby to balance the other pieces. I liked the depth that it added to the gallery and I paid only $16 for it. Adding difference size objects, different textures and colors make your gallery interesting. Have fun with it! Hobby Lobby is a great place to find great decor items at very reasonable prices. Make sure you snag your 40% off coupon from their website!
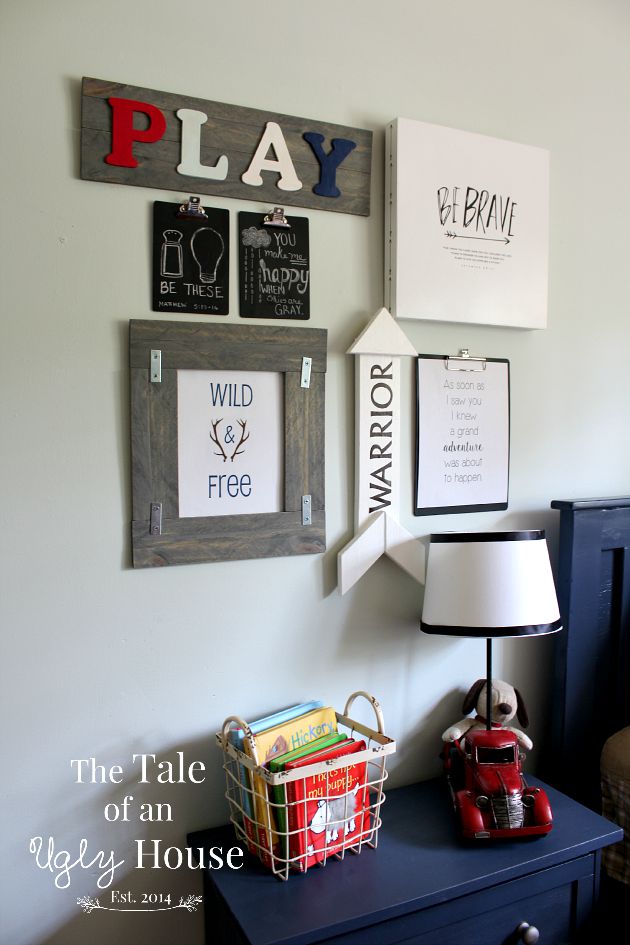
I laid each thing out on the floor before I hung them. Sometimes it takes a little time to get it arranged just the way you want it.
As promised, here are you two free printables! Both are made by me, so please use them just for your personal use!
Today is J and I’s 9th anniversary, so I’m looking forward to a fun day of celebrating! I hope you have an awesome Tuesday too 🙂 Make sure to join us here later this week for the tutorial to make your own wooden PLAY sign!


So adorable Amanda love it!
Thank you so much Deb!
This came out great! I love that blue night table too!
Thanks Roxanne! The night stand was one of my recent Ikea hacks 🙂
Amanda this is adorable! I love how you mixed the canvas with the wood and the color choices are perfect! I like how you added it’s important to add dimensions to a gallery wall to make it interesting. Love that!