The more I browse photos of homes on the Internet and in magazines, the more I realize what an eclectic style our home has. It has touches of farmhouse style, industrial elements, and even some mid-century pieces. When we began thinking about what sort of feeling we want in our sunroom, mid century style really began to take front and center. The clean lines, punchy colors, and textural depth seem to belong in a room flooded with sunshine. After we chose the blue for the herringbone wall, and decided on some seating options, storage was next on the list. I was looking for something simple that would be able to store some games, books, craft supplies, etc.
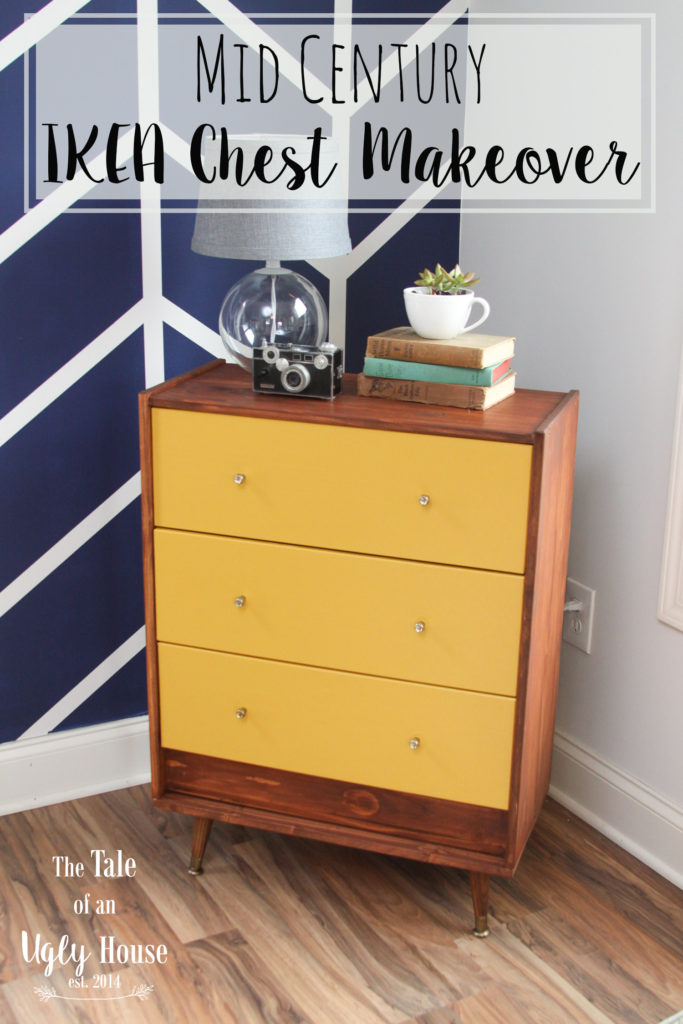
I love the way that navy/royal blue and golden yellow complement each other, so I began my search for yellow shelving or drawers. Browsing Etsy had me drooling over an adorable mid-century dresser. The drawers were painted yellow, and the top and legs were a beautiful walnut color– the perfect pop of warm color to add to a room of cool tones. The price, however, was cringeworthy. Thankfully, we’re no strangers to working on a budget and using our imaginations.
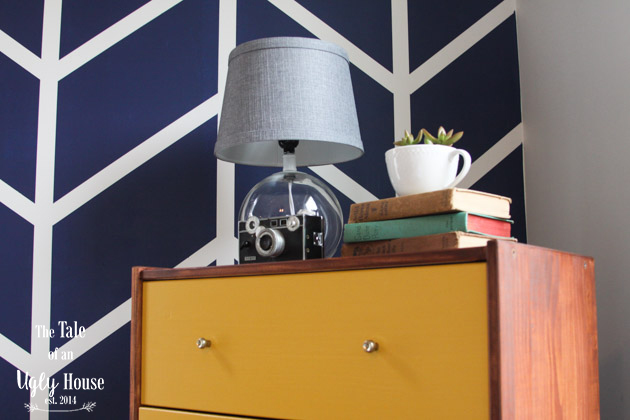
I have seen several different people do makeovers on IKEA’s Rast Chest. Because it’s such a simple design, it is easy to make it into anything you want. As an added bonus, the wood is already sanded, left unfinished, and ready for paint and stain. I ordered one of those beauties and began to make the rest of my plan. With some paint, stain, vintage drawer pulls, fabulous legs, and a few structural tweaks, this IKEA bargain is well on it’s way to being exactly what I was looking for.
If you want to make your own, here’s how!
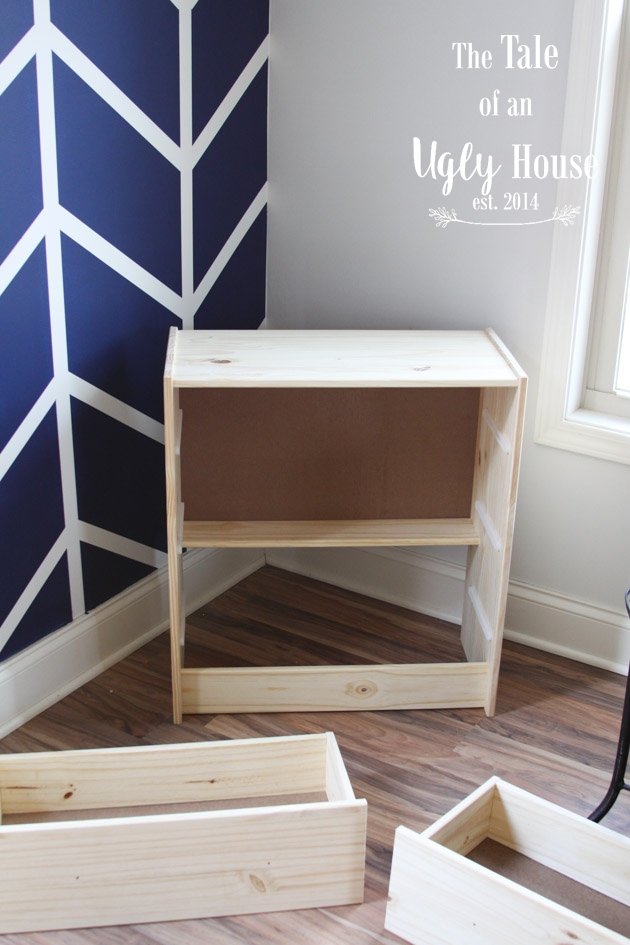
Begin by assembling the dresser. I left the drawers out since I knew they needed to be painted.
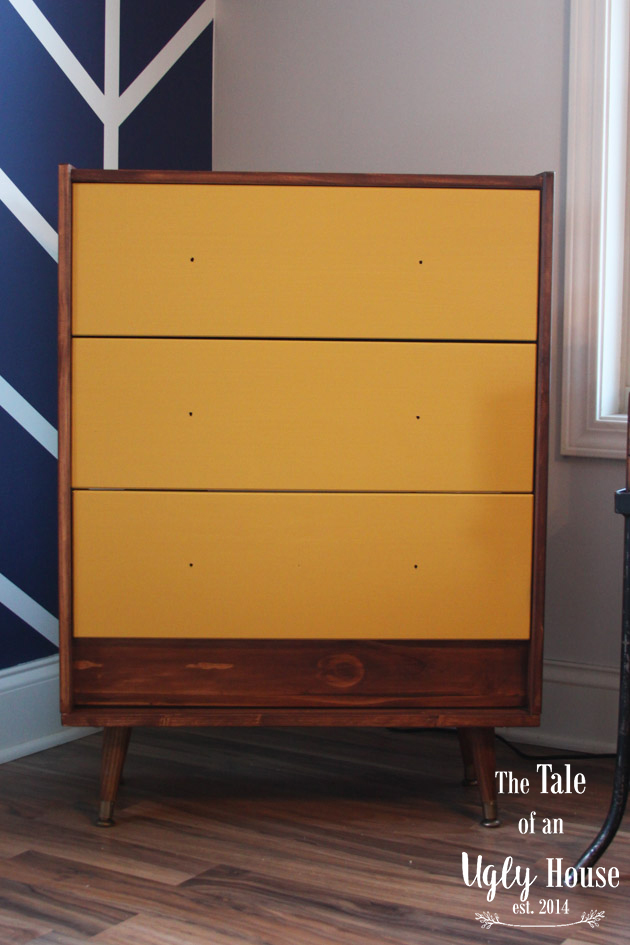
Next, check for rough spots, sand down these areas as desired, wipe any dust off of the piece, and get to painting! I used Behr’s Saffron Strands for the drawers. You can also stain the frame at this time as well. I chose American Walnut. It’s timeless!

Lots of Mid-Century pieces have an almost “boxed in” sort of feel. To replicate this, we simply purchased a board (it was spruce, I believe) that was around the same thickness of the rest of the pieces used on the chest. We measured the top, and cut it to fit perfectly on the bottom. Because the bottom is attached to such a thin piece, we actually used Gorilla brand wood glue to connect the pieces. We were afraid that the IKEA wood might split if we tried to screw it in, and we didn’t want all of that hard work going to waste. Also, since it’s on the bottom, gravity does some work to keep it together. Gorilla brand products are extremely strong, so we are confident that we won’t have any issues with it.
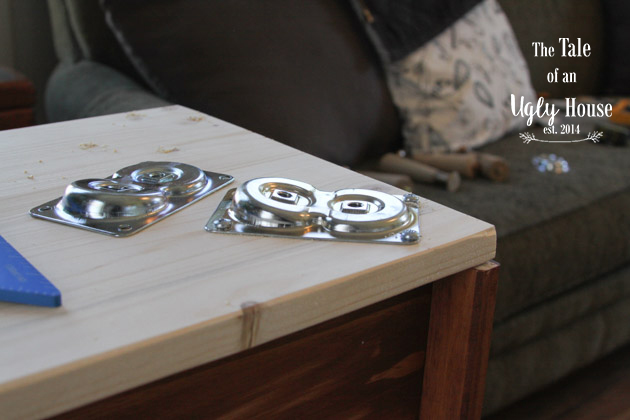
An added bonus to putting a bottom on the chest is that it made it super simple to attach legs. We found some amazing tapered legs on HomeDepot.com and attached them using angled top plates. The legs originally had silver colored caps on the bottom, but I wanted the Mid-Century brass feel, so I taped off the wooden part and used Rustoleum’s brass metallic spray paint to get the look that I wanted.
After these pieces were in place, we went back and stained the bottom piece and legs. Once it was dry, we put the drawers in, and began to wait very [im]patiently for our knobs to come in the mail. I found some amazing and reasonably priced hardware for this piece on Etsy. They are little dimpled knobs from the 1940s, and they had exactly the feel that I was looking for! I am loving them!
Overall, we are so pleased with the way that it turned out, and the fun that it adds to our space!


Love the makeover, and the flooring in that room is gorgeous too! (that’s coming from someone who is not a big fan of wood floors) I’m currently in the process of staining a mid-century dresser for our bedroom.
Thanks, Tiffany! The floors are actually laminate! I like that they’re virtually indestructible 🙂
I would love to see a picture of your dresser when it’s finished!
Hello Madi,
Great work ! Looks so nice !
I was wondering, how did you make the pine looking that dark ? Did you use a special painting ?
Thanks a lot,
Marie
What were the measurements of the spruce you placed at the bottom?