Big thanks to our flooring sponsor The Tile Shop!
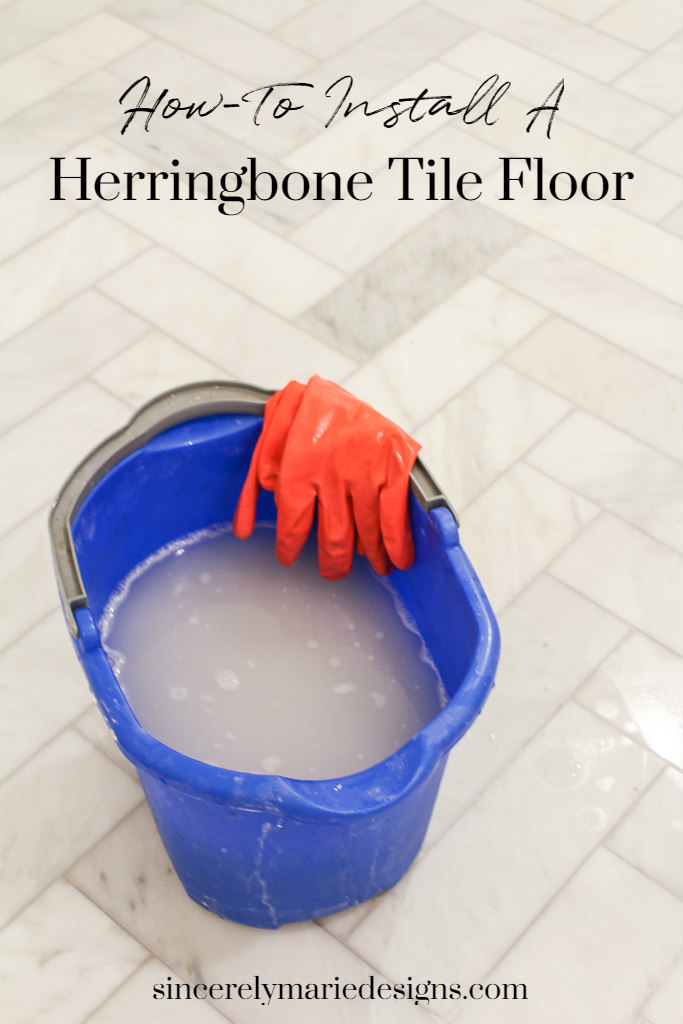
This week was all about getting our marble herringbone tile installed and I have to say, it turned out quite beautiful! Here’s our quick how-to on how to install herringbone tile.
I can’t believe that I’ll be sharing the reveal of our master bathroom with you all this time next week! Time has flown by and I’ll be completely honest with you. I’m exhausted, emotionally drained and feeling a little worse for wears. This remodel has been one of our largest and more challenging. There has been road blocks at every turn and has taken more time to complete than we ever thought it would.
If you remember, we started demo of our dated bathroom on February 1st. All this time we’ve been living in dust, sharing Charlie’s bathroom and spending evening and weekends working to complete the space. In that time we’ve had a lot of unforeseen things pop up. Josh’s car died on us unexpectedly, our hot water heater started leaking, I left the sunroof to our van open two weeks ago overnight during a monsoon of a rain fall. Let’s face it, if you’re going to forget to close the sunroof it has to be during a storm! We spent hours sucking up water with a shop vac and drying the seats out to then have my computer crash days later followed by my husband’s computer doing similar things. It has felt like the odds were against us for the entire month of April. Due to all of the chaos I haven’t been able to share much inspiration on the blog lately and I’ve hated that. I feel like our regular schedule has been wrecked this past month. I have so many recipes, projects and of course my office reveal that I’ve eagerly been waiting to share. I just haven;t been able to find enough hours in the day. Now that we’re in the home stretch of our renovation I can see the light at the end of the long tunnel and I know it’s all going to come together beautifully.
Last week the wallpaper for our water closet arrived from London and I just love it! It’s just as pretty in person as it was online. I had the pleasure of speaking with one of Cabbages and Roses’ employees about shipping dates and if I could expect in time for the reveal. They’re beyond kind and such a pleasure to business with. Shipping was very responsible too at only $9 for two rolls. It took around two weeks to arrive and was packed very well. I chose their new paper –Paris Rose.
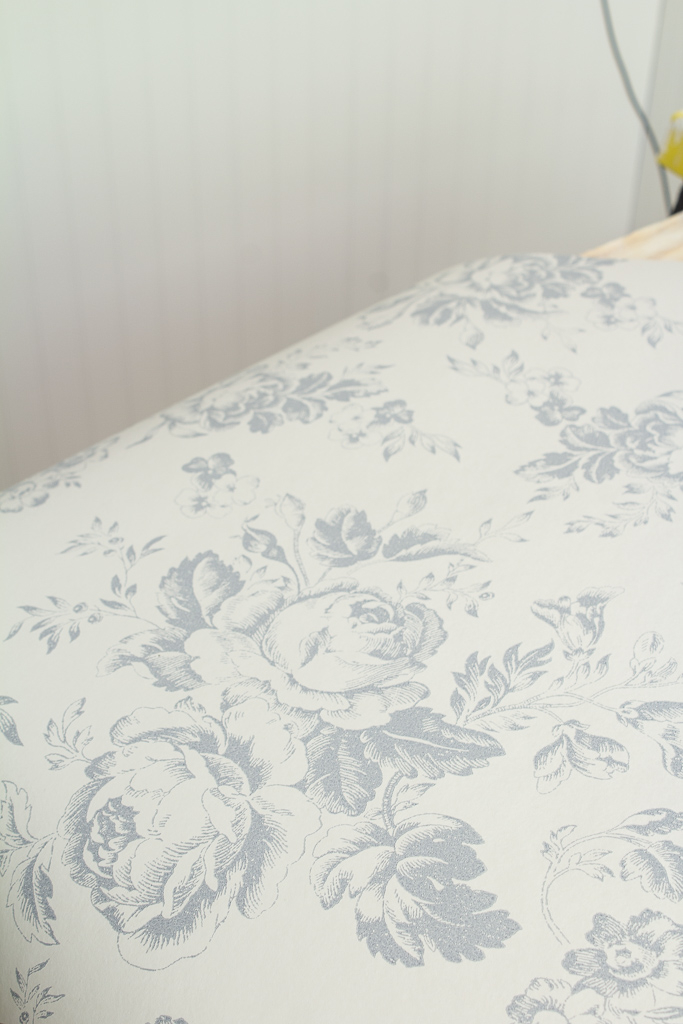
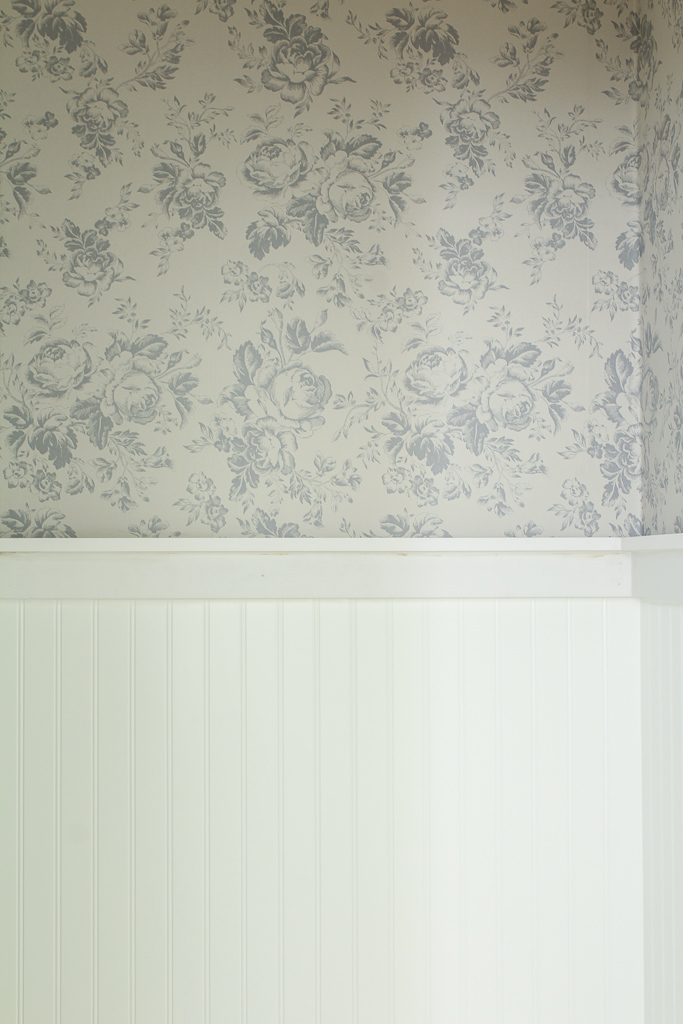
I love the pattern and the soft blue tones. This room lacks any natural sunlight so I didn’t want it to be too busy or dark. I think it’s the right about of color and pattern.
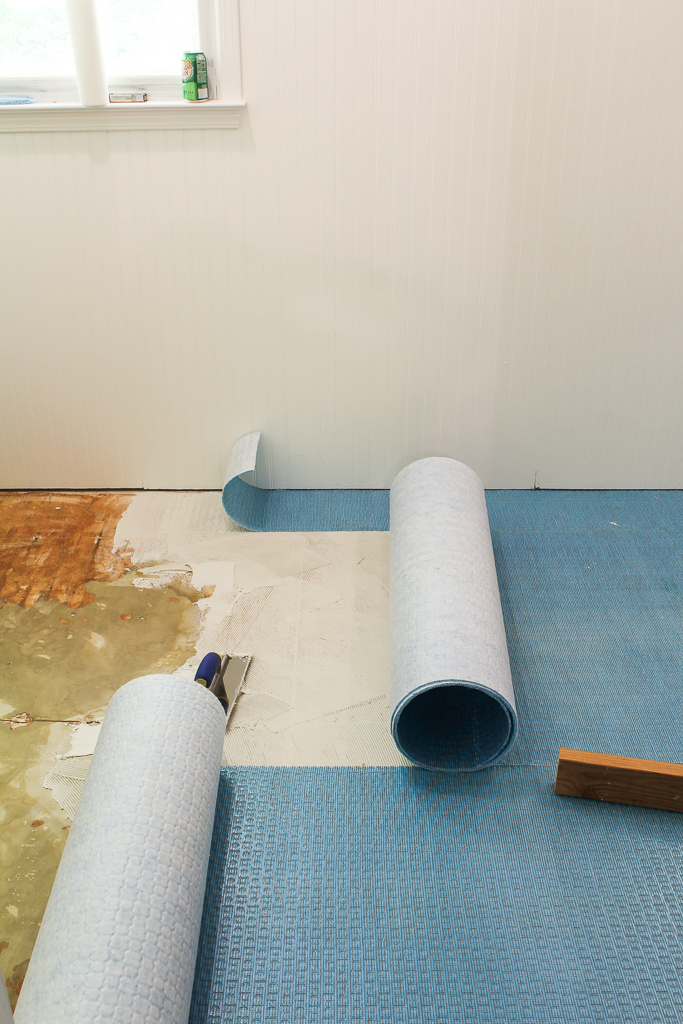
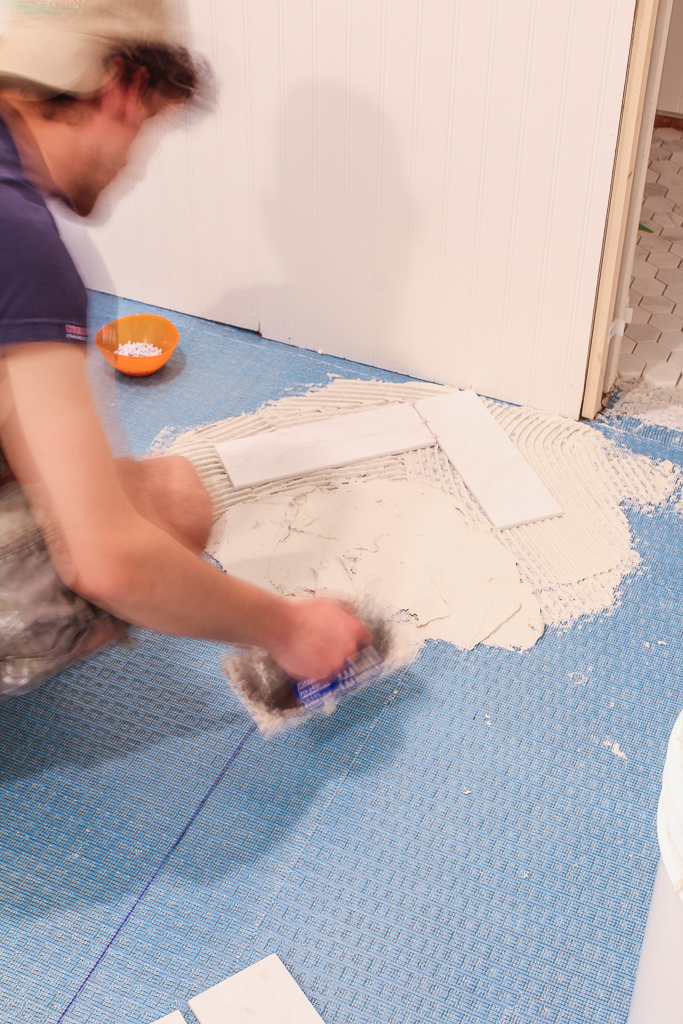
Now to our finished floors! We had hoped to have had the flooring done a couple weeks ago but we got it a little later than planned. We finished them up last night and it’s such a relief. For the the main bathroom area I wanted a herringbone pattern. With the 4×12″ Hampton Carrara tile the herringbone was very easy to do and went down quite quickly. This was our first time laying tile in this pattern and all I can say was that I wish we had tried it sooner. I was so much easier than I expected. We started by laying a Dural backer lite underlayement with thin-set for our tile to rest on. This stuff comes in rolls and is super easy to install.
Next, we found the center point of the room and because the underlayment is blue creating a chalk line was not going to work. We decided to use some simple string tied to two small screws on either end of the room and used a marker to draw our line using the string as our guide. This line gave us a perfectly straight line to base our first row of tile off of.
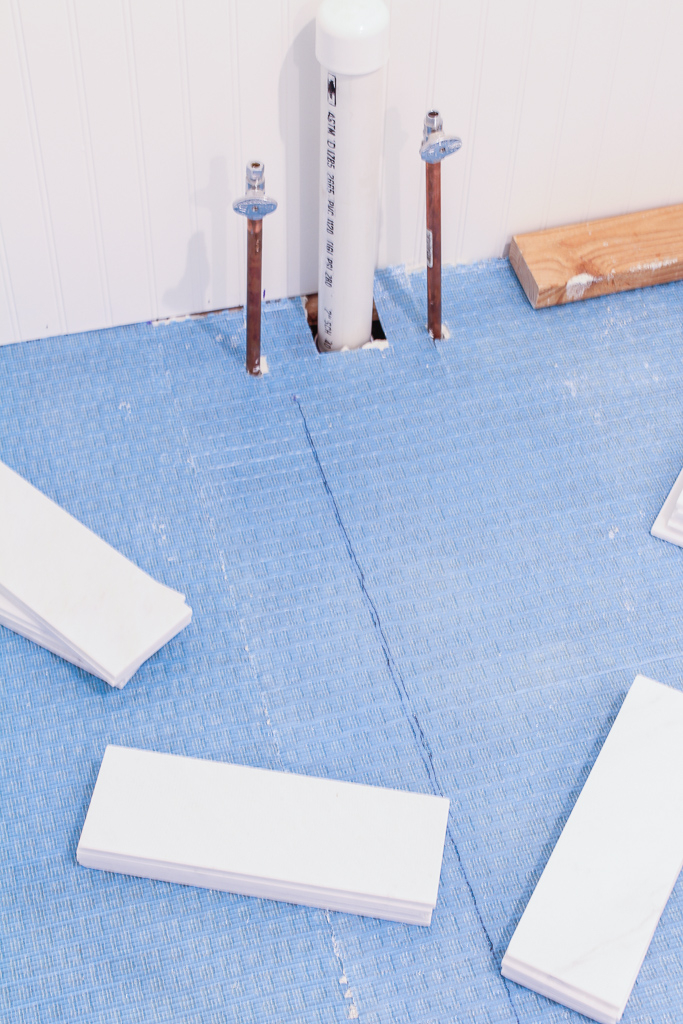
Although, I ended up laying the tile myself, you see about that in my IG story highlights, Josh started with the first few tiles to get the pattern down using a 1/4″ trowel. You want to use the line to align the right top corner of the first tile and the left top corner of the lower tile. Two tiles create a 90 degree angle which makes this pattern extremely easy. Once you get to your rows by the wall, your cuts are just as easy because they’re all based on 90 degrees. I will say this was not our first time installing tile. We have done this on many occasions. If you’re going to install tile for the first time I would recommend dry fitting your pieces first and really taking time to plan.
That night we made it has far as half of a row. The next day while Josh was at work I got at it. I decided to work on half of the room at a time. This allowed me to have a middle row that I was dry enough to walk on once both sides were installed. I worked from the middle row to the wall.
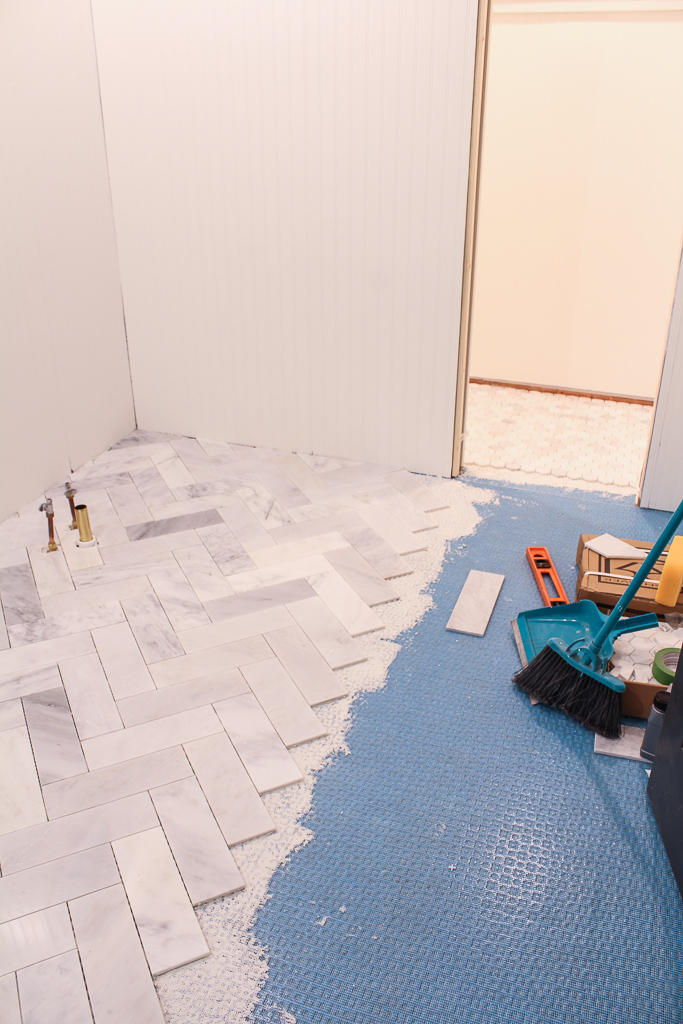
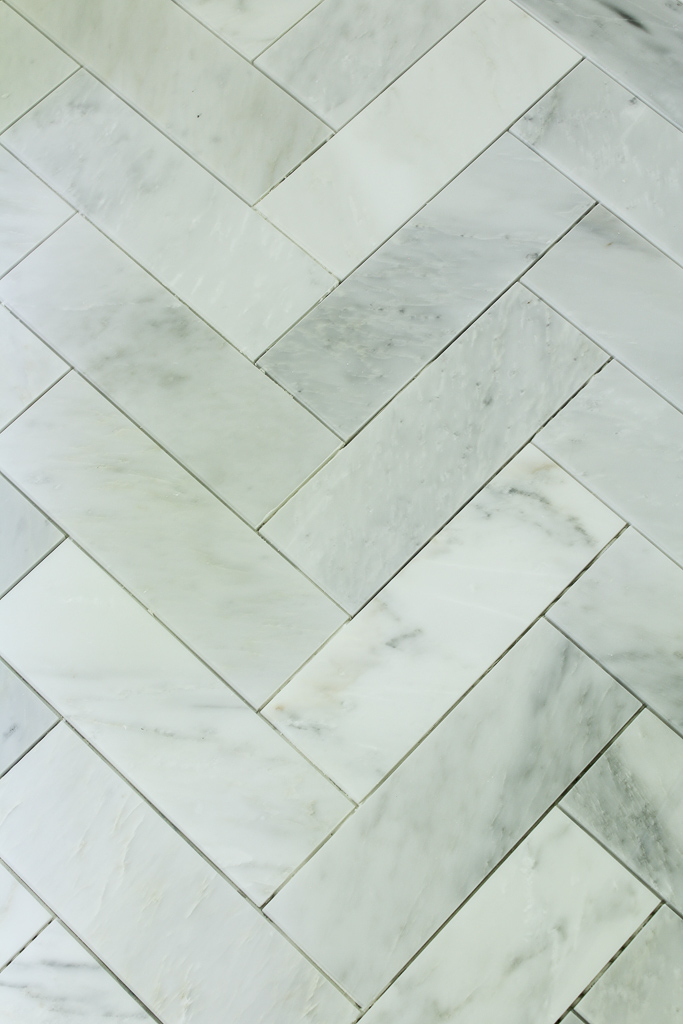
Doesn’t it look pretty? It took me until around 2 a.m. to finish installing the tile. I’m pretty sure I was installing it in my dreams that night, ha!
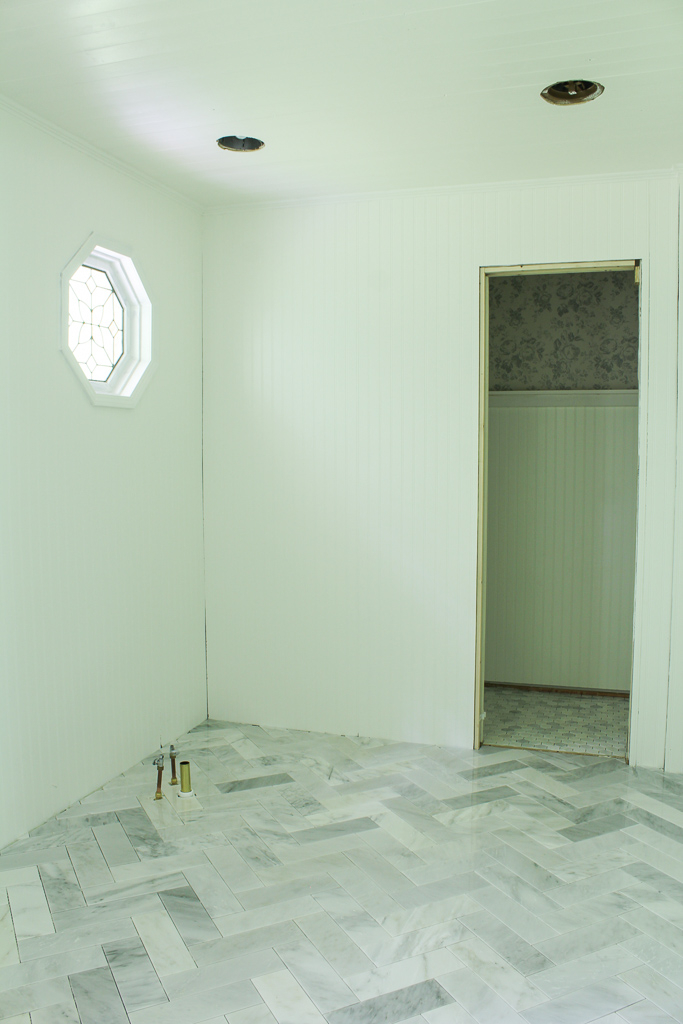
Yesterday evening once the tile was okay to walk on I grouted the space. I started with the water closet and worked my way out. We used a light grey color called Whisper Grey from The Tile Shop.
Today I’ll be giving the floor another cleaning. Getting the tile dust free after grouting might just be one of my least favorite things ever, but its all worth it!
The rest of the week and weekend is going to be packed full. We’ll be putting the room back together again and we’ll finally hook up our beautiful claw foot tub and shower. I can’t wait to share the details on that beauty with you! We’ll install our wall sconces, baseboards and corner trim, vanity, toilet and a small shelf but the tub to hold shampoos. The last but not least, I finally get to decorate! I’ve been collecting a few things over the last couple of weeks to go into the space, some old, some new. I think it’s going to come together beautifully.
Say a pray for us friends! This time next week I hope to have a beautiful new bathroom to share with you all. Until then, be sure to hop over to the One Room Challenge link up to see all of the fun room makeovers going on now.


Awesome job and love that floral wallpaper!!
Thank you so much, Julie! I loved the wallpaper the moment I saw it. 🙂
Oh my goodness, it is stunning. I really cannot believe you two can do that kind of work yourselves. I have days just tying my own shoes is difficult, haha. Looks amazing!!!!!! Cannot wait for your big reveal. Then please please come to Ohio and help me with my dated master bath!
(Haha, kidding, lol.) Or was I?????? : – p
Thank you so much, Michele! I hope it turns out how I’ve been envisioning it. If I lived closer I would def. help ya out! It’s hard work but when it comes to it we just really enjoy it. If anything, it’s very rewarding. Have a great weekend!
OMG! So in love with the herringbone tile!!!
Did you use polished or honed for the floors? I worry about slipping with marble when it’s wet. Thank you
Hi Jennifer, we used polished. We have not found them to be any more slippery as our polished porcelain tiles in our other bath. We always use a bath mat, so no issues!