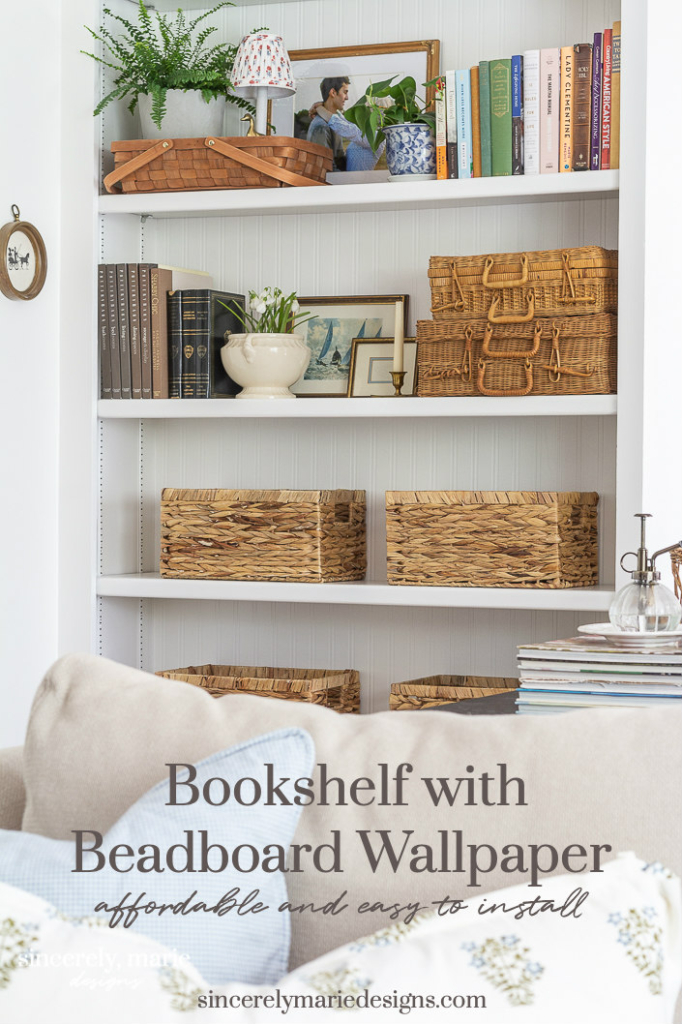
Beadboard wallpaper is perfect for the back of a bookcase. It’s affordable, easy to install and looks like the real thing! Here’s how I hung wallpaper on our built-in bookshelf.
Ever since we purchased our home I haven’t been thrilled with the built-in bookshelf in the living room. I loved having the extra storage but I was never pleased with the way it looked. To start I just put a coat of white paint on it and called it a day. I later decided to do a printed wallpaper on the back side and at the time I liked it okay. For the last year or so I had grown very tired of it. It just looked cluttered and I really started to realize that the wallpaper wasn’t the best choice for this shelf. Luckily I was able to remove it very easily. It claimed to be strippable and I was so pleased that it lived up to its name.
A couple of weeks ago I order something that I have been anxious to try for some time. I ordered a roll of beadboard wallpaper. I had heard so many good things about it but being a fan of traditional headboard I was a bit skeptical but thought it was worth a try.
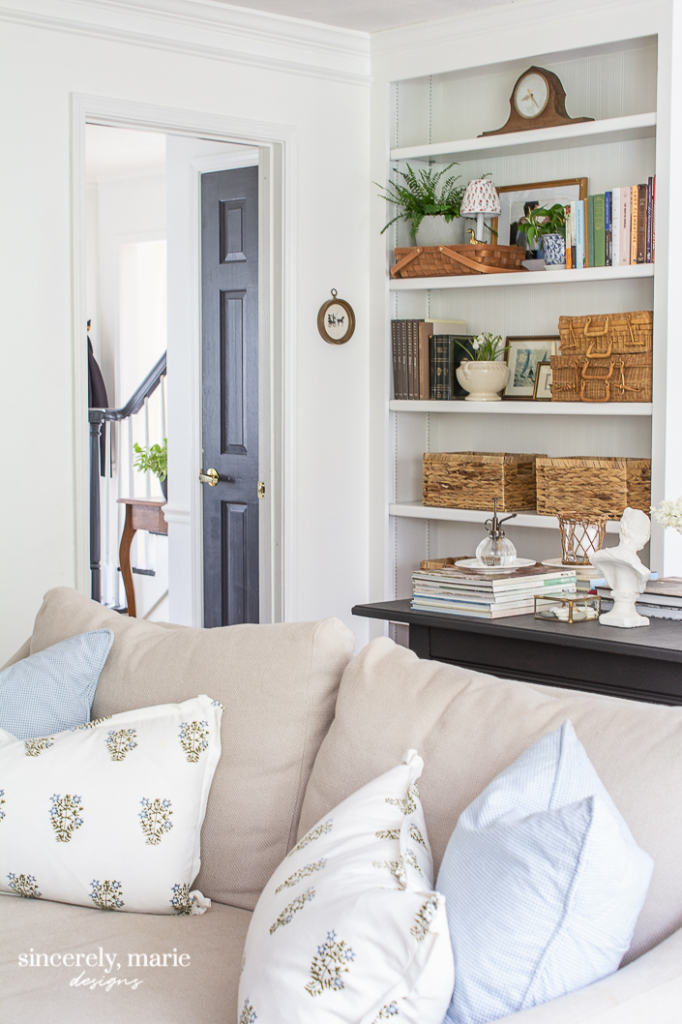
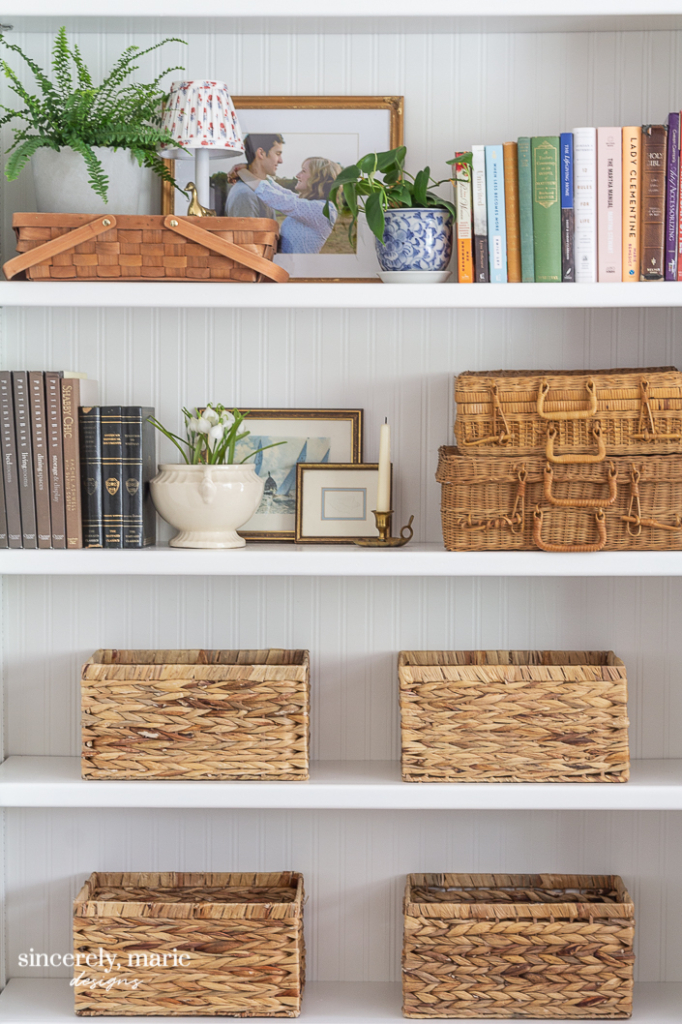
After installing it on the back of our bookshelf I couldn’t be happier with it. It was easy to install and was super affordable. It’s about half the price of traditional beadboard and is paintable. After installing it on our bookshelf I ordered more and hung it in our guest bedroom as well. I have different thought on it for that space that I will share soon. As for this project it was perfect!
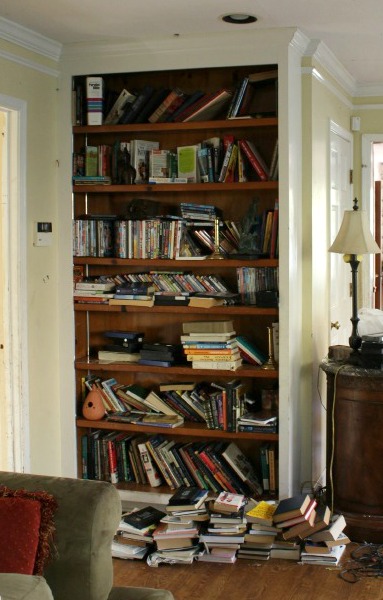
Here’s a quick look at the bookshelf the day we bought our house. It required some much needed love.
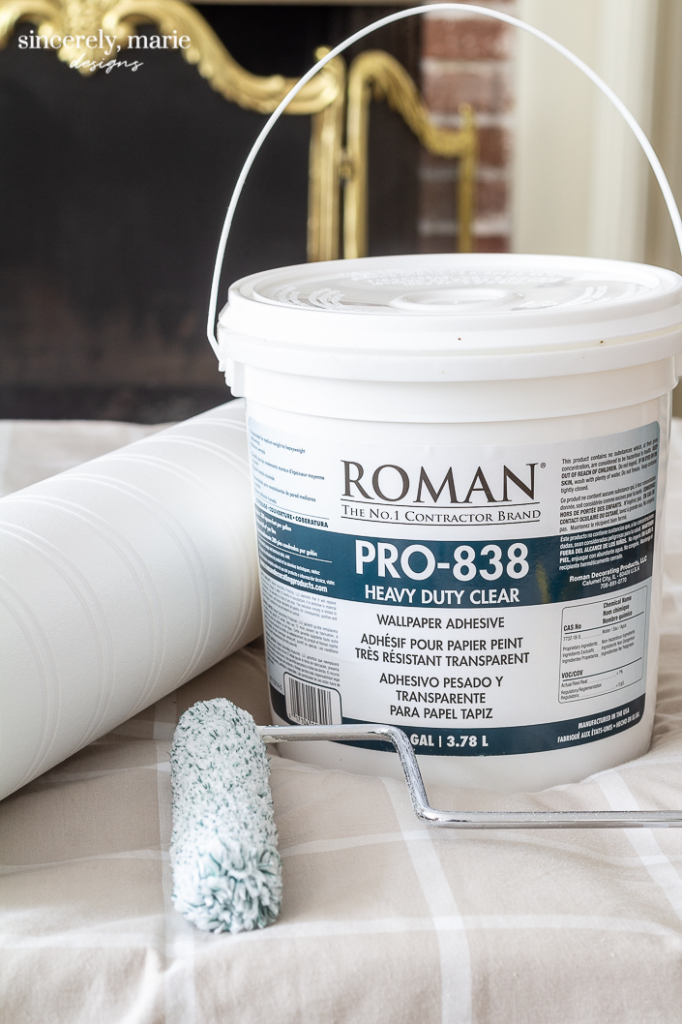
Here’s what I used for this project:
- This beadboard wallpaper
- Wallpaper glue
- A paint roller for smooth surfaces
- Sharp scissors
- Tape measure
- Square
- Pencil
This wallpaper comes pre-pasted, however I’ve always preferred to apply my own wallpaper glue to the wall. You can use wallpaper glue with pre-pasted or unpasted papers. I find that unpasted paper it’s easier to work with and you experience far less rips and mess.
I used a tape measure and square to put each strip of paper the length of the bookshelf. I applied a thick layer of glue using my roller to the back of the bookshelf. You only want to apply the glue in the area that you’re going to hang the strip of wallpaper that you’re working with at that time.
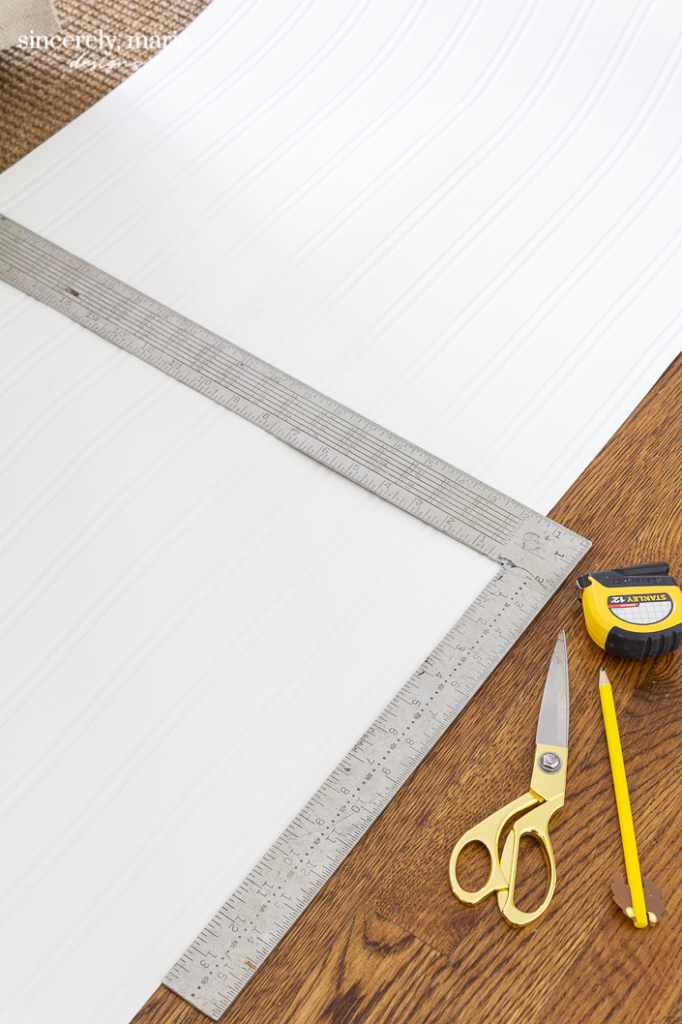
Once it was on the wall I caulked all of the edges and seams. After the paper has sat for at least 24 hours you can paint it. I used Benjamin Moore – Simply White in a semi-gloss finish.
Eventually I would like to install cabinet doors on the bottom half. The extra closed storage would be nice for board games and art supply storage. For now we’re using baskets to hold some of those things.
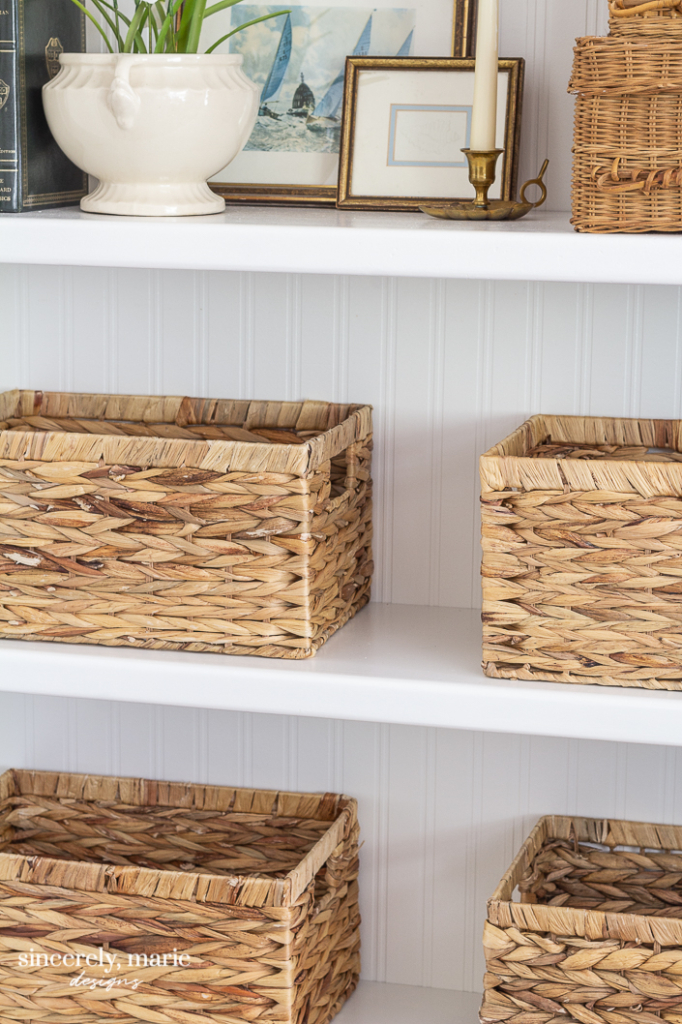
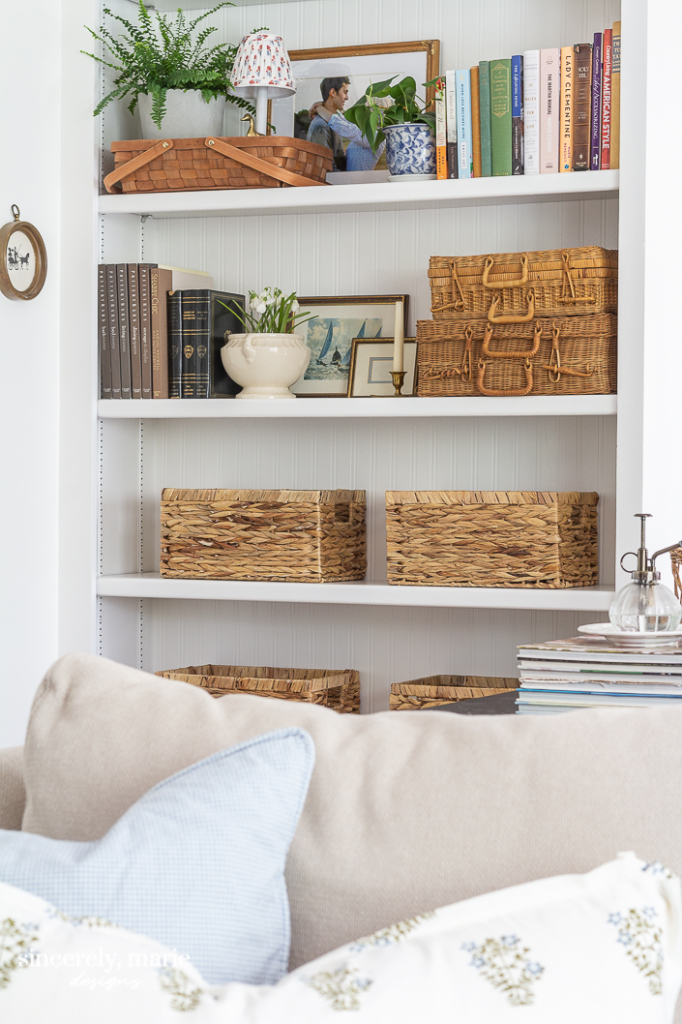
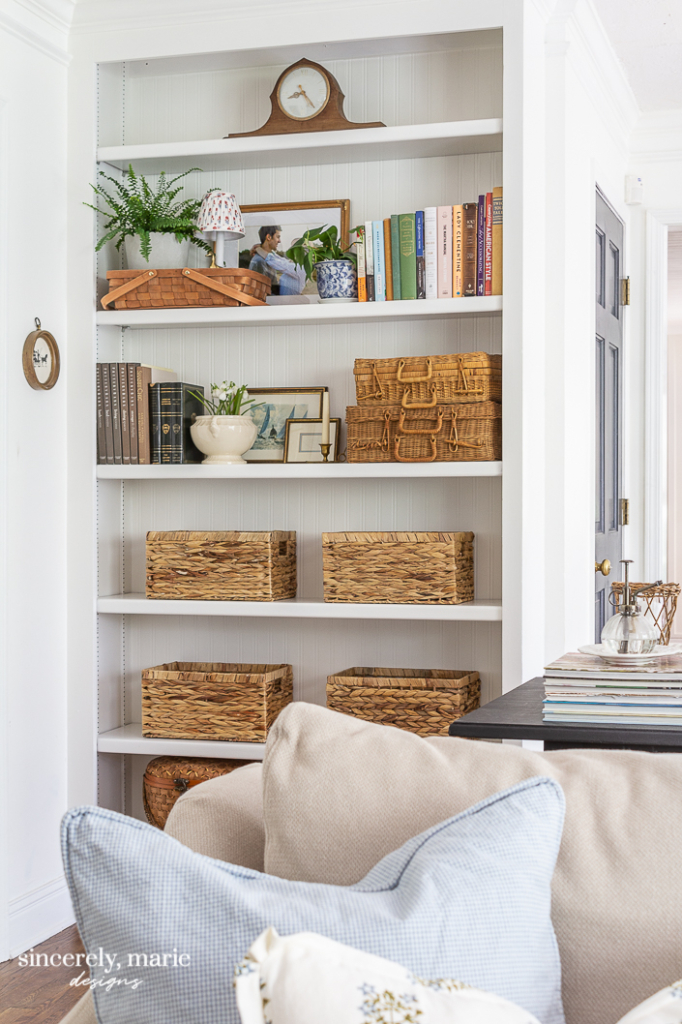
I have loved the new view from my chairs in my living room. The breadboard gives the bookshelf a clean look and has great charm. I’m anxious to see how it holds up. I don’t expect it to take much wear and tear but either way it’s a timeless look that should last for years to come.



Hi Marie
The bookshelf looks great! I would have never thought to use wallpaper. It looks like real beadboard.
Thanks for the inspiration.
About two years ago I applied bead board wallpaper in my kitchen cabinets. It is a heavy paper and comes in white. I decided not to paint it. It has held up very well and can be washed down. Love your bookcase. Styled very nice!
That is exactly what I would like to do! Hate the interior of the kitchen cabinets and this is the perfect answer. Where did you get the white bead board wallpaper? Love the part that it can be washed. Thanks! Jill
I did this on the back of an old jelly cupboard that I refinished. I’ve always loved bead board. It gave it such a cute finished look.
It looks amazing! What a beautiful transformation!! I’m so inspired!
What a pretty bookcase! You did great job styling it and the wall paper is paintable make it even better.