We are so in love with our family room’s new built-ins. This Ikea built-in hack saved us so much time and was easy on the wallet. We’ve created the perfect storage for our books, family photos, and homeschooling curriculum!
Hello everyone and happy November! November just happens to be my favorite month of the year. I don’t think it could get more anymore beautiful outside. Our yard is in full fall color and we’re really enjoying see all of the different trees at our new home change colors. I walk outside and even though there is so much chaos going on in the world, God reminds me of his never ending love and faithfulness through the beauty of the season. I really believe this is the best time of the year and the perfect time to count our many blessings.
For the last month or so, Josh and I have been working on a project in our family room. We’ve been busy in several rooms of our house, but this was one of the projects we needed completed the most. Our last home had several built-ins, some we added, some that were there previously. We were not hurting for storage. This house has great closets and a big basement and garage, but lacked shelving and cabinets. Originally I wanted something custom, but time has been in short supply lately and with homeschooling Charlie and Audrey toddling around, we needed something that we could complete in a shorter time frame. Our solution – Ikea’s Havasta cabinets and Billy bookcases!
I don’t exactly have a tutorial for you. If you search Havsta & Billy built-in hack on Pinterest there are a number of how-to’s. We pretty much winged it. The Havsta cabinets are solid pine and are very easy to put together. We simply centered three on the side wall of our family room. Josh located the stubs and attached them to the wall as well as to each other by running a couple of wood screws into the inner walls of each cabinet. We used a piece of 1/2″ smooth plywood for the top to cover up the cracks of the cabinet tops, and added trim around the edge to finish it.
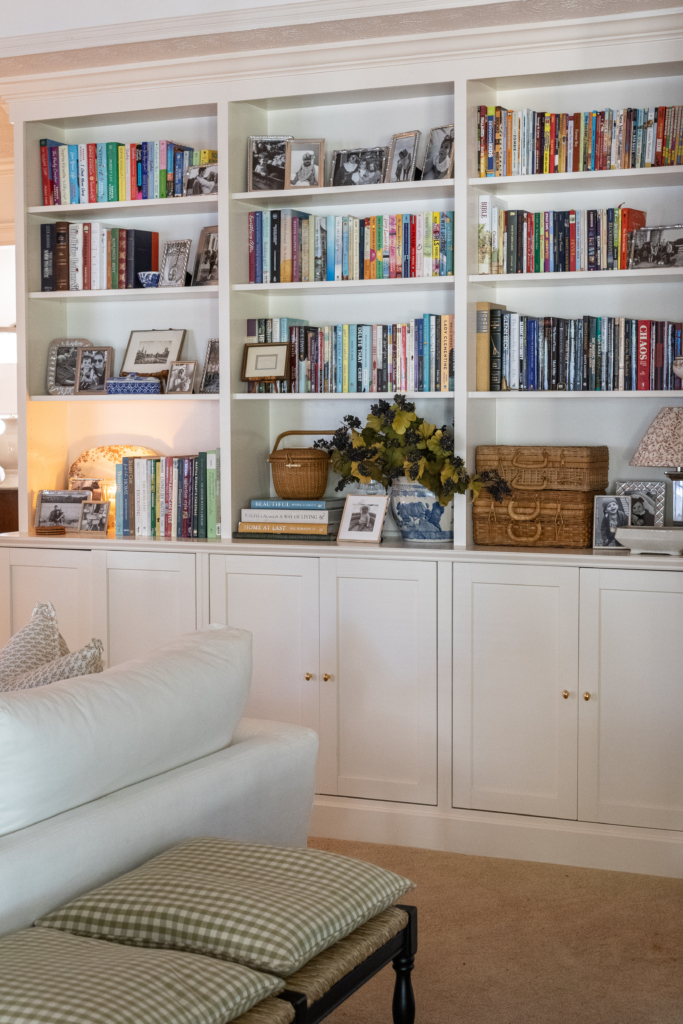
The shelves on top are the Billy Bookcases with the bottom portion cut off. How much you cut off will depend on how tall your ceilings are. We attached the shelves to the wall at the top using the hardware that came with the shelves. We used 1×2″ boards to trim out the front sides of the shelves and a 1/4″ board around the top so that we could attach the crown molding. To make shelves paintable, I used BIN Primer. This stuff smells so terrible. I would highly recommend using it with the windows open. I woke up the following morning with a migraine. As bad as it smells, it does however works wonders! It makes the MDF shelves completely paintable.
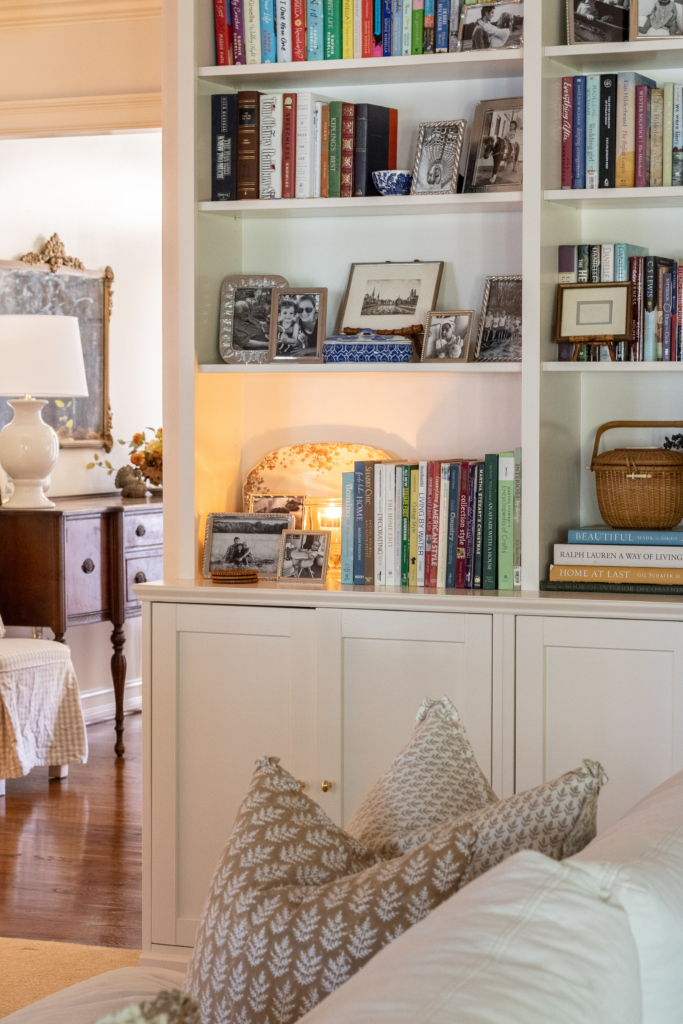
I painted the built-ins & trim Benjamin Moore’s White Down (not to be confused with White Dove) in a semi-gloss. The walls are also White Down, but in a satin sheen. It’s such a soft and warm white. I just love it! I’ll be sharing more of this room soon. Like most of the rooms in our home currently, nothing is quite put together. I’m still decided just where to put everything and where I want to hang photos and artwork.
Here is this wall of our family room before –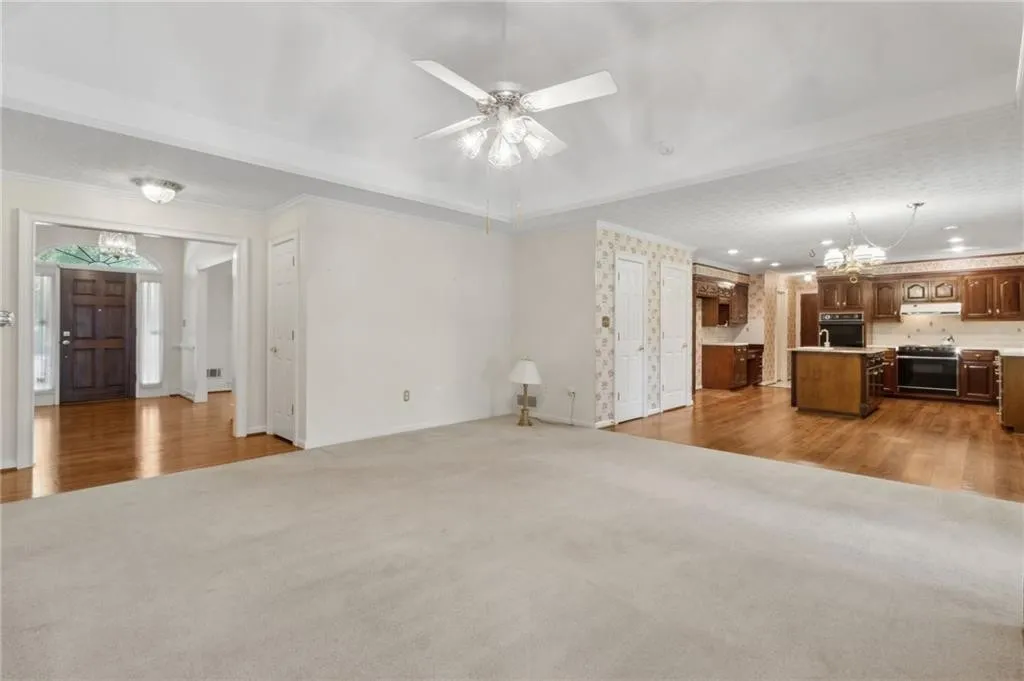
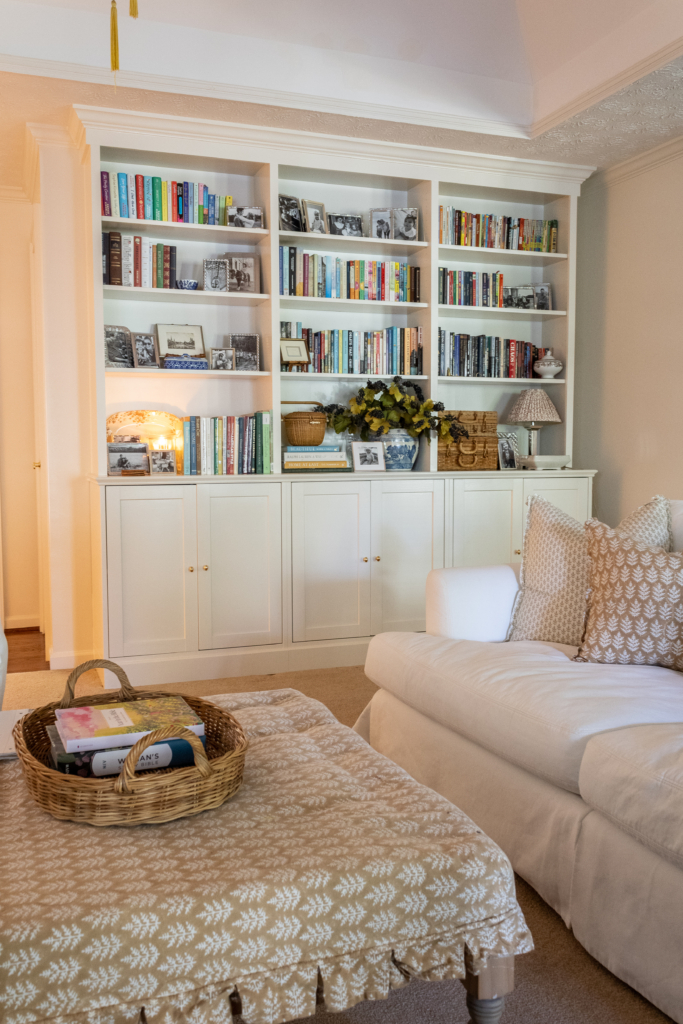
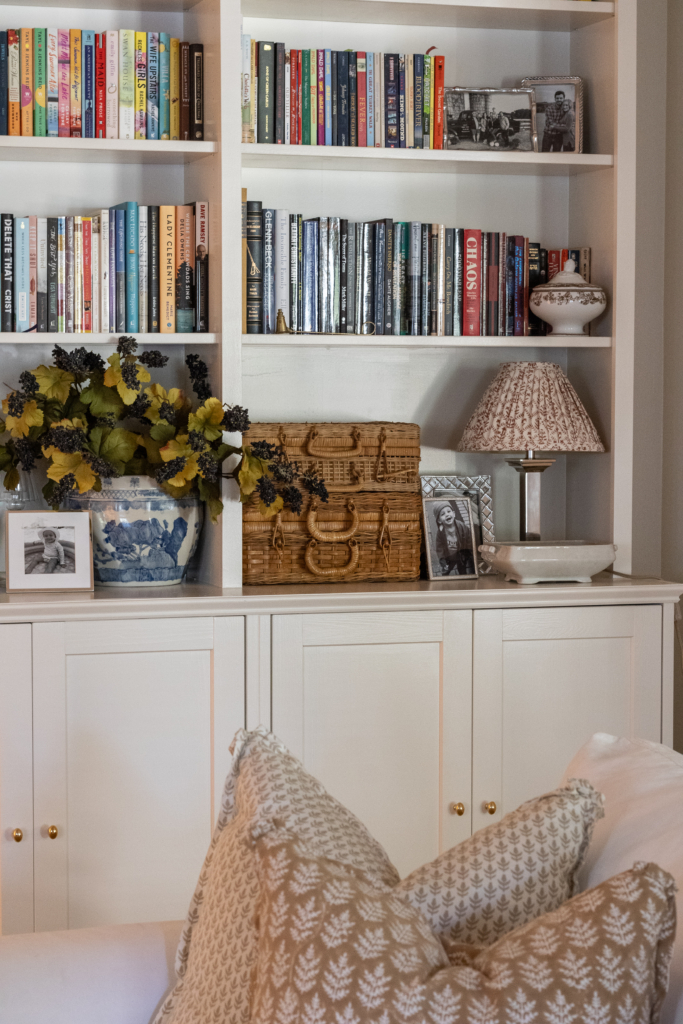
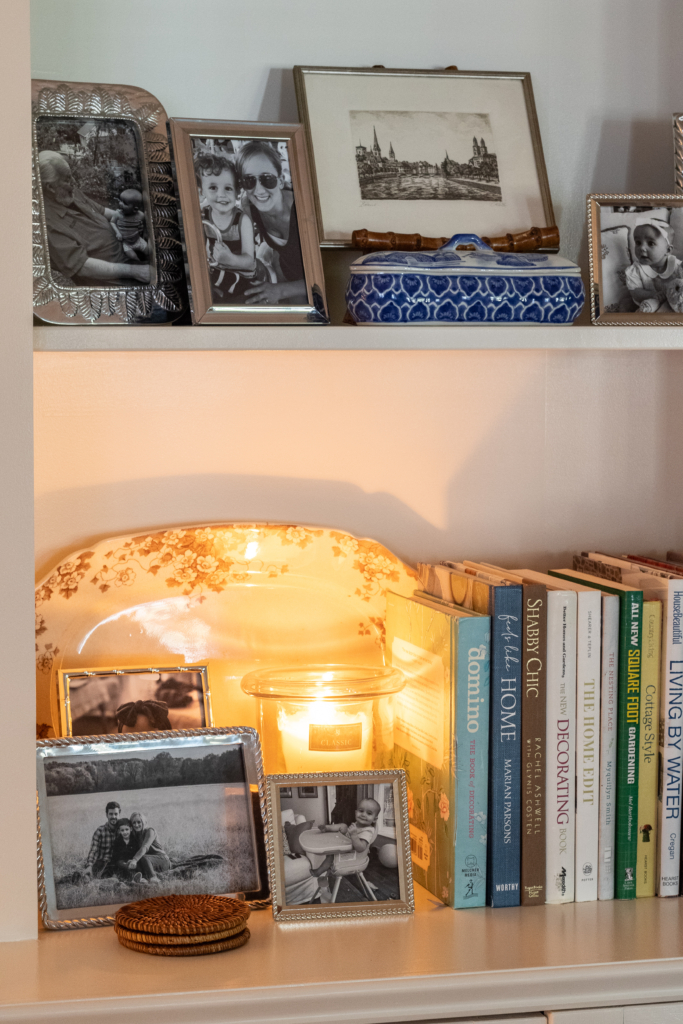
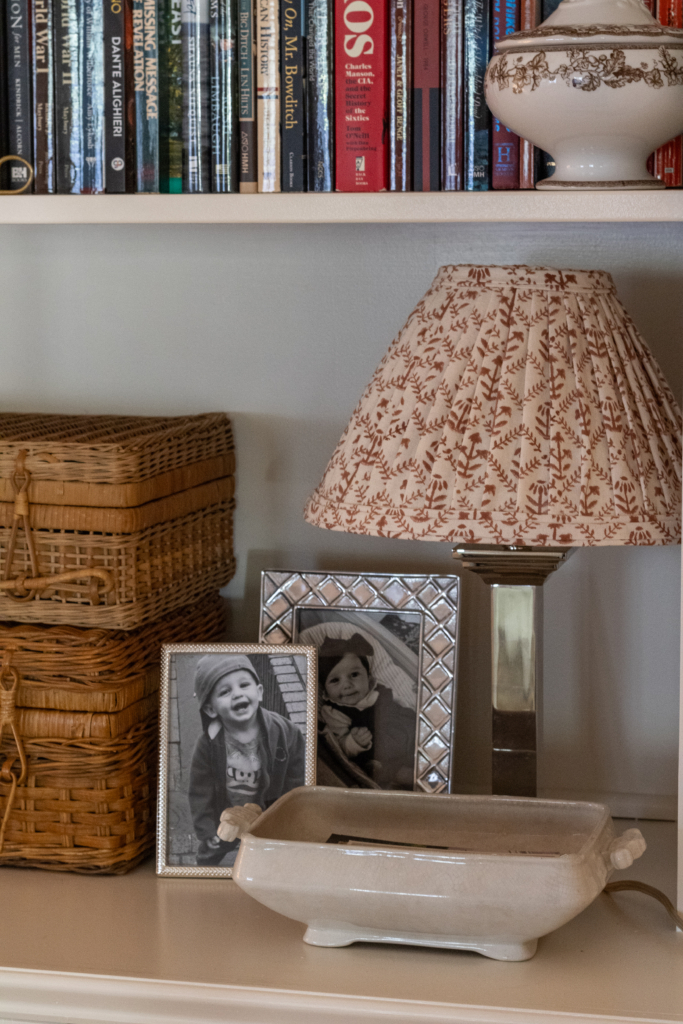
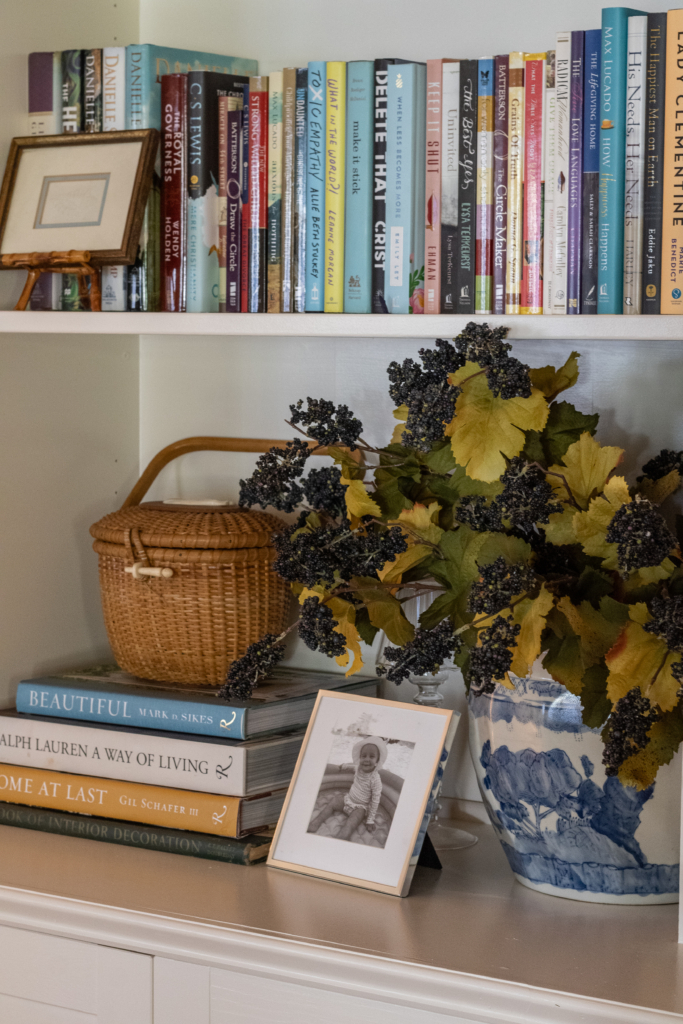
I’m so please with how they turned out. They give us so much storage below for school stuff and all the things you need in a family room, but don’t exactly want cluttering your space. The shelving was so much fun to fill. I didn’t place all of our books here. I wanted to make sure we had plenty of space for family photos and a couple of things passed down from family. We chose not to fill in the holes on the inside of the shelving. We want to have the option of changing the height of the shelves in the future.
I used the same cabinet knobs that I used in our previous kitchen and butler’s pantry. They’re unlacquered brass, so they’ll develop a wonderful patina over time. You can see them in our previous kitchen and pantry below. 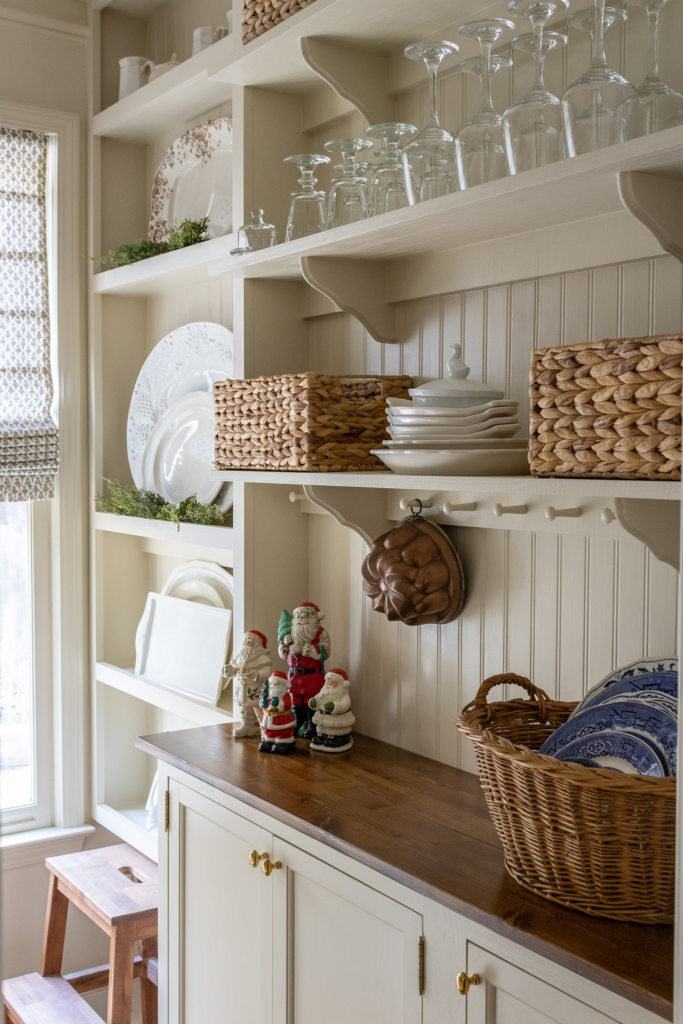

We plan of making a hole on the top of cabinets in this corner for cords to plug in. We do have an outlet on this wall behind the second cabinet. Well made sure to cut out the back of the cabinet around that outlet. Keep that in mind if you install these yourself. You never want to cover outlets. A jigsaw works great for cutting around them. We also recently built-ins in our basement playroom. I’ll be sharing that room very soon! The built-in we made are different in that room, but we used these outlet extenders so that we could still plug things in on top of the cabinets.

We still have several ceilings to scrap. It’s such a messy job. We decided to wait until after the first of the year before we do any more. In spite of the ceilings in this room, I’m loving this view!
We still need to install the outlet extenders and adjust a couple of the doors, but overall I love these built-ins so much! Josh once again exceeded my expectations. You gotta love a handy husband, especially when it’s so different from his day job. Again, there’s much to be thankful for. I’m hoping to complete the kid’s playroom in the next week or so. I’m so excited to share it with you. It’s so colorful and fun! Until then, I hope you have the best November, friends! 


You have a beautiful home! I cannot wait to see rest of it as you transform and decorate it.
Love the built ins! Looking forward to your coming projects in the rest of the house, but in the meantime enjoy the holidays in your new home!
They look beautiful! Great job.
What a wonderful project and the outcome makes everything so cozy! You have an amazing design sense, excited to watch the progress in your new home.