Our cottage style kitchen is one of the most “lived in” rooms in our home. This space went from dated to light and cool to finally warm and welcoming! We got it just right with this refresh.
Is there anything more exciting than kitchen reveal day? It’s like Christmas morning for me. Our kitchen has been evolving for almost 5 years. It has grown and changed right along with our family. As our needs changed and we’ve refined our style, our home was followed. It’s come quite a long way since the first day we walked through the door. When I look back at the before photos I feel such a sense of accomplishment. It embodies the transition that our colonial has gone through in the last 5 years perfectly.
Let’s take a look at what it looked like the first day we unlocked the door and walked in.
Before
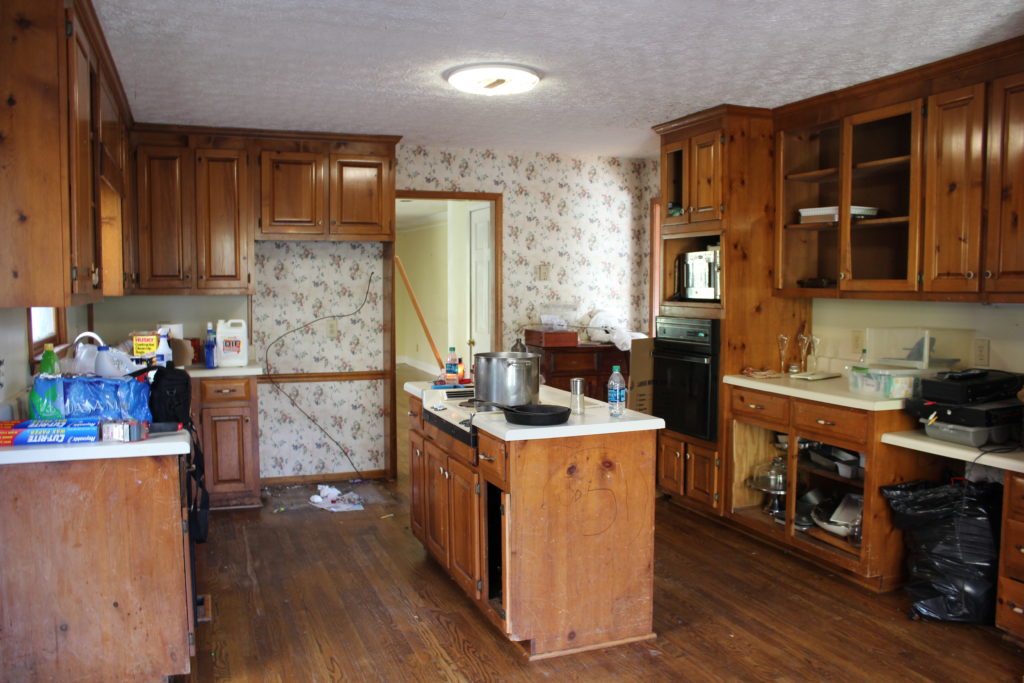
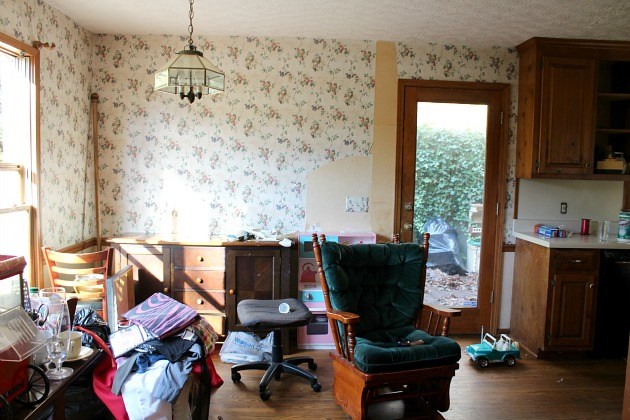
A Dated and Sad Before
It’s a great size kitchen! The size caught my attention right away. There’s lots of counter space and plenty of room for a table in the breakfast nook. The solid wood cabinets were also a plus, even if they were missing a few doors and all of the windows allow the space to be flooded with afternoon sun.
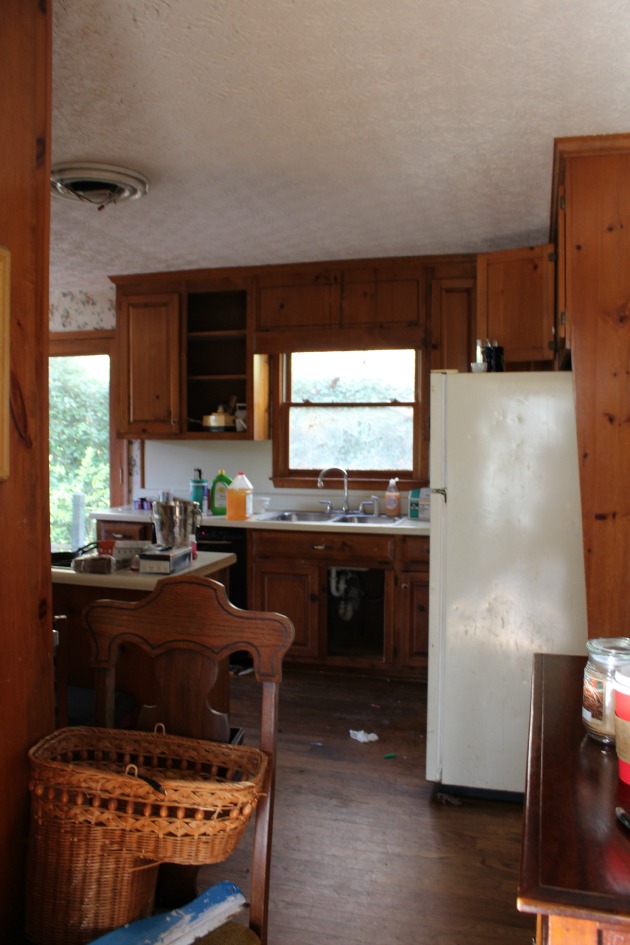
The kitchen was one of the first rooms we completed. We broke it up into several projects. We ordered missing cabinet doors, painted, relocated appliances, installed counter tops and back splash. Only in the last two years has the kitchen really been complete.
In our previous home we went with warm tones and colors. When we bought this house I decided I wanted cooler tones. Here’s how it looked after the first renovation.
First Renovation
You can read all about the renovation details HERE. You can get the details on the countertops and how we sealed them the first time HERE.
Getting It Just Right
It didn’t take long for me to realize that I had made a mistake. There was absolutely nothing wrong with our first renovation. At first I really liked it. It just wasn’t totally me. I began to crave warm tones again. Over the years we have gone back into rooms that were painted cooler colors and repainted them with warmer ones. For a couple of years I knew I should have gone with a warmer color scheme. I kicked myself for not staining the counter tops the first time and opting just to seal them as is.
If you’ve ever completed a kitchen renovation, you know just how taxing it is. Painting cabinets correctly is not a quick or easy task. The thought of stripping and refinishing the countertops right away was just too much at the time. Fast forward 4 years and our butcher block was in need of resealing. That’s where this makeover starts! I made the decision in the spring that once fall arrived we would refinish the countertops and I would also repaint the cabinets. It was ambitious and I had no idea the issues we’d run into, but I was determined to get it right this time!
Our Kitchen Today
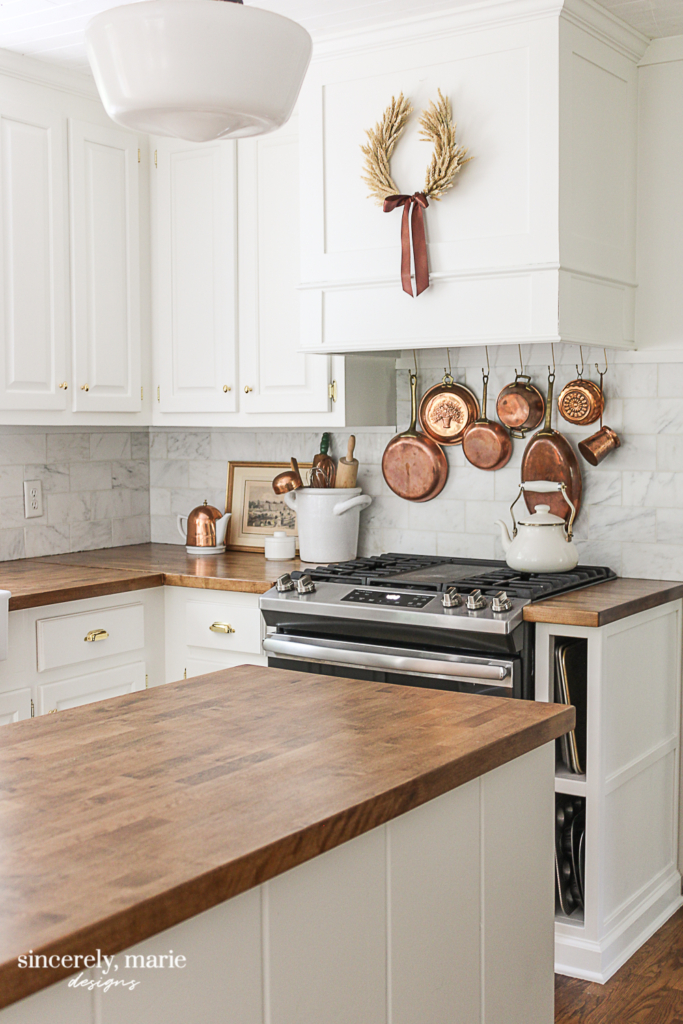
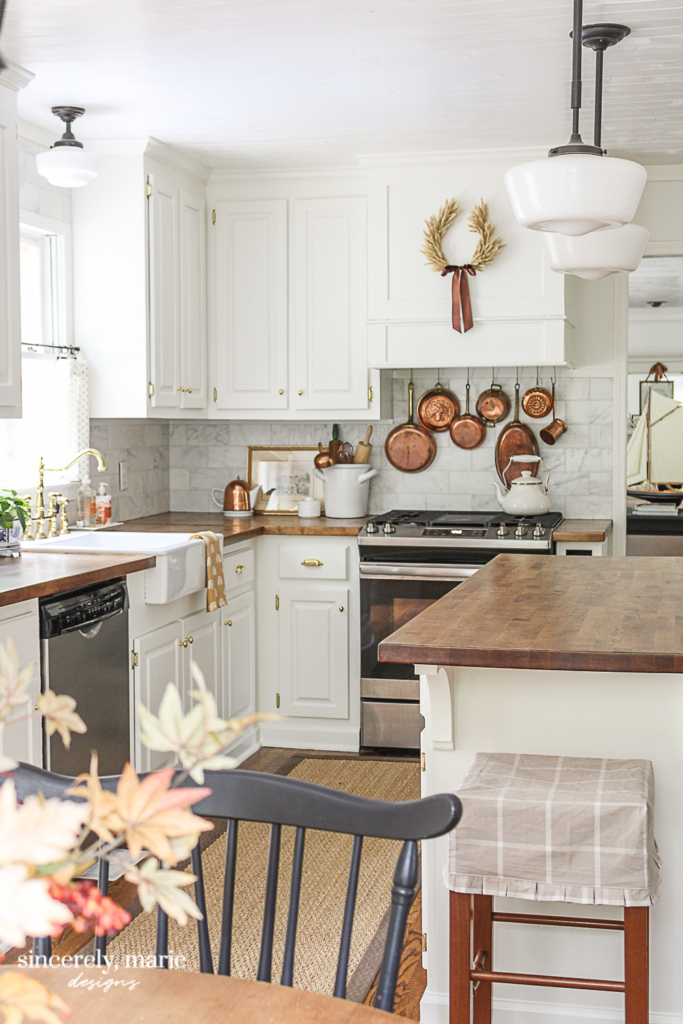
A Warm “Lived In” Kitchen
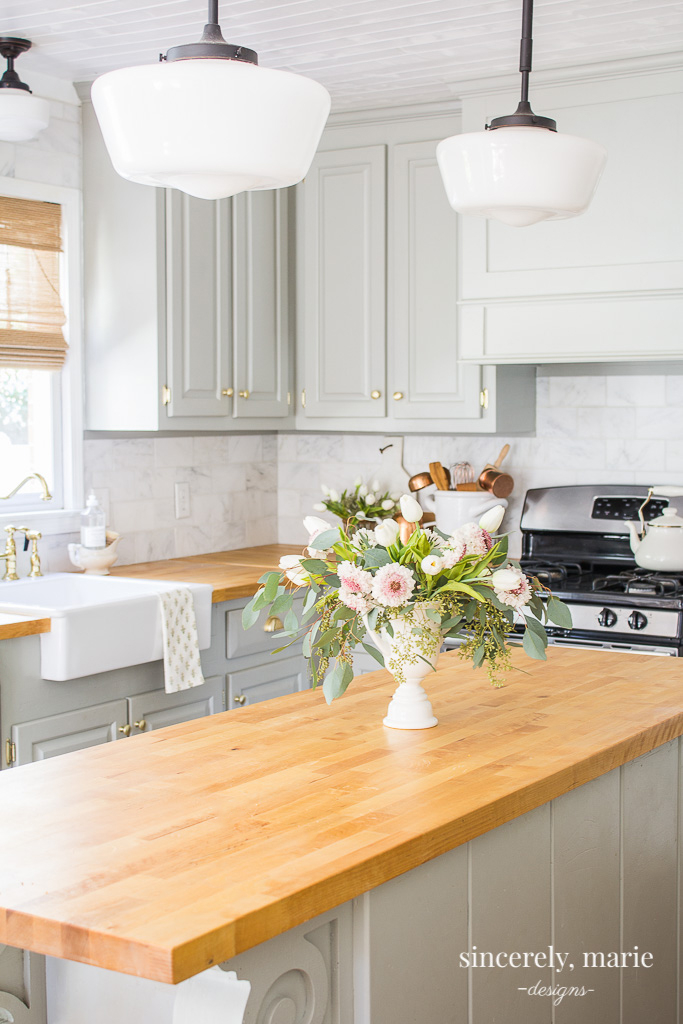
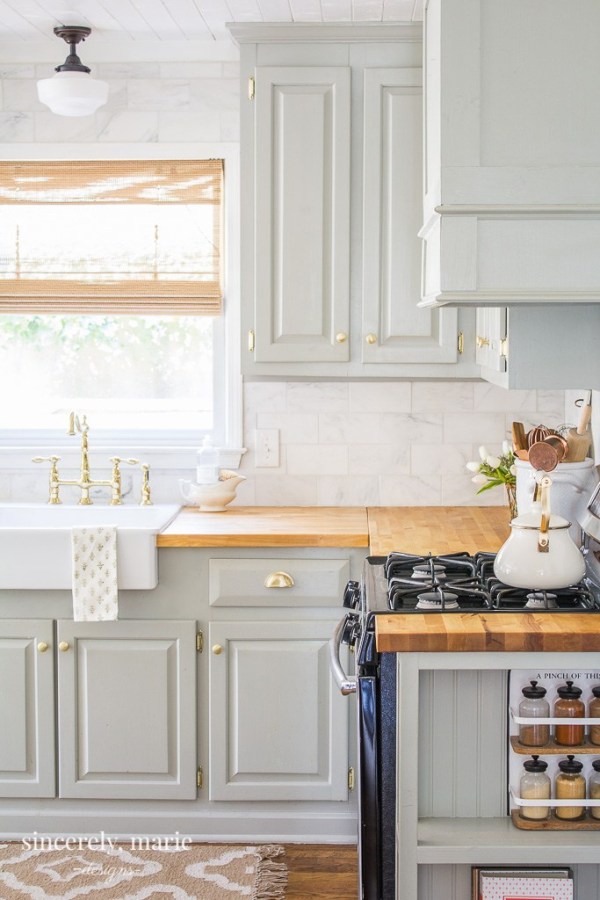
I went with a warm, creamy white for the cabinets. I originally tried to color match our tea kettle at Sherwin Williams and Lowes. (Our kettle is the perfect shade of cream in my opinion.) After each sample came back slightly pink, I found that Swiss Coffee by Benjamin Moore was almost an exact match! It was just the color I was going for. We went for Swiss Coffee in a satin sheen for the cabinets, trim and walls. Just as I did in our foyer, dining room and living room, I went for tone on tone. The kitchen looks larger and much more cohesive. This paint color also pairs really well with our marble back splash tile. I really love our tile back splash and wanted to make sure that whatever paint color and countertop stain color we chose worked well with it.
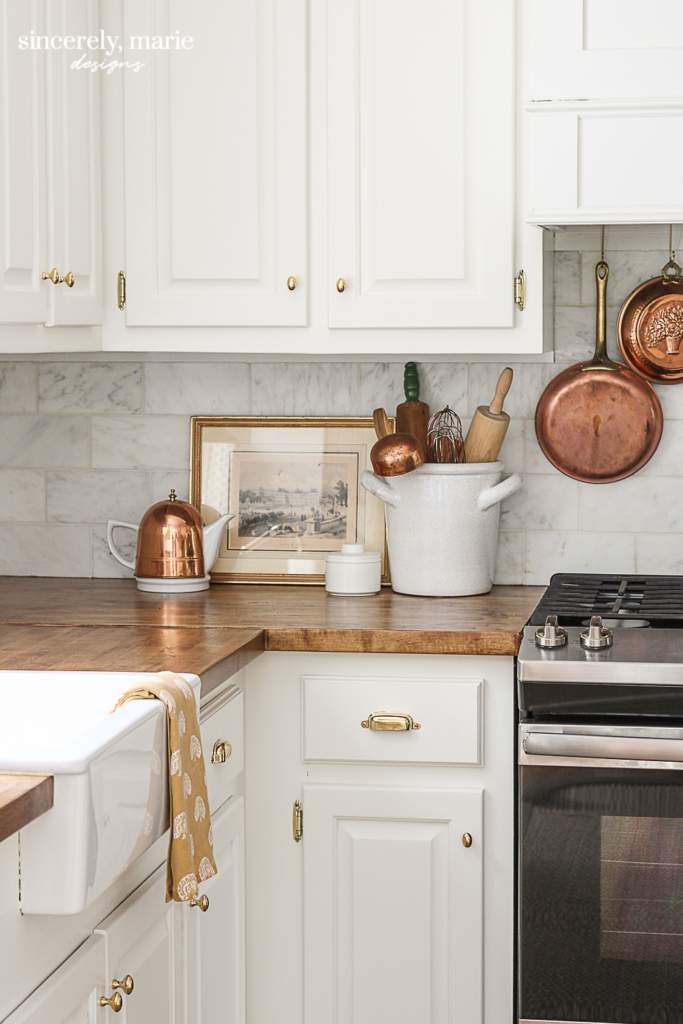
We warmed up our countertops by staining them Minwax’s Provincial. I’ll be sharing all about that process next week. It threw me a serious curve ball.
Earlier in the year we swapped our old stove out for a slide in range. Shortly after that I shared an easy and cheap way to hang some of our copper pots. You can get that how-to HERE. We use almost all of our copper cookware, so they’re not just for display.
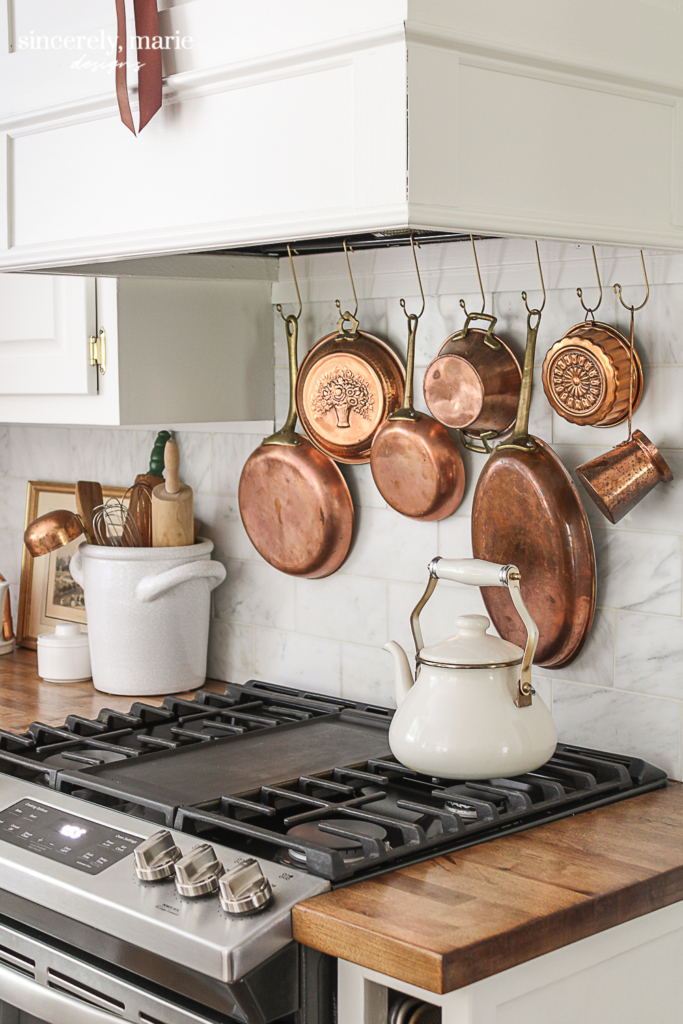
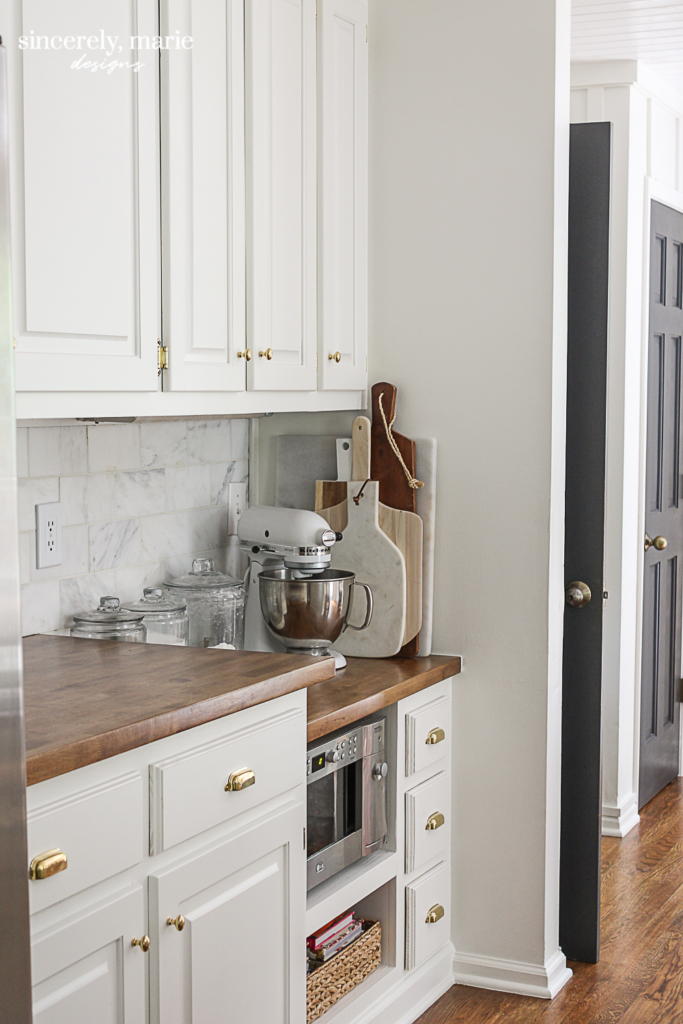
Our Cabinet Hardware
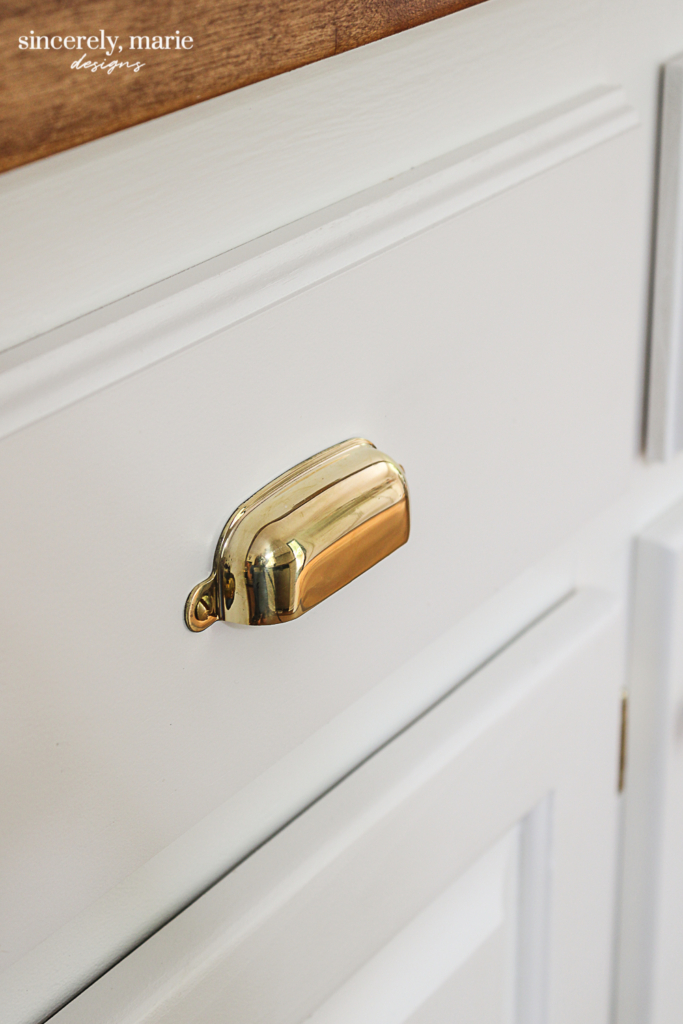
I especially love the hardware we chose. Shortly after our first kitchen renovation, we remodeled our powder/laundry room. I went with unlaquered or also called a “living” finish for the cabinet hardware. Over the years it has gotten the most beautiful patina to it. I quickly realized that I had made a mistake going with brushed gold hardware in the kitchen. Again, purchasing quality hardware is not cheap. I knew I would have to wait. It was well worth the wait, friends. We counld’t be happier with our new unlaqured pulls and knobs.
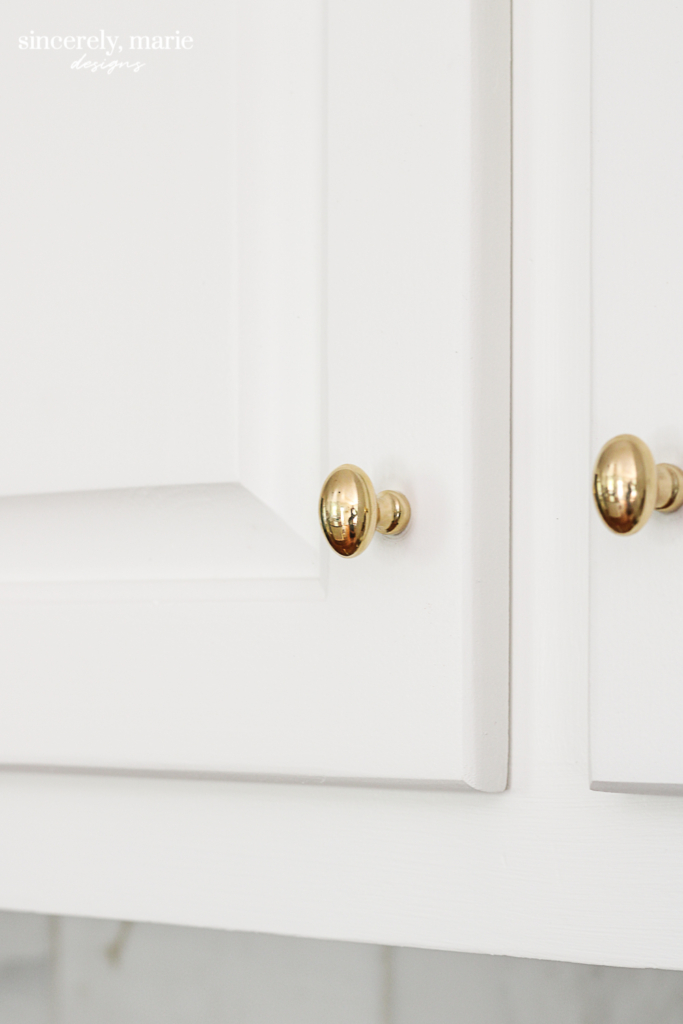
Instead of tradition round knobs, I chose unlaquered oval knobs. They’re still very classic, just not as common. They appear slightly smaller, but I like the no-fuss appearance of them.
Josh refaced our drawers for me. I was never a fan of the old drawer fronts, so he cut and routed new ones that are a little more simple and timeless.
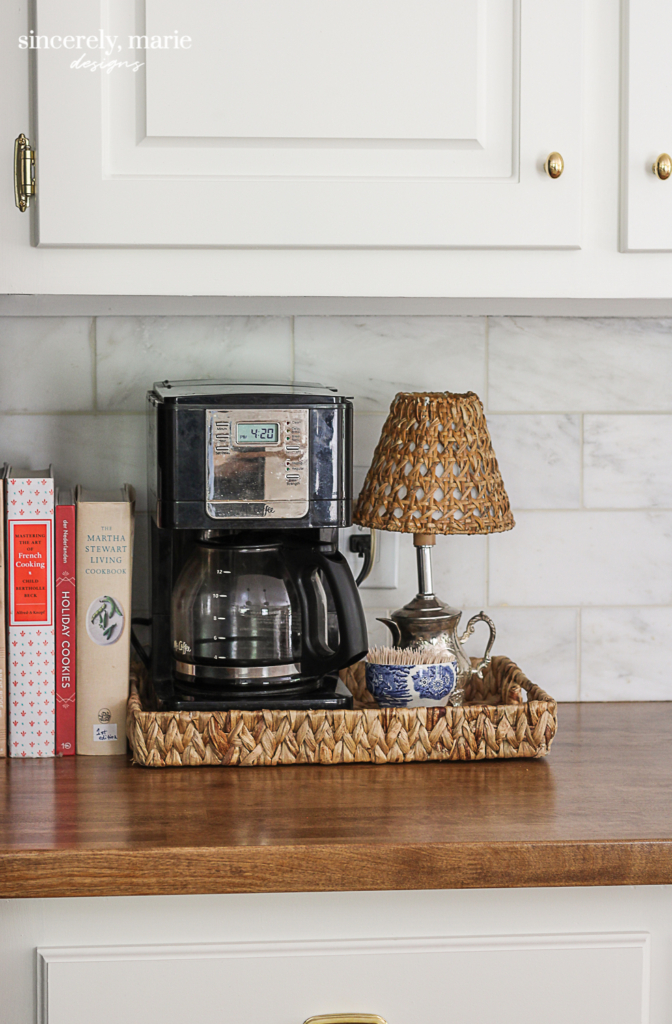
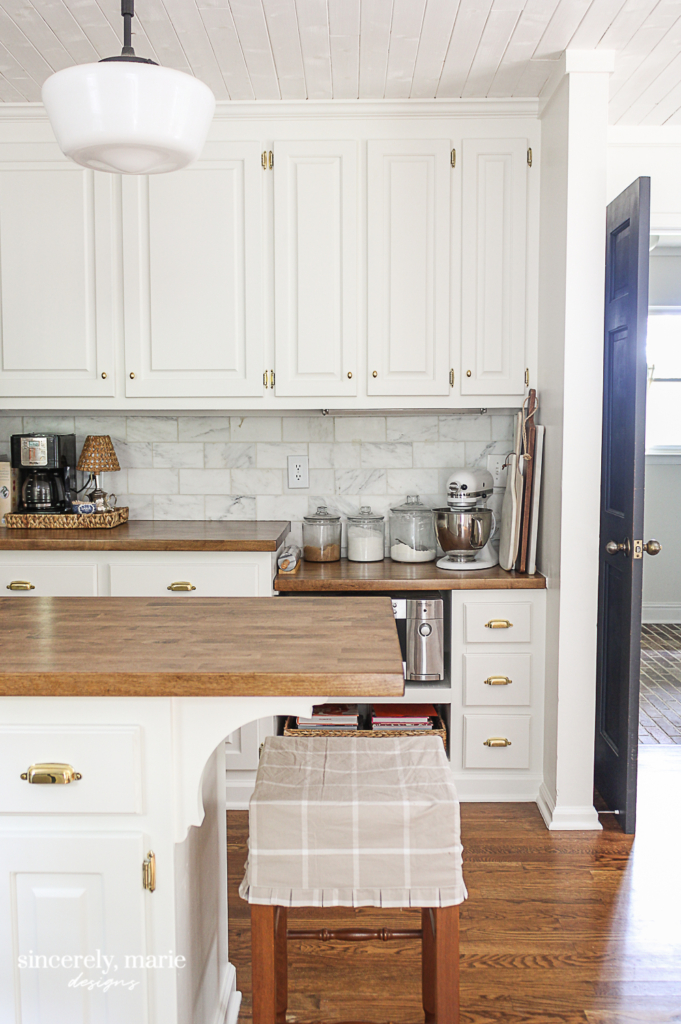
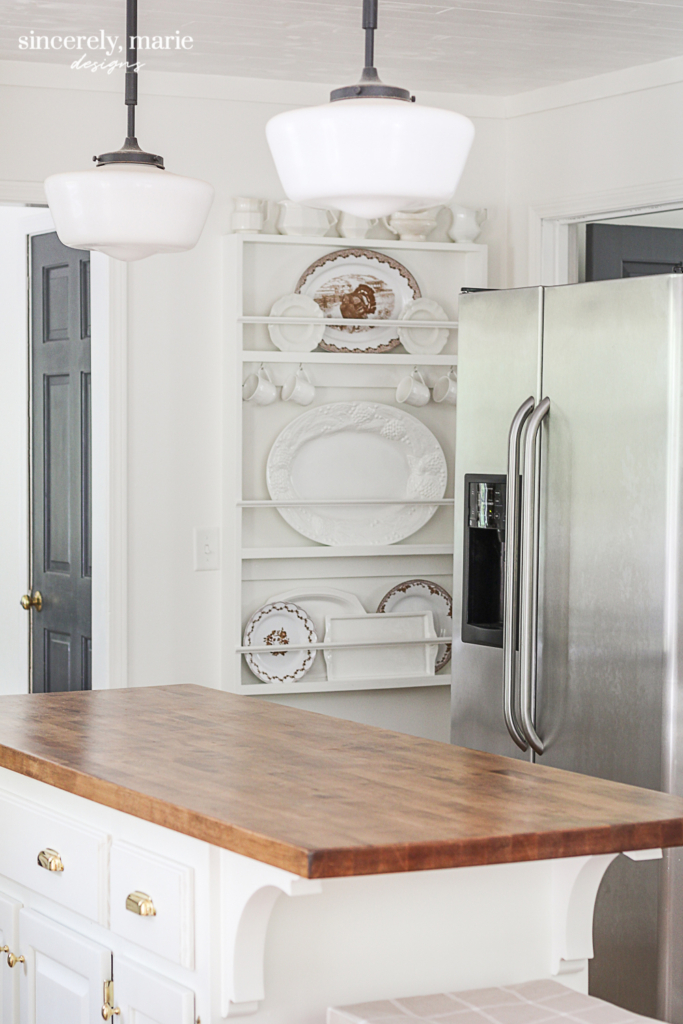
Our island got new corbels that are not as bulky and fit the style of our kitchen so much more than the last ones. I found this PB stool on the FB yard sale site for $20 and I made the pleated slipcover from leftover windowpane fabric I had on hand.
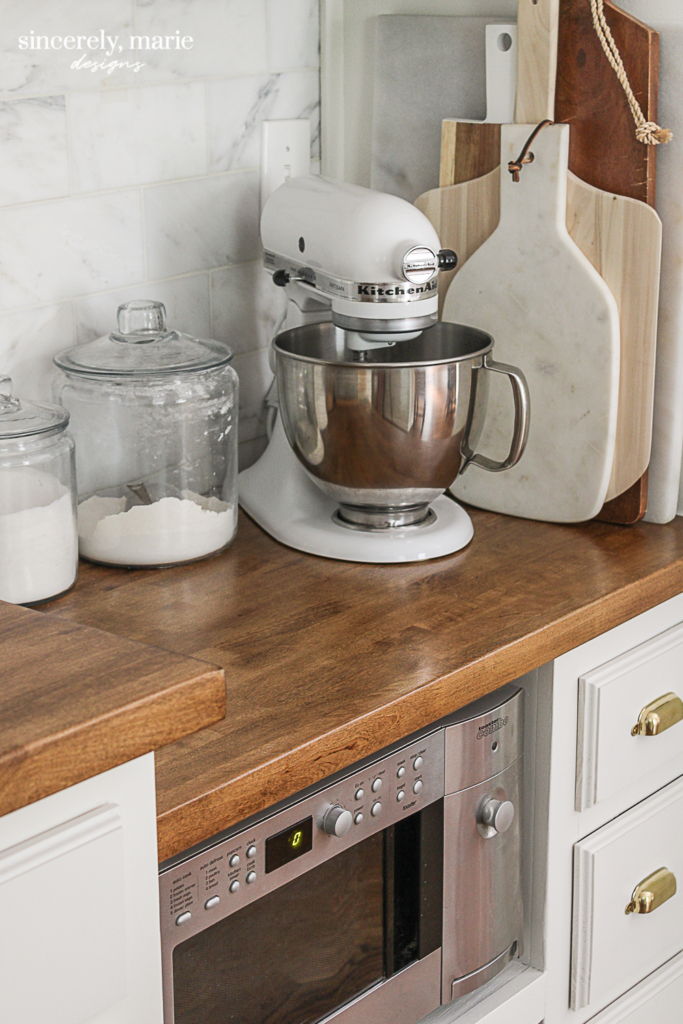
Our baking station stayed the same, just cleared out a bit of clutter.
Breakfast Nook Before
Our Breakfast Nook Today
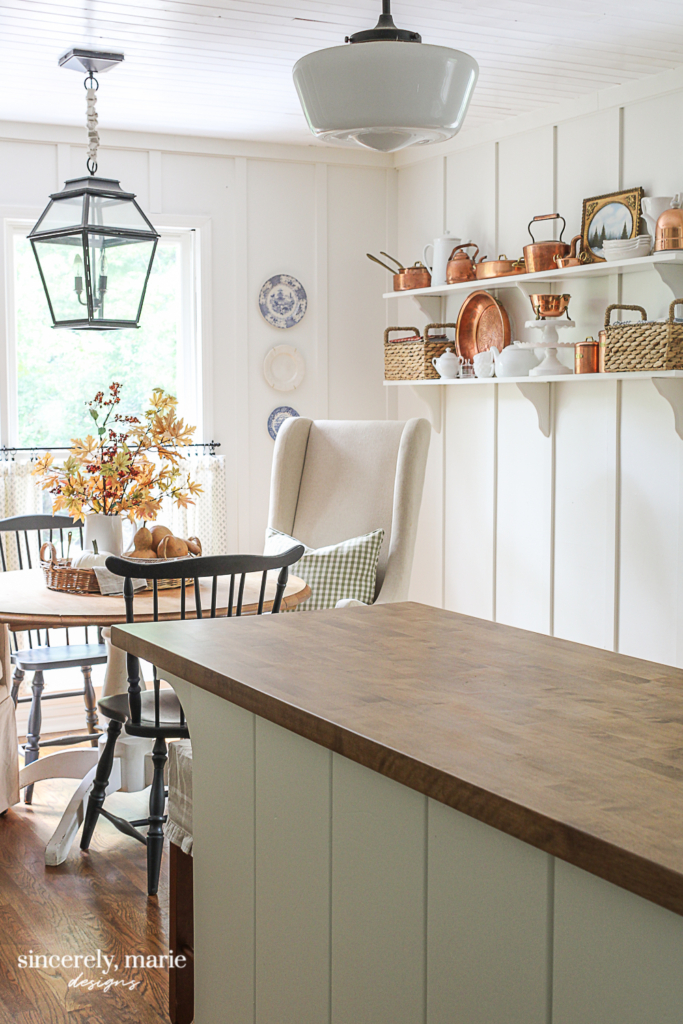
Cozy Breakfast Nook
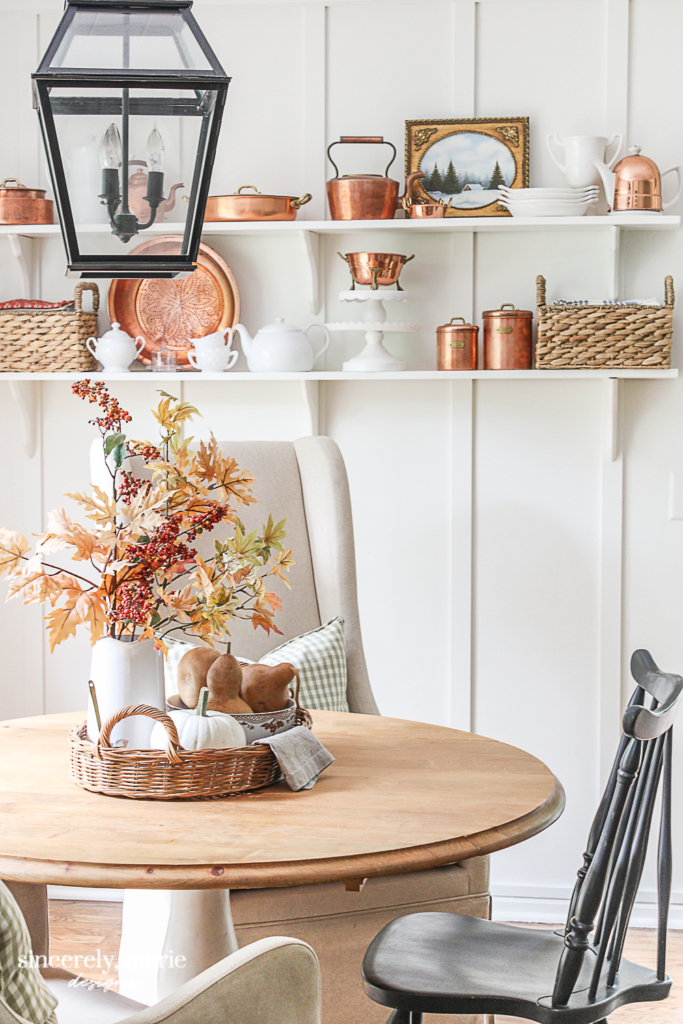
Not much changed in our breakfast nook. The wall color is very similar to the previous Dove White color that was there before. I decluttered our shelves and bit and went through our baskets to get rid of any linens we no longer use. Everything on these two shelves is used with the exception of the antique copper tea kettle. From the vases, to the pots and cake stands, I use each one throughout the year. I’m not a fan of clutter, so our kitchen essentials double as decor.
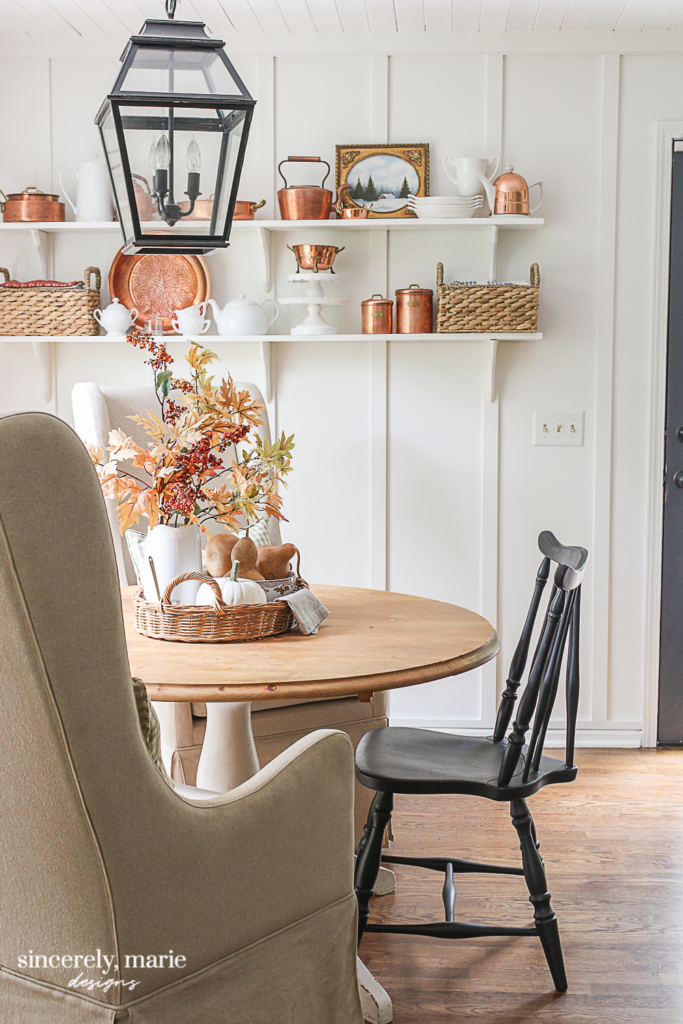
I like to use natural fall decor each year. Gourds and leaf stems are a great way to keep things simple, yet festive.
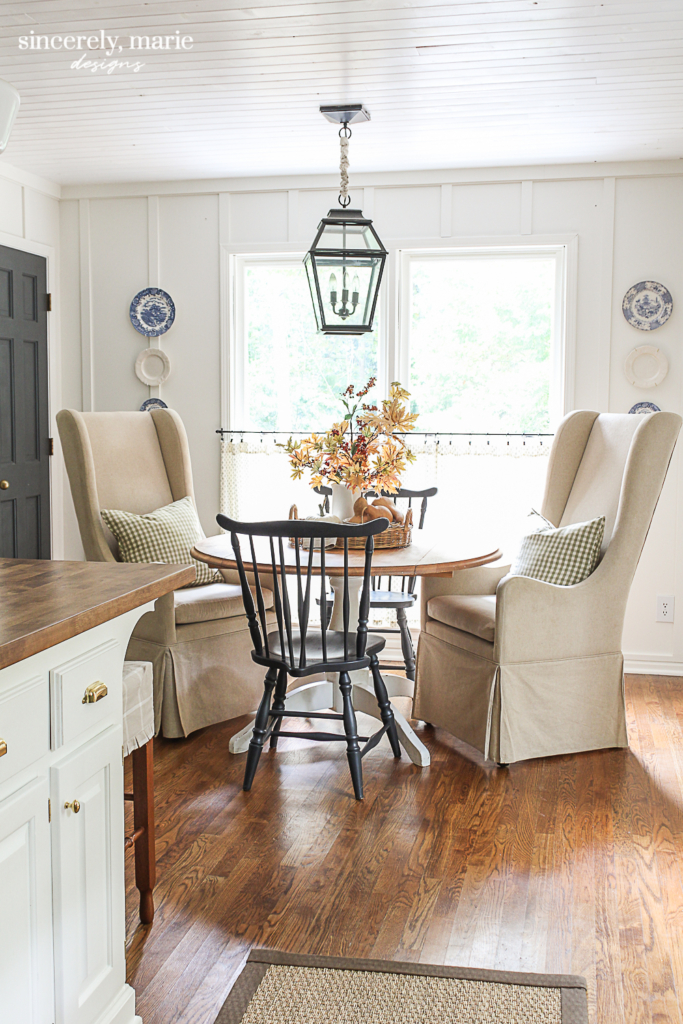
We used to have a rug under our breakfast table. I found it to be troublesome with moving the chairs in and out from under the table, so we opted to go without a rug. It’s also been much easier come clean up time.
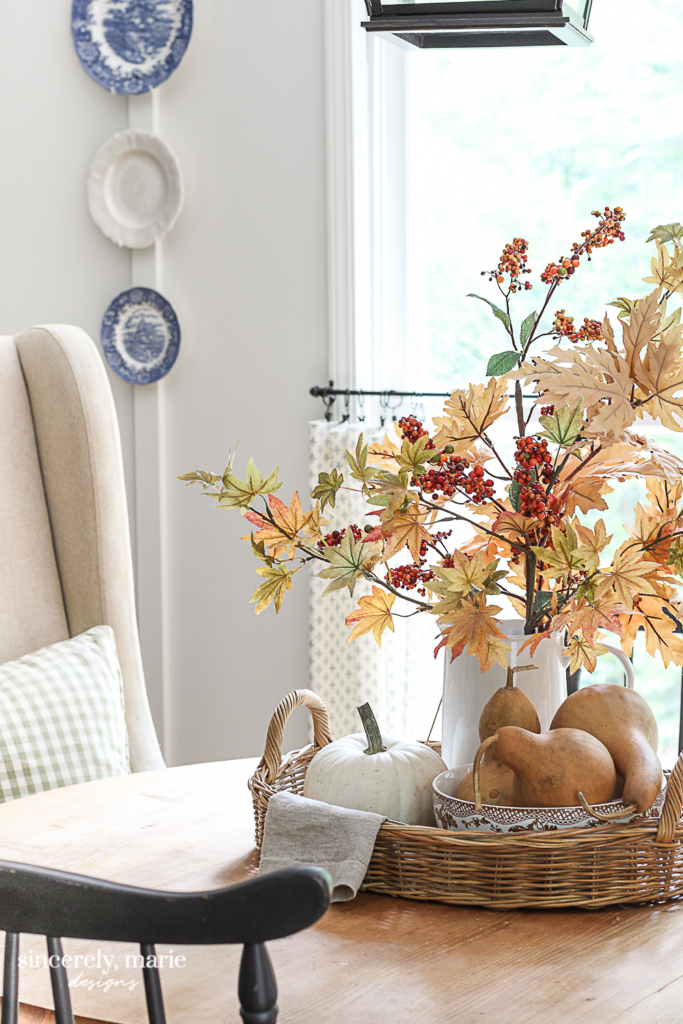

Over the summer I took our roman shades down and made cafe curtains in their place. It’s allowed so much more natural light to flood in. I’ve always adored cafe curtains and I love the cottage look it gives the space. You can find the fabric HERE.
Creating More Storage
Last week I shared our DIY plate rack. Ever since we moved into our home, I have struggled with that wall. It just felt lost and a bit drab. A plate rack was the perfect thing to fill the space. It not only looks charming but it’s extremely useful. It has given us a place to store those larger platters and serving trays. It’s just the best when form meets function!
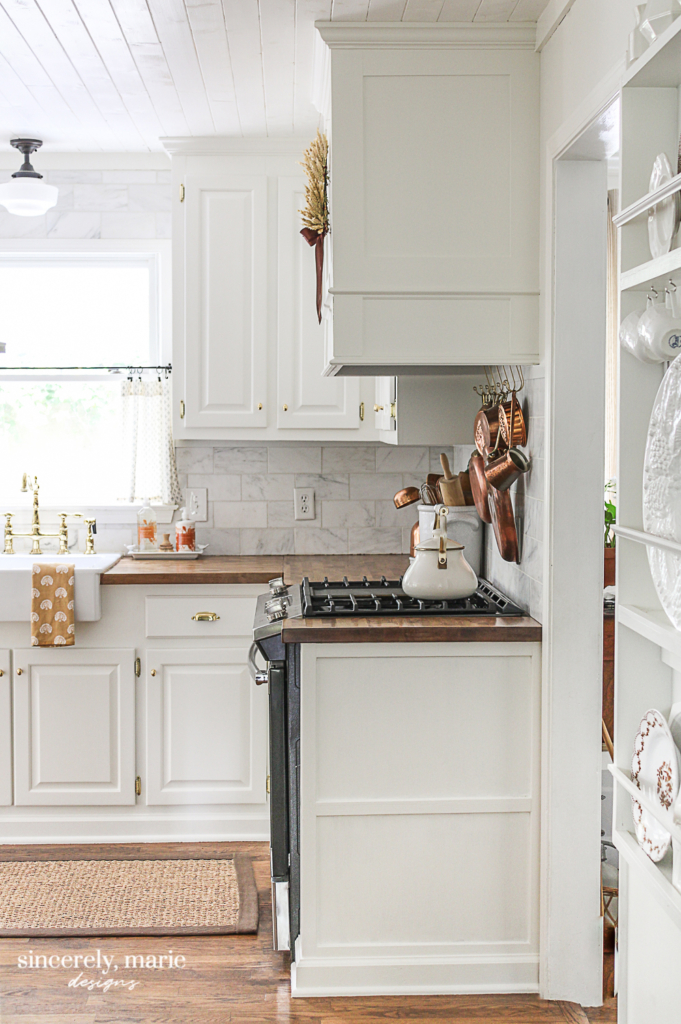
If you noticed in the photos above, we had made a shelf to cap off the stove. We never used it like I had planned. I knew that we could get more use out of it as storage for sheet pans. Sometimes things don’t turn out like you had hoped and that’s okay. I’ve learned to be open to changing things that I didn’t get right the first time to make it work better for our family. Josh and I decided that closing it up on the side was the best options. With just a little plywood and time, we now have useful storage.
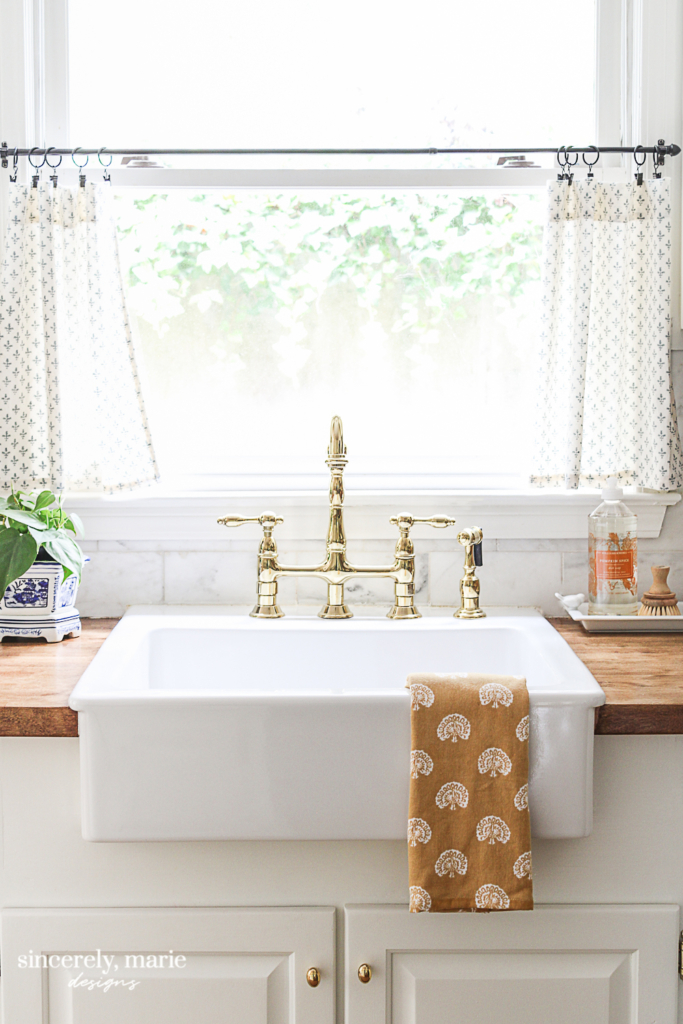
I named this post a “lived in” kitchen because lived in describes it perfectly. We spend so much time in this room. From homeschooling each morning, to baking all kinds of goodies, to family gathering around the table and island, we live in this space! Over the last couple of weeks we’ve made crock pot dinners, oatmeal cream pies and have had family dinners right here.
While this space is rarely as clean as it is in photos, it’s used. For that reason, I’m so glad I made the effort and pushed through the stress of refreshing this space. There were several things that did not go smoothly and many late nights were involved. When it comes to a kitchen, it’s well worth it. This room is now a true reflection of my style and what I’m most at home in. We couldn’t be happier with the result and I’m so relieved to have gotten it just right this time around.

Sources
Cabinet, Wall & Trim Color – Swiss Coffee by Benjamin Moore in Satin
Birch Butcher Block Countertops – Ikea (sadly, discontinued) stained in Provincial by Minwax
Apron Sink – Ikea (also discontinued)
Wheat Horseshoe Wreath – My Tutorial
Plate Rack – My Tutorial
Round Breakfast Table – Vintage Find
Saddle Back Windsor Chairs – Thrifted
Bar Stool – Pottery Barn yard sale find
Bar Stool Slipcover – Homemade
Pot Rack Above Range – My Tutorial 


I’m obsessed with every detail 😍😍 it’s so perfect in every way!!
That means the world to me, Andrea! I just love your home and style, so that means a lot.
Andrea, thanks for sending us over to check out this blog. LOVE this kitchen!!
Thank you so much, Mary! I’m so glad you stopped by 🙂
Gorgeous, gorgeous, gorgeous, Amanda! Love your attention to detail (ie… the subtle change to the drawer fronts?! Fabulous…) and your intention to make every space even more efficient.
And bonus points for reusing so many elements of the existing kitchen… Sustainable and budget-friendly too!
Enjoy your simple, beautiful and meaningful refreshed kitchen… Thank you for sharing!
… Denise ✨😎✨
Thank you Denise 🙂 I just couldn’t see replacing everything. I’d love an undercount sink, but ours works just fine. I’m all about using what you have. Not to mention, kitchen renovations are not cheap. Even the simplest changes can add up! We’ve enjoyed it so much already. I’m really looking forward to all of the holiday baking in my future!
I honestly don’t think I have ever seen a better before and after such as this one. I can honestly say – and this has never been the case – I don’t think I would change a single thing. It is true perfection. Well done – and with such humbleness – I think your kitchen is now absolutely perfect.
ps
Your nod to Autumn with your natural touches is spot-on perfect, too. Love love love love loooooooove your taste.
It’s absolutely perfect!! Love it!! You’ve inspired me to refresh my kitchen!
I love every single detail of your kitchen refresh! The warmer tones are just perfect! When we redo our kitchen, I really want butcher block countertops. So much inspiration in this post down to the placement of the microwave!
I am so excited to see your kitchen! New to your site I had no idea I would find a close “after” photo for the kitchen redo we have in the works. We just finished the marble backsplash Monday. We are having new cabinet doors and the repainting of the shells done professionally (scheduled for November). We are betwixt and between finalizing our paint color choice. I too want a warm white but am so afraid of choosing something too yellowy. We have granite countertops that are not yet 4 years old. Like you, it was a wrong choice for me, made to match a French white cabinet color whose glaze I nicknamed “perpetually dirty”! So I am compromising with my husband and we’ve ordered a walnut wood plank top for our island. I was so happy to see your kitchen and how it looks with the deeper color on top.
We ordered our wood floor yesterday but the product is backordered until December so though disappointing, we feel it’s worth the wait. I also use copper to decorate as well but my collection is severely lacking compared to yours! I’ve been looking at cabinet hardware and I’d be interested to know why you don’t care for the champagne brass. I have a sample cabinet pull (on a sample color board, no less) and it is soft looking which I kind of like. Needless to say, I’m driving my husband crazy.
I plan to check out the Swiss coffee color, but you’re right, the teakettle is just perfect. I’m planning on taking a closer look at these pictures to drink in just how pretty you’ve made this space. It’s warm and inviting and captures my taste to a tee. Thanks for sharing!
Your kitchen is so charming & beautiful! What caught my eye was the tension rod holding your copper pots/jello molds. I purchased one from WalMart but am afraid to use it. Your’s is also black. May I ask where you got it?
Thank you, Karen! I have it for a number of years. Honestly, I want to say I purchased it from Wal-Mart. I’m not 100% though. I’ve had it up for a few months now and so far, so good.
Just lovely and funeral!
Tell me where to shop the table in the nook, please. What is the diameter you recommend for a working round table?
Thanks for sharing!
Alderson@udel. edu
No worries! I figured that’s what you meant and auto correct took over. I found that table maybe 10 or 12 years ago at a barn sale. I think I paid around $40 for it. It’s 45″ in diameter, which is a great basic size for a breakfast nook. It needs a little love but I have seen similar at yard sales in the past.
Oops! Meant to say functional!
Oy my soul, this is gorgeous! You’ve thought of everything! Love everything you did. Great details and character. Pinned!
I love your transformation! It’s so classic and warm. Great idea on how to store your cookie sheets too! I’m new to your site and am enjoying it! Thanks!
Truly lovely, enjoy your blog and postings! You have inspired me to take time on a renovation and not simply follow what everyone else is doing. Have you written a book? if not, you should.
Hi! I’m also Marie 🙂 I love your kitchen. Both versions are stunning. I totally get what you mean about the energy a renovation takes. Enjoy your beautiful space!
Your kitchen looks AMAZING!!! I redid mine a few years ago and am so glad I did it! Love how yours turned out! Thanks for including me this week!
What an amazing before and after! I love the colors you used to transform your kitchen. IT’s so classy and beautifu!
Just beautiful! Your kitchen feels warm and inviting, your counters are spectacular and add so much character!! Love the way you have styled your breakfast area!!! Just lovely!!
you must have read my mind!! just great style
Amanda!!! Your style has always felt so ‘right’ to me. But I read this post hoping you’d share what color you chose for your cabinets… Girl!! Swiss Coffee is the color of my walls and the color of the open shelves we built for the kitchen this summer, and after my mom and dads Christmas gift this year my cabinets will also be Swiss Coffee!!! When I read that my jaw dropped!! 🤗🤗🤗 It’s gorgeous. YOUR KITCHEN IS GORGEOUS!!
PS I want marble backsplash too, but I’m trying to talk my husband into a bigger window in the kitchen. So the backsplash may have to wait if he let’s me do it!!
Absolutely amazing transformation. What I really love is how you “thrift” and update certain items in order to afford some of those pricier items. Blogs and tv shows use such overpriced items and have these huge budgets….you achieve better results using imagination, behaving in an environmentally responsible way and just being honest…..I for one, especially being retired certainly couldn’t afford $30,000 off the top to update my kitchen. I save my money for those pricier items, like good fresh food….oh, and coffee….decided a few years ago I’m too old to be drinking bad coffee.
Excellent work on this. You should be very proud.
Would love more information have you stained and sealed your butcher block. Your kitchen is gorgeous. Love the warmer tones, I’m transitioning our home from cooler tones as well and Swiss Coffee is perfect.
Hi Melissa! Thank you so much! Warm tones are so cozy and inviting and Swiss Coffee is a great choice for that. Yes, we did stain and seal our countertops. I have a post where I shared all about that – https://sincerelymariedesigns.com/how-to-refinish-butcher-block-countertops/ I hope that helps!
Hi Amanda, I followed your tutorial for refinishing my Ikea butcher block counter top and I am so happy with the results. Thank you so much for the tutorial and pictures. I now want to paint the cabinets and have read your tutorial on how you painted your cabinets several times. I can’t wait to get started! I am going to use Benjamin Moore swiss coffee paint too and I would like to know what application did you use… paint brush, roller, or did you spray them? I have read in other tutorials where both an paint brush and roller are used.
Your house is beautiful! And your tutorials are very thorough, thank you!
Patty
Hi Patty, thank you so much! I’m so glad they’ve been helpful. We used a foam roller on the cabinet bases and a small brush to get the corners of the openings. We used a paint sprayer on all of the doors and drawers. You can certainly use a sprayer on the bases as well, just be sure to cover everything else very well and ventilate the space. There tends to be a lot of tiny over-spray.
This is such a lovely, lovely kitchen. Would you mind sharing one detail? Where did you find the light beige windowpane fabric which covers your barstool? Looking for a similar fabric to cover an ottoman. Thank you!
Thank you so much Mary! I actually used a duvet from the Ballard Designs outlet. I originally purchased it to make a slipcover for my living room ottoman and had a good bit of fabric let over to make the slipcover for the stool. I don’t believe they sell it anymore, but it was called Daisy, I believe.
Hi there! What are the dimensions and configuration of your kitchen island? Id love to build one similar for our space. Our current island is too bulky.