Hello everyone! Earlier this week I started a new spring project. I made the sweetest DIY stuffed bunny, and it turned out so well that I made a another! I’m so excited to share them with you today. Spring will be here soon and I’m always looking for ways to reflect the current seasons in my décor without it being over the top or tacky. I recently saw some stuffed burlap bunnies at an antique market, and while I don’t care for burlap, I knew I could make something similar in a different fabric.
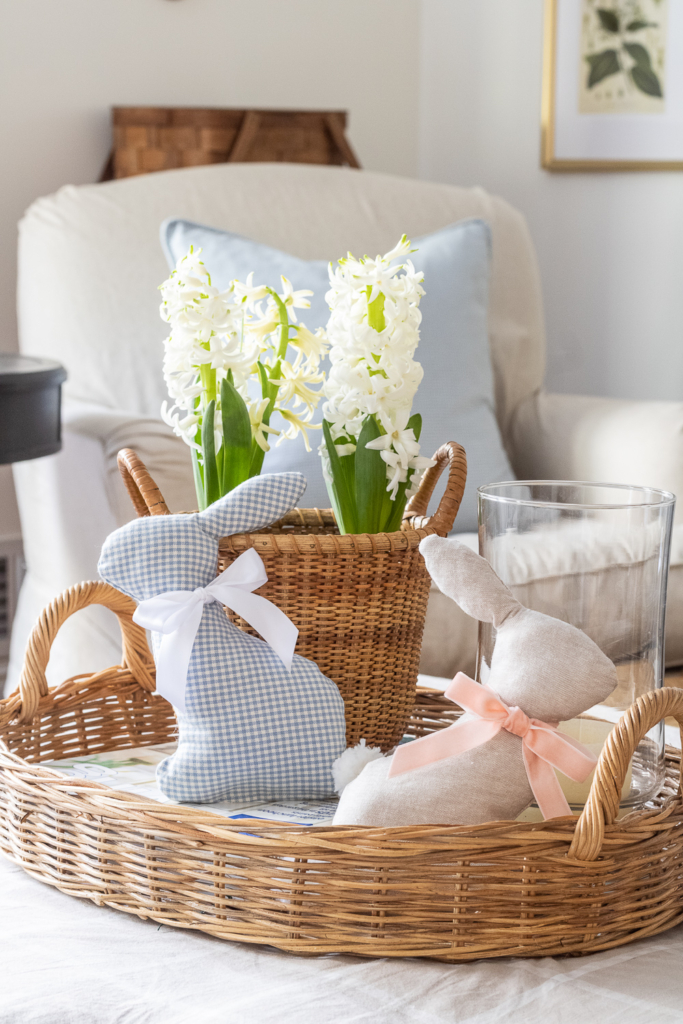
This is a fun project that can be completed in just an afternoon. I chose to make these bunnies with some linen and blue and white gingham fabric that I already had on hand, but you can use whatever fabric you choose. Below you’ll find the template that I created in photoshop that you can print and use to trace the rabbit onto your fabric. If you’re feeling creative, you can always sketch your own rabbit template.
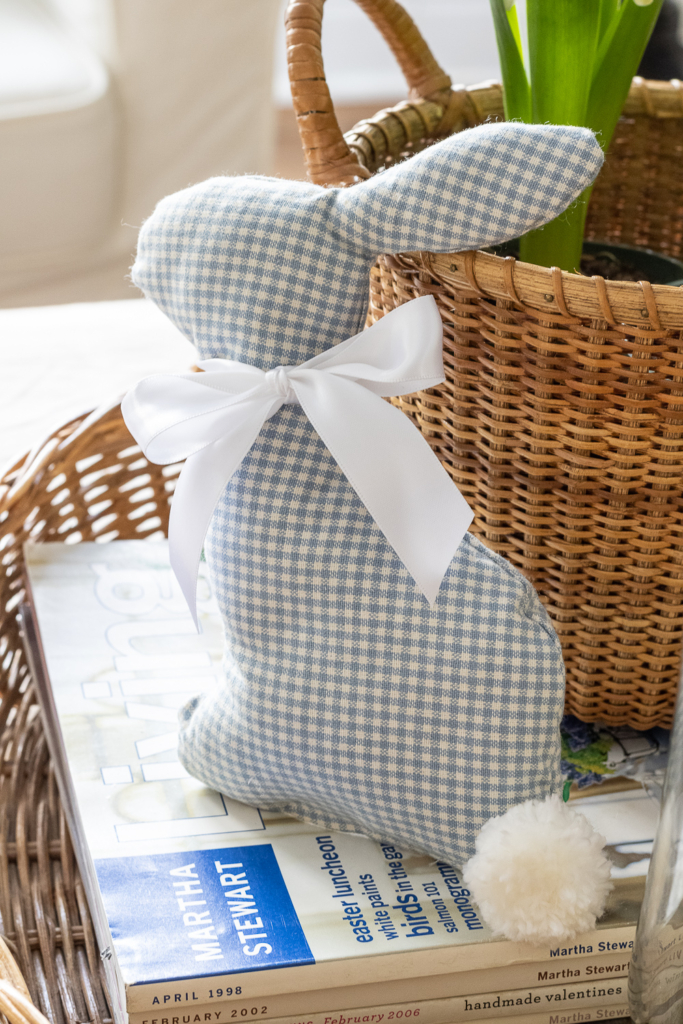
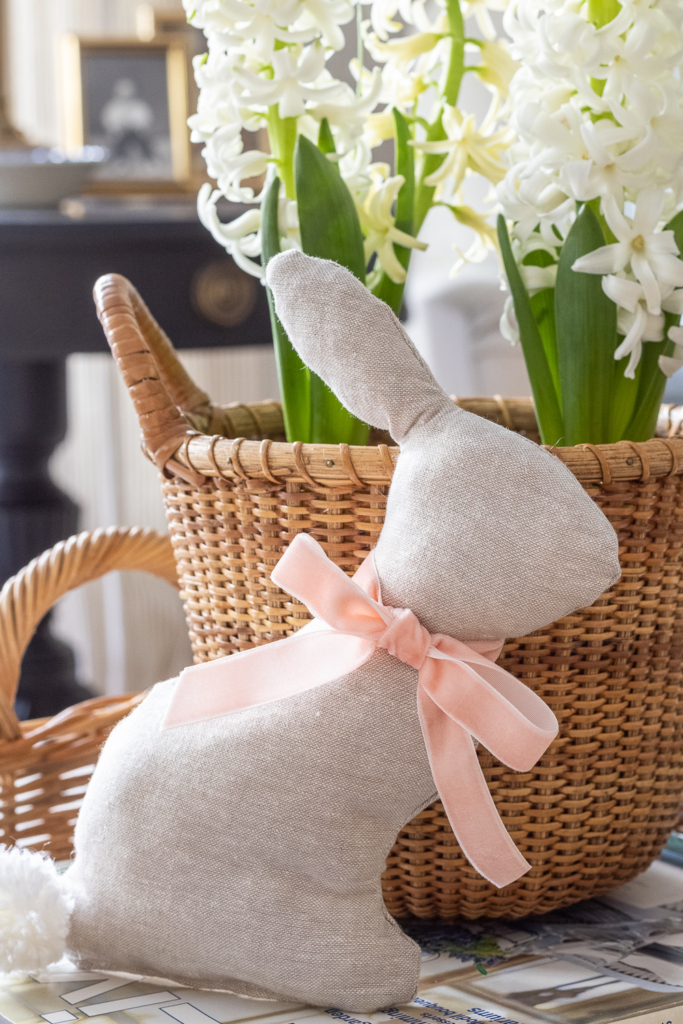
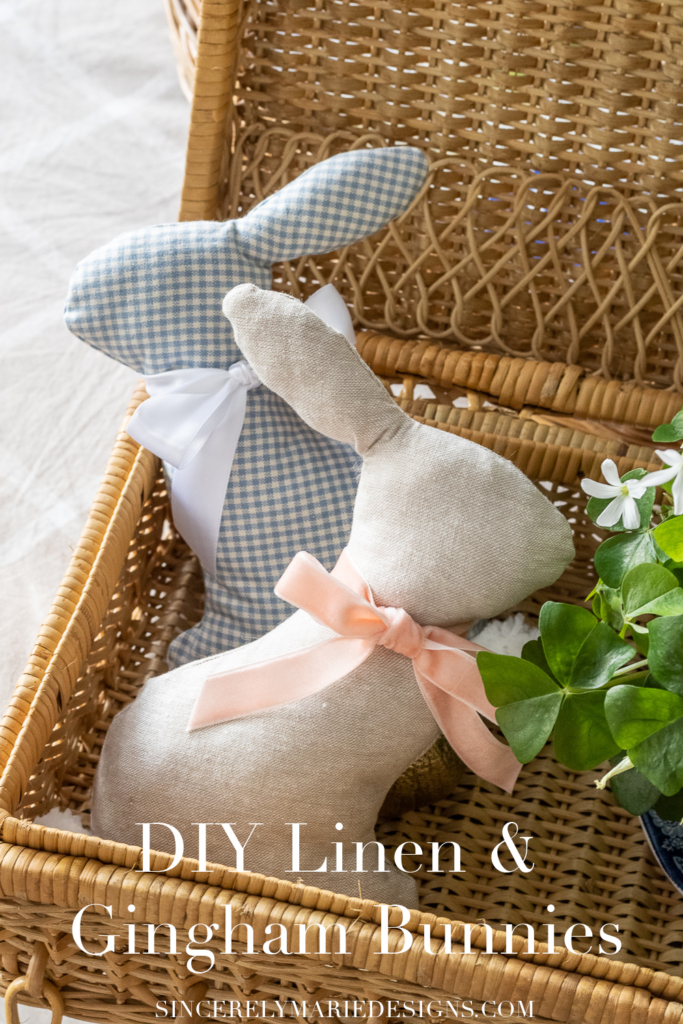
Honestly, I’m not sure which one is my favorite. They’re both so cute! I chose to use 5/8″ velvet ribbon on the linen rabbit and a 1″ satin ribbon on the gingham rabbit. Ideally, 5/8″ satin ribbon would have worked a little better than the 1″, but I worked with what I already had. We love a free project!
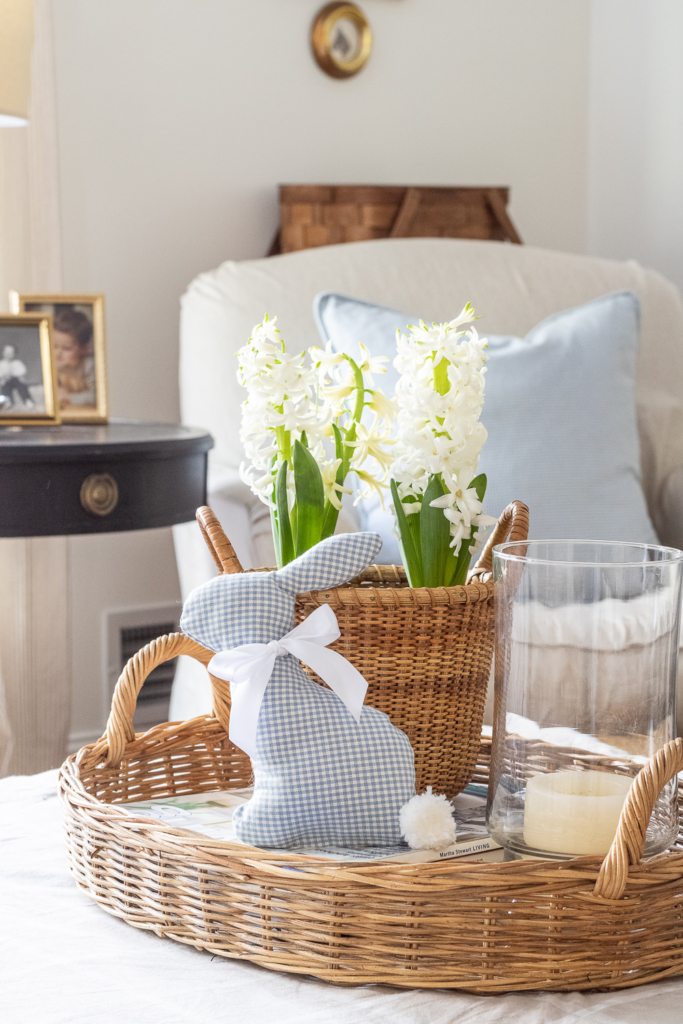
These little guys found their home on our coffee table/ottoman in our family room. I’m sure they’ll make their way around our home before the spring season is over. They would also be a great item to include in your child’s Easter basket!
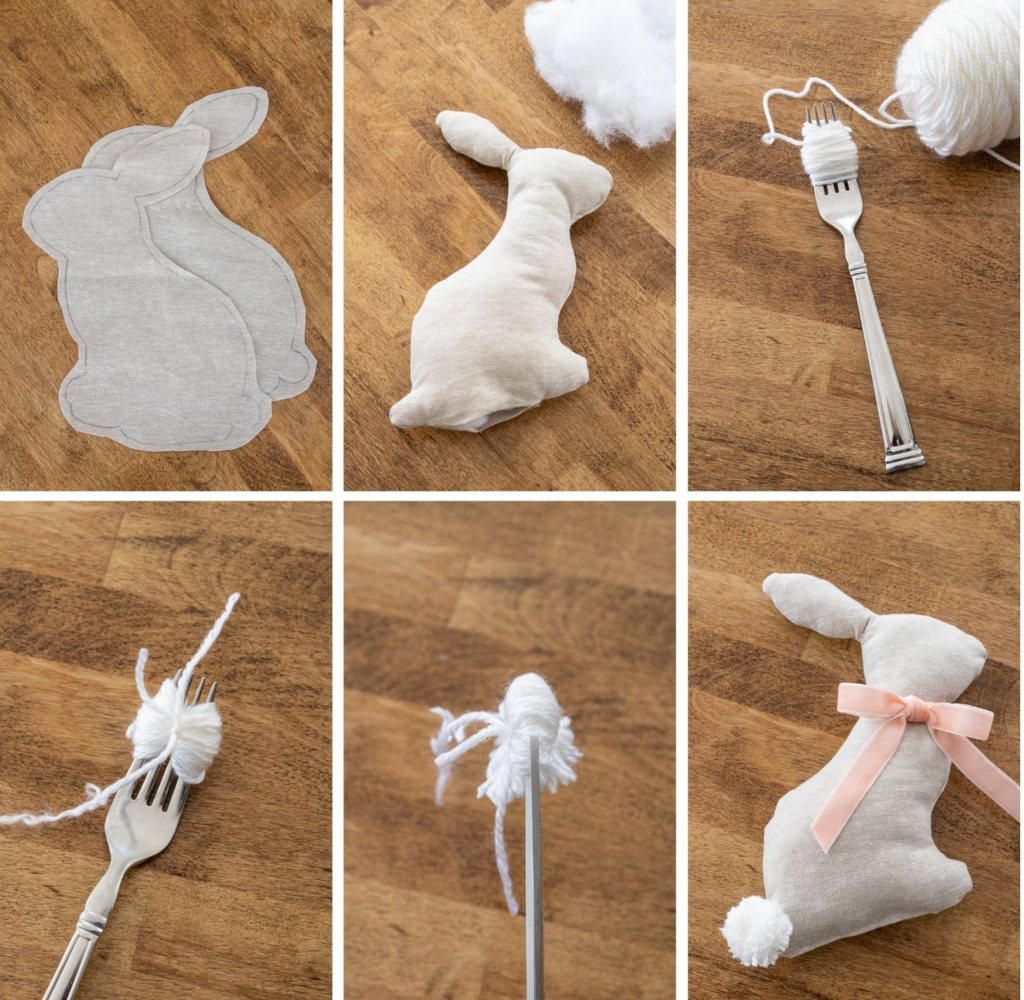
Directions:
- Print & cut out my free Bunny Template.
- Using a pencil, lightly trace around the template onto your fabric. Complete this step twice to create both sides.
- Line your rabbits and pin your two pieces of fabric together and stitch the pieces together with your sewing machine or stitch by hand (use fabric glue for a no-sew option), leaving an opening across the bottom to insert the stuffing.
- Turn your rabbit outside-in and fill with stuffing. *Tip – use the flat end of a wooden skewer to stuff the fabric into the ears.*
- Using a sewing machine or by hand, fold the bottom fabric inwards and stitch closed.
- Use a fork and preferred yarn to make your pom poms for the tail. Wrap the yarn around the fork 50-60 times and feed a separate piece of yarn thru the middle of the fork and tie very tightly. Slide the yarn off of the fork and use sharp scissors to cut the loops. Trim to make all of the pieces even. You can find my how-to for large pom poms HERE. (The pompom for the tail is optional. I think they look cute without it as well.)
- Attach your pom pom to the tail with needle and thread or hot glue for a no-sew option.
- Lastly, choose your ribbon and tie a small bow around the bunny’s neck. I purchased my velvet ribbon HERE & my satin ribbon HERE.
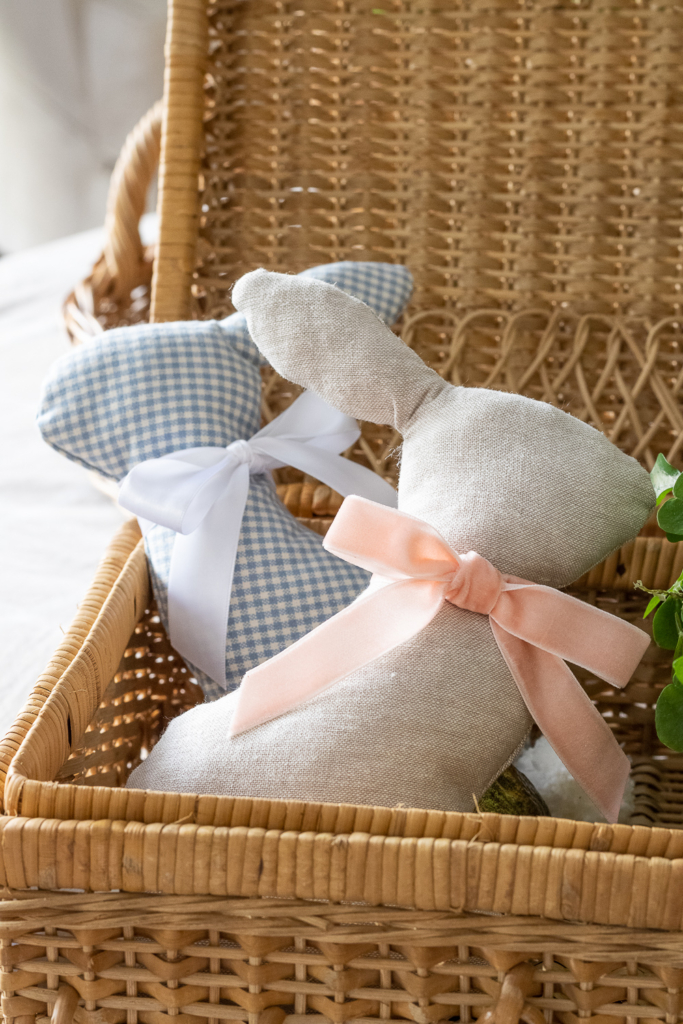
There are endless fabric and ribbon options, so you can make these bunnies custom to fit in with your home’s décor. Most craft/fabric stores offer great coupons on their websites and apps if you need to purchase fabric. You could also use inexpensive cloth napkins or a tablecloth as your fabric. Homegoods & TJ Maxx are great places to look for those items for cheap.
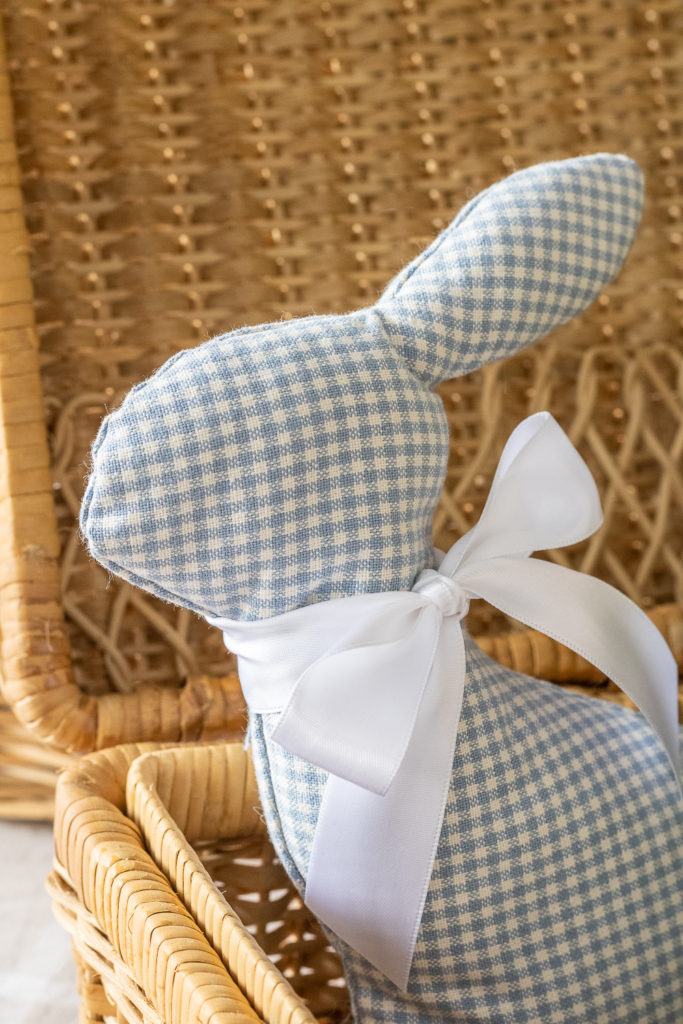
Charlie and I plan to make a few more to fill up this basket this weekend. They’ll make a sweet gift for close friends this Easter. Our home is now in full spring mode and it feels so nice to have a fresh start. Have you started to bring in spring colors in your home yet? I know many of you are still covered in snow, but maybe this DIY stuffed bunny is a the perfect project to work on while you wait for the snow to melt!
Friends I hope you all have a great weekend and let me know if you decide to make a bunny or two. I’d love to know how they turn out!





Adorable. Appreciated the tutorial also.
I love the color of your kitchen chairs!
What color “blue” is the paint? Love it! Love it!