Wow, when I look back at photos of our kitchen before we started the renovation process I really see just how far we’ve come in such a short amount of time. It hasn’t been quite two years yet and this old fixer upper of ours looks like a different home. I’m excited about today’s post mainly because we finally built something that has needed to be built for some time now. I’m happy to report we finally capped off our range with a DIY custom kitchen storage shelf. This build isn’t for everyone. I’m betting that a very tiny portion of you guys have this problem but I’m sure there’s at least someone who’s scratching their heads right now wondering what they should do. Before I share that problem with you all, lets take a look at the before and how we even got into that predicament.
Look at that kitchen! Sad doesn’t quite do it justice.
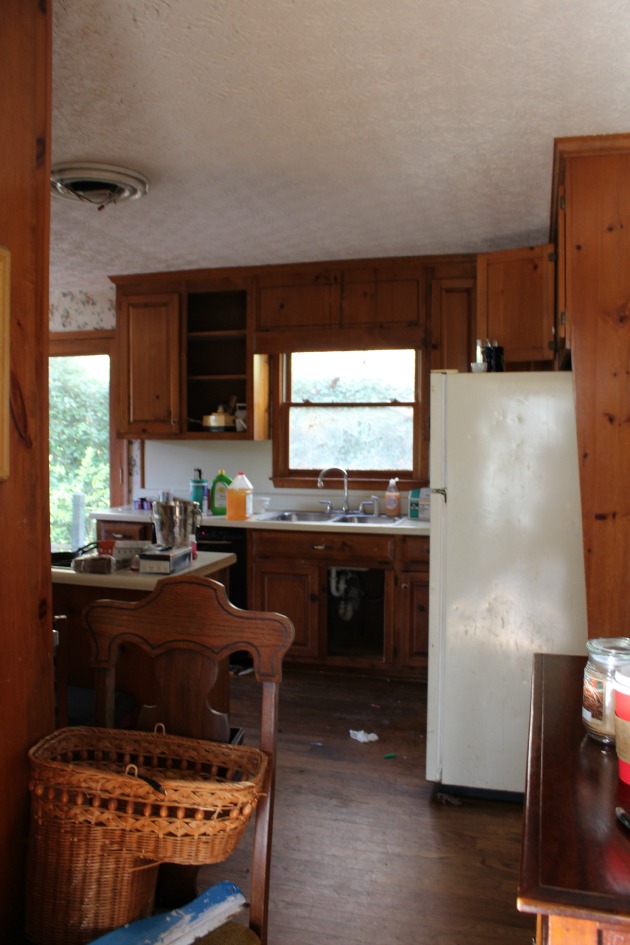
After we cleaned the kitchen and moved everything out we decided to removed the old stove top from the island and put a range in where the fridge had been. We removed the upper cabinets and surround above the fridge. We then removed the wall oven and the cabinets below and above it. That is where our fridge sits now.
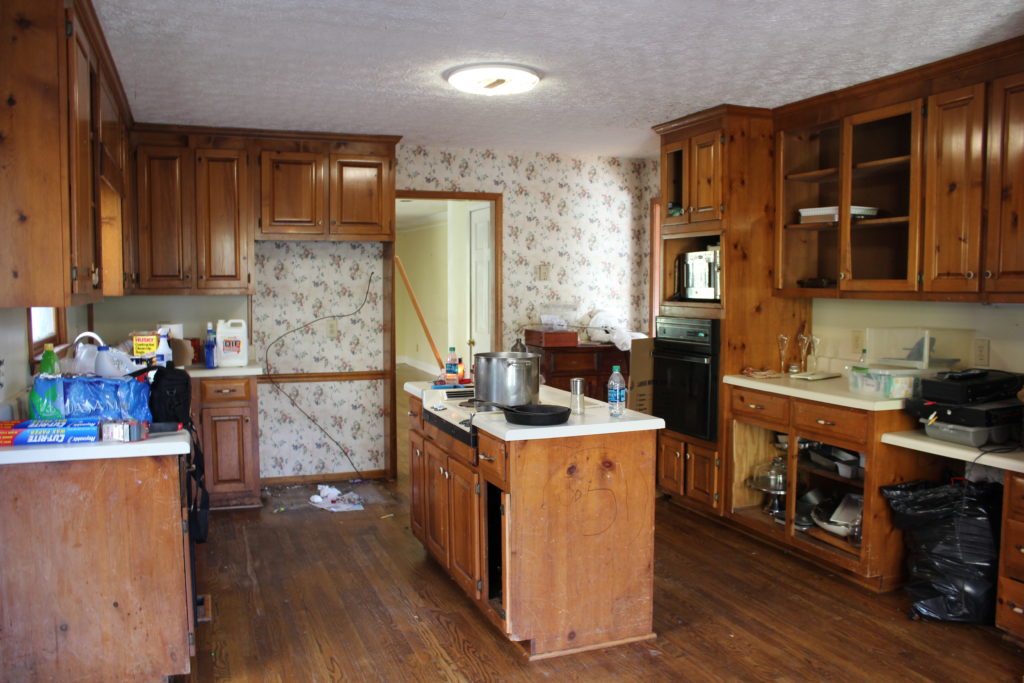
You can see all of our home’s before photos here.
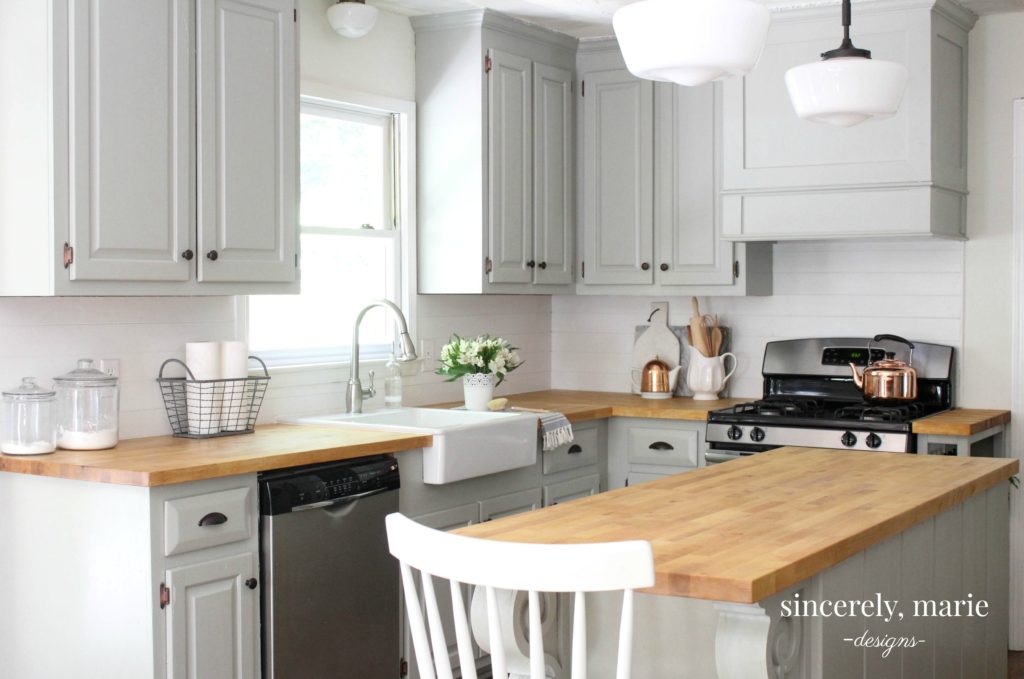
When we did all of that rearranging it really worked out great and didn’t require too much work. J built us a custom hood vent for the stove and we installed a simple planked back splash but there was one small issue that I really hated.
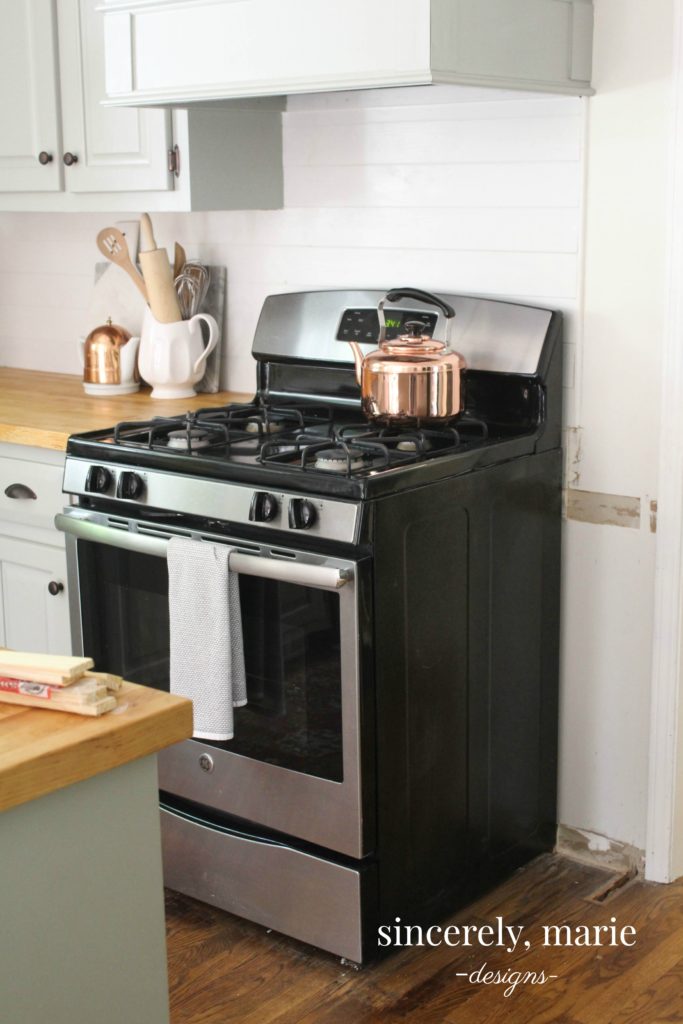
Do you see that hole on the floor beside the stove? That’s from the old cabinet/fridge surround that we removed. We could have repaired the hardwoods but these floors are old and that seemed like a more difficult solution than it was worth and I desperately wanted to hide the side of the stove as well. Who wants a view of their metal range when they first walk into their kitchen, not this girl! It’s hard to tell but the space between the stove and the door trim is only 8″. We could have ordered a custom cabinet, but why would we do that when we knew we could get out those power tools and whip something up.
I deliberated for months on exactly what I wanted to use the cabinet for, storage for cookie sheets, just a hollow divider or maybe a cookbook shelf. Here’s what we ultimately came up with –
Our DIY custom kitchen storage shelf

**This post contains affiliate links. You can see the full disclosure here.**
Cookbook storage, yes and a nice little nook for my spices! We used 2×2″ boards to frame the shelves out to be the same size as our existing cabinets and 1/2″ plywood for the two shelves. We built the base out of 2×4’s and added some bead board to the back. We had plenty of butcher block left over from our previous counter top installation, so we cut a piece to fit, attached it to the top of the frame and sealed it. Within a weekend we had covered that unsightly hole in the floor and we now have some useful kitchen storage!
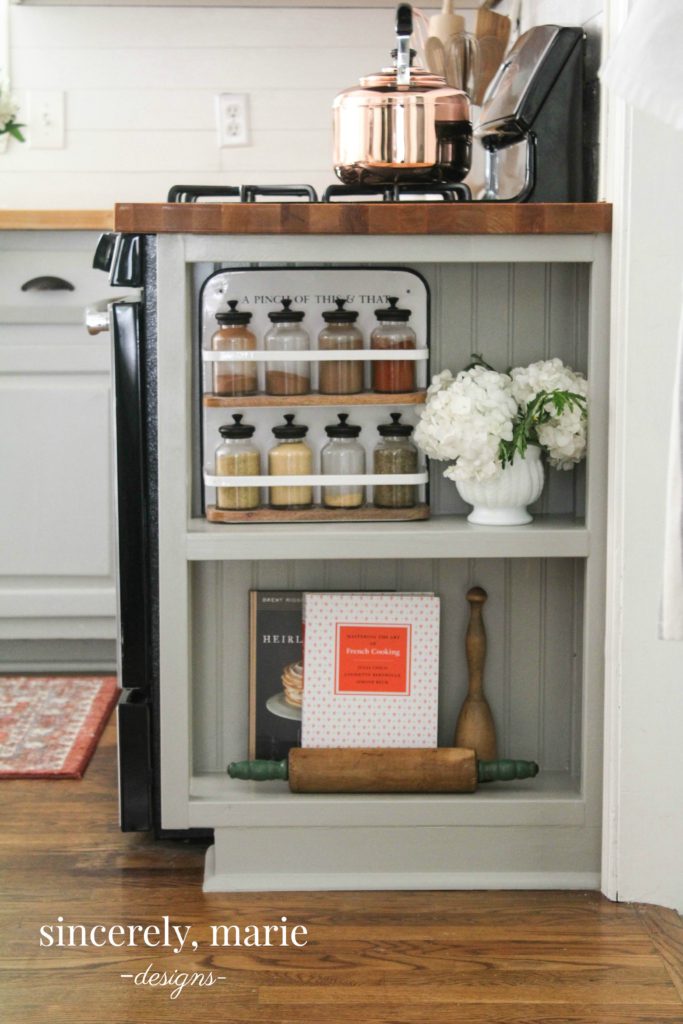
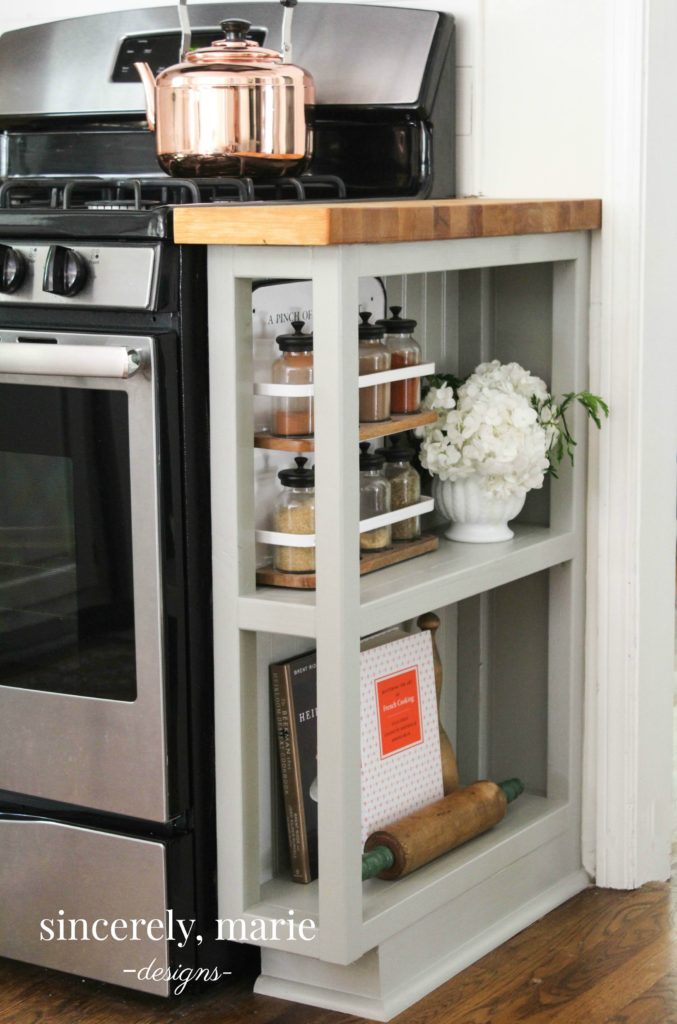
Didn’t J do good? I sketched exactly what it was that I wanted and he made it happen. I really married a keeper, guys!
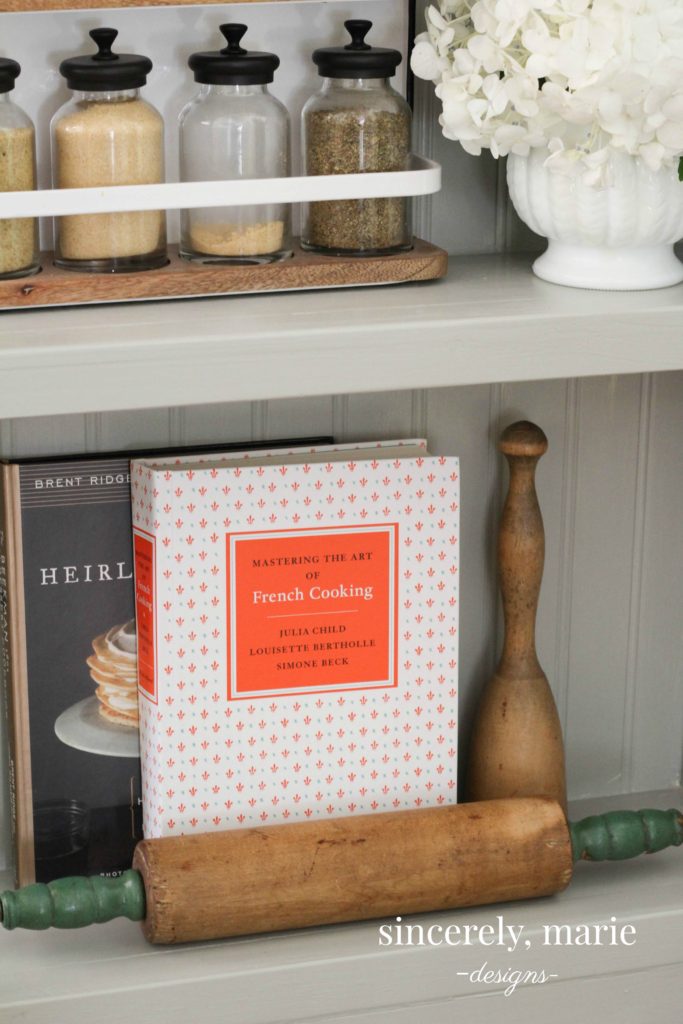
It’s just the cutest little shelf there ever was! I love having my spices handy and having a little shelf for those cookbooks I use on a regular has been so nice.
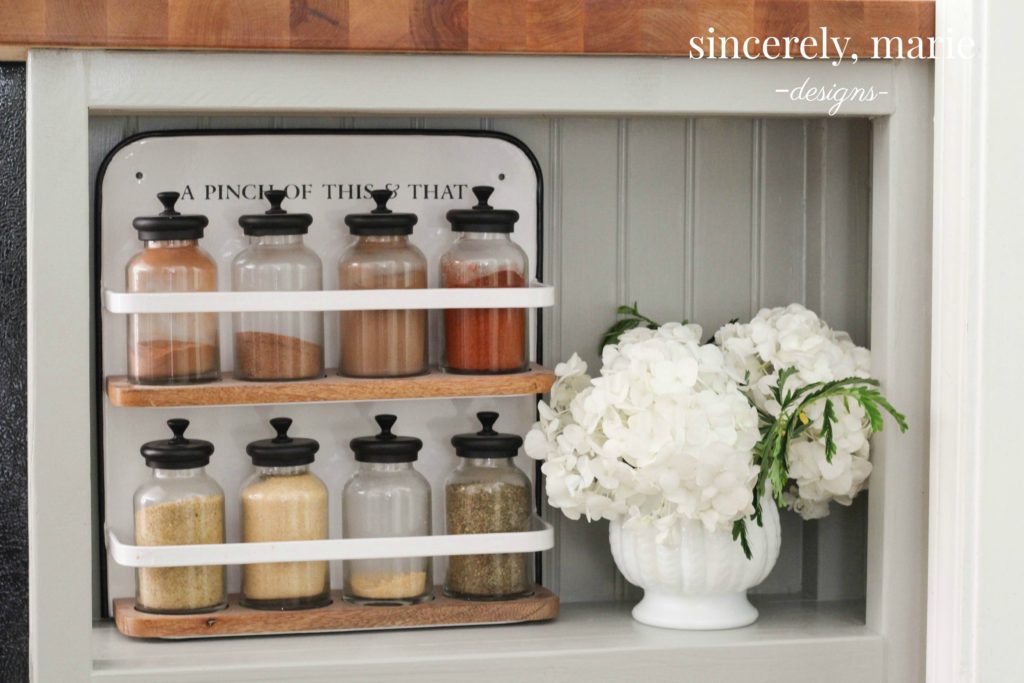
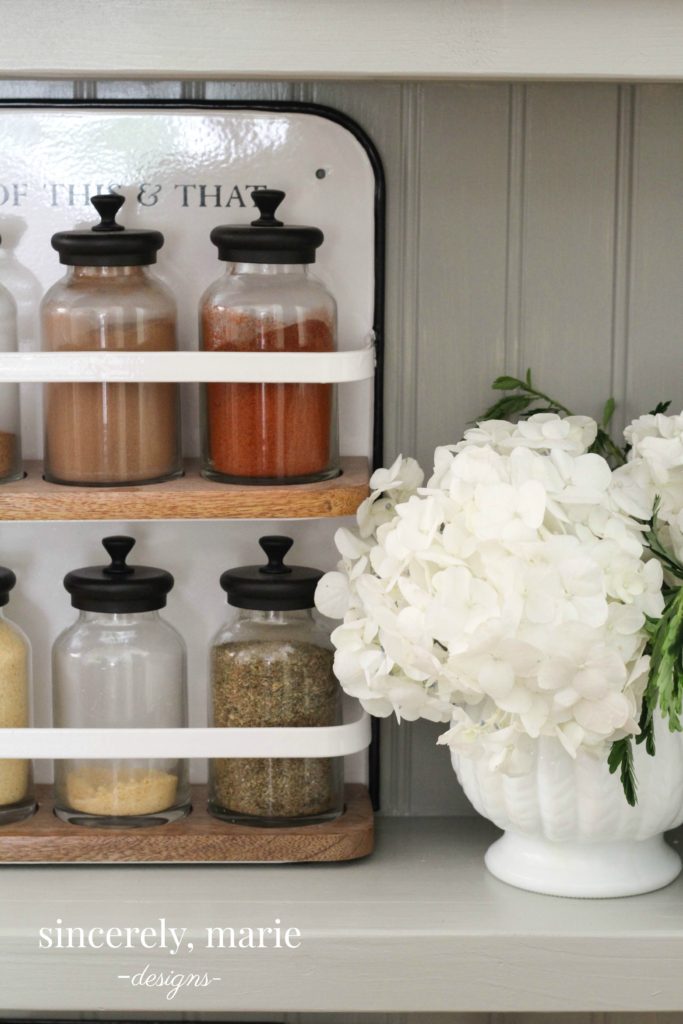
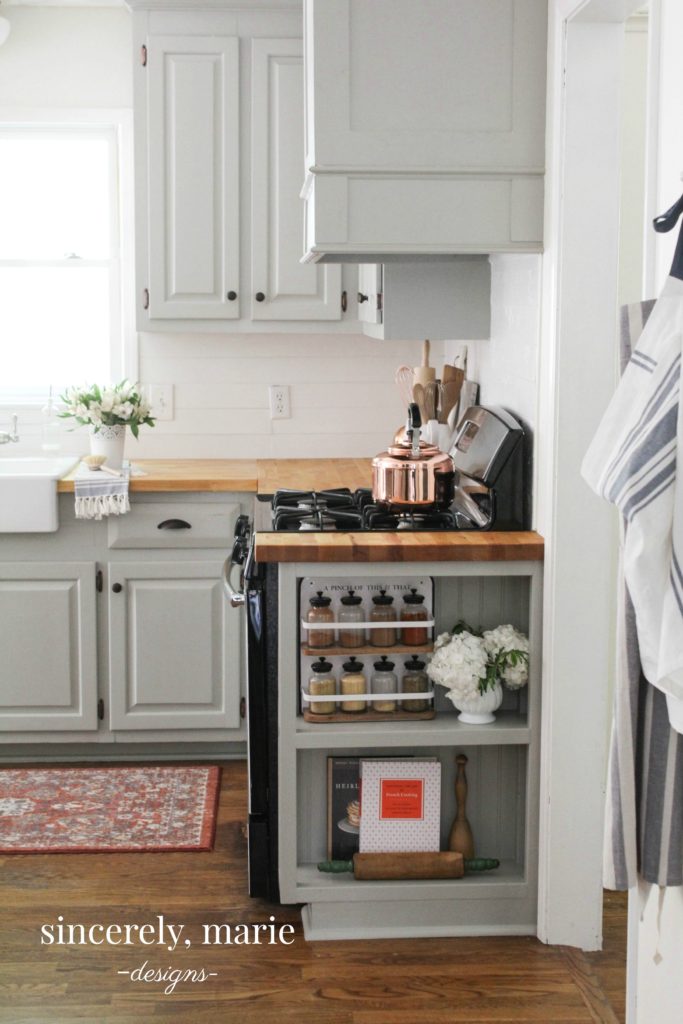
Can you believe the difference it makes? What I might love the most is the fact that it looks like it’s been there all along. It blends well with the rest of the kitchen perfectly.
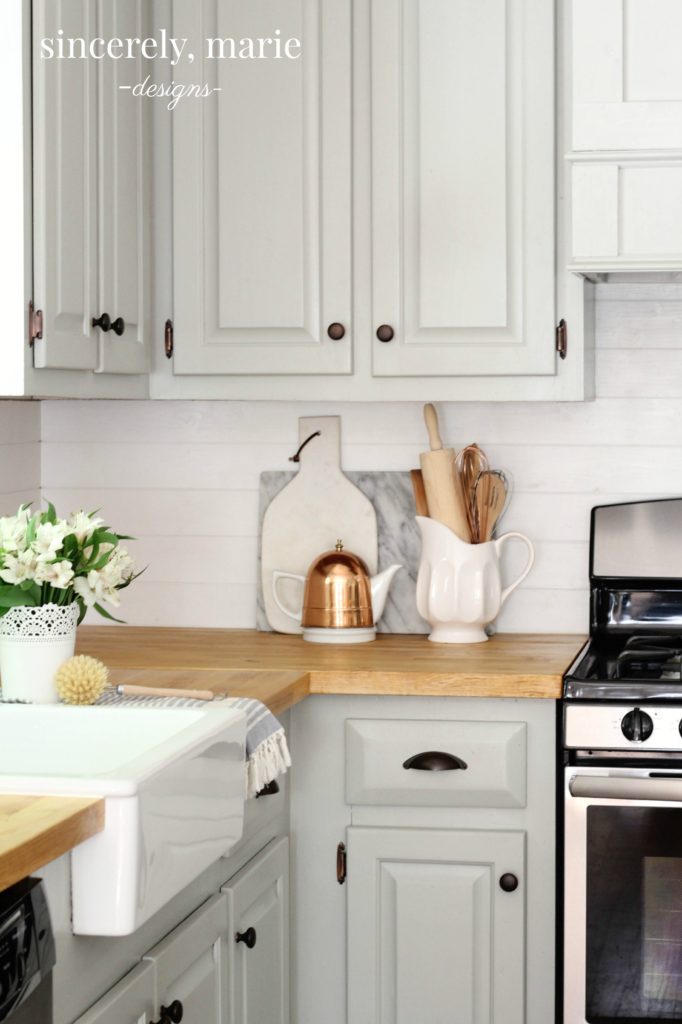
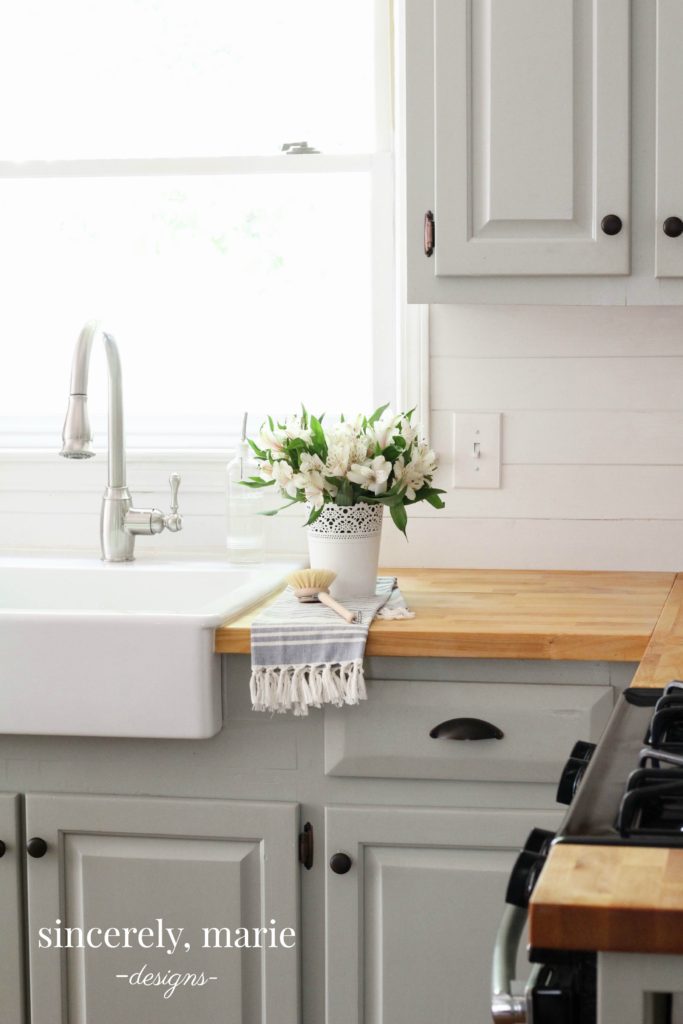
Here’s a little peak at the kitchen today. You probably can’t tell in this photo but the ceilings have been scrapped. I got the crazy idea to scrap the ceilings recently. Not my best decision ever but I did learn a lot and now it’s happily awaiting to be planked. I’ll be sharing all about scraping vs. planking later on the blog. There are some perks to both and I can’t wait to tell you what we’ve learned through both processes. I’ve even made a decision about the open shelving on the other side of the kitchen that I can’t wait to share with you as well. Little changes are happening in the space all the time and it’s been such a fun and rewarding process.
I’m so glad you stopped by today. I hope you have a wonderful rest of the week friends! I hope you’ll join me back here again soon when I dish the details on the other side of the kitchen. Maybe by then I’ll have a finished ceiling to share as well. 😉

Kitchen Sources:
Cabinet Paint Color- Fieldstone by Benjamin Moore
Wall Paint Color- Dove White
Butcher Block Counter Tops- Ikea
Apron Sink- Ikea
Faucet- Amazon
Spice Rack- Pottery Barn
Copper Tea Kettle- Martha Stewart (Macy’s)
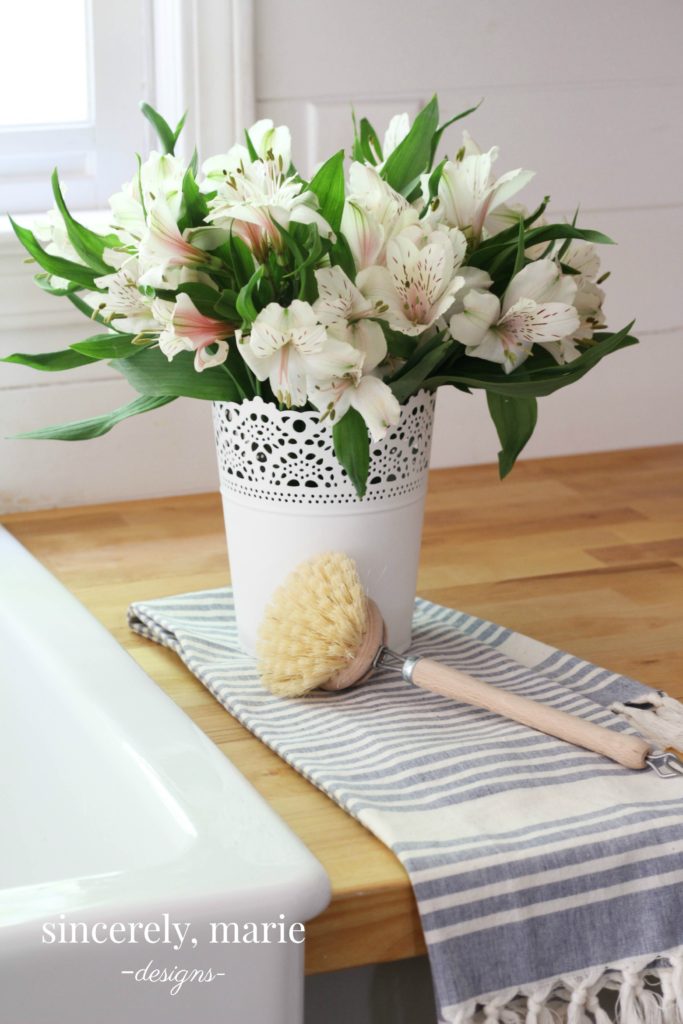
Striped Towel- World Market
White Flower Vase- Ikea
White Ceramic Pitcher- Homegoods
Marble Cutting Boards- Homegoods
Copper Tea Pot- Vintage Find
Mastering the Art of French Cooking Cookbook – Amazon
Old Kitchen Tools – Vintage Finds
Bar Stool- Pottery Barn Outlet
School House Pendants- Home Depot

AMAZING! Totally looks like it was there the whole time, but better! I LOVE IT and it was just theeee perfect touch!
Thank you so much Patty! My goal was to make sure it didn’t look new to the space. We’ve been loving so far!
Looks so great! Can I ask how you are liking your countertops? We are getting ready to order some through IKEA and I love the look but just worry about the upkeep? Thanks
Thanks Jessica! We absolutely LOVE our counter tops. We tried them out on the island for about 6 months to see if it was something we actually wanted to do all over the kitchen and after the 6 months I was sold. Just make sure to seal them properly. I did a lot of research on the best way to do that and it has made all the difference. It’s been a year and I’m happy to report we have zero stains or warping. You can read my post about that here – http://sincerelymariedesigns.com/our-new-kitchen-counter-tops-sink/
That’s awesome! I had planned on using waterlox to seal them! May I ask what you used? I want something durable since we have kiddos! Thank you!
Yes! That’s what we used as well. It’s great stuff. Make sure to seal them outside or in a garage. It has a very very strong smell. We dry fitted our counter tops and then took them in the garage to seal them. It’s a tedious process but so worth it!
You did a beautiful job! Just love your kitchen.
Do you have a tutorial on the vent hood you built? I’m trying to get the hubs to build one for me. ????