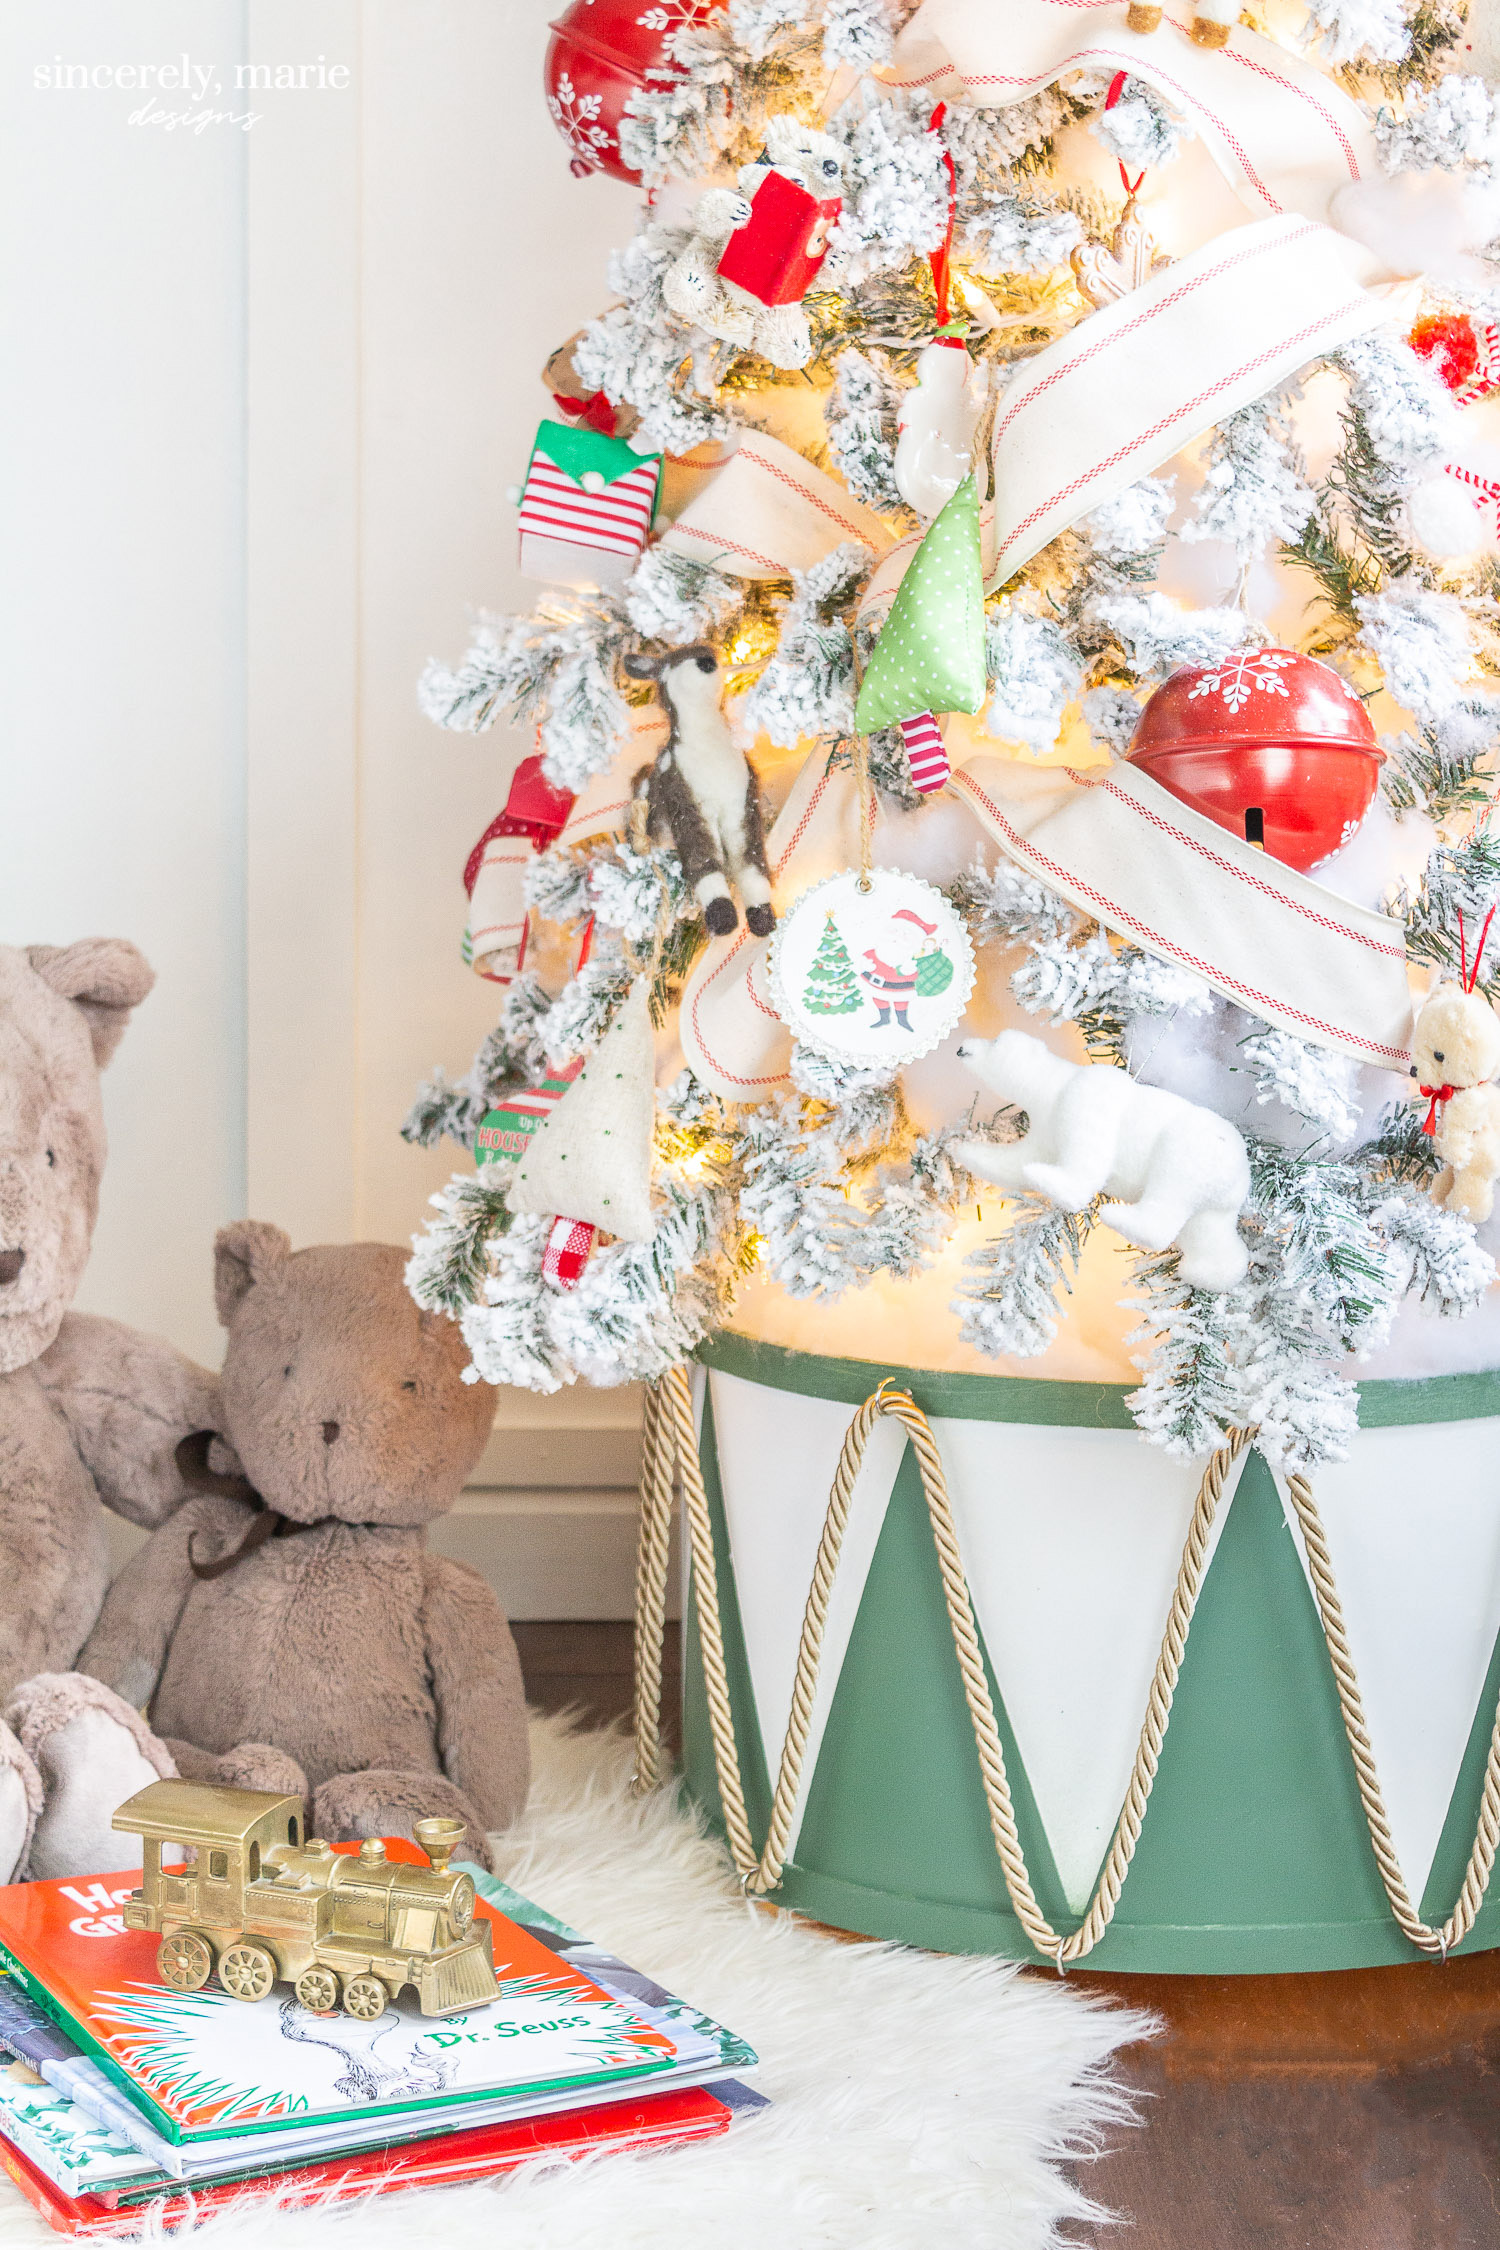
If you’re looking for something a little different to put your tree in this Christmas our DIY drum tree collar is fun and festive and budget-friendly!
Just like we’ve dived right into the holidays! You may not be quite ready to decorate for Christmas but today I want to share a tree collar that I made for Charlie’s tree with you. This way if you’re like me and like plan ahead you’ll be able to get a jump start on those Christmas crafts. Today I’m joining a few friends who are sharing their DIY holiday decor for the Seasons Simplicity hop hosted by Krista from The Happy Housie. I knew this would be the perfect time to show you just how I made Charlie’s drum tree collar!
In previous years I’ve placed Charlie’s tree in a large basket. I love the basket look but this year I just wanted something a little different, like a vintage drum. After searching online and in a few stores I realized that I wasn’t going to find drum a collar or a vintage drum for that matter. I decided to scroll Pinterest and after looking at different options here’s what I came up with. It’s a combination of several different collar designs and it fits Charlie’s tree perfectly!

This post may contain affiliate links. You can read our full disclosure here.
To make your own you only need a few things.
- 2 – 23″ Quilting Hoops (I was able to get two from Joann’s at 50% off.)
- Metal Flashing (We had some on hand but it can be purchased at any home improvement store & Amazon.)
- 18 Cup Hooks
- Paint of Choice (I used Valspar spray paint.)
- Painters Tape
- 3/4″ Rope Trim (Also purchased at Joann’s for 50% off.)
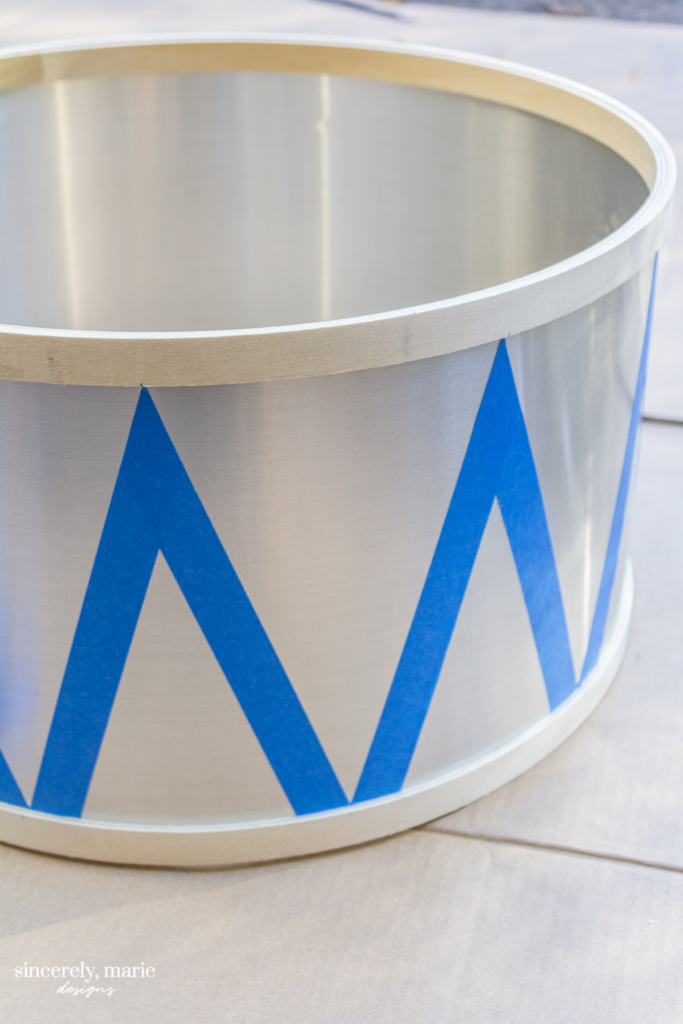
Start by cutting your flashing to length. The length will depend on the size hoops you choose. I let my flashing overlap itself a couple of inches. Wear gloves just to be careful. Sandwich the flashing at the top and bottom using your quilting hoops. It’s a bit easier if you start with the bottom hoop first.

I decided to do a vintage style design. I used painters tape to tape off triangles. I used a pencil to mark every six inches on the top hoop and measured every six inches on the bottom hoop making sure that the lines are staggered. I made sure to start in the front and working my way to the back where the hoops join.
I sprayed the green spaces and the hoops first and I let it dry over night. The next morning I taped over the green areas and used white spray paint on the unpainted spaces. Looking back I wish I had used a good primer because when I removed the tape from the painted areas will took some paint off with it. I was able to touch them up easily but I could have saved myself that step with primer. *Remember to use light coats to prevent the paint from running.*
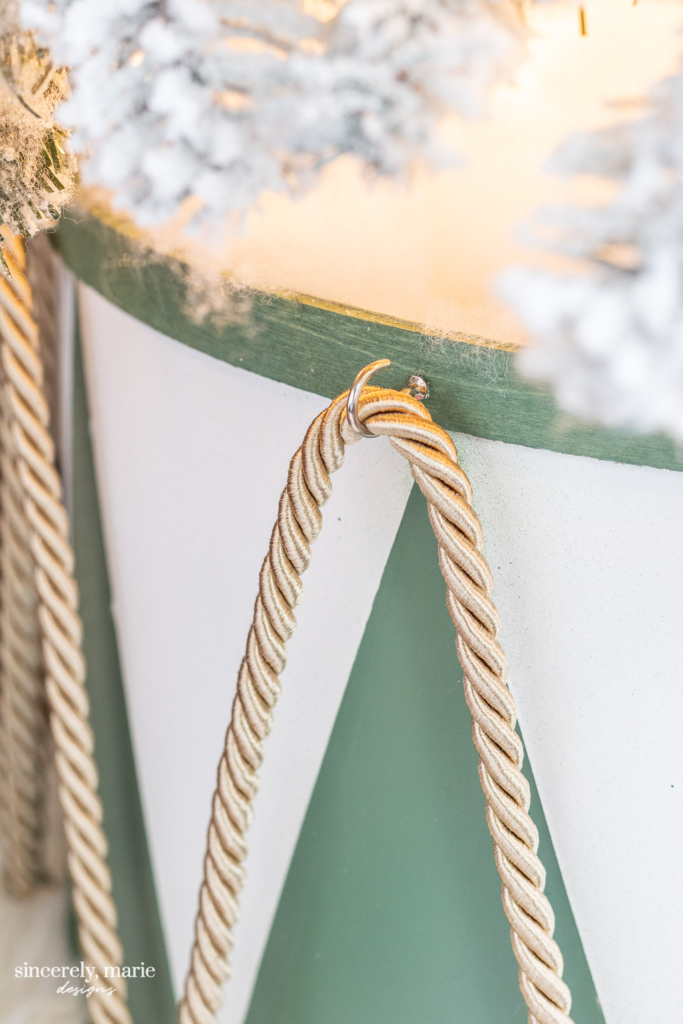
At each point on the top and bottom of the drums screw in a cup hook. The top hooks should point up and the bottom hooks should point down. String your rope through the hooks and tie the ends together in the back. You now have an adorable tree collar!
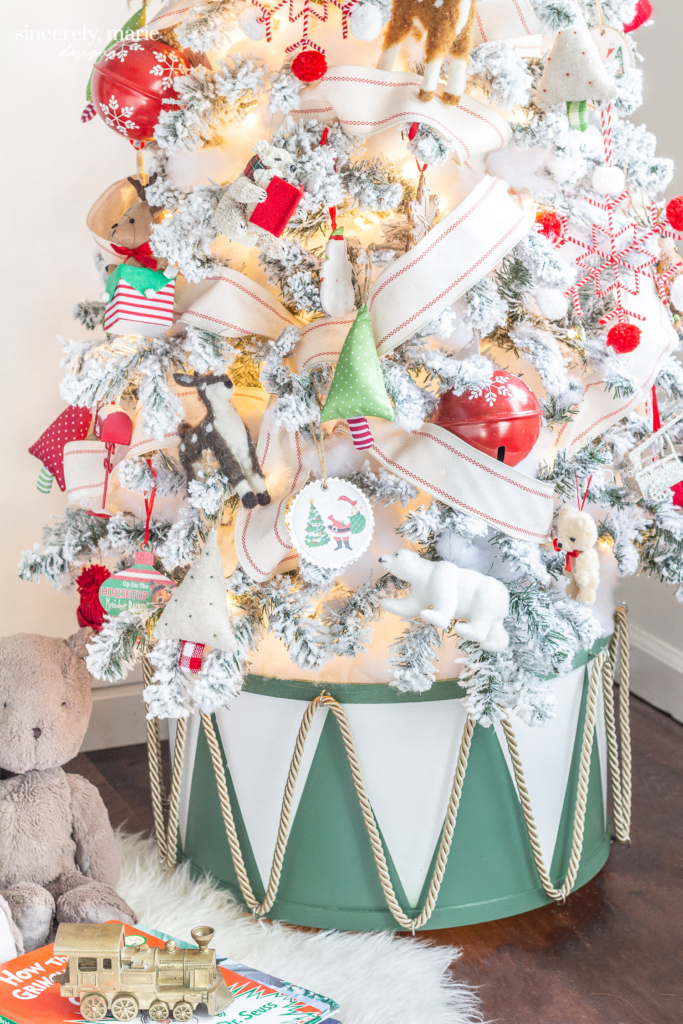
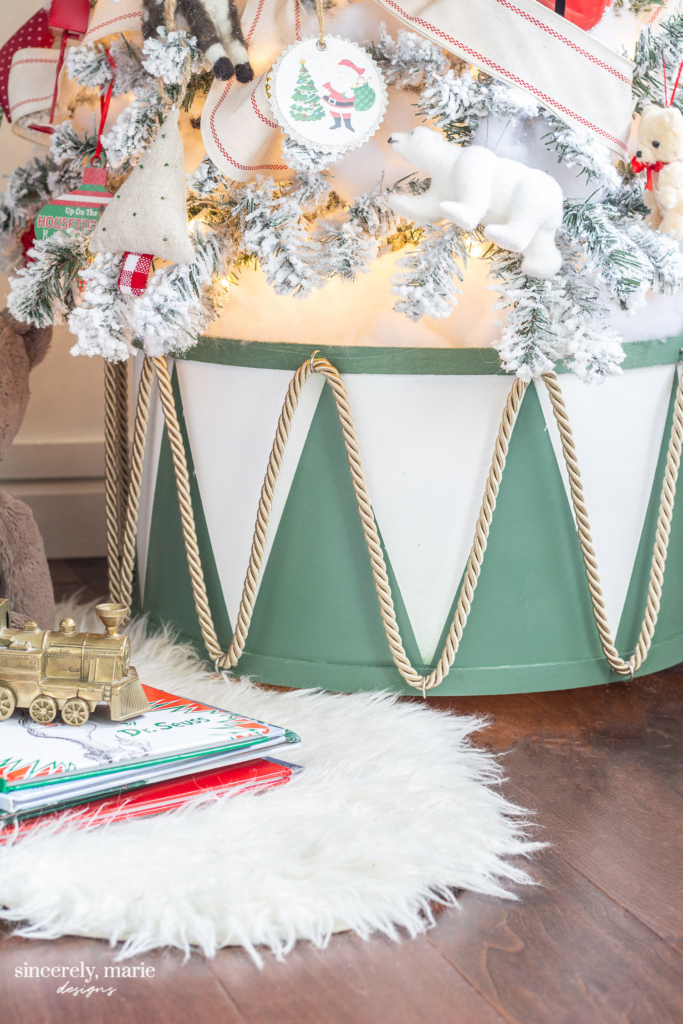
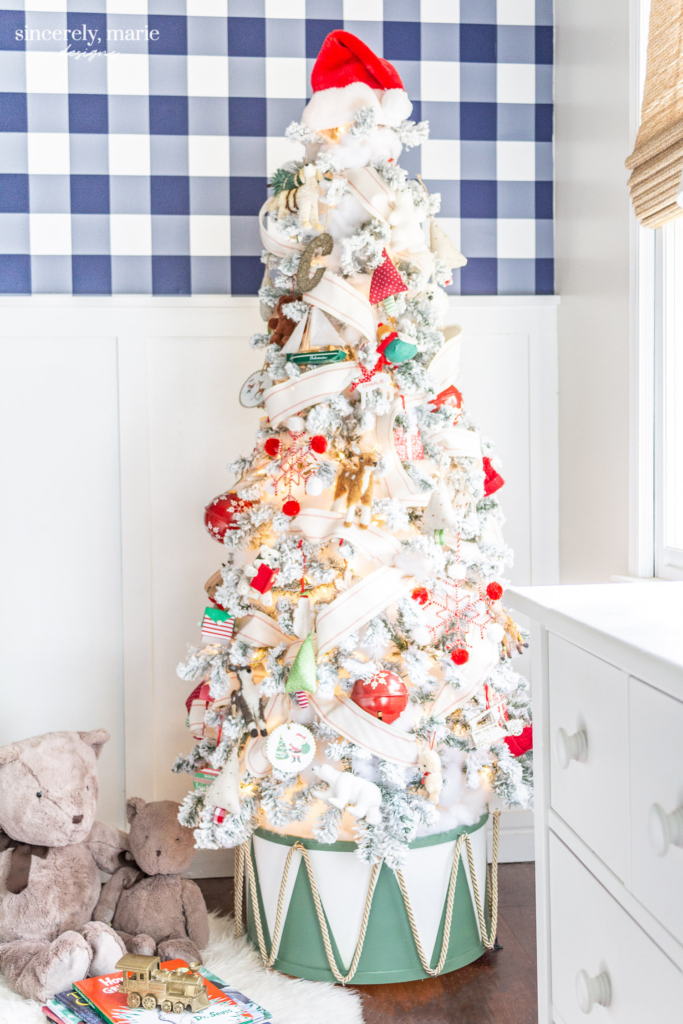
I just love the result! I wanted something different than what I was seeing in the stores. It’s fun and whimsical and covers the ugly tree stand perfectly, not to mention we had most everything on hand! I love the creativity that you can have with tree collars. There are so many pretty and fun ideas out there. I’ve always loved using baskets but I think this drum might be my new fave!
I hope you all have a lovely and magical holiday season and be sure to take a peek at all of the fun and festive Christmas DIY’s we have for you today. Whether you’re still in the planning stage or if you’ve already dived into decorating there’s plenty to inspire!


Welcome to the first week of the Seasonal Simplicity Christmas Series! Today a group of my blogging friends and I are sharing our Christmas DIY orraft projects to help inspire you for the upcoming holiday season. Click on the links below each image to be taken directly to my friends’ posts!
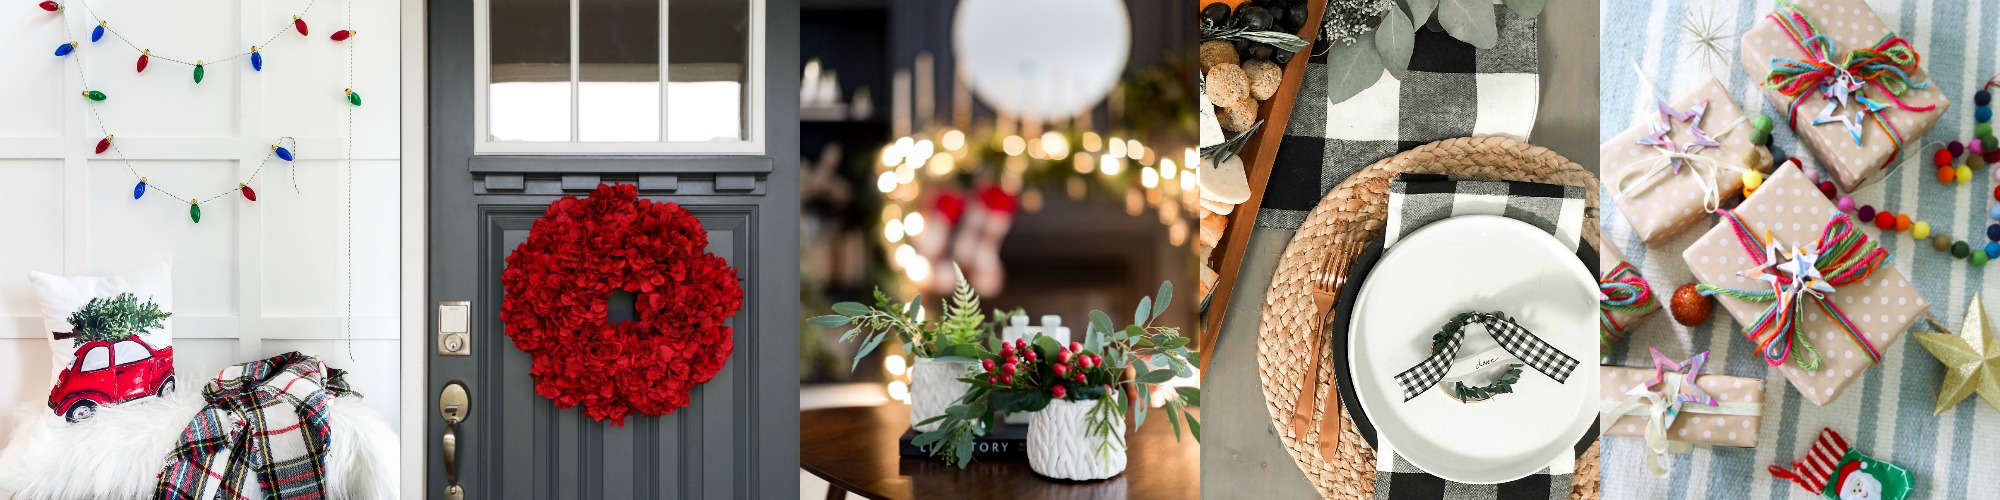
Classic Christmas Light String Garland DIY at The Happy Housie
DIY Hydrangea Christmas Wreath at Two Twenty One
Chunky Knit Vase DIY at Craftberry Bush
Holiday Place Card Wreaths with Printable Tags at Tatertots and Jello
Easy Christmas Star Garland Gift Topper at The Handmade Home
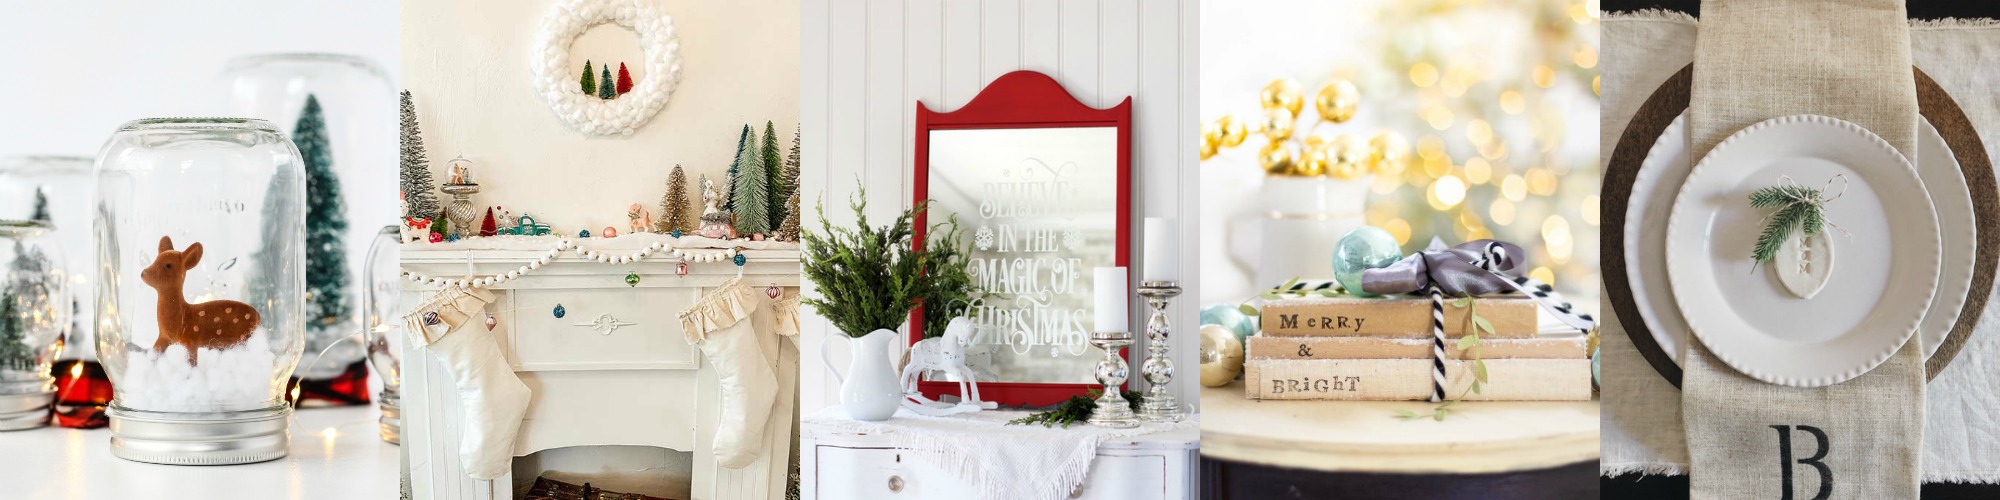
DIY Winter Wonderland Snow Globe Forest at a Pretty Life
DIY Cotton Ball Wreath at Hallstrom Home
DIY Faux Etched Christmas Mirror at Confessions of a Serial DIYer
DIY Christmas Book Craft Project at Happy Happy Nester
DIY Christmas Place Setting Name Tag at She Gave it a Go
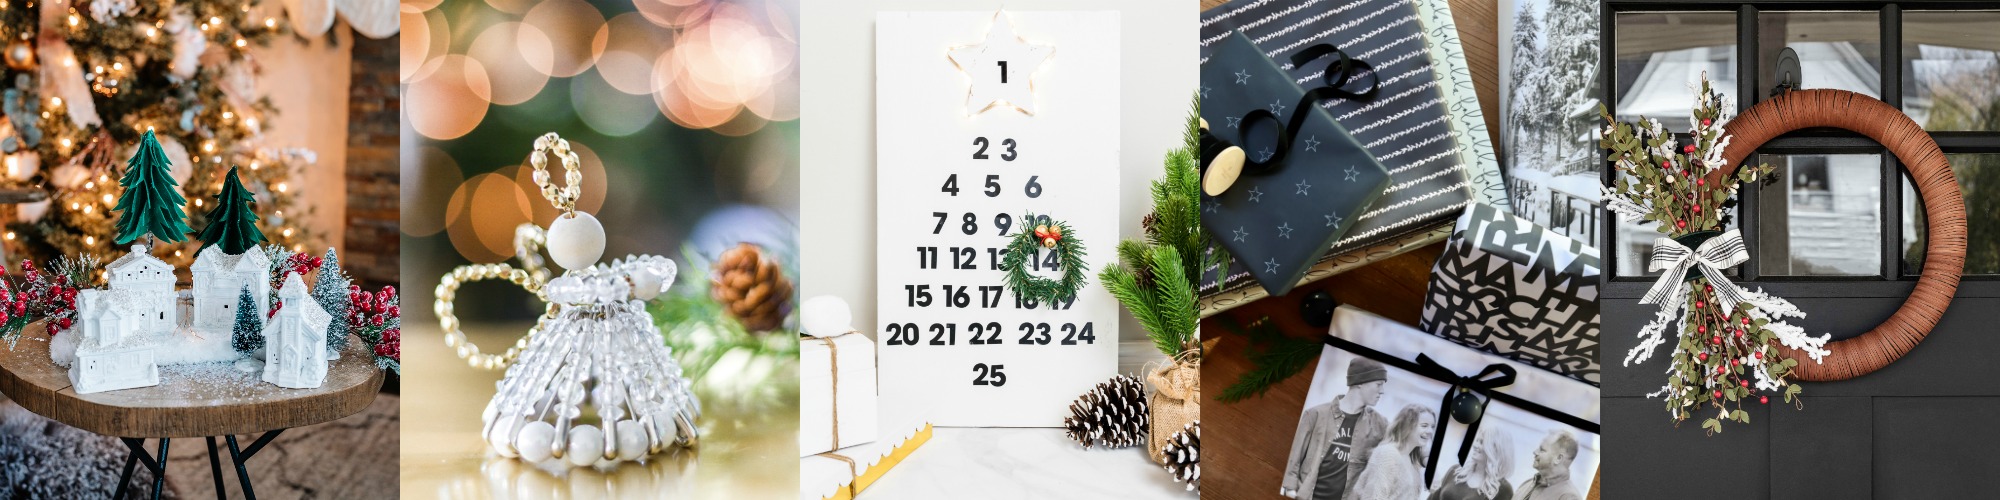
Elegant DIY Dollar Tree Christmas Village at The DIY Mommy
DIY Safety Pin Christmas Angels at Zevy Joy
DIY Wooden Advent Calendar at Jenna Kate at Home
DIY Holiday Gift Wrap at My Sweet Savannah
How to Make a Modern Christmas Wreath at Cherished Bliss
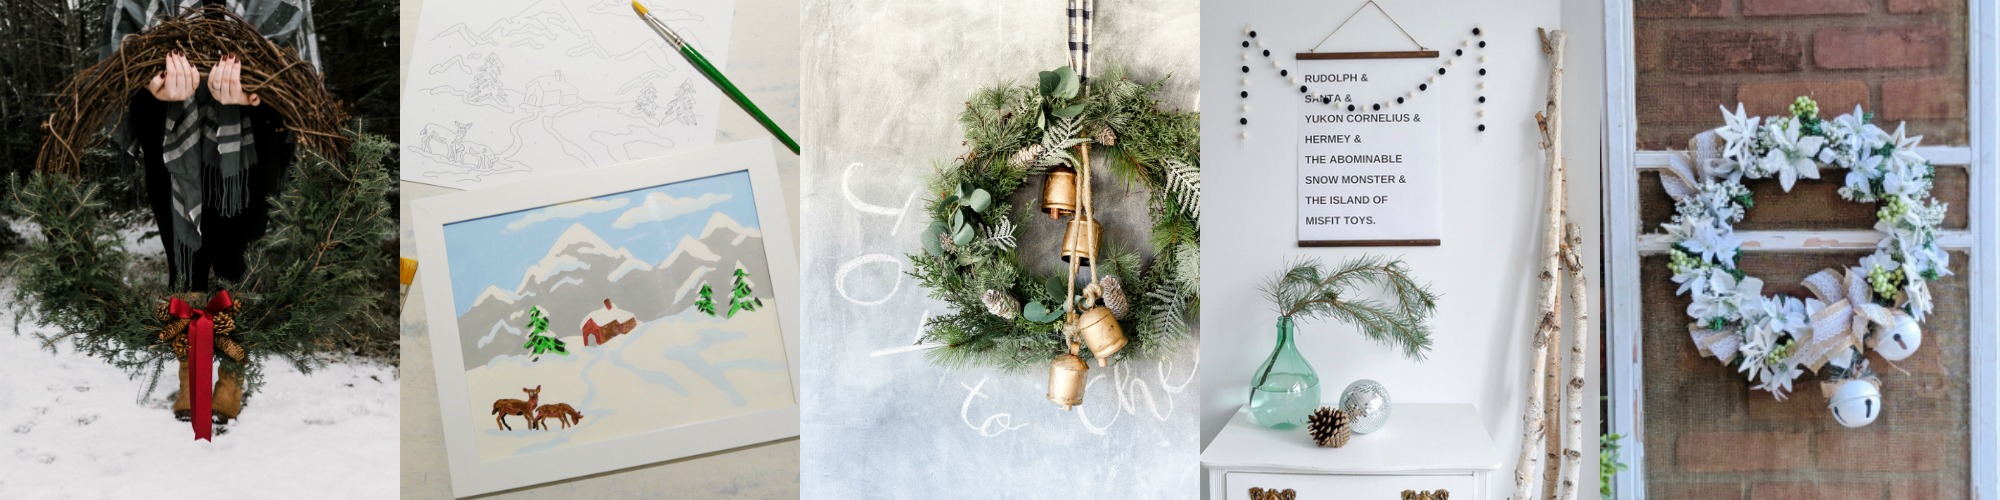
DIY Giant Pine Wreath at Love Create Celebrate
Paint by Numbers Printable Christmas at Rambling Renovators
DIY Winter Wreath at The Turquoise Home
Christmas Art Work at Life is a Party
Dollar Tree Rustic Glam Christmas Wreath at All Things With Purpose
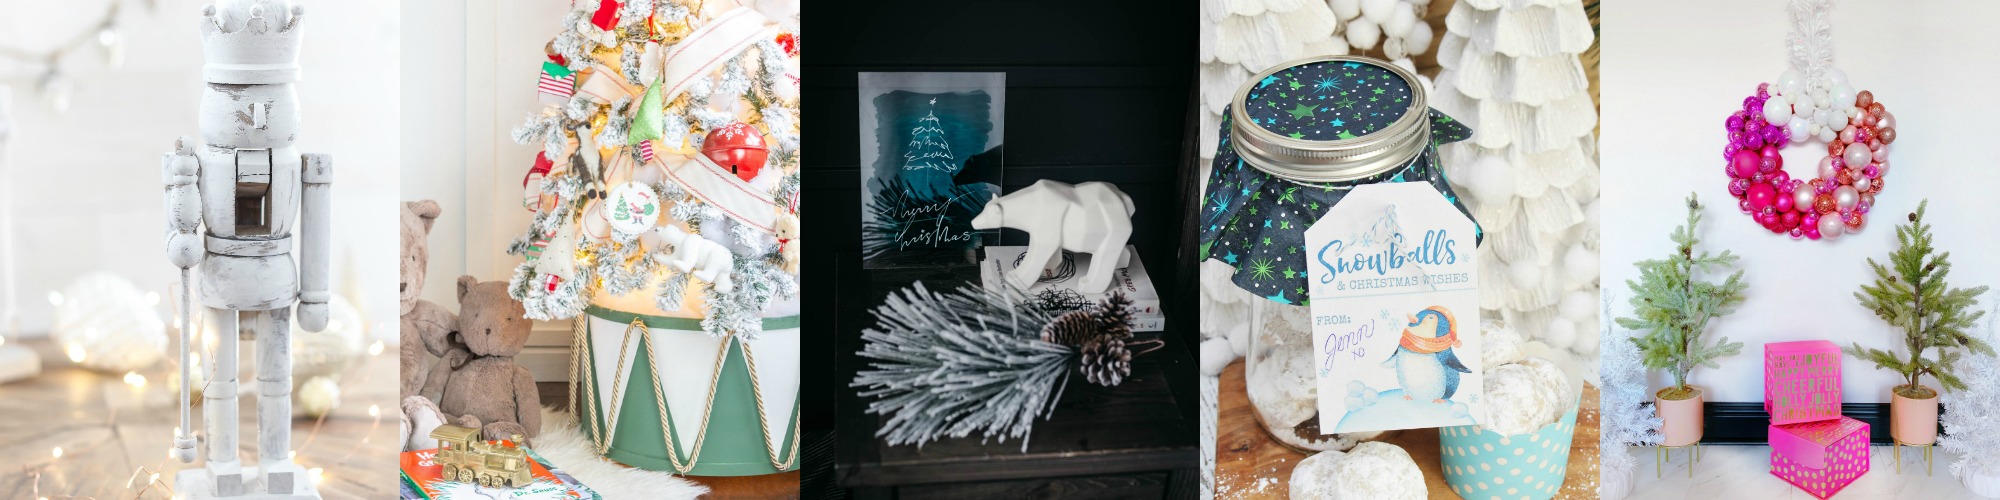
DIY Vintage Whitewashed Nutcracker at Rooms FOR Rent
DIY Drum Tree Collar at Sincerely, Marie Designs
Line Art Christmas Tree DIY Acrylic Sign at Lemon Thistle
Snowball Cookies in a Jar at Clean & Scentsible
DIY Pink Ombre Ornament Wreath at We’re the Joneses


This is such a great idea!! I love the idea of making your own tree collar like this. Thank you for the inspiration!!
Aw thank you so much Sarah! It was so simple and fun. 🙂 Happy Thanksgiving!
So smart! Love how it turned out! You have my brain going! 😆 Thank you so much!
Thanks Erin! It was seriously simple to do and you can make it smaller or larger depending on the size of the quilting hoops you use.
This is SUCH a cute idea! My kiddos would die of happiness! So cute 🙂
Lol Thanks Lindi! My son was pretty pleased. He was sitting in it while I was getting the tree up. It’s such a fun project!
This is just the sweetest and so creative! Looks like it should be featured in The Nutcracker!
Aw thanks Jenn! It’s funny because I had originally thought about doing a Nutcracker theme with his tree but had trouble finding ornaments to coordinate but I think his existing ones worked. Happy Thanksgiving!
Such a good idea and so creative. Thanks for sharing.
Thank you so much Krista! It was such a fun blog hop 😉
What a great idea!Very sweet!
Thank you Ellen! It was such a fun project. 🙂
This might be my favorite project of the whole hop!! This is SO cute!! xoxo
Aw thank you so much Christy! It was such a fun project. Have a wonderful Thanksgiving & Christmas!
Such a cute and fund diy!
Thank you Cynthia! We had so much fun making it. Happy Thanksgiving!
This is a great idea! And really creative. I bet the kids LOVE it!!!
Cute! So creative – it definitely makes me want to listen to “The little drummer boy” song now!
What size flashing did you use? How tall??
I obviously have NO idea what I’m talking about. Lol
Such a cute idea!!!!
Amazing tutorial! Just finished the first of 4 drums. It makes our tree look like it belongs in a window display.