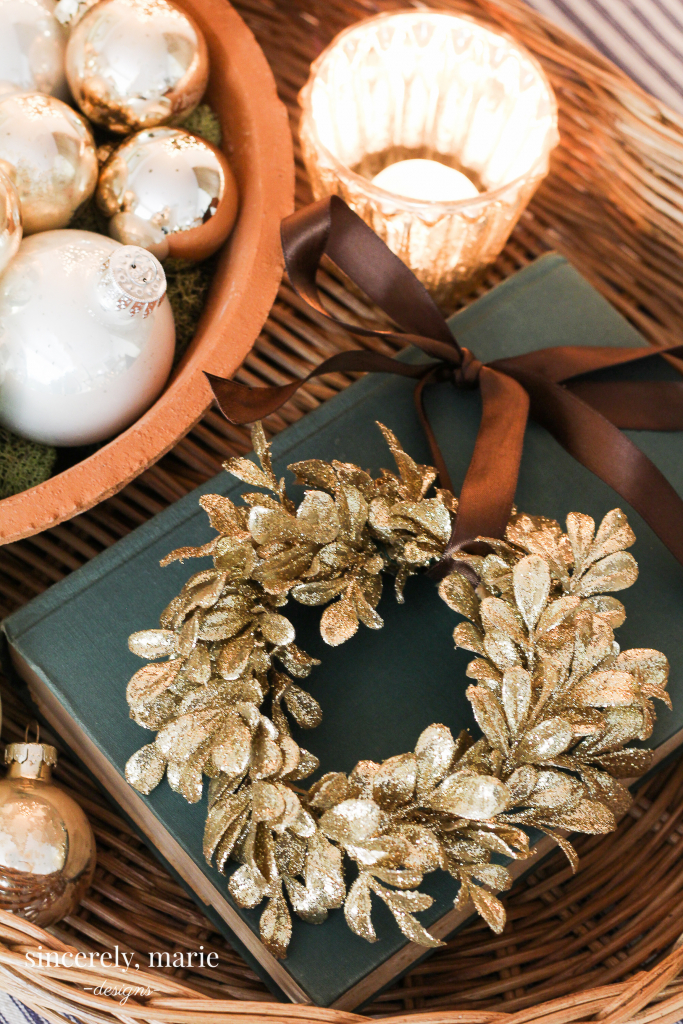
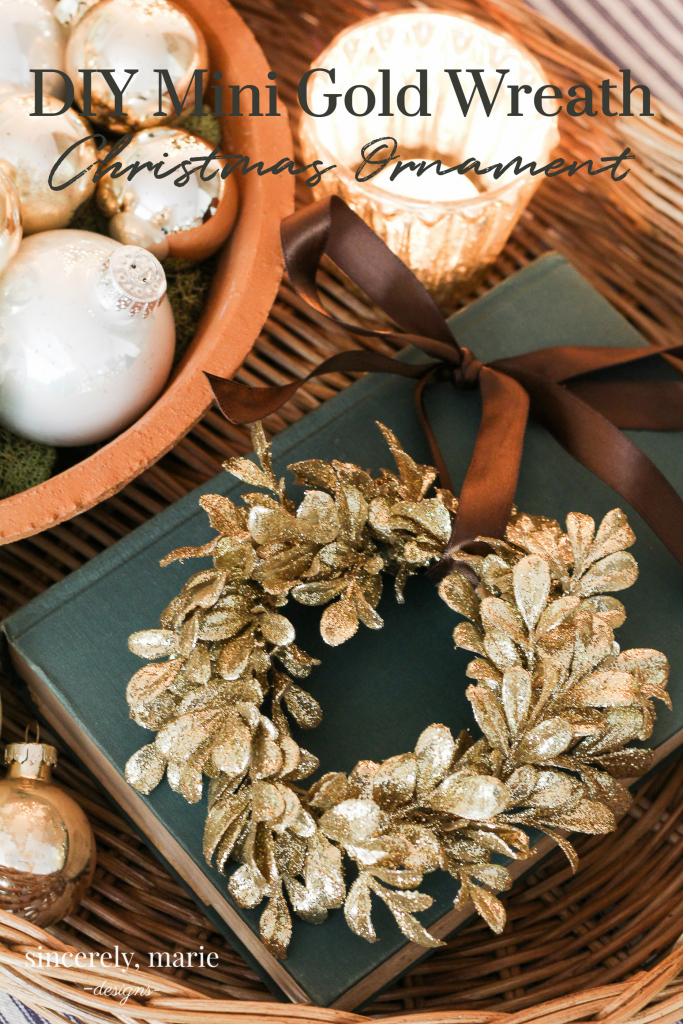
These classic and inexpensive DIY mini gold wreath ornaments are an elegant addition to any tree! It takes only minutes to make and will be sparkling for years to come.
The last two years I have thought that I would incorporate red into our family room Christmas decor. I’ve always loved pops of red during the holidays and add them to our master bedroom room each Christmas. Last week I pulled the Christmas bins out of the attic and once again I found myself gravitating towards gold, silver, rich brown and natural greens. The colors are soft and muted. It feels like such a natural fit in our family room.
I have quite a large collection of mercury glass ornaments in silver and gold and for the last couple years I’ve loved that they take center stage on our tree. Each year I try to add a couple new things to each of our Christmas trees. I’m thrilled to be joining some of my friends for another season’s simplicity series hosted by my friend Krista at The Happy Housie. I thought this would be a great time to share one of the new ornaments that I’ve added to our tree this year, these mini gold wreathes! They’re a little glam and oh so charming. I just love the texture they’ve added against the glass ornaments.
Here’s what you need:
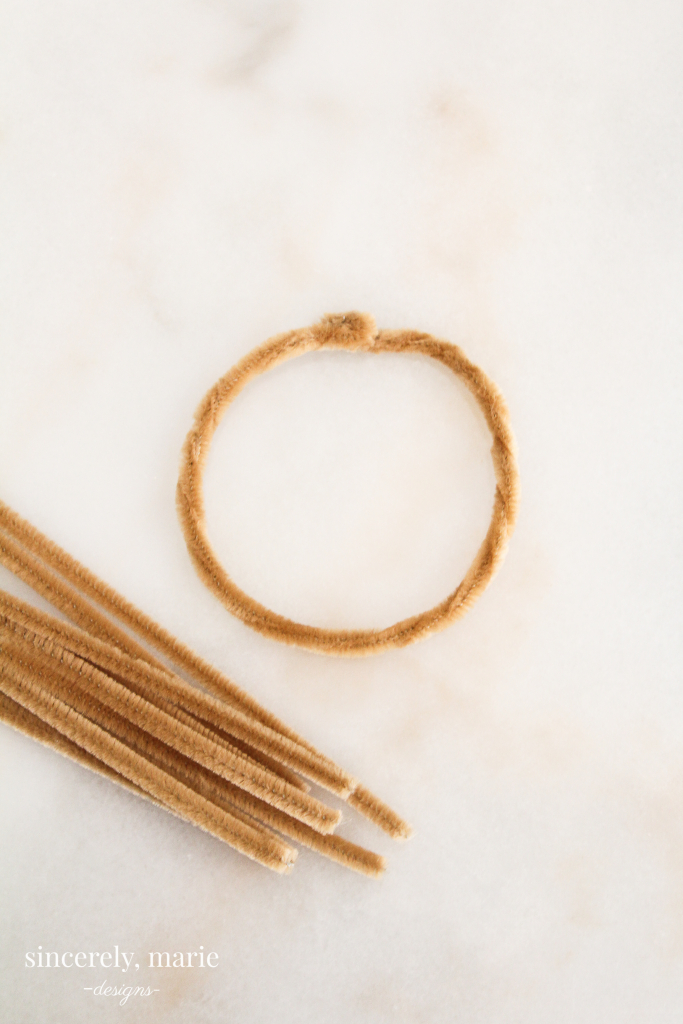
Caramel or gold pipe cleaners
1 bouquet of gold holiday foliage or foliage of choice. (I found my stems at Hobby Lobby for less than $5.)
Floral Wire
Ribbon of choice
This post may contain affiliate links. You can read our full disclosure here.
Start by take two pipe cleaners and twist them together to make a sturdier wreath. Use a glass to form a circle with your pipe cleaners.
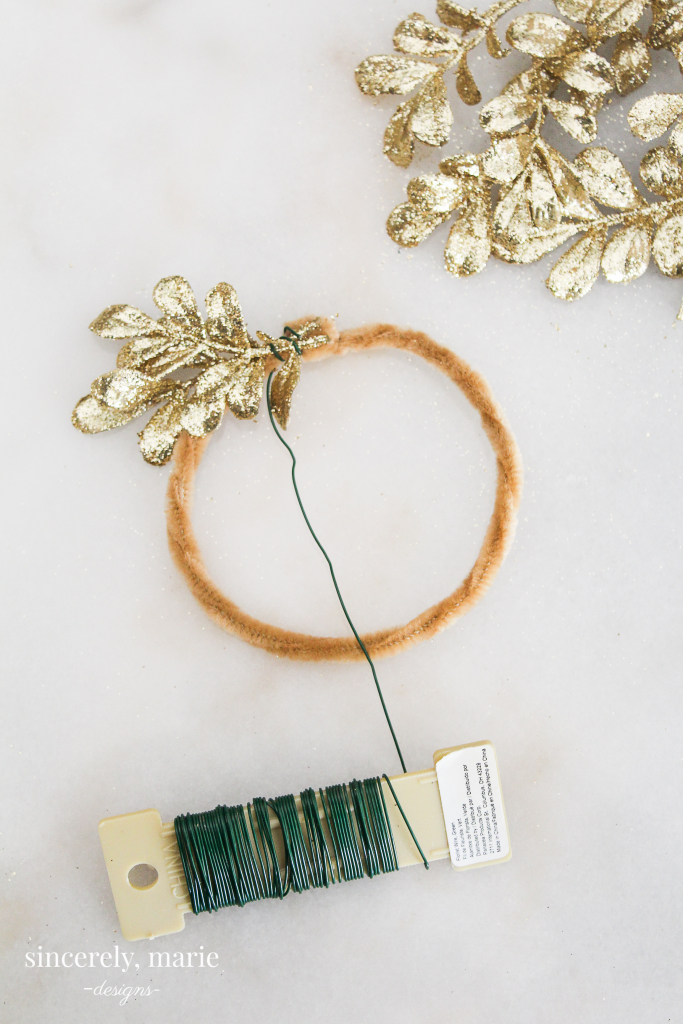
Cut small off of your stems. Grouping two stems together attach to the pipe cleaner using floral wire. Go around the pipe cleaner with the gold foliage and floral wire until it is completely filled in.
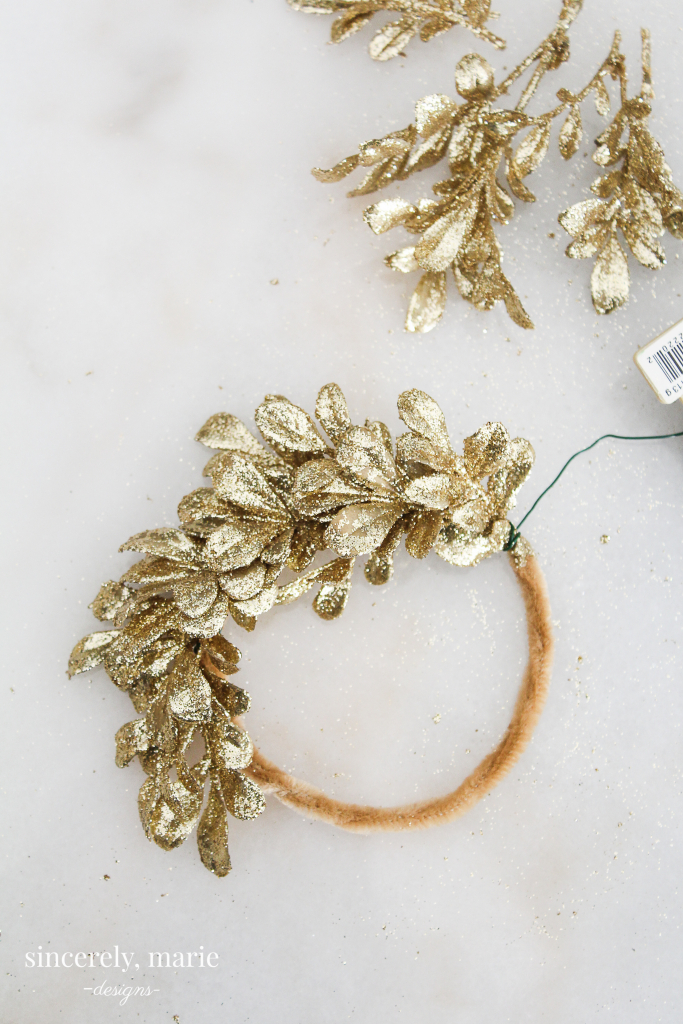
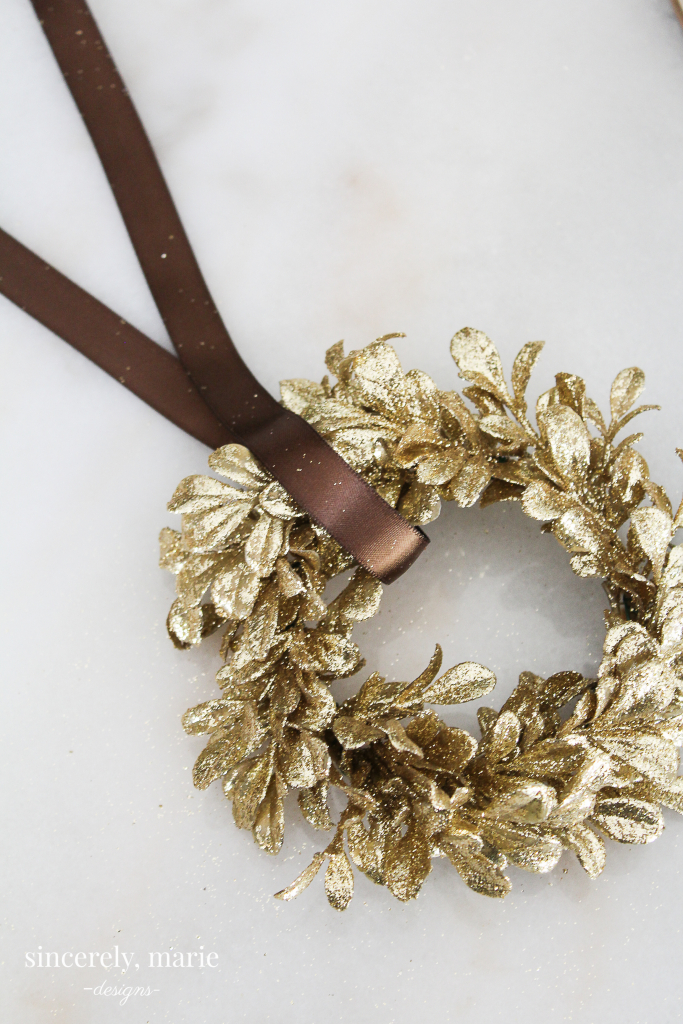
Loop ribbon of choice around the wreath and tie into a simple bow. I used 1″ brown satin ribbon. Hang on your tree or any place that a mini wreath would complete your decor!
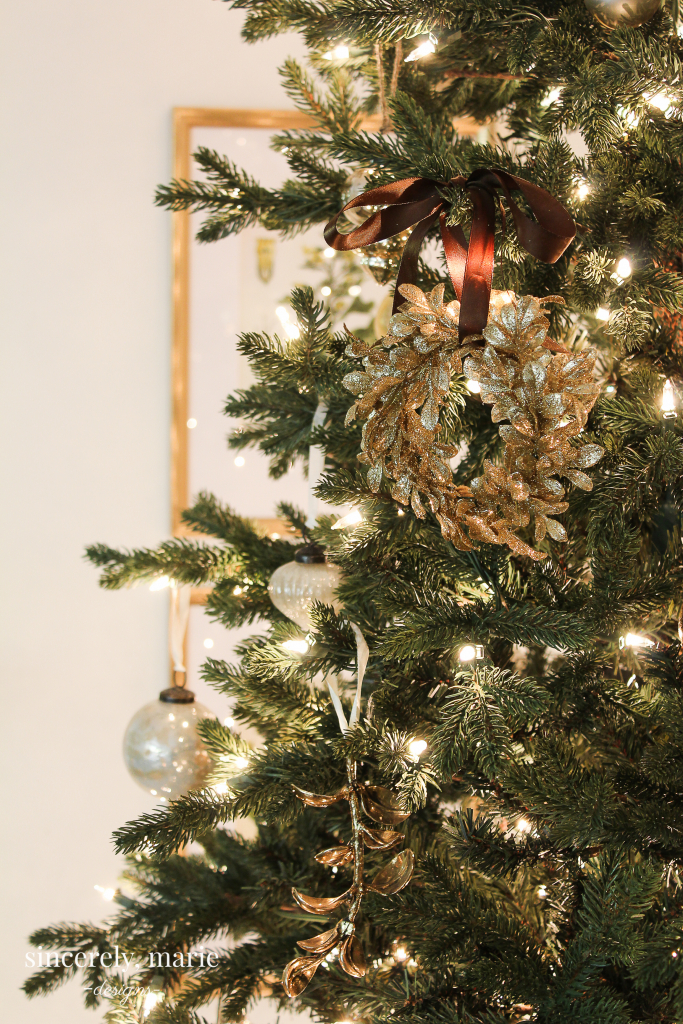
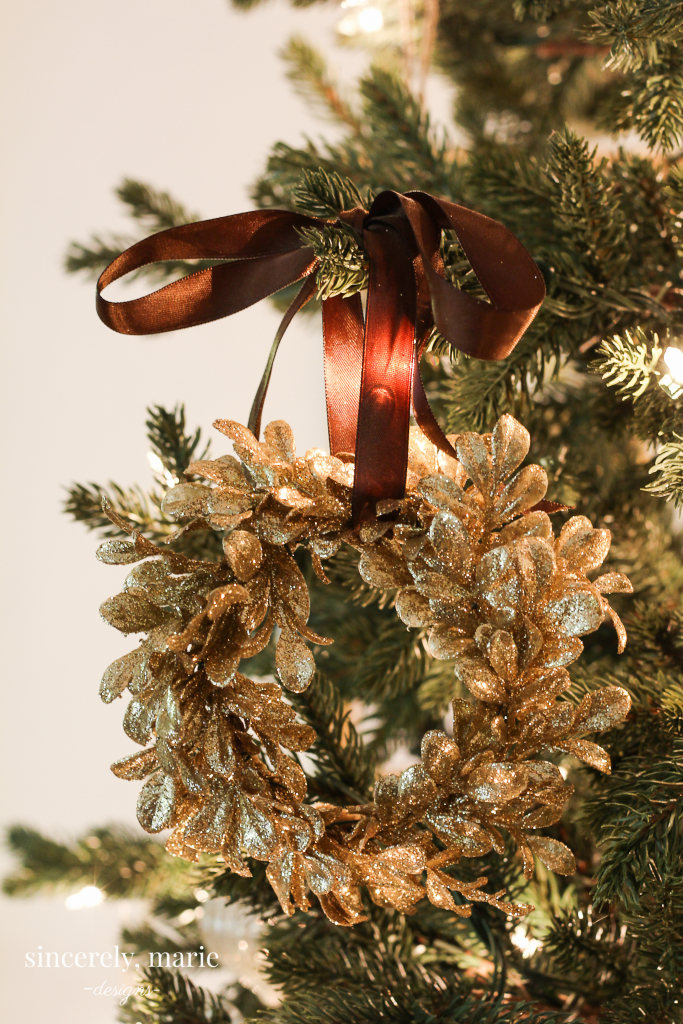

It’s such a fun little wreath. You can customize it to your home’s colors and decor. It would look just as sweet hanging in a window, on the back of a dining chair or just sitting on a shelf among family photos. The possibilities are endless! I’m so anxious to share the rest of the tree and space with you all. I hope you’ll join me back here in just over a week for our first holiday home tour! Until then I hope you’ll pop over to the next blog and check out all of the cute ornaments your can make to dress your tree this year. Have a great week, friends!



The Happy Housie // The Turquoise Home // Lolly Jane // tatertots and jello // Clean and Scentsible

Place of My Taste // The DIY Mommy // Tauni Everett // Life is a Party // Taryn Whiteaker

Home Made Lovely // Town and Country Living // Sincerely, Marie Designs // Grace Gathered Home // Deeply Southern Home
Finding Silver Pennies // Heathered Nest // Jenna Kate at Home // All Things With Purpose
Summer Adams
DIY Rustic Ornament Collection


They look so fancy and expensive on a tree! love them!
What a gorgeous DIY project. I love them. Thanks so much for the tutorial
Aren’t these gorgeous?! I love a gold and silver tree. Though I haven’t done a tree like yours for years, I am collecting mercury ornaments for the tree I hope to have in our library in the future!
I love the sparkle!
xoxo
Thank you for sharing and being a part of the blog hop. These are so easy to make and add some sparkle!
These are gorgeous! Absolutely LOVE them – and they go along with my theme this year!
Ok I am making these tonight!!!! Absolutely stunning, my friend!!! xoxoxo
Wow! These are so elegant and classy would never have guessed they were a DIY. LOVE them so much!