Custom lamp shades are one of my favorite details to use in a space. While they’re often found in cottages, they can be incorporated in many design styles. Here is our affordable, no-sew pleated lamp shade how-to!
One of my favorite details that is often found in English cottages would have to be custom made lamp shades. While gathered and pleated shades they have been around for quite some time, they’ve really become quite trendy in the last year or so. I have always purchased them in past years and spent more than I probably should have. They can be quite expensive but there’s no arguing their charm! I just knew there had to be a cheaper way to get a custom shade and I I’ve figured it out. I think these DIY pleated lamp shades will have you hooked!

Last fall, I was finishing up my guest bedroom renovation and I made custom curtains from a vintage fabric I purchased on Etsy. It just so happened that I had enough fabric left over to make a lamp shade as well. I was crossing my fingers there would be! The only problem, I had never made a lamp shade before. I discovered that there are classes you can take to learn how to make pleated shades, none in my area of course. It usually involves some sewing and fancy tools. One could say it’s a bit of an art. After searching Pinterest and You Tube for some kind of starting point, I was only able to find directions for a ribbon covered shade. I took that similar method and opted for fabric in place of ribbon and decided to glue the strips of fabric in place instead of wrapping the shade in order to cut back on fabric.
Here’s a photo of our guest room and the shade that I made using the drapery fabric that I had left over.
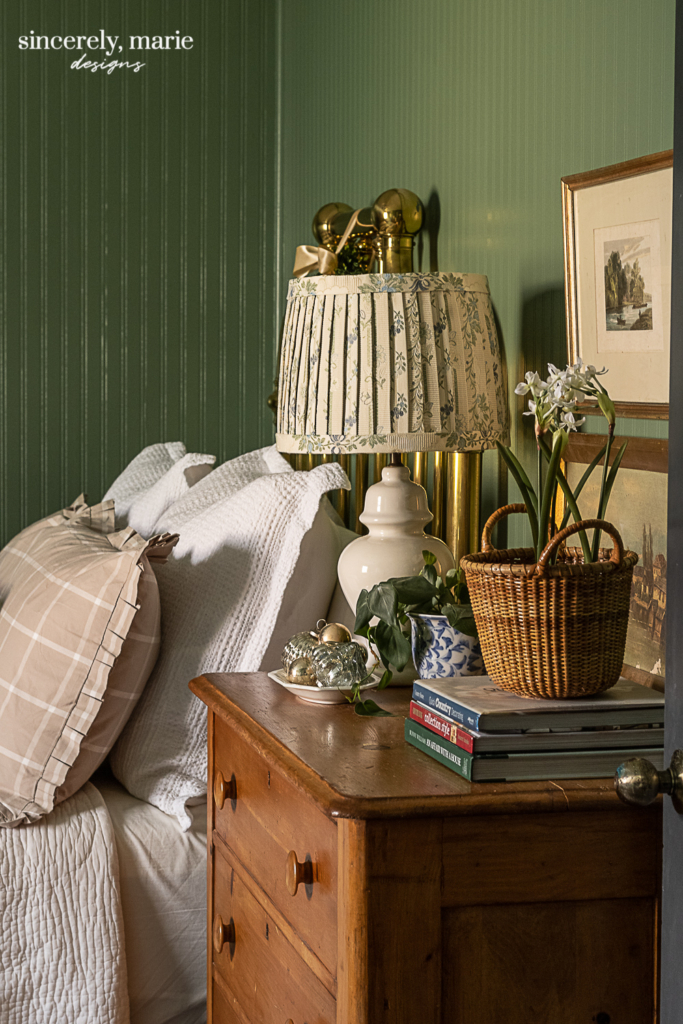
At the time I made the first shade, I took a couple snap shots of the process on for my IG stories and I had a number of people asking for me to share the how-to here on the blog. As usual, things got a bit busy and I never got around to sharing. I know, I know, so without further ado, here’s the tutorial!

DIY Pleated Lamp Shade How-To
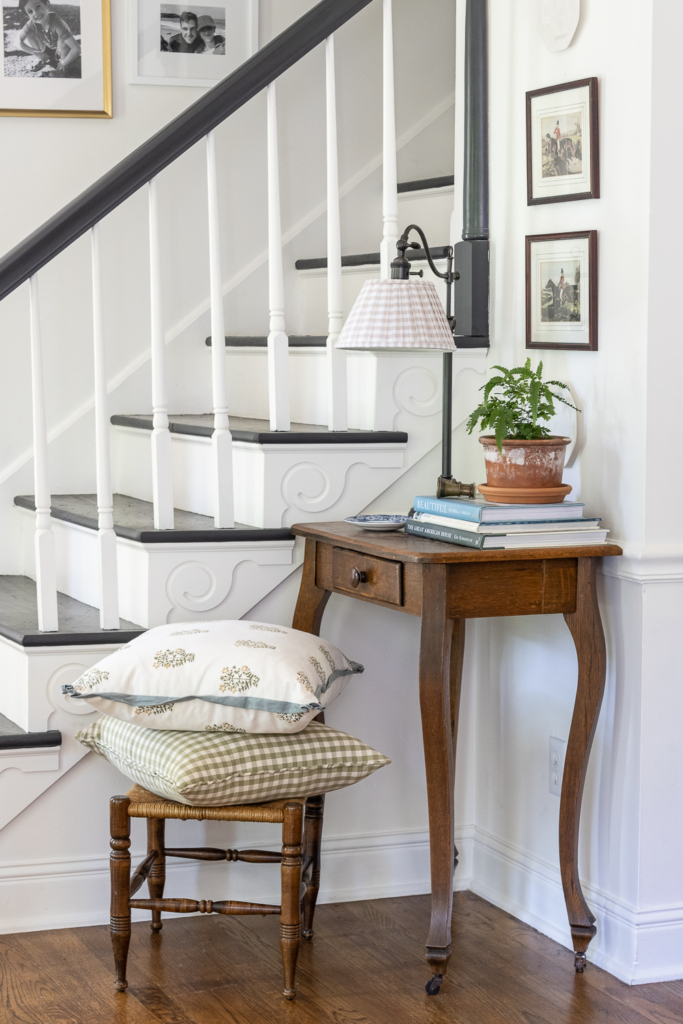
For this tutorial I covered the small shade from the lamp in our foyer. The shade measures 5″ across the top, 9″ across the bottom and 5 1/2″ tall.
Materials and tools needed:
- Lamp shade of choice
- Fabric (A light weight cotton fabric works great. This gingham fabric is from Hobby Lobby. I used less than a yard on this shade)
- Hot glue gun
- Fabric glue sticks (regular hot glue gun sticks also work.)
- Iron
- Measuring tape
Creating Your Custom Shade
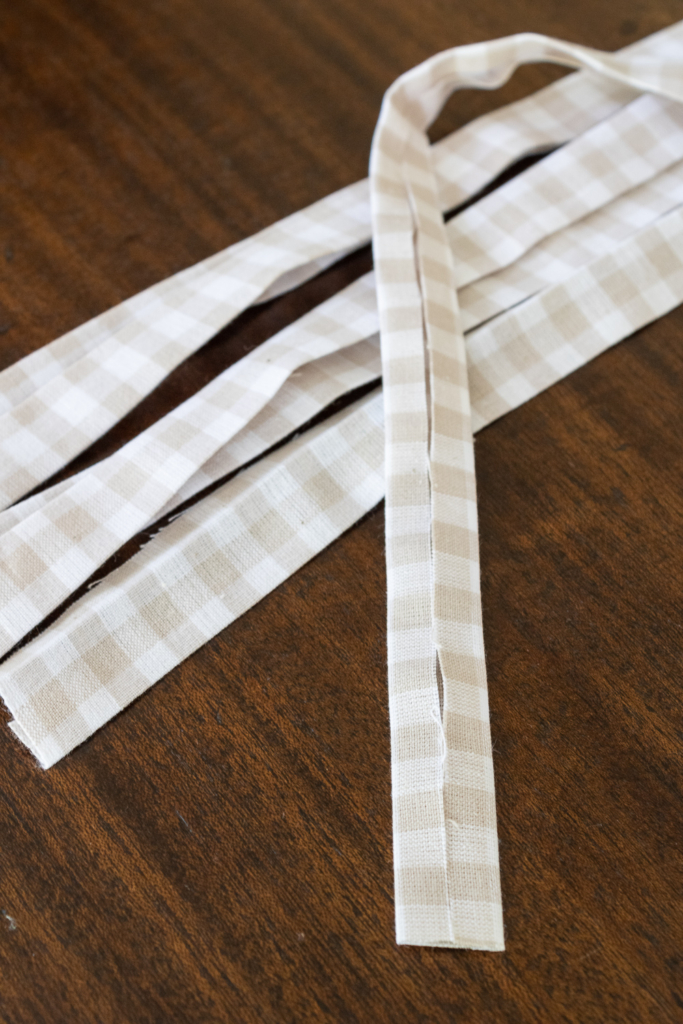
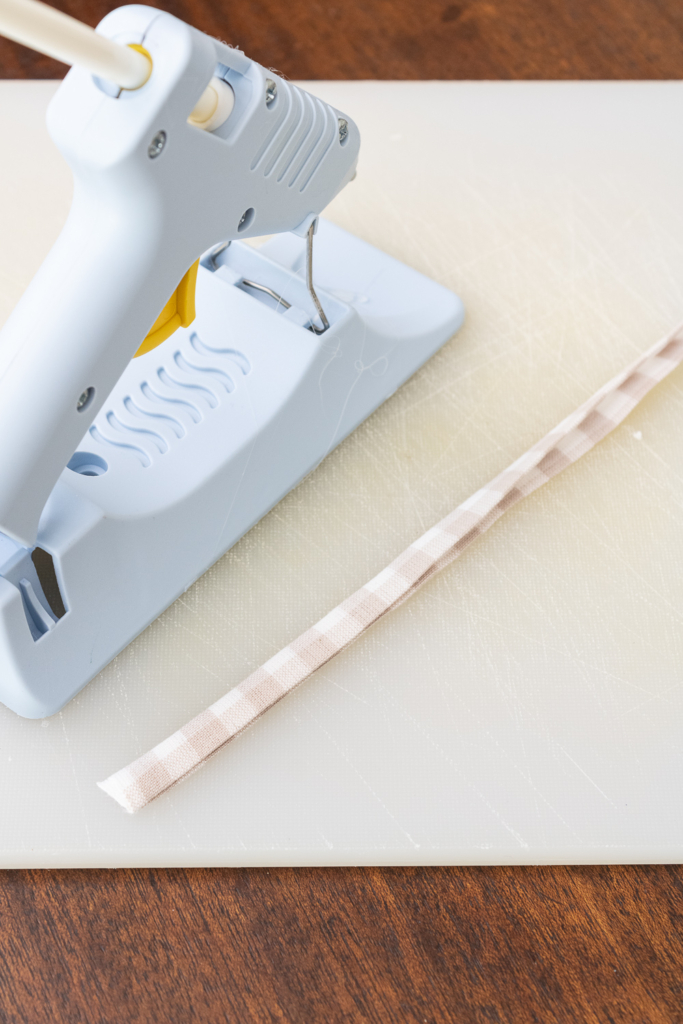
- Start by cutting several strips of fabric. For this smaller shade, I cut the strips into 1.5″ pieces. If you have a larger shade you can certainly make wider pleats if you choose. Fold each side into the center and iron flat. You can also use a bias tape maker if you prefer.
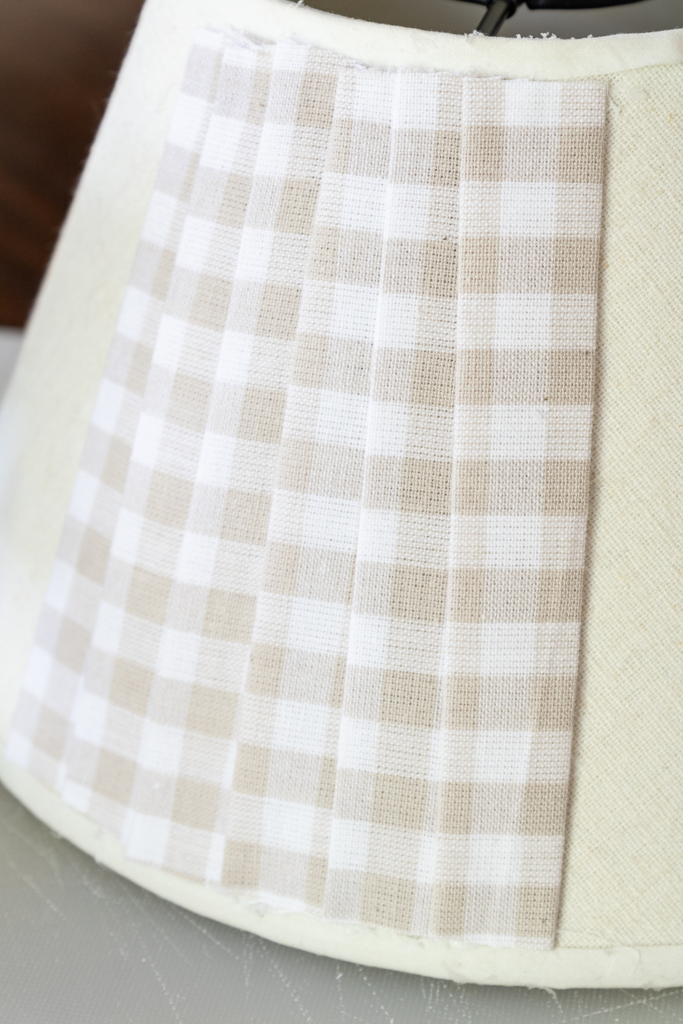
2. Measure your shade and cut your fabric strips to the right length, leaving a 1/4″ inch from the top and bottom of the shade. Using a hot glue gun, place a small bead of glue to the right side of the fabric (Leave the left side of the top unglued. This is so that you can tuck your last pleat underneath it once done.) at the top to attach the first fabric strip to the back of shade. If you’re using a shade that has a smaller top and larger bottom, slightly angle your fabric strip to make sure the bottom is properly covered.
3. Place your next piece of fabric, overlapping half of the first piece at the top. Again, place the fabric strip at a slight angle, so that more of the bottom is exposed than the top. Keep working your way around the shade until you reach the back. Tuck and glue your last piece halfway under the first piece.
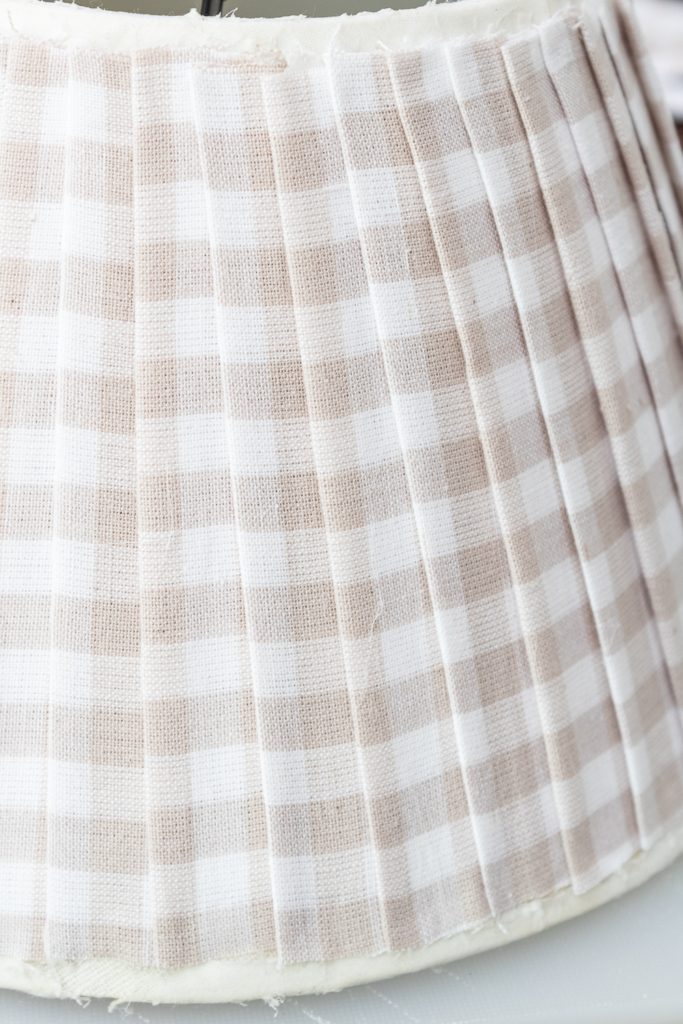
4. For the top and bottom trim pieces, take two strips and fold them in half. Iron and then glue the two sides closed. (For a larger shade you may choose to keep the top and bottom trim pieces larger. In that case, use the fabric strip as is, like my guest room’s lamp shade shown above. Use a thin bead of hot glue to attach the trim to the top, making the trim level with the top of the shade. Fold the end in on itself to finish it off. Repeat for the bottom of the shade.
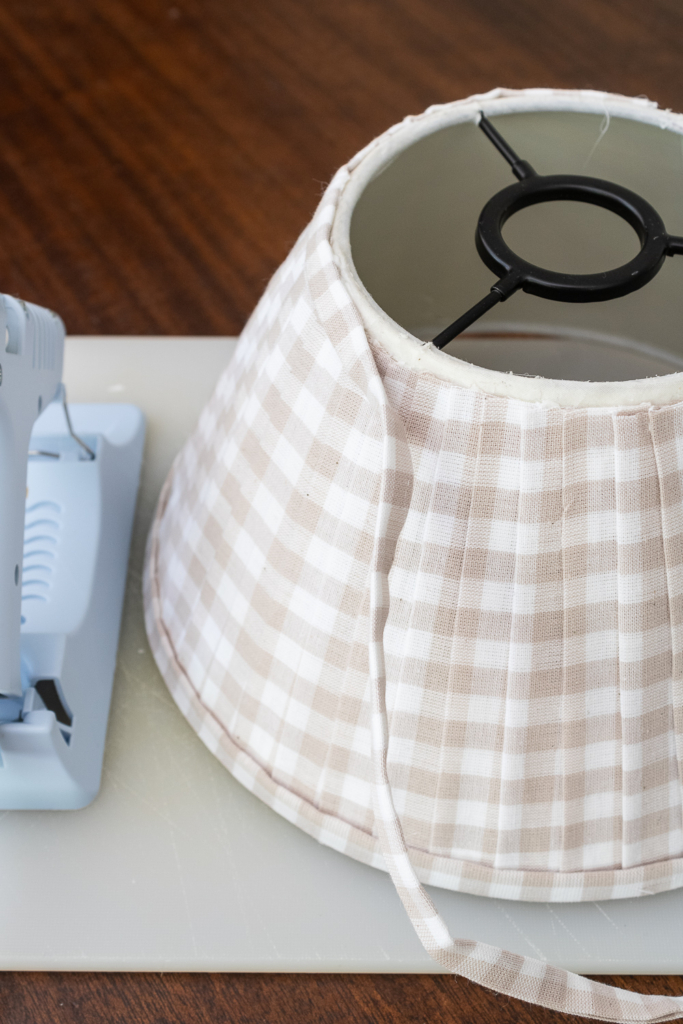
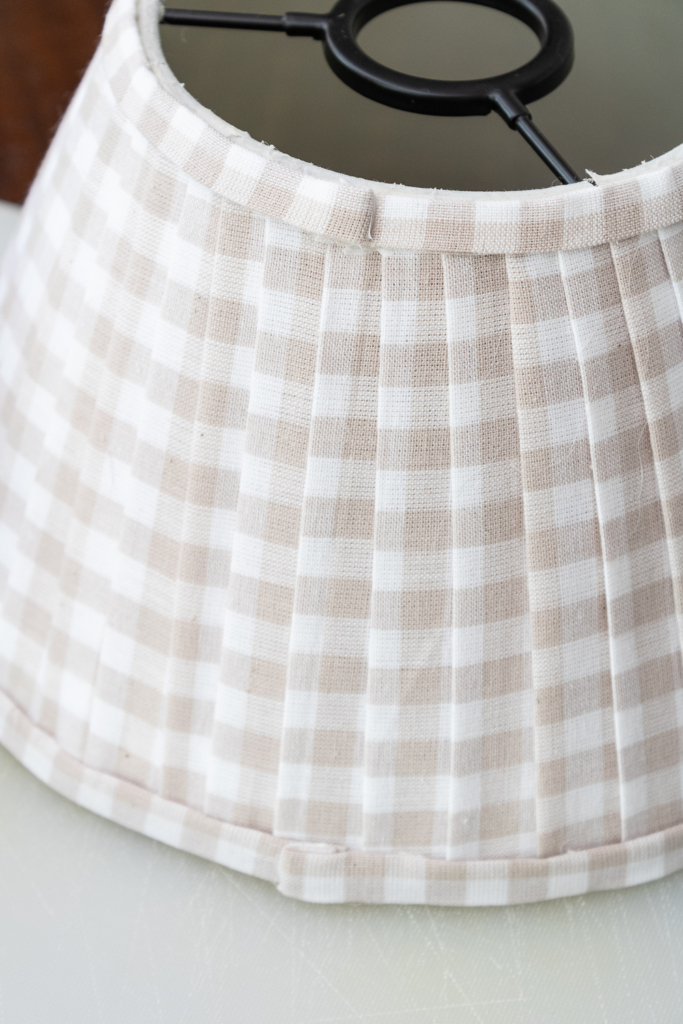
Please note that I chose not to fold the top trim and bottom trim pieces over the rim of the shade. I found that it just looked too bulky, but you may have more luck with that than I did.
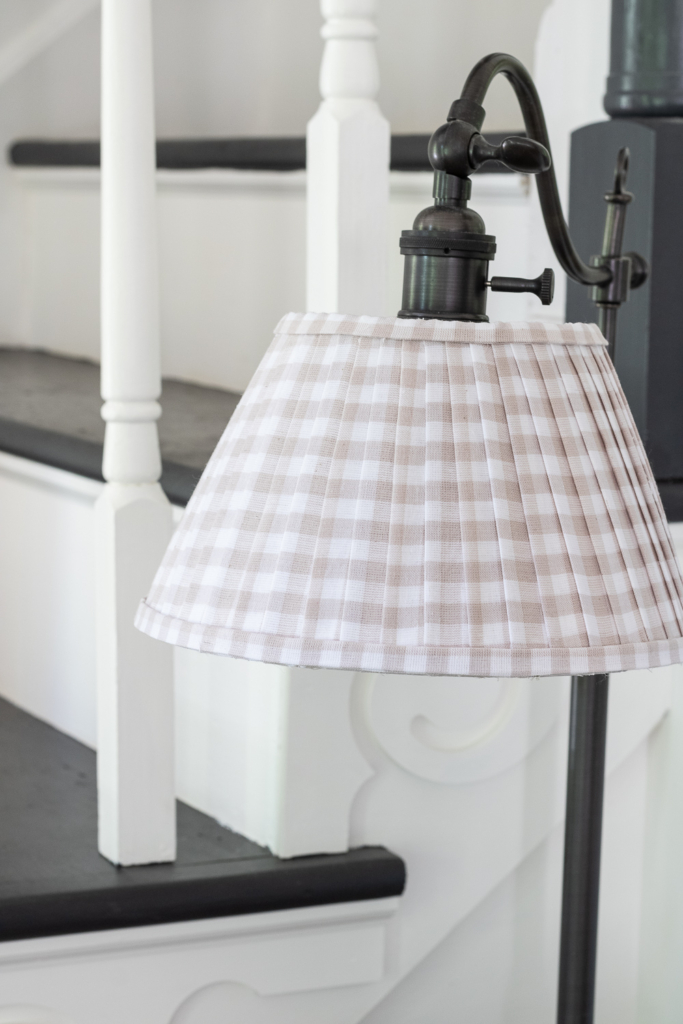
Each one took just a couple of hours to make from start to finish. Depending on the fabric you use, this project can be as inexpensive or expensive as you choose. I just love how these have turned out! They’re so much fun to make and once you make one you’ll be hooked. I’ve already got a couple of other shades in mind that I would like to cover.
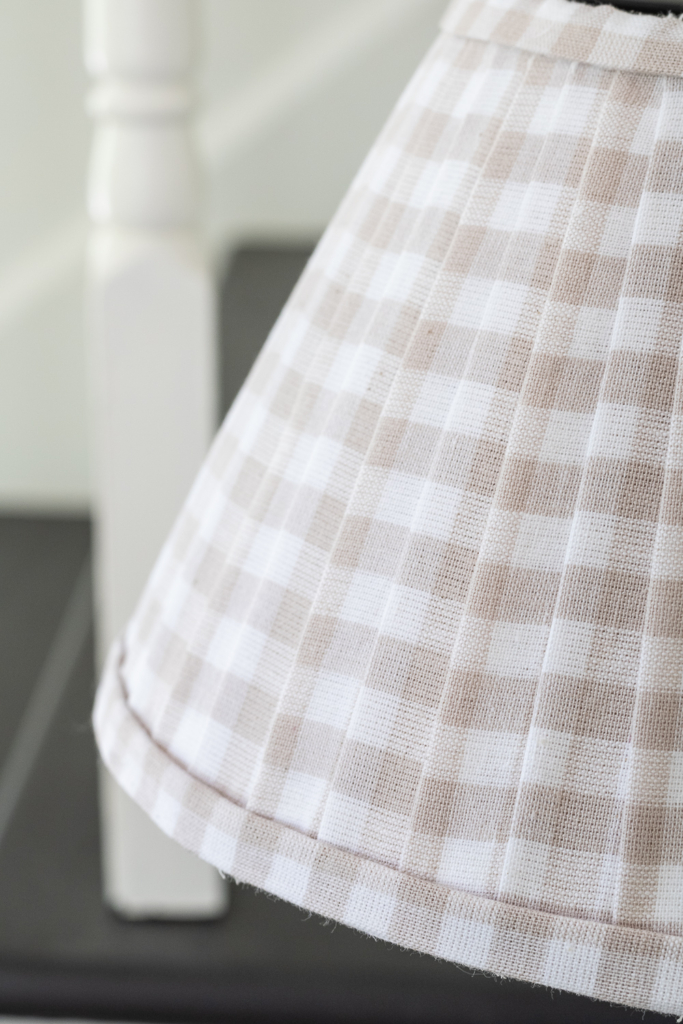
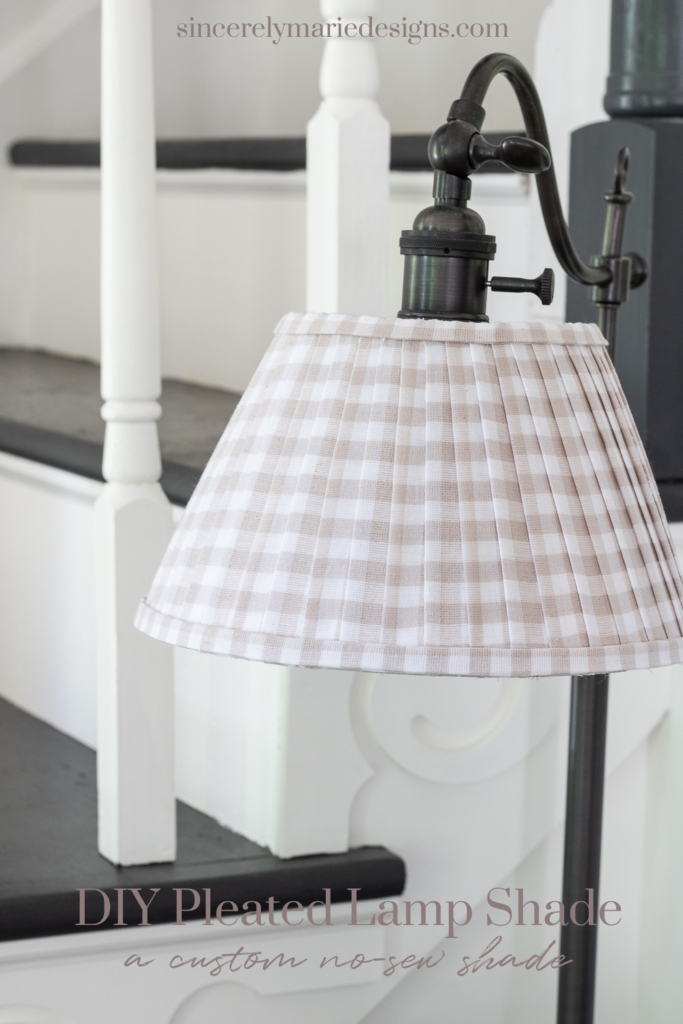
Isn’t it the cutest? Although I love the first shade I did for our guest room, I think I prefer the smaller trim on this shade. You’ll learn as you go with this DIY and that’s perfectly fine!
This shade tutorial produces more flat, symmetric pleats. If you prefer a tight, more free-style pleat, Marynn from The Wildflower Home has just shared an awesome tutorial using one continuous piece of fabric HERE. I’m anxious to give her tutorial a try. I’m loving the idea of one piece of fabric!
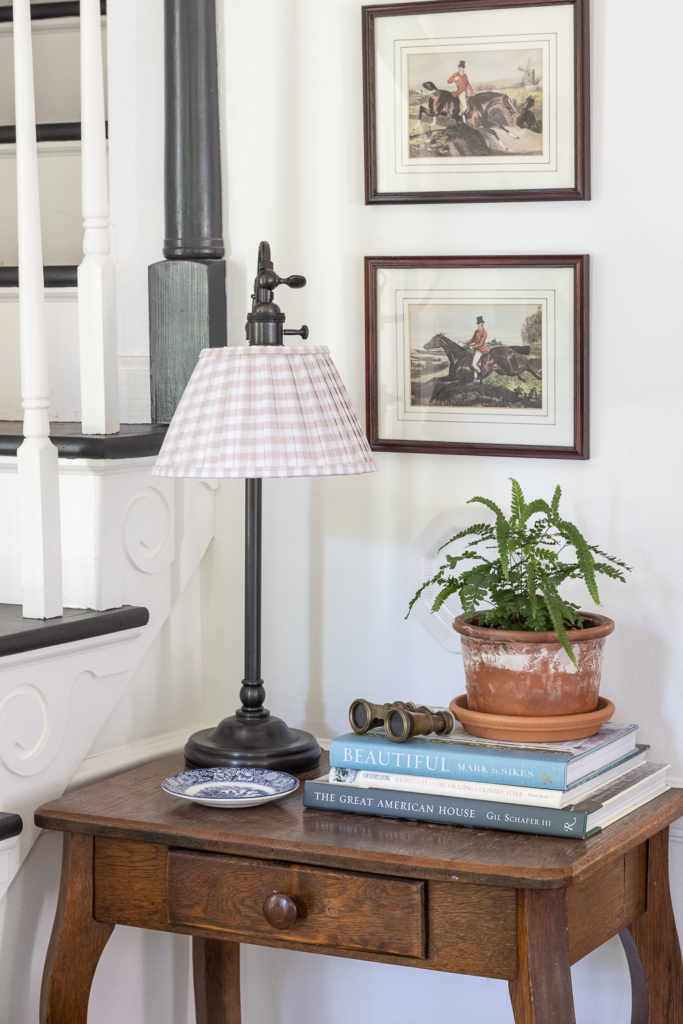
I love the possibilities of this project! There are so many beautiful and fun fabrics out there to choose from. Custom shades can be a great addition addition to a child’s room as well. If you don’t have a lamp shade around your home that you want to use, pick one up at a thrift store. Our local store usually has many to choose from and for only a dollar or two. If you can operate a hot glue gun and use a pair of scissors, you can do this project!
If you’ve made your own custom lamp shades, share below. I’d love to see what you’ve made! I hope you all have a great rest of the week friends!



What a great idea. I hope I am creative enough to make one too. 🙃😅
You can do this! I truly believe this is a project anyone can do, just have fun with it.
Thank you for sharing this and also the one from Wildflower! I love both ideas and actually might attempt both styles as I have a couple shades I’d like to cover!! Thank you, again!
Absolutely! I love that’s there’s all kinds of ideas out there and different ways of doing things. I’m also going to be trying her method as well. Fingers crossed!
Your lamp shade turned out beautifully!
Thank you so much, Karen! I think this project falls under no-fail DIY’s 🙂
Wow, your shade turned out great! You really make it look simple! I can’t wait to try it.
Thanks Stacey! It really is such an easy project I think anyone can do. Your shade’s going to be beautiful! I just know it 🙂
I am in love with this!!!!!! So this is the dumbest question ever but do you think when you order a fabric shade that looks like this, this is how it’s made or do they actually use one piece of fabric? This looks legit! Thank you!
Love this ! Thanks !
Gosh, you’re shades turned out so cute, you’ve really inspired me! Love your lamps too!
Thank you so much for sharing. I can’t WAIT to try a few shades. I’ve drooled over the extremely expensive ones online for years and just knew that the process couldn’t be terribly difficult. Yours are lovely!
I’m so glad you found it helpful! I was in the same boat for years, only buying them when I found them at the outlet shops. It’s crazy how expensive a lampshade can be!