This easy DIY roman shade is a great way to get a custom looking shade without breaking the budget. Made with a classic print fabric, this shade looks like a million bucks!
Windows always seem to sit undressed in our house for far too long. I struggle to find the perfect curtains or shades sometimes. My office has been no exception. I’ve been on the hunt for the perfect window shade for well over a year. I’ve gotten quite picky so I wanted to take my time and really find the perfect fabric. Finding the perfect shade can be easier said than done. If I happened to come across a shade with a fabric I liked the shade was completely out of our budget or vice versa. Quality window coverings can be pretty costly and I wasn’t quite ready to invest almost two hundred dollars in a linen shade. I decided it was time to get creative and make something myself. I found several tutorials online and I was able to use elements of several to create a shade that works well for my window. I’m excited to share it with you!
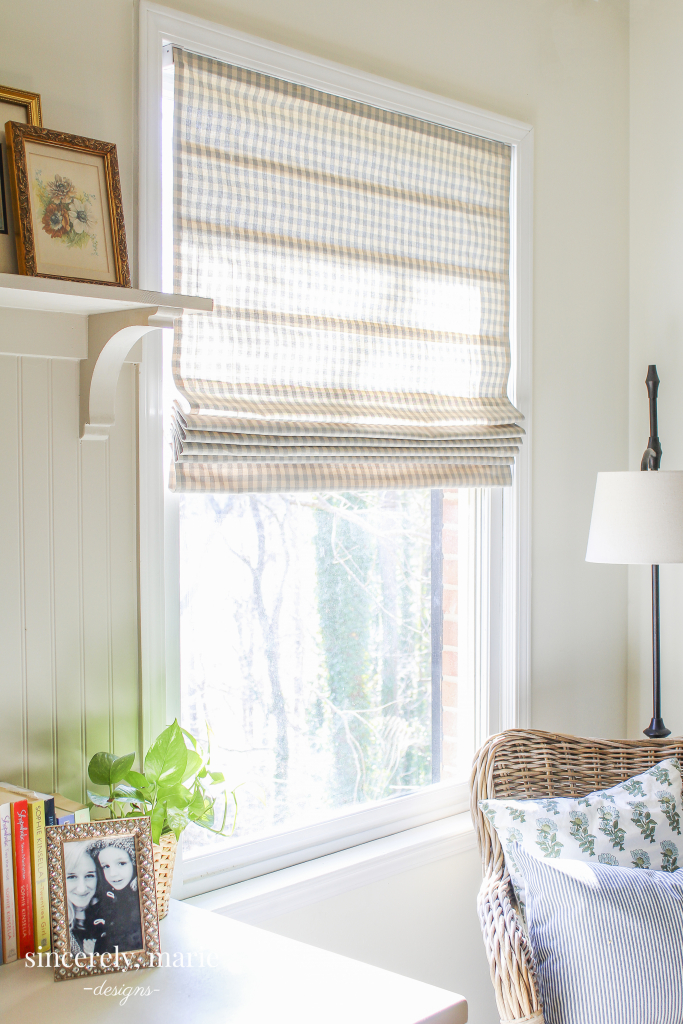
I recently came across this pretty check fabric at the Ballard Design outlet. It’s the palest blue and cream upholstery fabric and has great weight. It was on sale for $9 a yard! You can’t beat that sale. I purchased a couple of yards because I knew it would be perfect for my homemade shade.
I wanted to keep this shade as simple as possible. It’s not a window that I need to cover for privacy reasons, so I knew it would stay pulled up most of the time. If you;re looking for a window covering that you plan on pulling up and down everyday this might not be the best solutions. I would recommend going with a complete DIY shade with stitched on rings and pull string. If you’re looking for something that’s going to more for looks and to dress the window this is perfect!
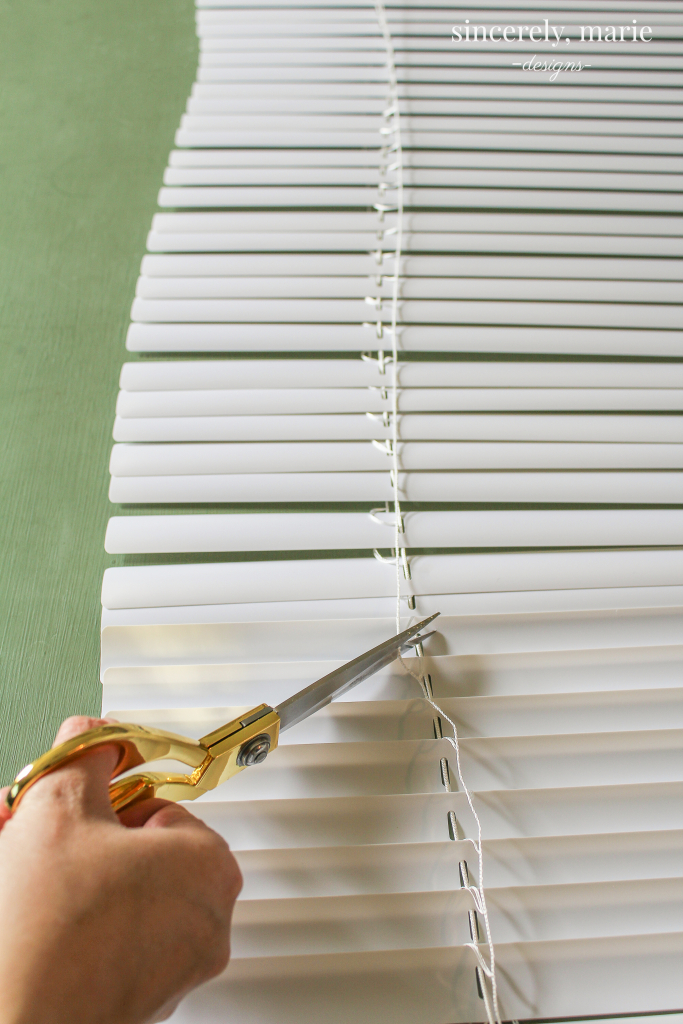
- Start by completely stretching out a mini blind on a table or flat surface. You then want to cut the accordion strings on the outside of the main cord. Make sure you DON’T cut the center string.
This post may contain affiliate links. You can read our full disclosure here.
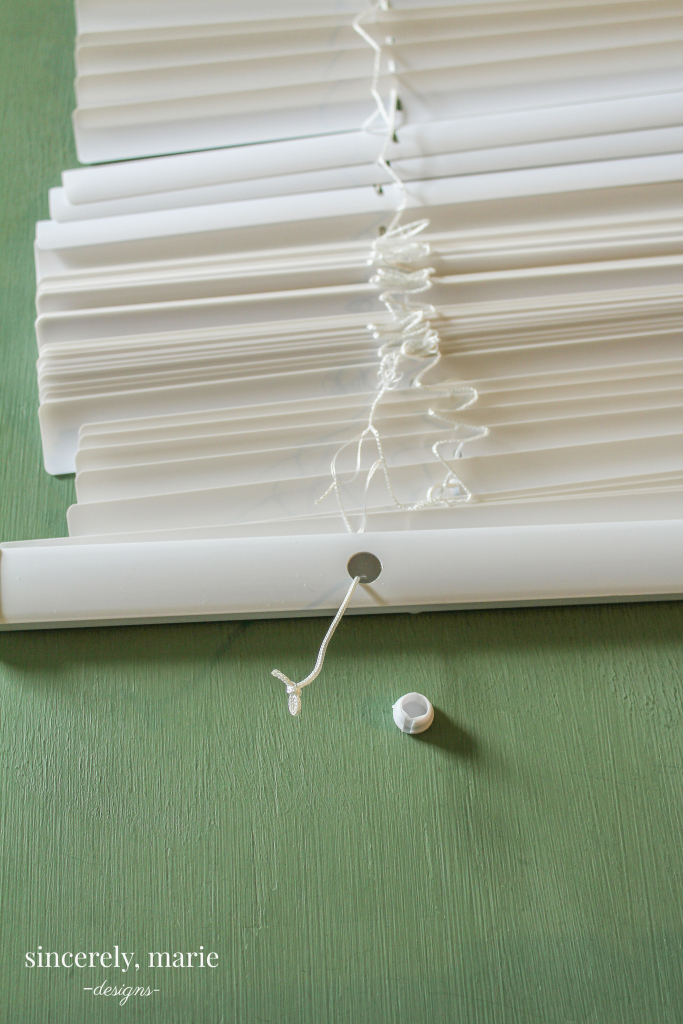
2. Next, pop off the caps on the bottom of the blind and untie the center string’s knot. Remove all the blind slats, leaving just 10-12 depending on the length of your window. My window is 53″ tall, so I left 10 slats so that each slat would be 4″ apart. 4″ creates a pretty fold in your fabric when the blind is pulled up. You’re going to cut the center cord to your window length and knot it. To make it easier I hung my blind in my window to get the right length and then cut my center strings so that the bottom of the blind would rest nicely on the window seal.
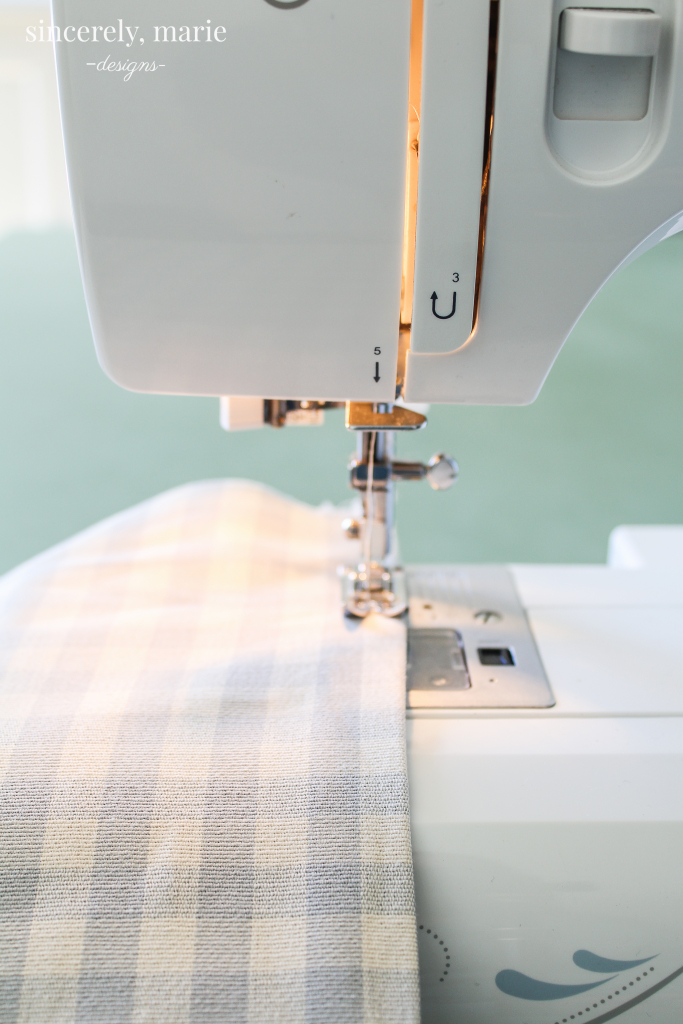
3. Measure the width of the top of the blind and the full length of the window. Cut your fabric to length leaving about 3-4 inches extra so that you can wrap the top and bottom of the blind. I left about 2 extra inches on the width so that I would have enough fabric to sew a 1/4″ seam on each side. (I did not sew a seam on the top of the fabric. I wanted to make sure the blind would fit nicely into the box hardware.) If you don’t sew you can use a liquid stitch to make sure the sides of the fabric don’t unravel.
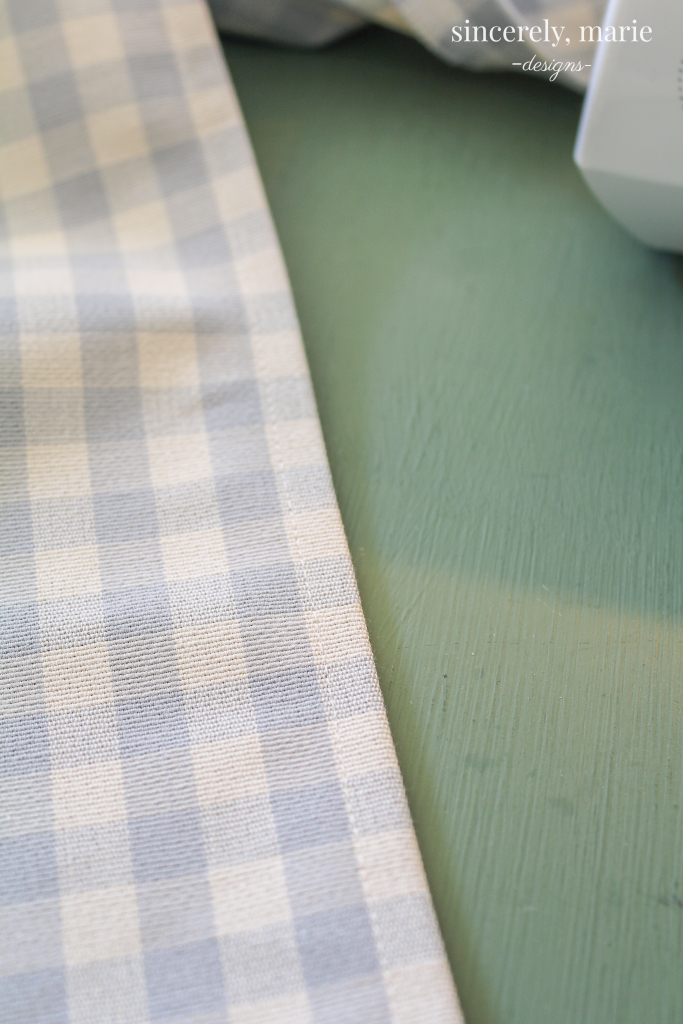
4. After your fabric is ready lay the fabric flat, back side up.
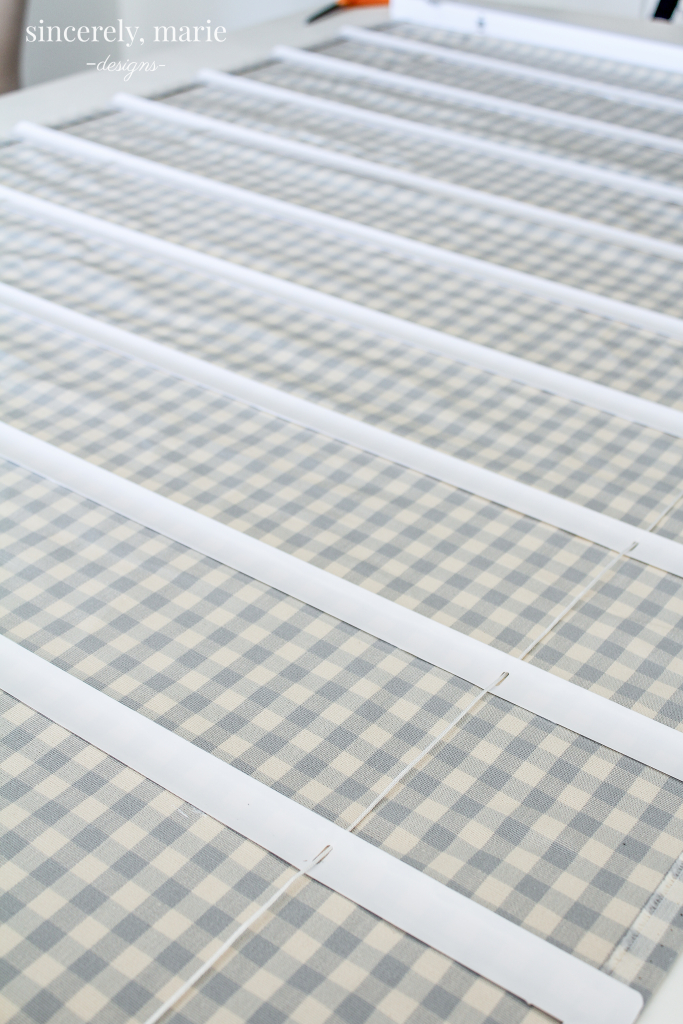
5. Make sure to extend the blind completely and lay it back side up onto the fabric. Space the slats about four inches apart. Use Liquid Stitch fabric glue and a foam brush to spread the glue on the back of each slat to stick to the fabric.
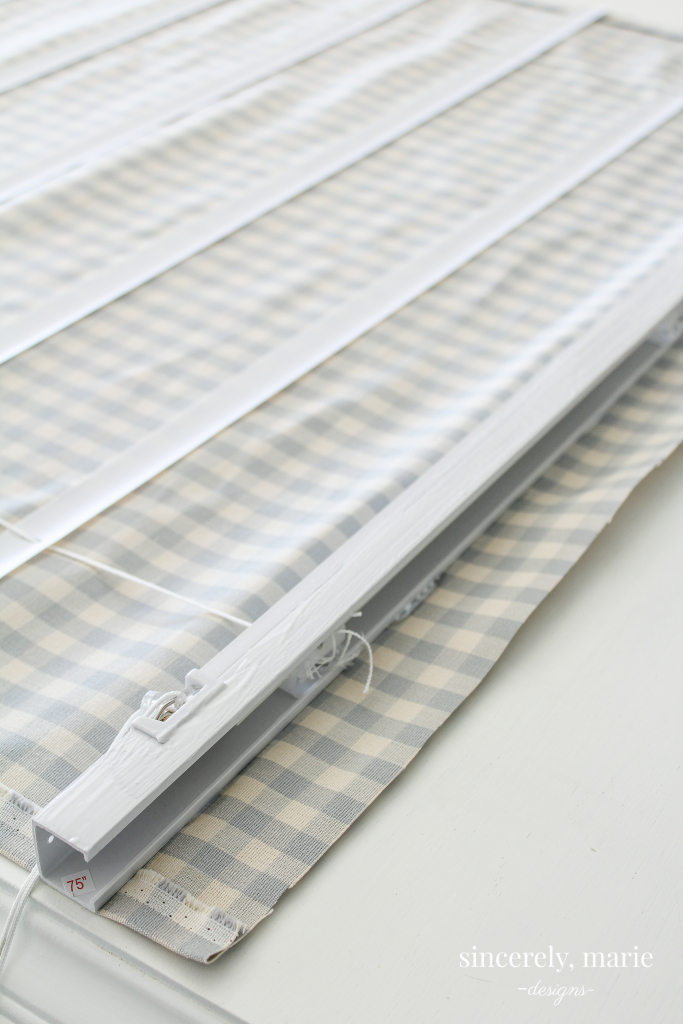
6. Use the extra fabric at the top and bottom to wrap around the housing and bottom piece. Glue them into place.
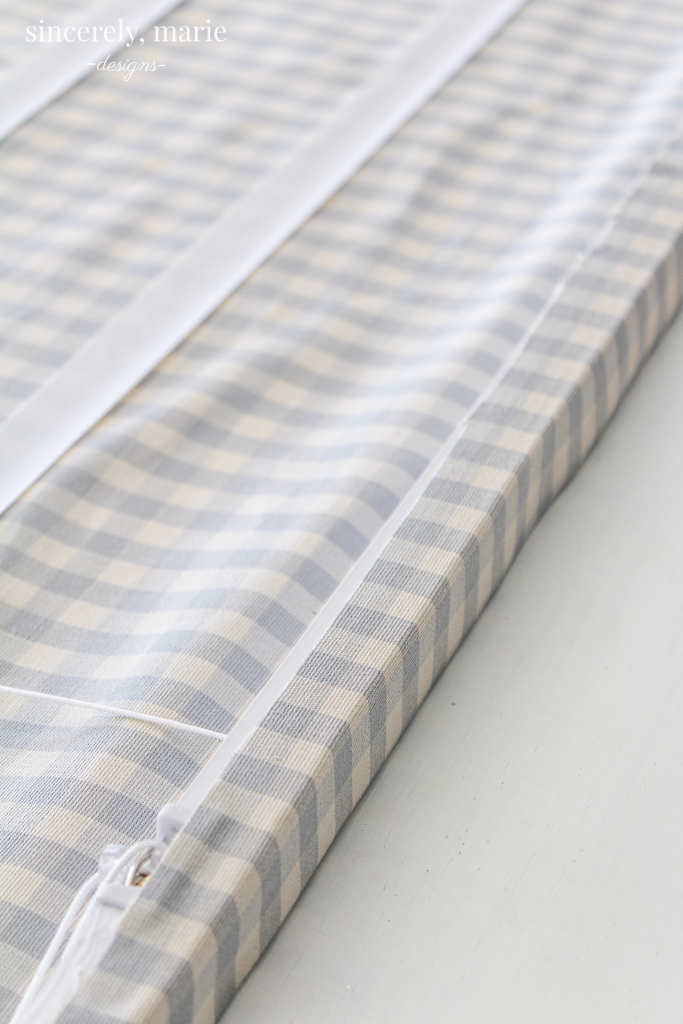
Lastly, insert the blind into it’s brackets and use a small screw to attach the top of the blind to the brackets.
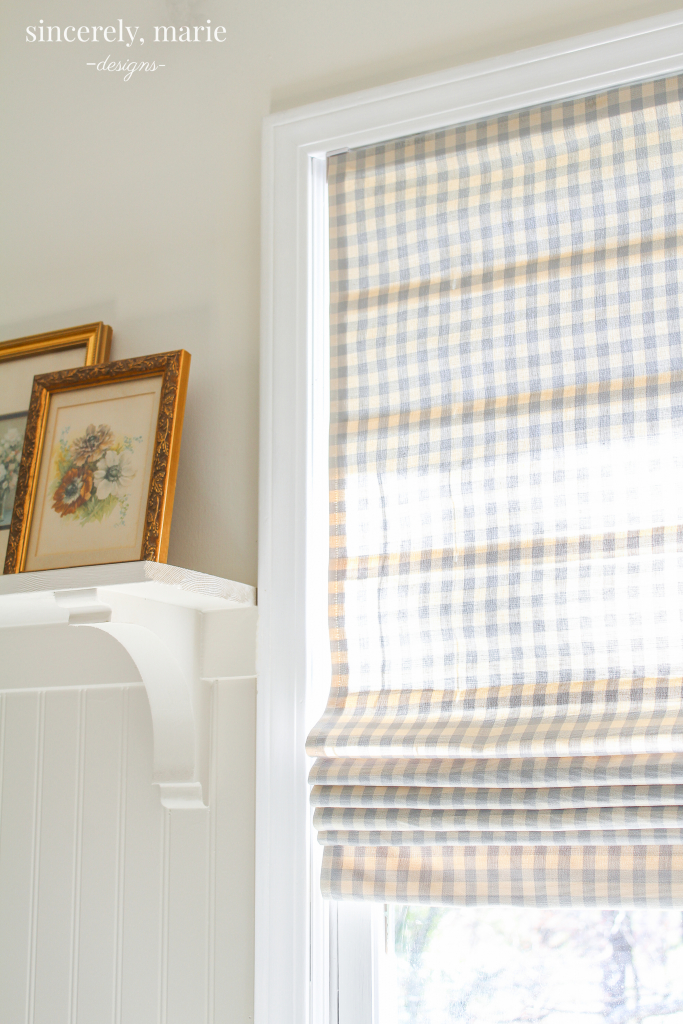
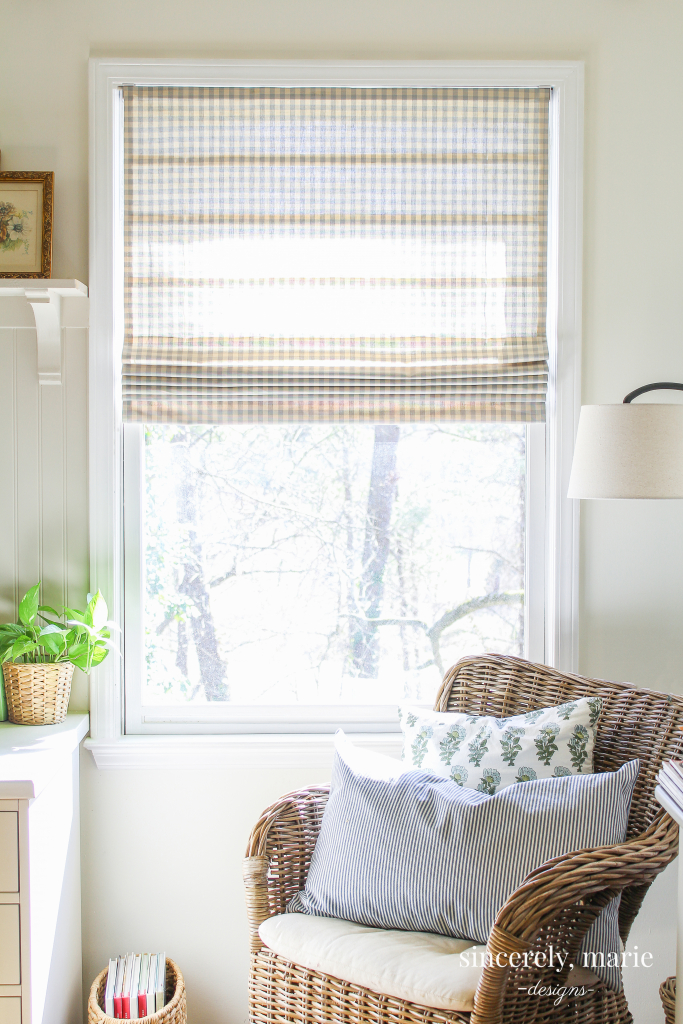
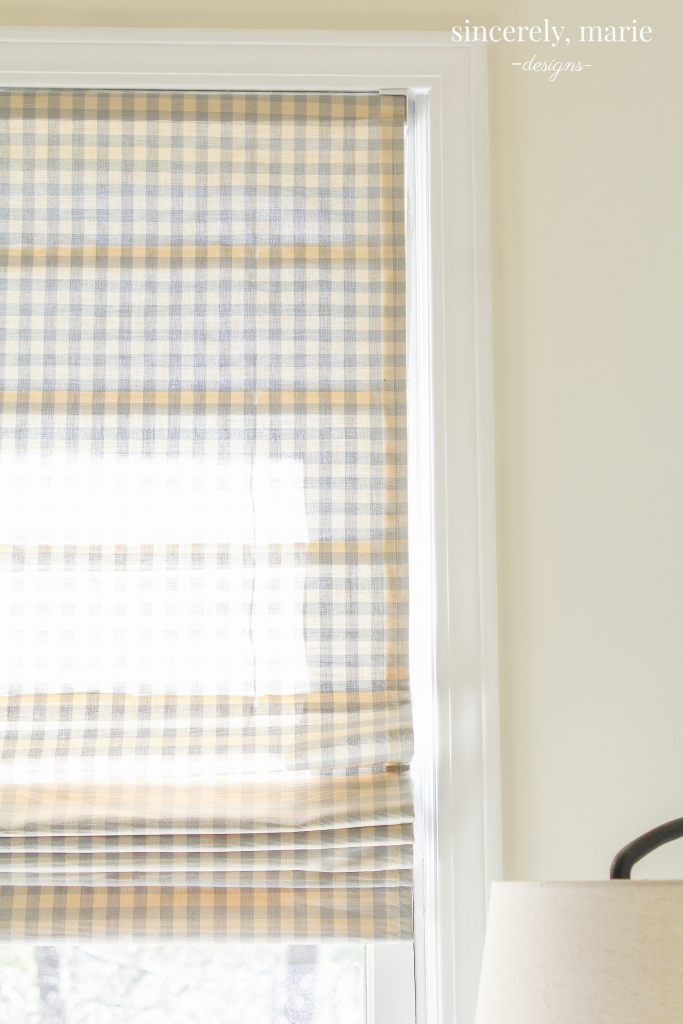
I’m hoping to share my office with you all very soon. It’s been a space that has been left unfinished since we bought out home. It kept sitting on the back burner. I’ve made a lot of progress lately and I think it’s coming together quite nicely. Until then, have a wonderful week, friends!


Love the the fabric you chose!Great job on the shade!Very pretty!I want to try this myself.
WOW! So clever! You did a fabulous job on that – it’s gorgeous.
I have custom made roman shades in the kitchen and one just broke – the string thing frayed – so upset – don’t want to go spending what I did on them again. We have a blind fixer near here but such a hassle.
I love this post and am pinning it, thank you for making it look so easy when for me it wouldn’t be, but who knows one day maybe I will surprise myself, haha!
Love fabric you chose!
GREAT, easy tutorial! I LOVE this simplistic, clean look so much!!!!
I love this tutorial! It is exactly what I’ve been wanting! So so pretty! I want to try this soon!
Thank you
Can cordless blinds be used?
I’m not positive because I haven’t tried it myself but I think that’s a great idea! I actually think that it might work even better than a corded one. I’m going to have to give it a try! If you try it first I’d love to know how it turns out.
Hi!! I noticed you make a lot of our pillows. Did you happen to make the adorable block print pillow? Or did you purchase it somewhere? Thanks!
Wondering if anyone has tried this on cordless blinds?