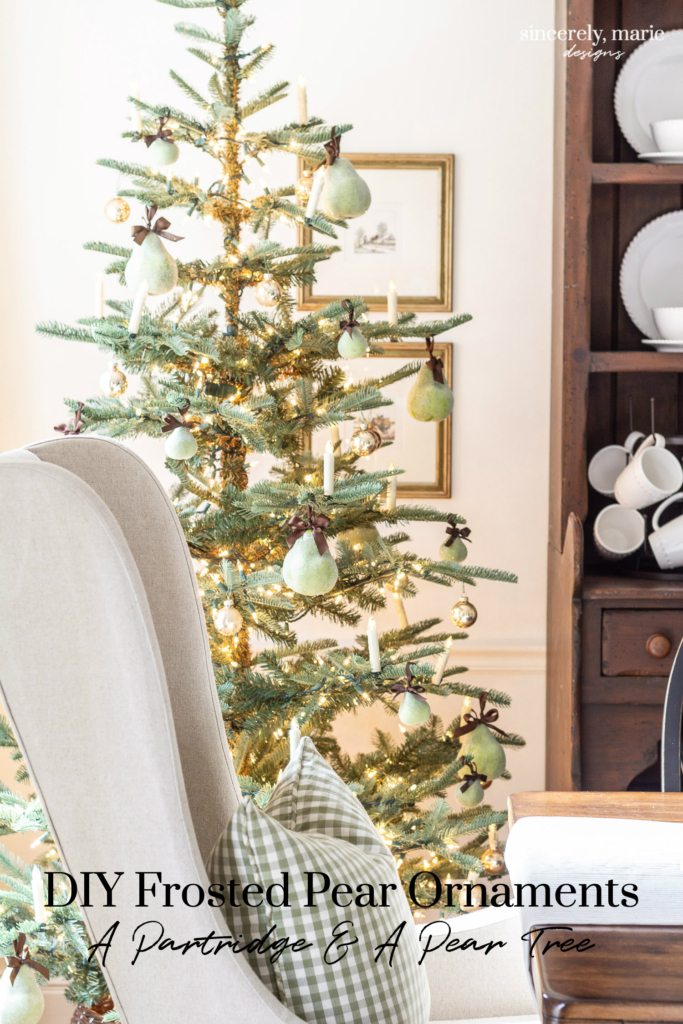
These DIY frosted pears are simple but make for a fun and classic partridge in a pear tree theme. The sparkle of them in the glow of the lights is just magical!
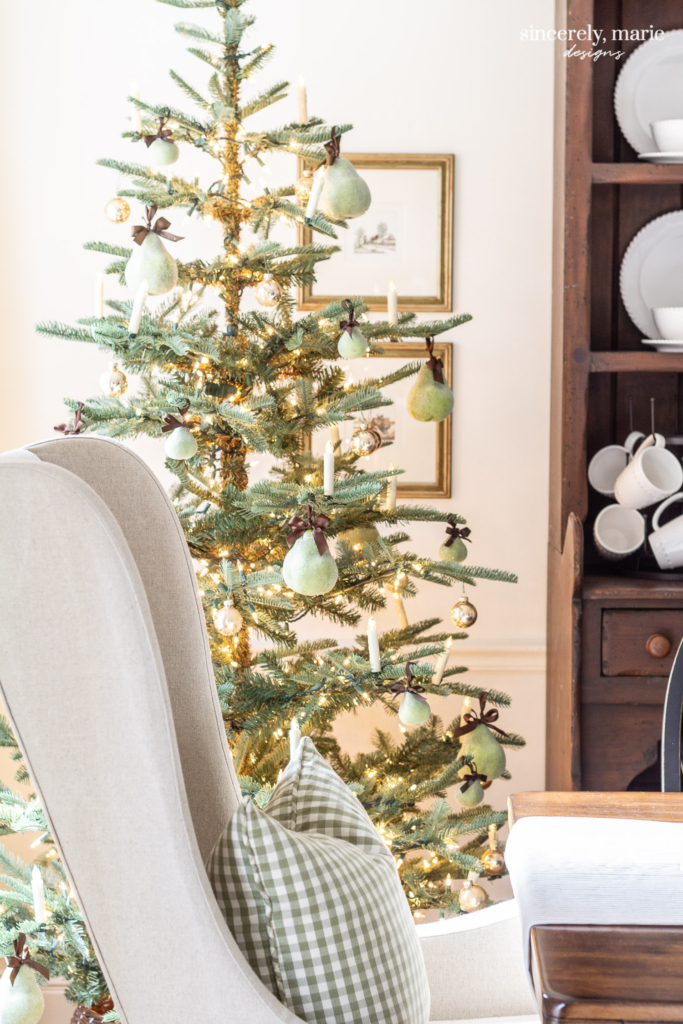
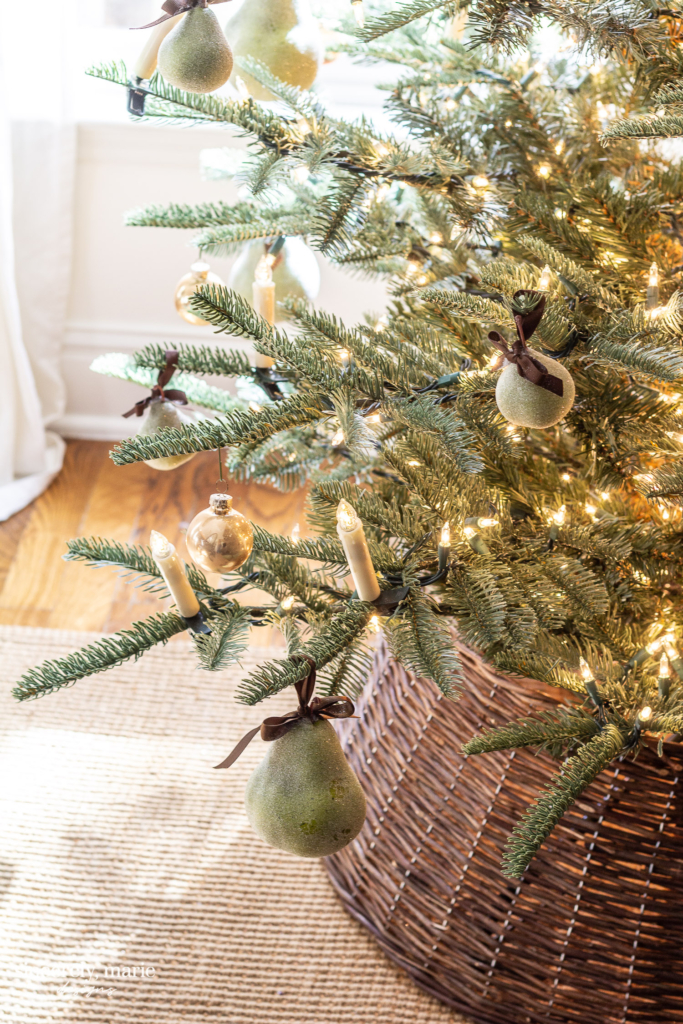
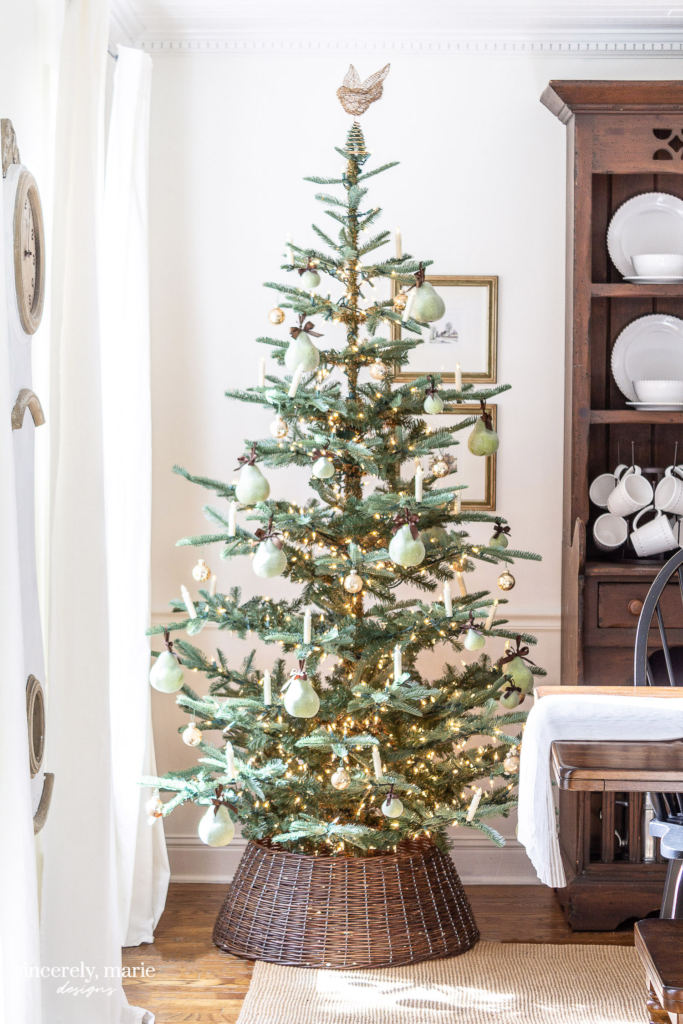
I can’t believe it’s already time to share all things Christmas! Each year goes by a little faster than the last and while I still have a pumpkin or two around our home, I’m slowly transforming each room into a Christmas wonderland. Last week I put the finishing touches on the tree in our dining room. With it’s bird perched on top and frosted pear ornaments throughout we’re calling it our partridge in a pear tree! Over the weekend I share all about the tree and sources for the lights and tree topper. You can read that here.
This post may contain affiliate links. You can read our full disclosure here.
Today I’m going to share with you just how I made those frosted pear ornaments! I’m thrilled to be apart of today’s blog hop hosted by Krista at The Happy Housie. I’ve joined several friends to share our DIY Christmas ornaments.
Once I decided on the theme of my tree finding the pears was the next step. I ultimately bought mine from Hobby Lobby in two different sizes at 50% off but I’ve found similar pears here, here and here. Buying enough pears to make an impact on your tree could easily get pricey so using real pears is a great alternative. Look for pears that do not have any bruising or broken peels. You want them to be able to stay fresh looking.
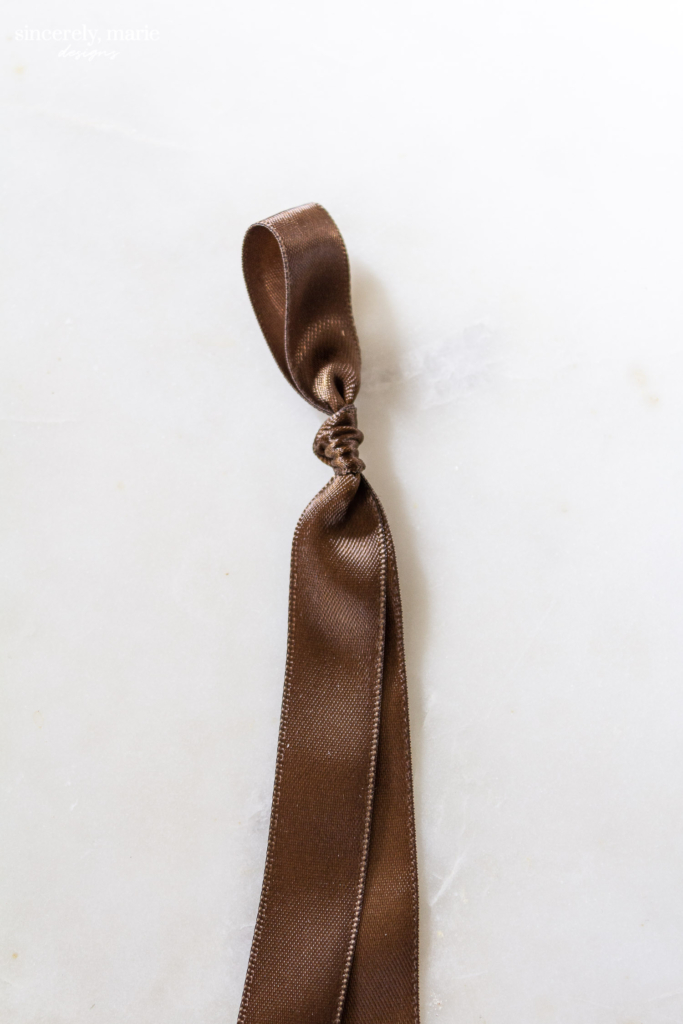
Next I picked out some 1/2″ satin ribbon for the large pears and 1/4″ for the smaller ones and I cut 12-14″ pieces. You’ll fold your ribbon pieces in half and make a knot at the top to hang your pear onto your tree. Don’t make the knot too small or you wont be able to hang it.
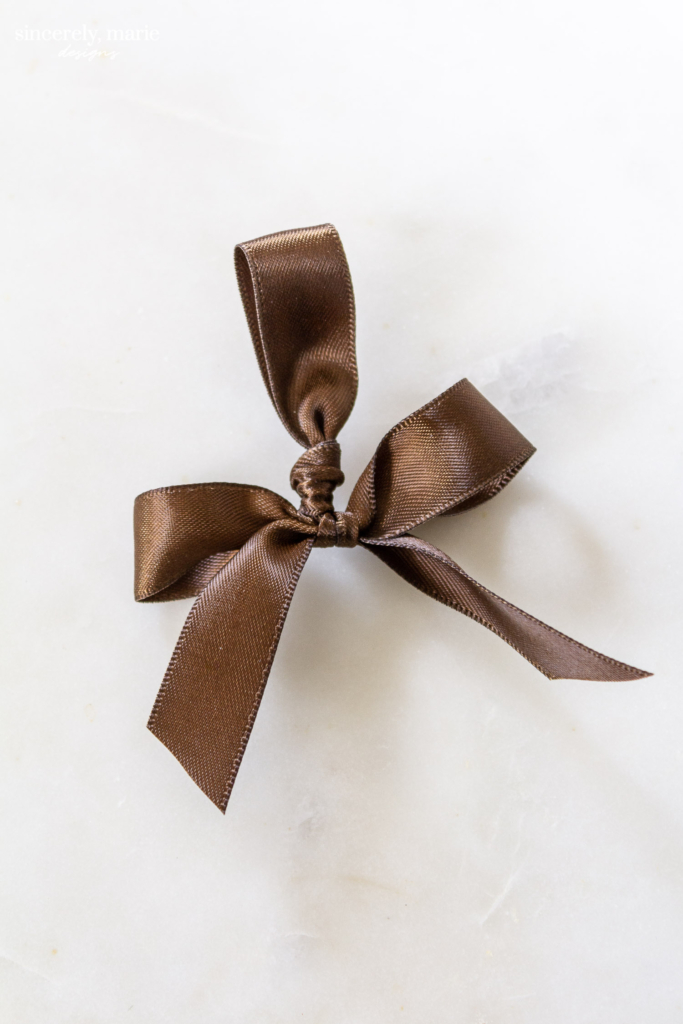
Make a small bow with the ribbon ends. You can trim the ends as short as you like once tied tight.
Use a hot glue gun to attach the ribbon to the top of the pear.
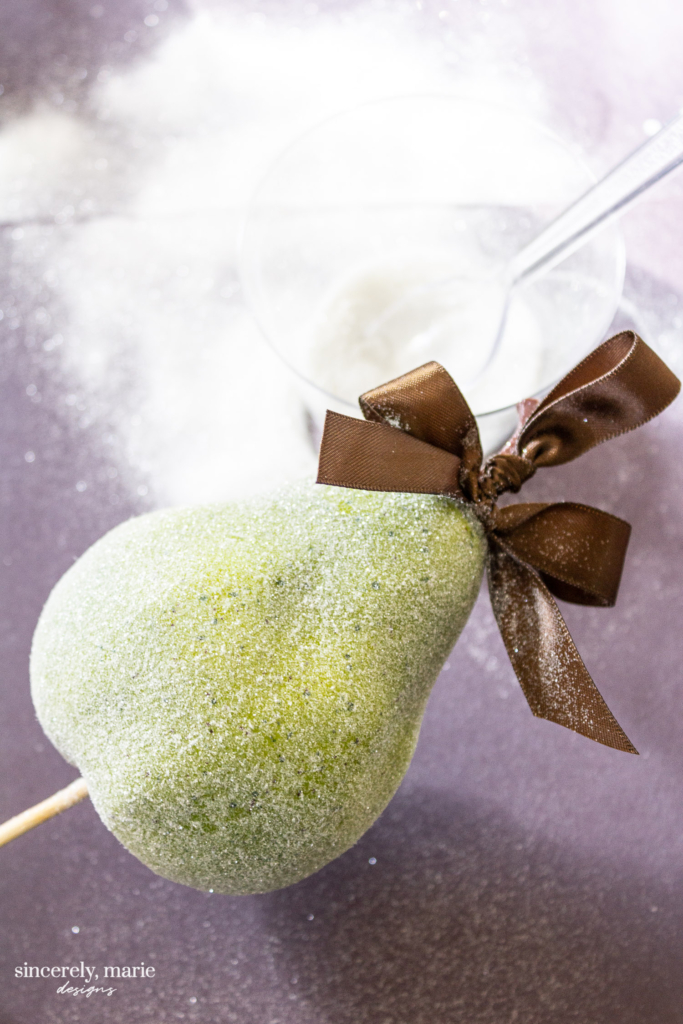
I found it easiest to place the pear on a wooden skewer to add the glitter. I added 1 part water to 2 parts elmers glue and simply brushed the glue onto the pear. Using a plastic spoon I spooned glitter onto the pear working my way from the bottom to the top. Place a piece of construction paper under the pear to catch glitter to be reused.
Since my tree isn’t very full I hung my pears on the tree to dry. If you’re tree is fuller, use a piece a Styrofoam to put your wooden skewers in so that the pears can dry over-night.

I think I’m still cleaning up glitter but it was well worth it! These pears are just beautiful in the sparkling lights of the tree. They took just an afternoon to make and can be used for years to come.

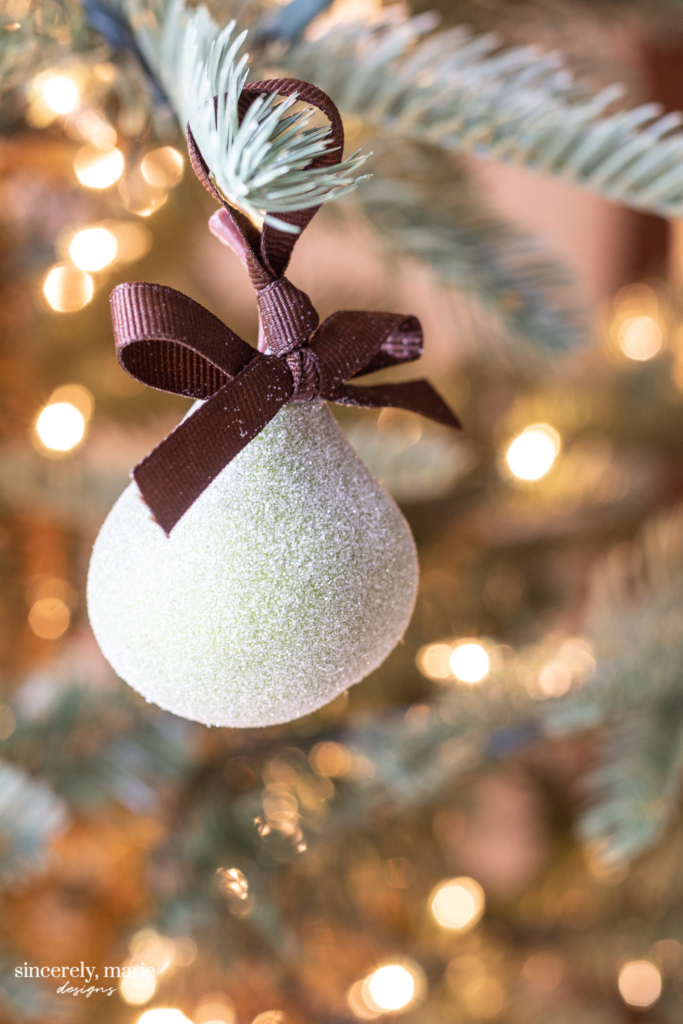
You can get as creative as you like with the color and size of your pears as well as the color of glitter you choose. I wanted the natural color of the pear to show through so I used a clear glitter but you could certainly go for a glam look and use gold or silver glitter.
You may not be quite ready to decorate your tree but it’s a great time to make some fun ornaments so that they’ll be ready to hang when you’re ready to decorate! These kind of things can take some time so its always a good idea to get a jump on it. I just know you’re going to find an ornament or ornaments you’ll want on your tree this Christmas from the great tutorials below. Be sure to stop in at the next blog and say hello! I just know you’re going to be ready to decorate after seeing all these pretty ornaments!


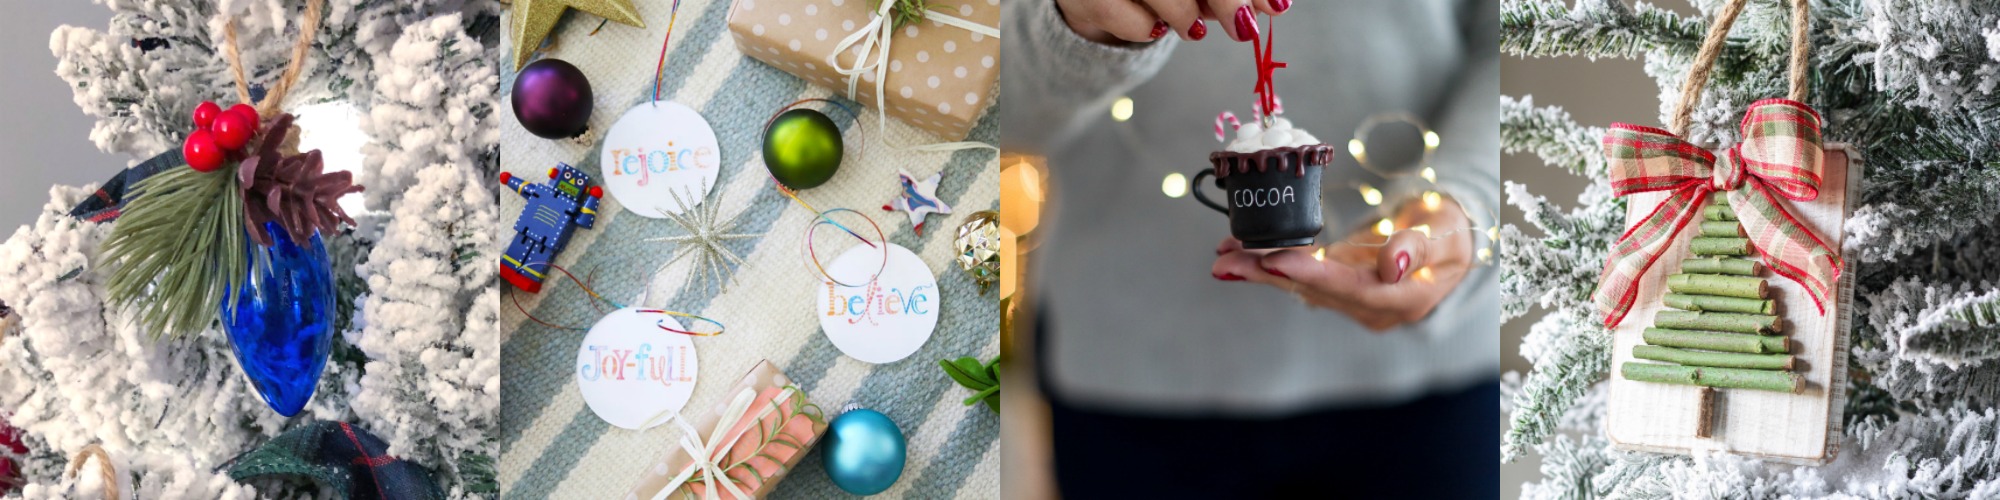
Welcome to the second week of the Seasonal Simplicity Christmas Series! Today a group of my blogging friends and I are sharing our DIY Christmas Ornament projects to help inspire you to get crafty for the upcoming holiday season. Click on the links below each image to be taken directly to the different posts!
DIY Christmas Light Tree Ornaments at The Happy Housie
Handmade Ornaments from Free Printables at The Handmade Home
DIY Dollar Store Christmas Tree Ornament at Craftberry Bush
DIY Twig Christmas Tree Ornament at The Turquoise Home
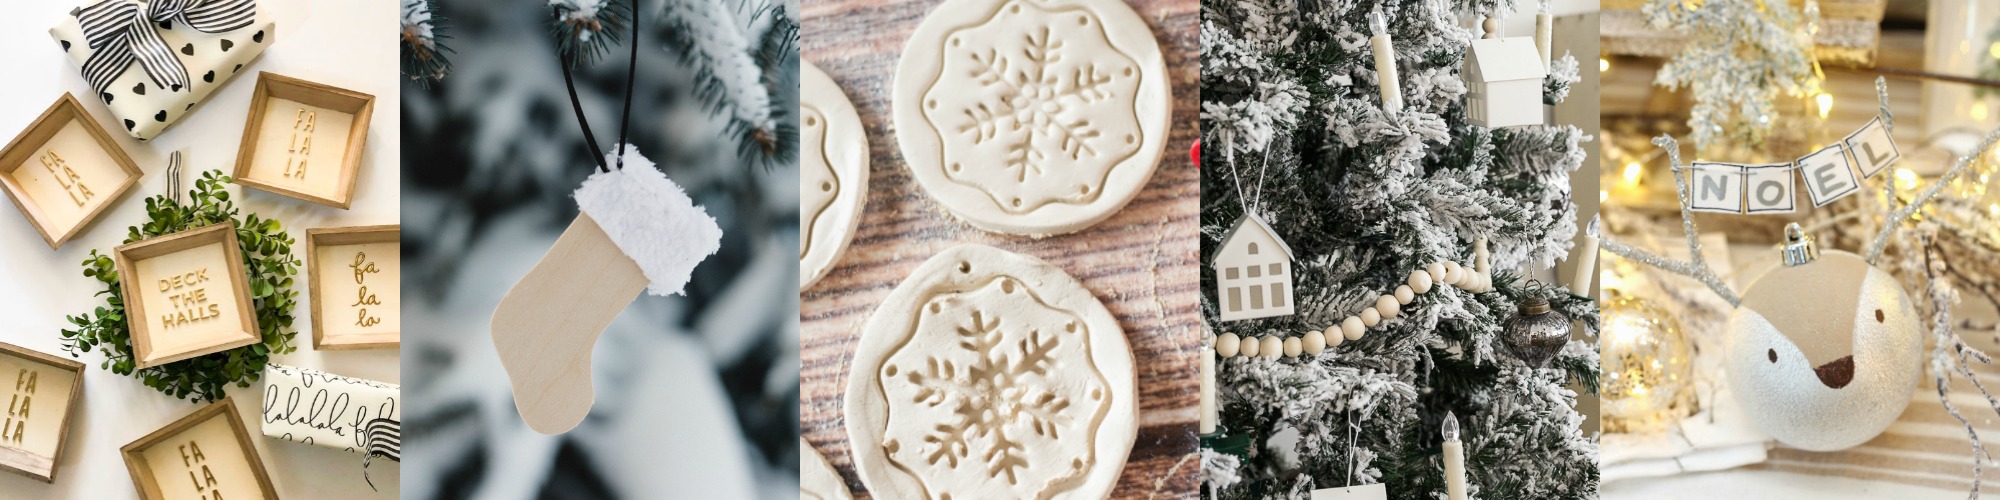
Farmhouse Christmas Sign Ornaments at Tatertots and Jello
DIY Stocking Ornament at Love Create Celebrate
DIY Kid Friendly Christmas Ornaments at Jenna Kate at Home
DIY Wood Bead Christmas Garland at So Much Better With Age
Reindeer Handmade Christmas Ornament Clean & Scentsible
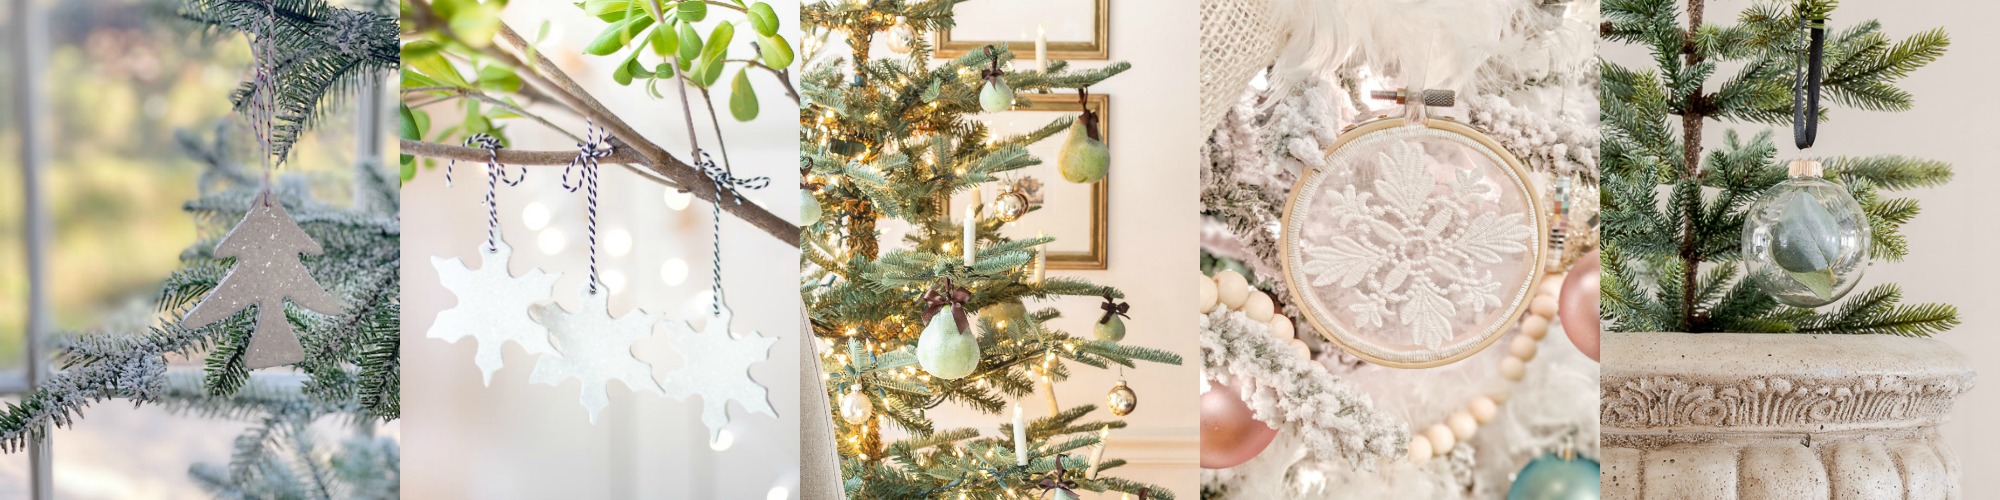
DIY Christmas Ornament at My 100 Year Old Home
Easy Christmas Ornament DIY at Happy Happy Nester
Frosted Pear Tree Ornaments at Sincerely, Marie Designs
Elegant Embroidery Hoop Ornaments at All Things With Purpose
Homemade Christmas Ornament at Seeking Lavender Lane
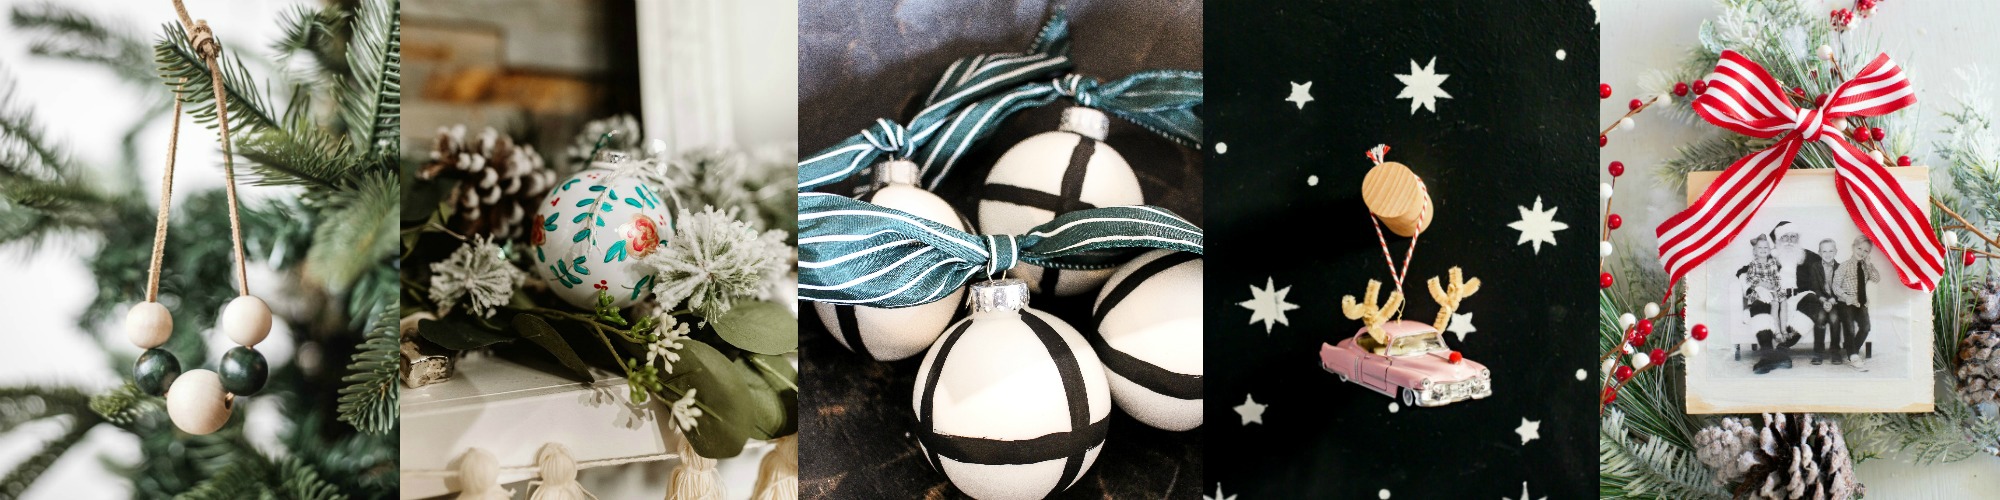
Easy Wood Bead Christmas Ornaments at Cherished Bliss
DIY Hand Painted Floral Christmas Ornaments at The DIY Mommy
DIY Black and White Ornaments at Taryn Whiteaker
DIY Reindeer Vintage Car Christmas Ornament at Cassie Bustamante
Photo Block Christmas Ornament at Amber Tysl
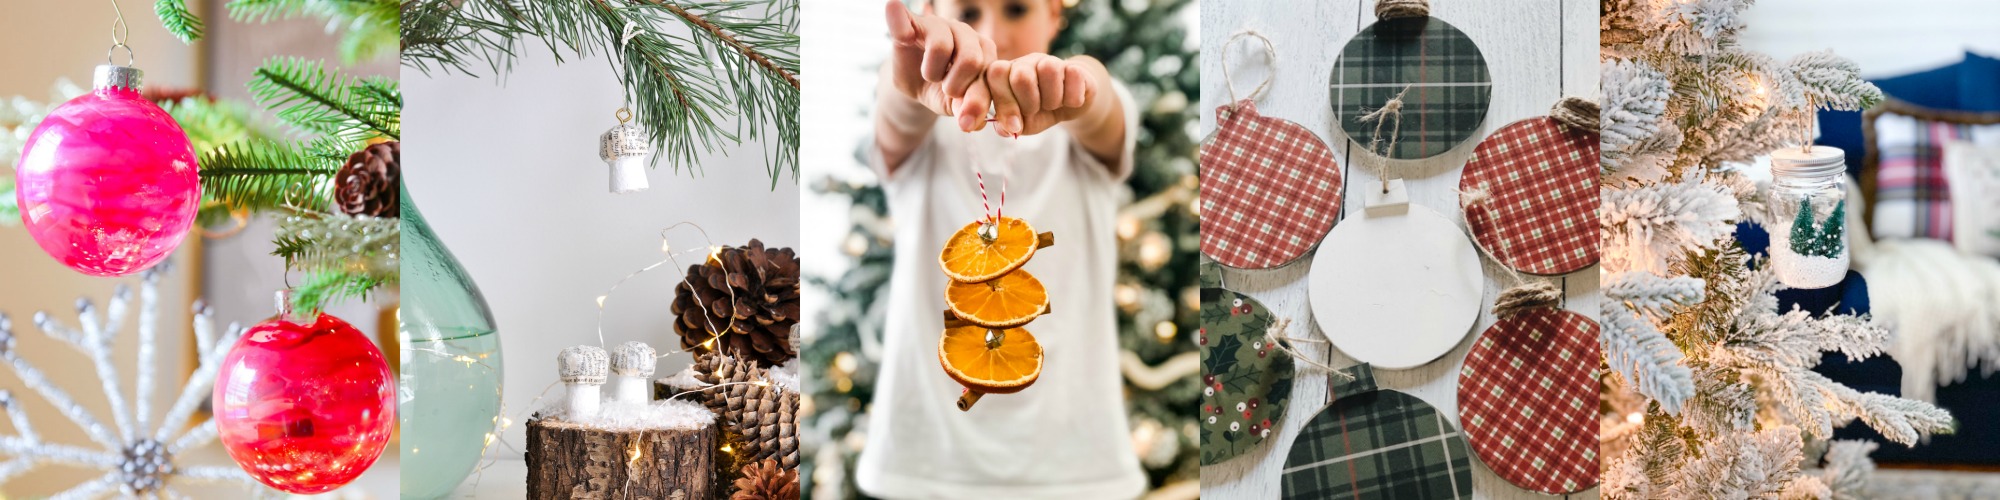
Melted Crayon Ornaments at Modern Glam
Wine Cork Mushroom Christmas Ornaments at Life is a Party
Cinnamon Stick and Orange Slice Ornaments at A Pretty Life
Easy DIY Reversible Christmas Ornaments at She Gave it a Go
DIY Mason Jar Snow Globe Ornament at Lolly Jane


OK these are my favorite! LOVE them and they look so amazing all together on your tree!
Those pears are so pretty and sparkly. I can’t imagine using real ones. Thanks for sharing on the blog hop.
These are beautiful! I love how simple and elegant your tree looks!
These are so beautiful!! I’m so inspired Amanda!