Does anyone else have that one room in their home that always gets neglected or forgotten when it comes to decor? For us, that room is our sunroom. When we moved into our little home, our sunroom automatically became a catch-all for boxes and extra furniture as we worked on other spaces in the house. Maybe it’s because it almost feels more like a porch, or maybe it’s because it gets its heating from a baseboard heater and air conditioning from a wall unit. It’s a unique space with several design challenges, but that’s another post for another day. Whatever the reason, I finally decided that it was long overdue for a makeover. To be honest, I haven’t done much planning, but sometimes the rooms that aren’t meticulously planned out end up being our favorites, right?
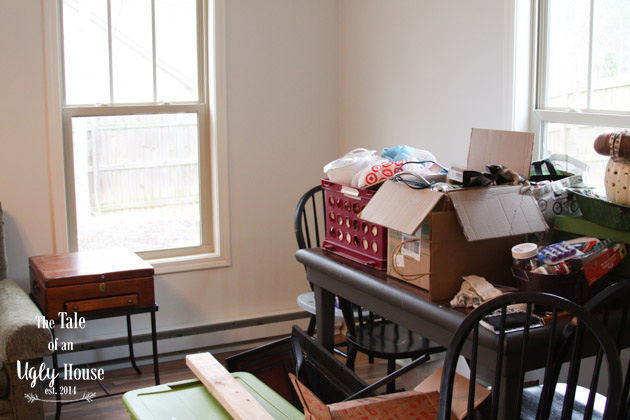
Just to set the tone, check out these terrifyingly messy before photos (after the paint because I forgot to take actual “before” photos)…
Scary, I know. There are boxes of seasonal decor, craft supplies, and every piece of furniture that hasn’t found a place in another room. This room needs some serious love.
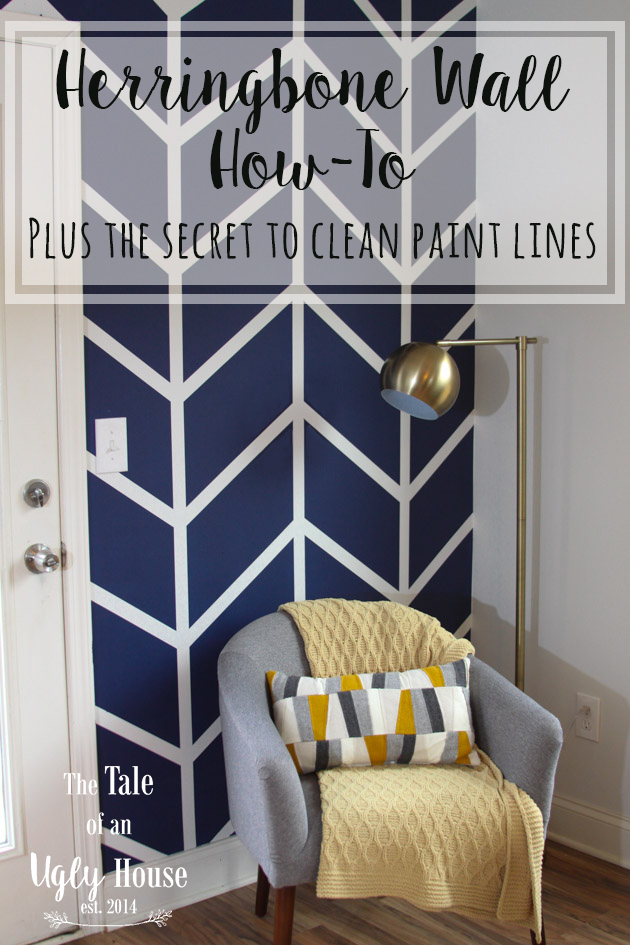
As with every room makeover story, this begins with a fresh coat of paint. Initially, I wanted to paint the entire room some variation of white. I chose the same shade that I used in the master bedroom- Behr’s Weathered White. We have a super open floor plan, so I figured that would provide some sort of continuity. As I was painting away, I suddenly decided that it needed some zing, if you will. I thought about a navy accent wall, and then the word “herringbone” came to mind. We did a herringbone back splash in the kitchen, so surely painting a herringbone wall would be a cake walk. Well, I’m here to tell you that it wasn’t as easy as I thought, but it’s definitely a project that a beginning DIY’er could accomplish.
Here is how we did it:
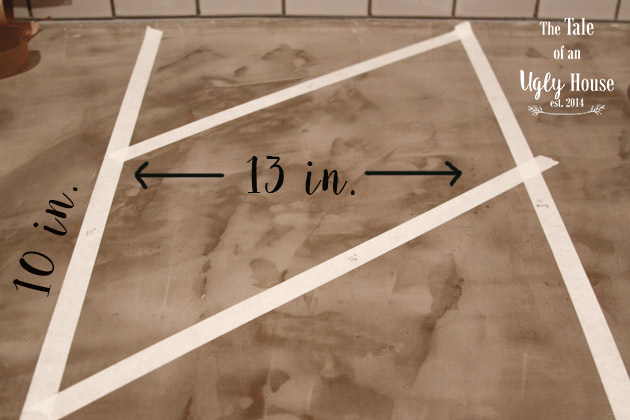
After painting the wall the “background color,” I experimented with angles and measurements for our herringbone pattern. As you can see, it was a very scientific process of putting masking tape on the kitchen counter, and moving it around until I liked it.
I ended up settling on 10″ for the vertical edge of each parallelogram (we’re just going to call them stripes, because that’s easier), and 13″ between each center line. We used a square to check the angles just for fun, and I think that this came out to be 53 degrees. Again, if you choose to do this on your walls, you pick the measurements. You might want to do it on a smaller or larger scale.
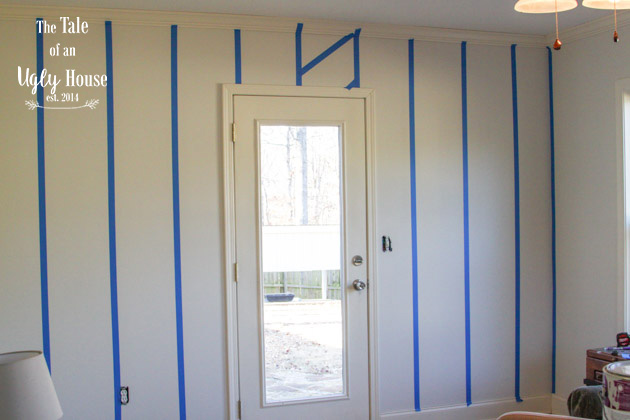
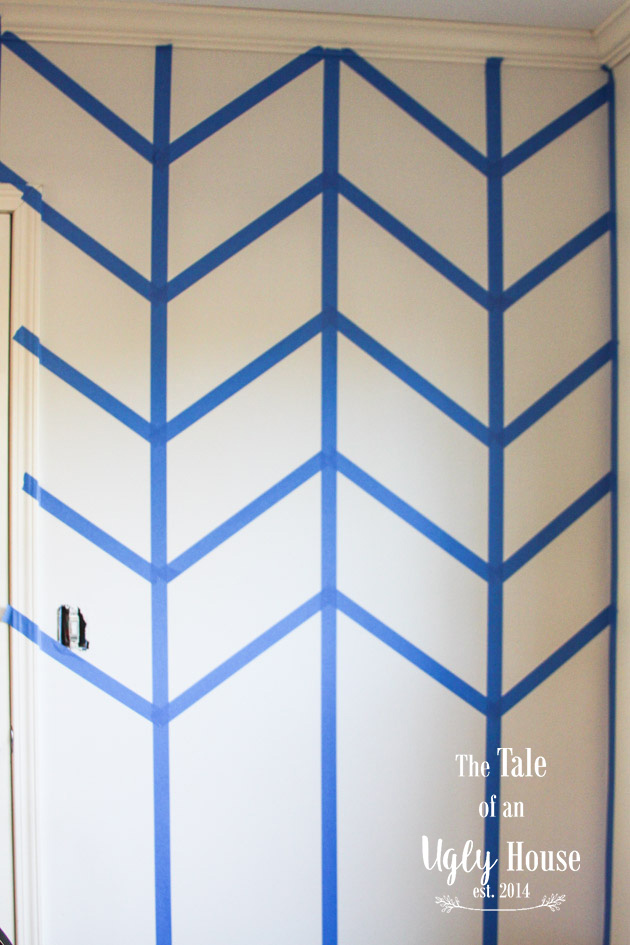
The easiest way to begin is to tape off all vertical lines. I put the first one in the center of the doorframe. The doorframe is not perfectly centered on the wall, but using this as an anchor is most pleasing to the eye. This is what our wall looked like after all of the vertical tape was laid. the 13″ is the measurement of the wall between the pieces of tape, so be sure to measure as you go. We used a larger tape than the standard painter’s tape, because I really wanted thicker lines to set off the herringbone pattern. I believe it was 1.88 inches.
Now comes the tricky part- the diagonal stripes. (This would be the time to make yourself a cup of hot tea and break out the lavender candles to prevent frustration.) I started this process over the door frame working along the ceiling. I found that doing the top row first was helpful in keeping things even. The inside of my stripes began about ¼” below the crown molding. This is where it’s nice to know your angle, because measuring above a doorframe gets interesting. You will have a much easier time if there are no doors or windows on the wall that you choose to paint. Once that first stripe was up, I just measured 10″ down from either end of the stripe to know where the start and end points of the next strip of tape would be. Once you do a few, you’ll be a pro, and it will be exponentially easier. Here is what it will look like once you are just about finished taping it off.
Once your pattern is complete, tape off any molding and corners that you want to keep the new paint off of. The nature of this project is just a bit messier than painting a room normally. I usually only tape the baseboards, but I found myself wishing that I had also taped around the door and crown molding on this one.
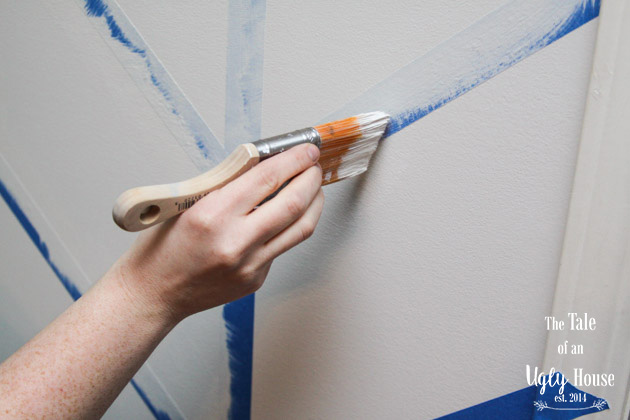
This next step is crucial. You have to “seal” the tape so that you get a perfectly clean line. Have you ever taped while painting only to peel up the tape and notice that there was a lot of “bleed?” Yeah, not a great feeling. It would be even worse on a pattern like this. So, here’s the secret. All you have to do is take some of your base color that is already on the wall, and brush some along the tape line. It sounds silly, but trust me, it works! I used short, outward (toward the tape edge) strokes do do this, and then smoothed over the outward strokes with my brush. This process ensures that none of your top color will get under all that tape that you worked so hard to put up! Do make sure that you only put on a thin coat of paint during this step. The goal is to let it dry quickly so that you can move on to the next step.
Note: You might read other how-tos that tell you to use a matte medium instead of paint to accomplish the same thing. I chose not to do it this way because there is no guarantee that it will have the same finish as your base coat, and could look different underneath your top coat. For consistency’s sake, using the paint is a safer (and cheaper) bet.
Give that paint just enough time to dry to the touch before you begin the top coat. I tried a couple of different painting methods before settling on the good ol’ standard sized paint roller. Just paint the wall per usual. Yep, right over the tape and everything. I used Glidden’s Rich Navy for this. I love that it is very navy at night, but looks like it has more royal blue when it is in full sun. Being such a rich and saturated color, I had to use two coats of paint.
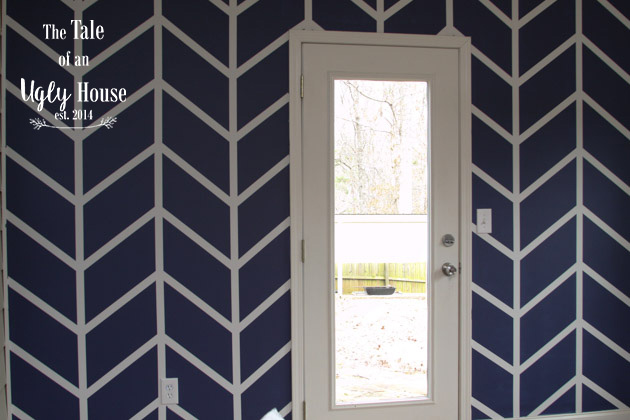
This next step is also super important…make sure you peel off your tape BEFORE your wall is totally dry. If you have a lot of paint on your wall (which you will), the drier it gets, the more likely it is that removing the tape will also peel up some of your hard work! If you do happen to encounter this problem, use a craft knife to help separate the paint from the tape, It won’t be as clean, but it should help.
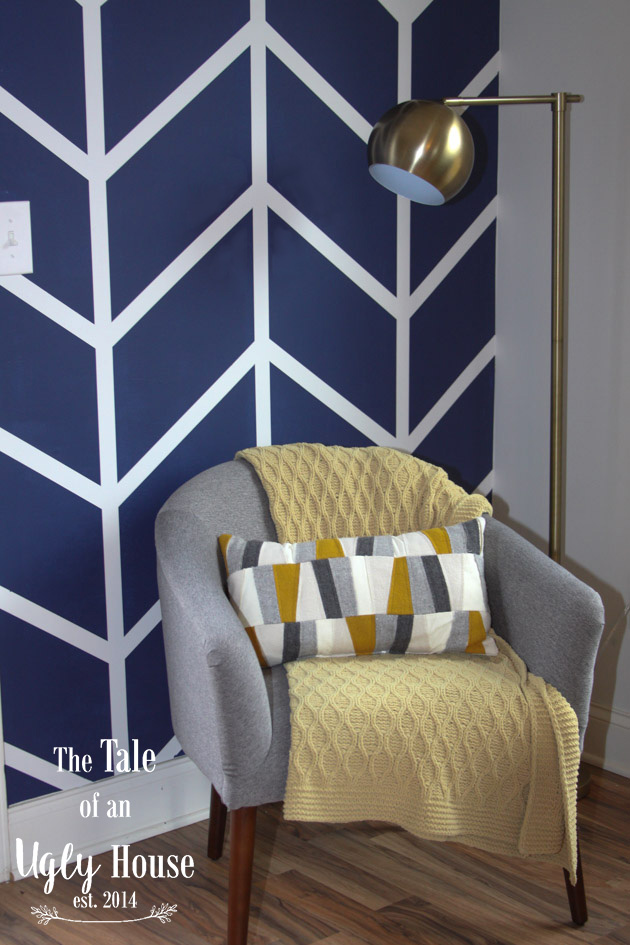
Now, step back and admire your hard work! A herringbone wall is such a fun addition to a space! You can change it up to make it more fun, more sophisticated, bolder, or more subtle. If you’re a little wary of doing a big wall, try a small accent wall in a hall bath or closet. All the fun without all of the commitment. Whatever you choose to do, have fun with the process and enjoy your new wall!




I love how you taped out your design on the kitchen counter. When I did my painted herringbone design I measured a little and eyeballed it as well to get it how I liked it. Let me know what you think: https://thediynuts.com/herringbone-accent-wall/
I really like your site and am happy I found it!
hey- just did this for one wall in my daughters’ room.
it came out awesome!
i skipped the step of painting the tape with the background color- used frog tape and there wasn’t much bleeding.
thanks for the info!
-george-