A DIY pinecone tree is a simple, yet festive project for the fall and winter season. I love decor that can transition from season to season and a pinecone tree can do just that!
We’ve officially entered into my three favorite months of the year. I find that I make more time for baking, crafting and outdoor projects. Maybe its the crisp air or the changing leaves outside, either way I’m checking things off my to-do list and a DIY pinecone tree was one of the things on my list for this fall.
One thing I like to consider when creating decor for our home this time of the year is whether or not it can transition from fall to winter. I love home decor that can slide right into the next season. Pinecone trees can do just that.
Their rich brown tones give our home a warm fall feel, and yet they’re perfect for the holiday season as well. That makes them a winner in my book!
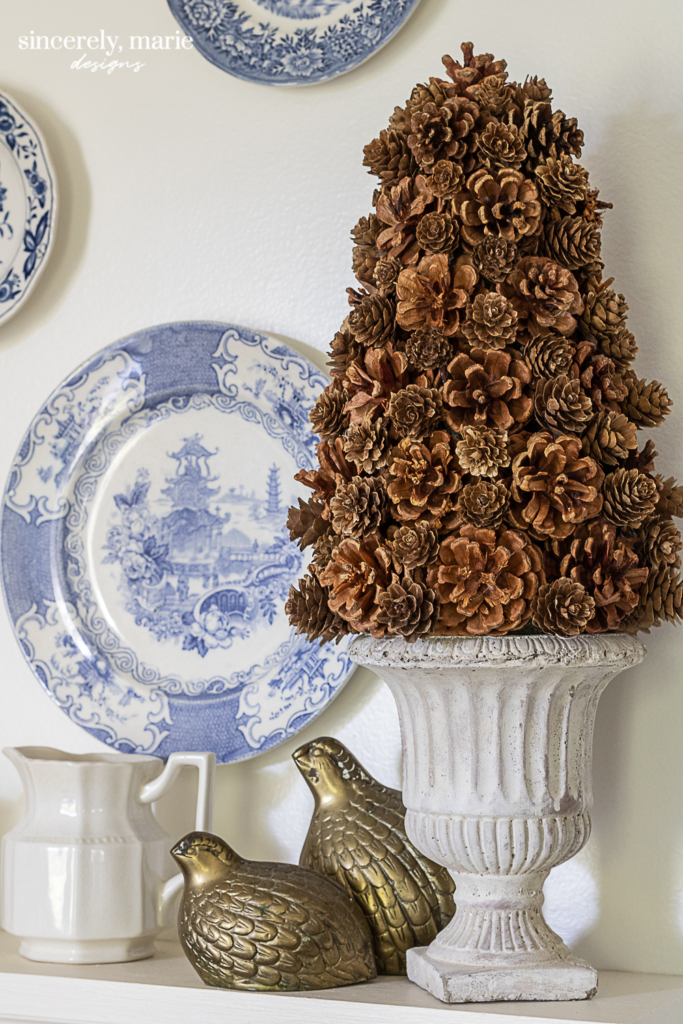
Pinecone trees are something that I’ve wanted to make for some time now. Each year I added them to my list and never quite got around to them. This year I made it happen. I didn’t find any one tutorial online that I used. I had always thought they were pretty self explanatory but I wanted to share it with you in case you decide to make them as well. I hope this post can help you figure out just what you need and how much.
Materials
- 3.8″ x 8.8″ Styrofoam Cone
- 38-40 2″ Pinecones
- 40-50 Mini 1″ Pinecones
- Hot Glue Gun
- Urn or Planter of Choice
For my base I chose two concrete urns that I already had on hand. I purchased them years ago from a home decor store. I couldn’t find these exact urns again but I did source a few similar ones at the bottom of the post. My urns measure 5 1/2″ across by 6 1/2″ tall.
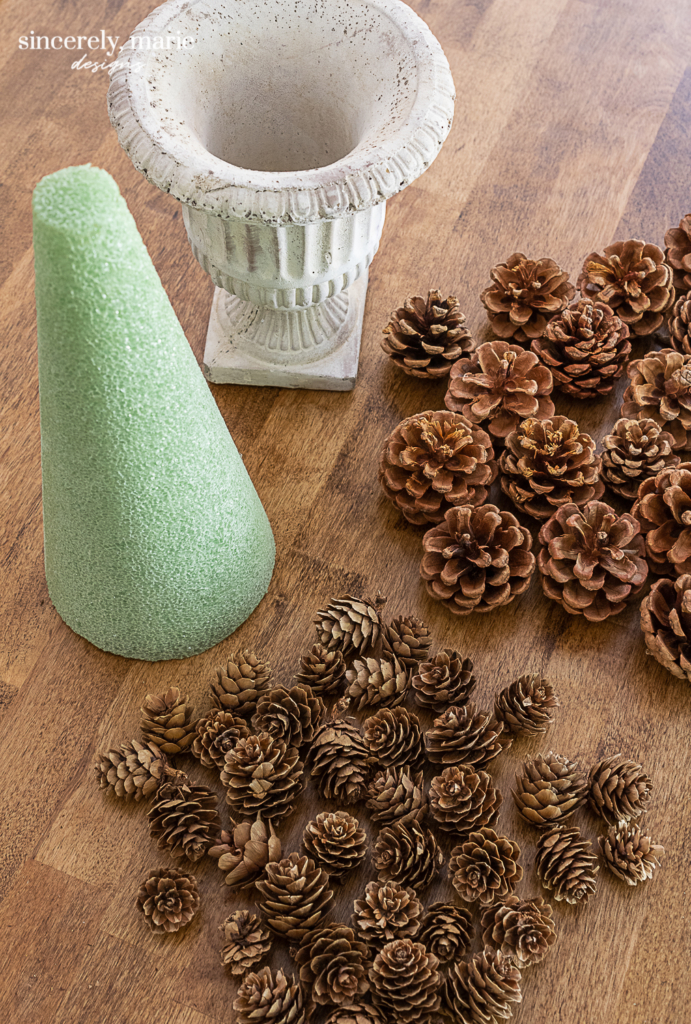
Make Your Trees
Start at the bottom of your cone and glue the larger pinecones on, staggering them as you work your way up the cone. **I did not paint my cone first, but I would recommend painting it with some brown craft paint. This will help a lot with the end result and you won’t need quite so many little pinecones.**
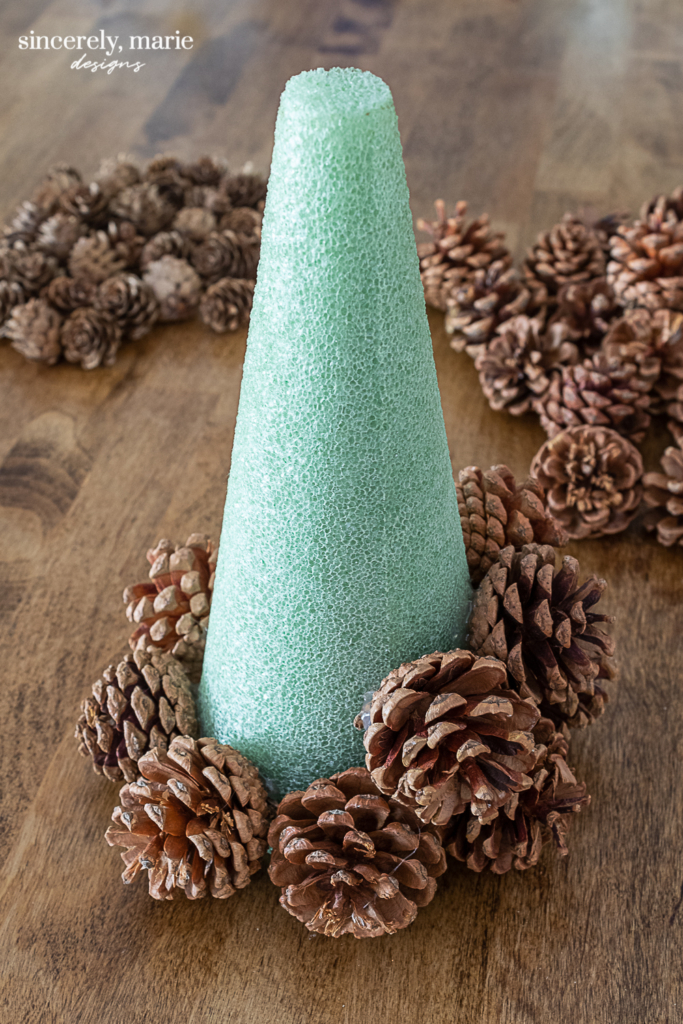
Once you’ve reached the top of the cone, glue one last pinecone right on top. Then fill in all of the gaps with the mini pinecones, gluing them to the surrounding pinecones. Slowly work your way up from the bottom, putting a pinecone anywhere that you can see the styrofoam cone underneath.
I secured the cone to the top of my urn with just a little hot glue. Depending on the size of the urns you use, you might able to set the cones inside of the urn. Just make sure to measure how far your cones sit down in your urns before placing your pinecones.
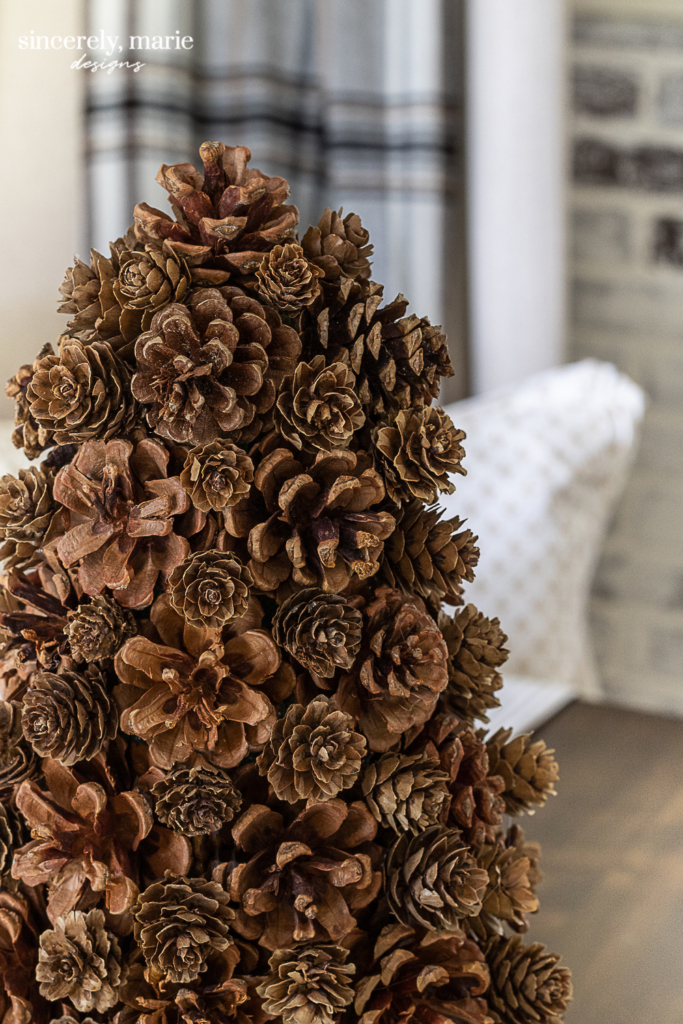
This project took just an hour or so to complete. I really under-estimated how many pinecones I would need and I came up short while making my second tree. I’ll have to finish the second one this week sometime. I decided that the fireplace mantel in our dining room was the perfect place to put these trees. I love the texture and warm color it adds to the mantel.
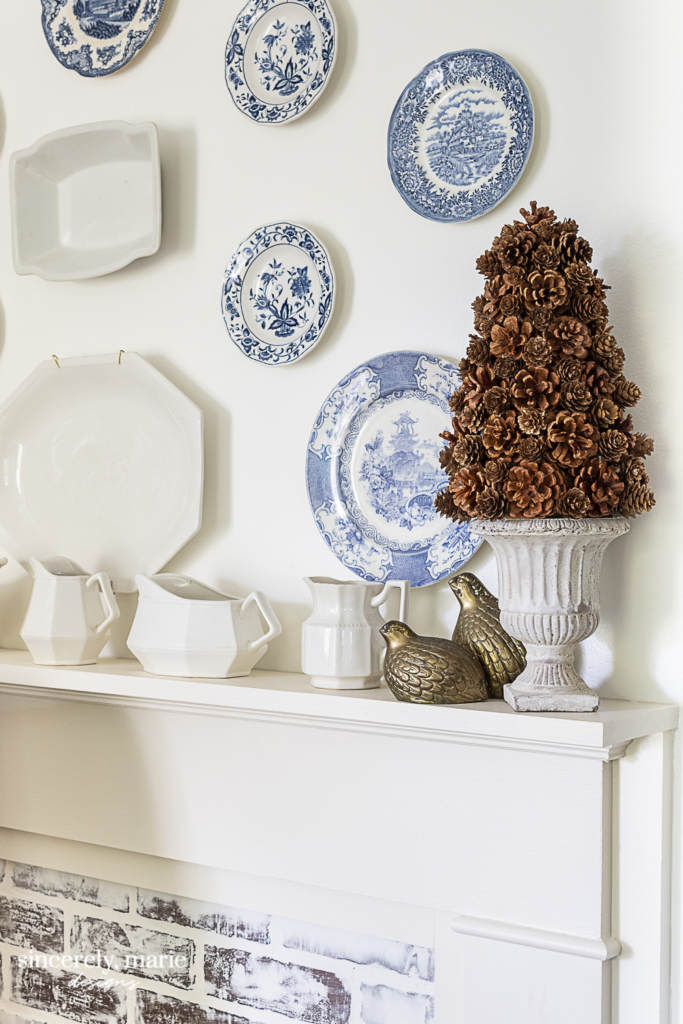
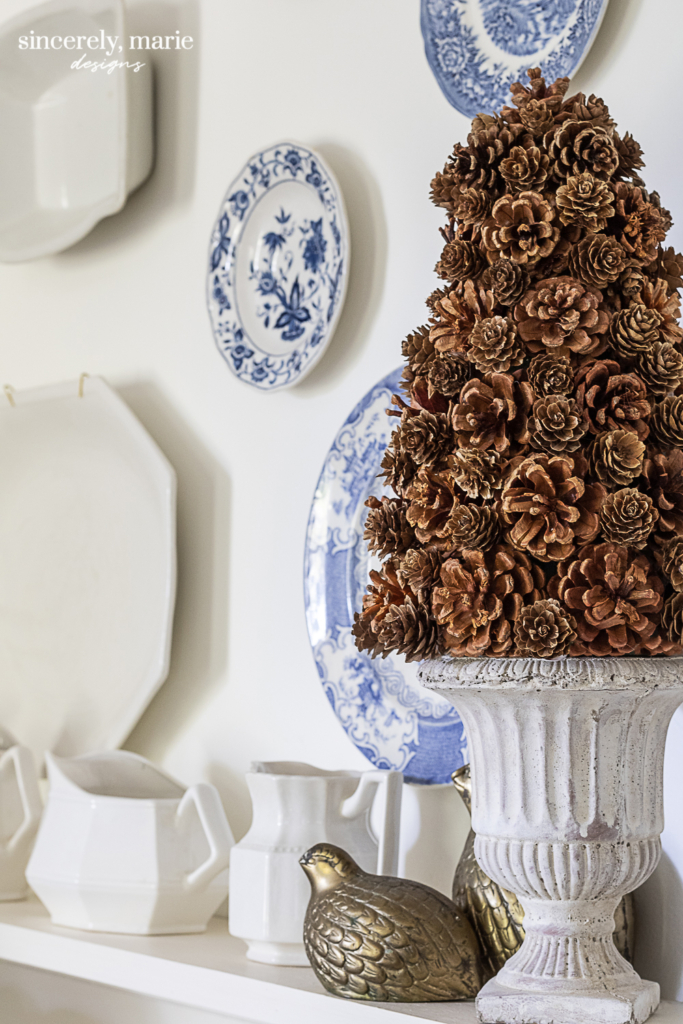
These would look great with a few berries sprinkled in for the Christmas season. You could certainly use painted pinecones as well to fit your desired color scheme. I’ve also thought about adding a small satin or velvet bow to the top of each durning the Christmas season. They’re extremely versatile and can fit many styles.

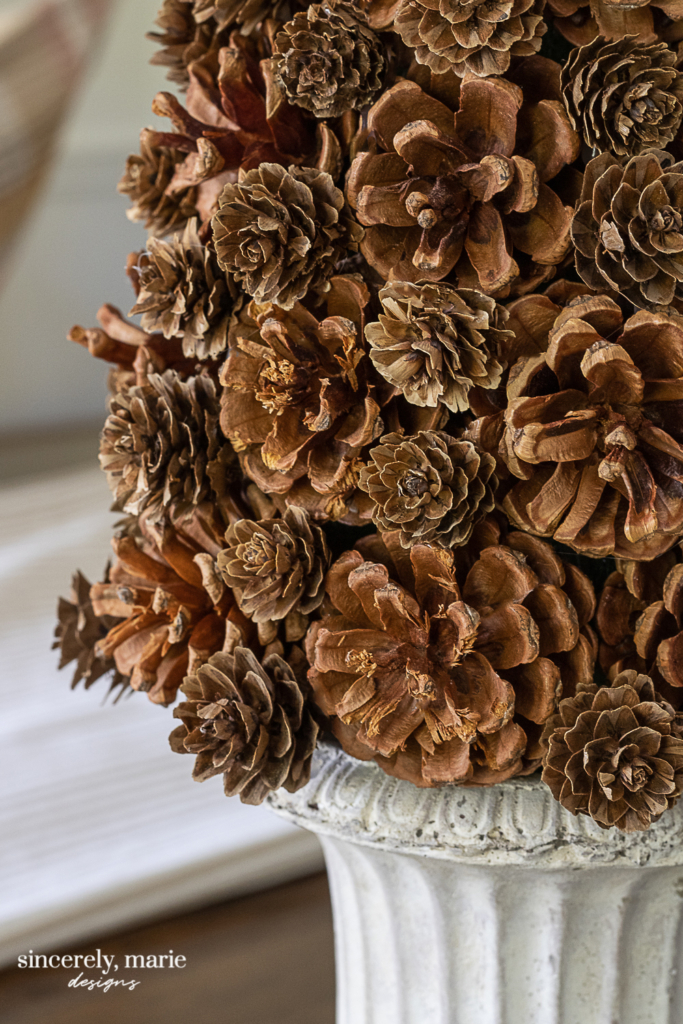
Friends, I really love how they turned out. Aren’t those mini pinecones the cutest? Pinecone trees are timeless and can be used in table settings, on mantels and bookshelves. Using decor pieces that can be used in different areas of the house are the best kind of pieces and I can see that our little DIY pinecone tree being used for many years to come!


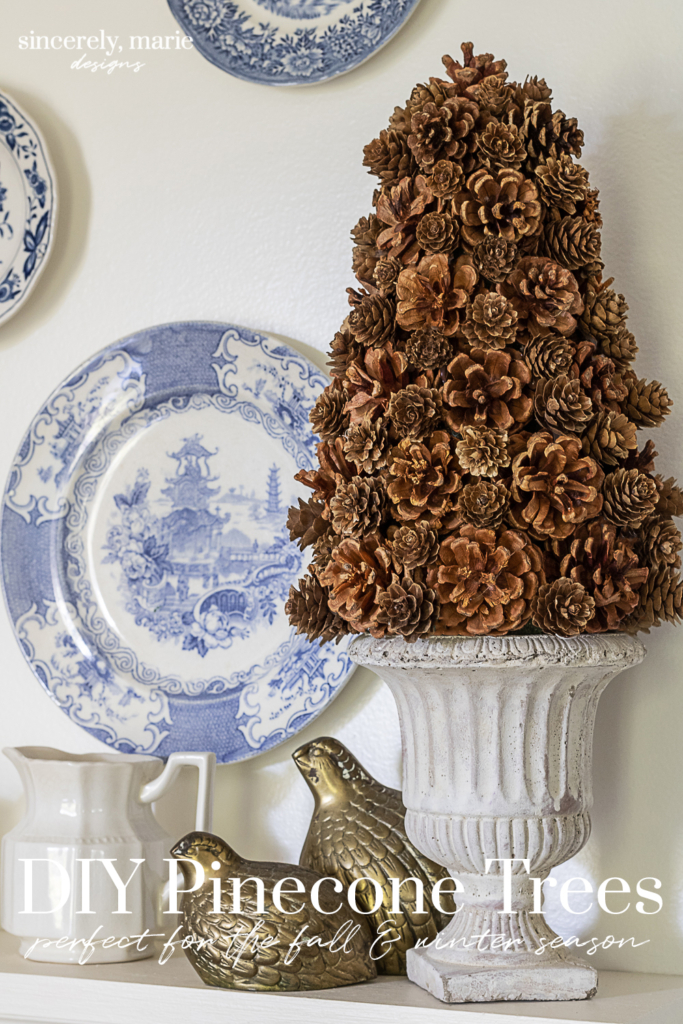

Finding this post just in time for this evening when I am getting ready to make a pinecone tree for my winter decor! Just got back from hitting the after Christmas sales at Joann and found some of the prettiest green and gold spray painted pinecones that I will be using for mine. I already have several urns in my stash so I am not sure which one I will use yet.
Yours looks beautiful!
I LOVE YOUR PINECONE TREE. GREAT JOB!
I love your tree in the urn! It’s
lovely. I have made them and found that one very important thing is to make sure the pine cones are totally dried out because if damp, they pop off as they open wider. I have spray painted some as well.