Today I’m sharing how we transformed our sad 80’s tub with a little paint. Here’s the simple steps you can take to adorably refinish a tub and shower to get a fresh and bright new tub!
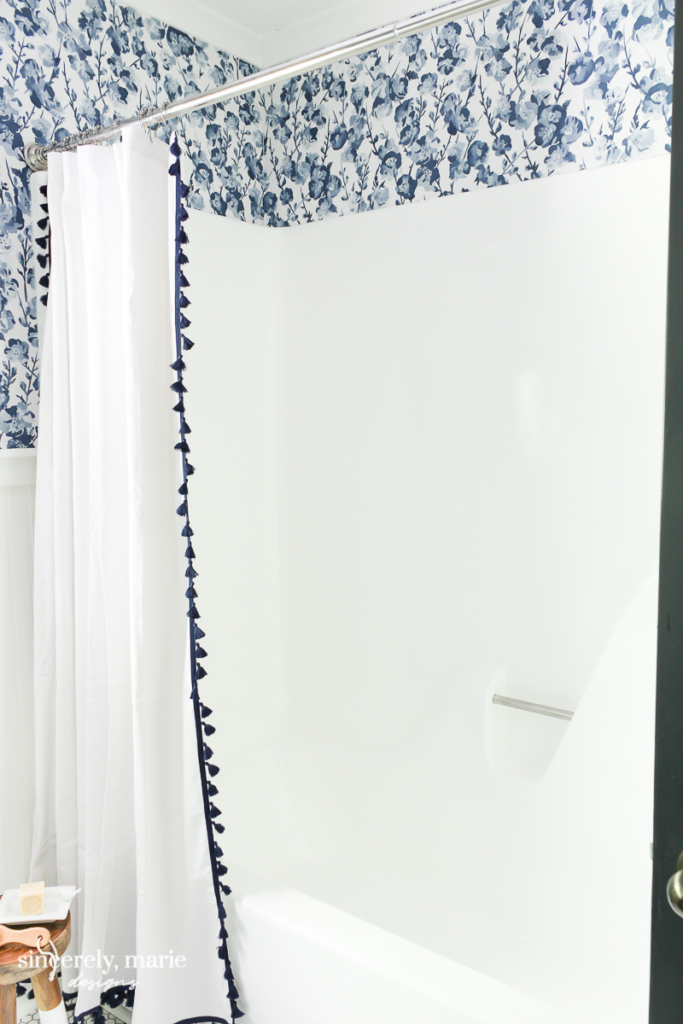
I’ve been so excited to write this post. A could of months ago we painted, yes, painted our upstairs guest bathroom tub and shower. To say I was a bit nervous to take the jump would be an understatement but I’m so happy I did! It turned out so much better than I could have ever anticipated. In this post I’m going to share what I did and what I used to go from a stained almond colored tub to a beautiful bright white tub.
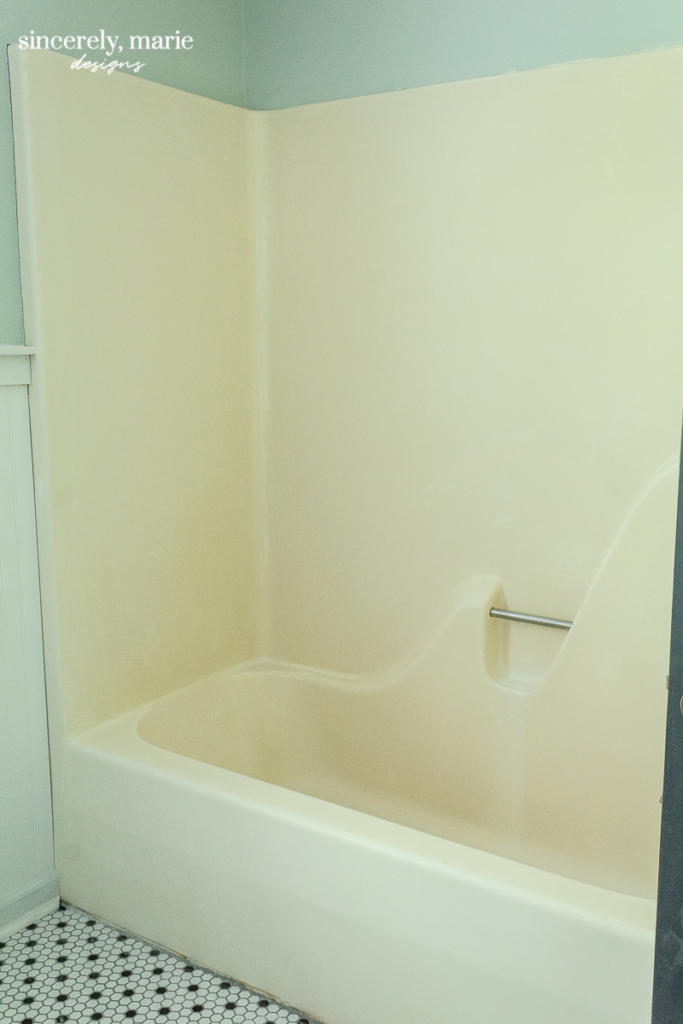
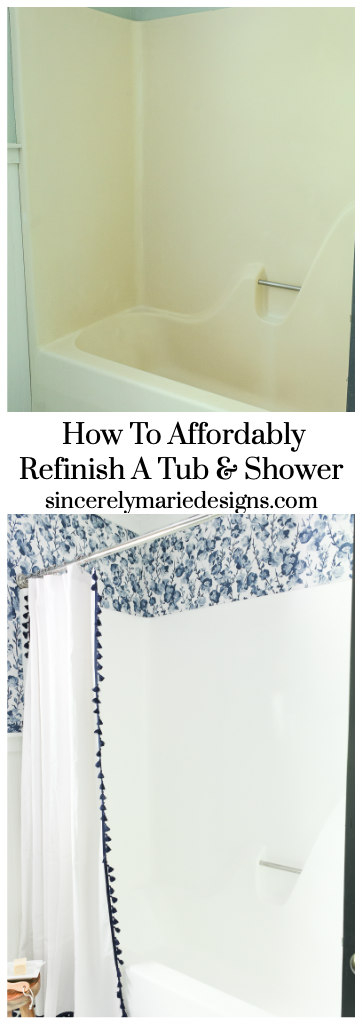
Here’s a look at what we started with. When we purchased our house this bathroom was a disaster. Later this week I hope to share the entire room reveal, so stay tuned for that. The room was a mess but the fiberglass tub was really just dirty. After a deep cleaning and some new knobs it wasn’t horrible. In fact, It wasn’t cracked or scratched at all. Sure, I’ve never liked the color but this bathroom really wasn’t used very much so our plan has always been to deal with it until we’re ready to gut it. After last year’s gut job in our master bathroom where Josh gutted the space to the studs and rerouted all of the plumbing, we just couldn’t stomach another remodel that intense any time soon.
This page contains affiliate links. You can read our full disclosure here.
At some point durning quarantine it hit me. I could give the Rust-Oleum’s tub and shower refinish kit a try. Years ago I had done a little research on it and I read a few blog posts from those who had success with it. At the time it seemed like a lot of work with no real guarantee that it would hold up. Maybe it was all the time at home that made me just crazy enough to look into it a second time. This time I read a couple update posts from others and all seemed to be very pleased with it several years down the road. Each kit is only $23 so I decided it was worth a shot!
Here’s what I used –
- Tub & Shower Refinishing Kit ( I ordered 2 kits. One kit would be plenty if you’re just refinishing a tub.)
- A small foam roller & tray with two replacement rollers.
- A good quality 1 1/2″ to 2″ paint brush. ( I used a Purdy brush.)
- Respirator
- Box fan
- Painters tape
- 400 grit wet/dry sandpaper
- Heavy duty tub & shower cleaner
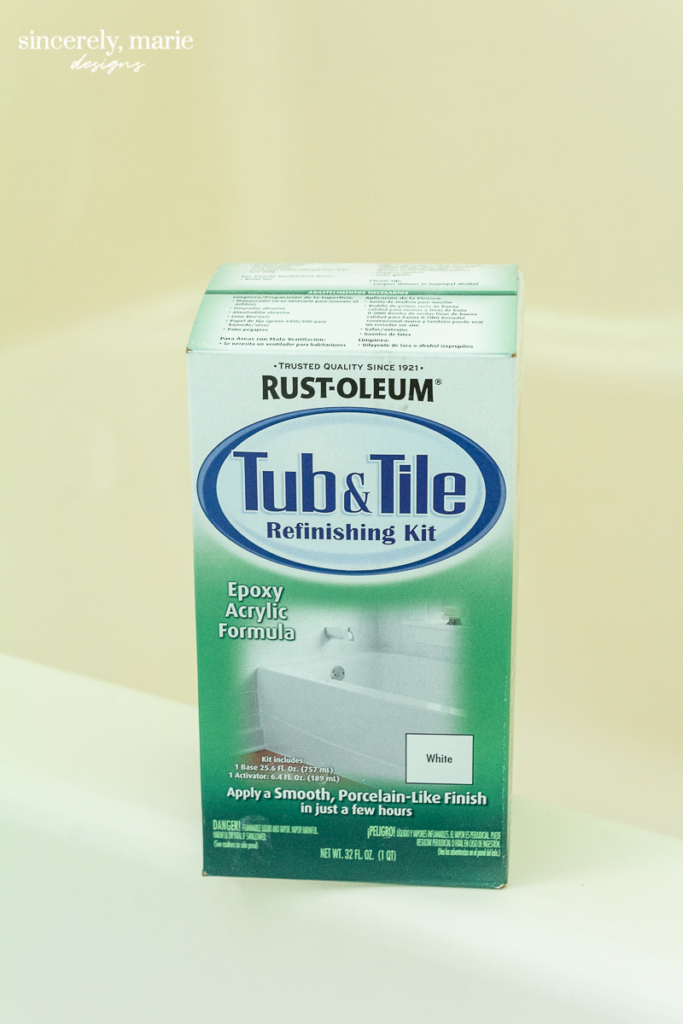
I made sure to follow the instructions that are included with the kit exactly. Make sure to put in the time and effort with the cleaning and sanding of the tub. It’s a pain but without those steps I don’t think this would have turned out so well. Make sure to deep clean every inch of your tub and sand every inch to ensure that the paint adheres.
The first afternoon I deep cleaned, sanded, rinsed and allowed the tub to dry overnight.
The next morning I removed the knobs and used painters tape around the faucet and the sides of the tub.
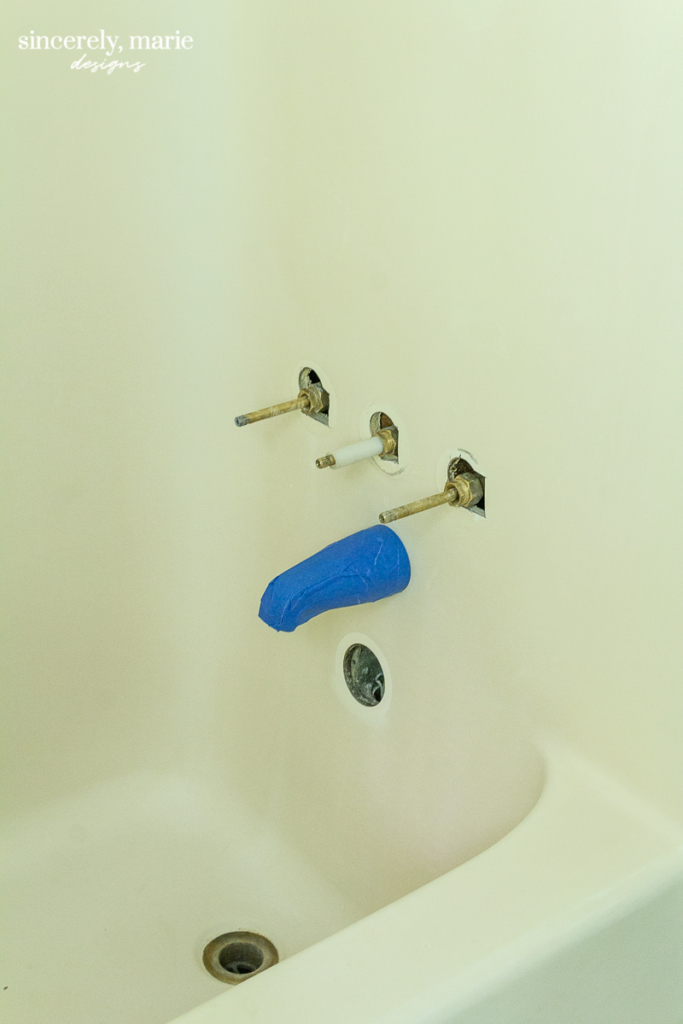
I can not overstate it enough to make sure you have proper ventilation. This is stuff is horribly strong! I made sure to wear a heavy duty respirator the entire time while I worked. After reading stories of the smell working its way through the homes of the other blogs that I read, I decided to spend a little extra time prepping the room for proper air flow. We placed a box fan in the window to drawl air out of the bathroom and I made sure to keep the door shut at all times with a towel under it to prevent fumes from seeping into the rest of the upstairs. I’m happy to report it worked great! We did not have a single bit of trouble with fumes in the rest of our home. I would recommend keeping the door shut to your bathroom and using a box fan durning the day for several days. It takes quite some time for the smell to dissipate.
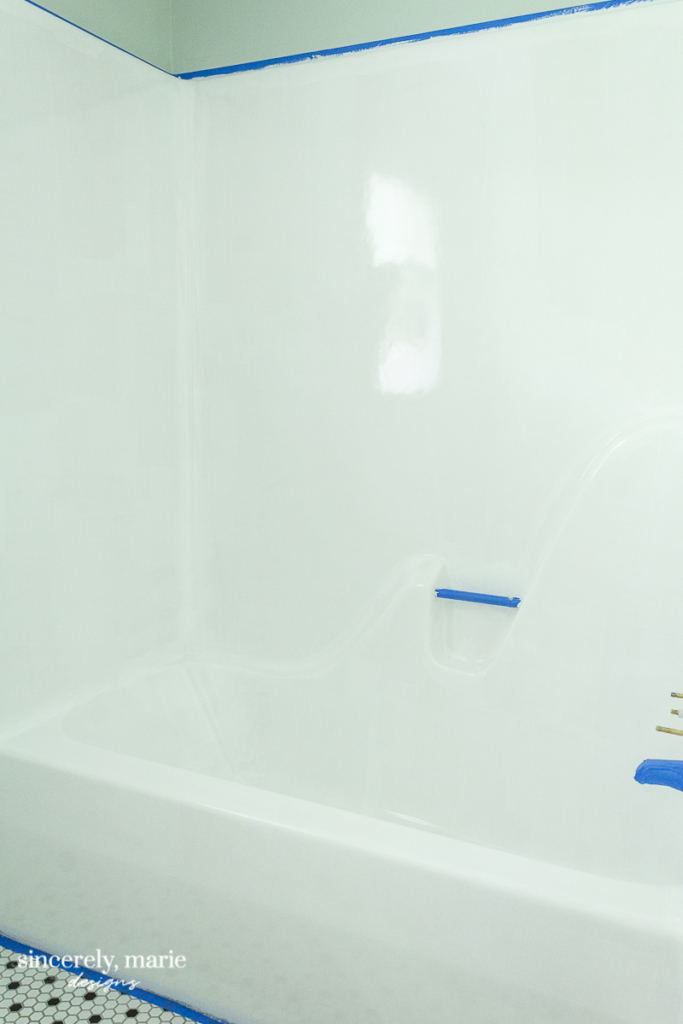
I started with a 2″ brush and painted the edges and corners. You want to brush any area that you will not be able to roll easily. After I did my cutting-in I applied three coats with my foam roller and allowed each coat to dry for the time recommended in the kit. I used a fresh roller with each coat. This stuff dries very quickly friends. You don’t want to be working with a sticky roller. I’ll be honest, the first coat looks pretty sad but once the second coat was one it looked great and I did a third coat just for good measure.
This update was labor intensive but I think it was completely worth it! I could not be happier with the result. It truly looks and feels like a brand new tub. The finish is smooth, glossy and so fresh.
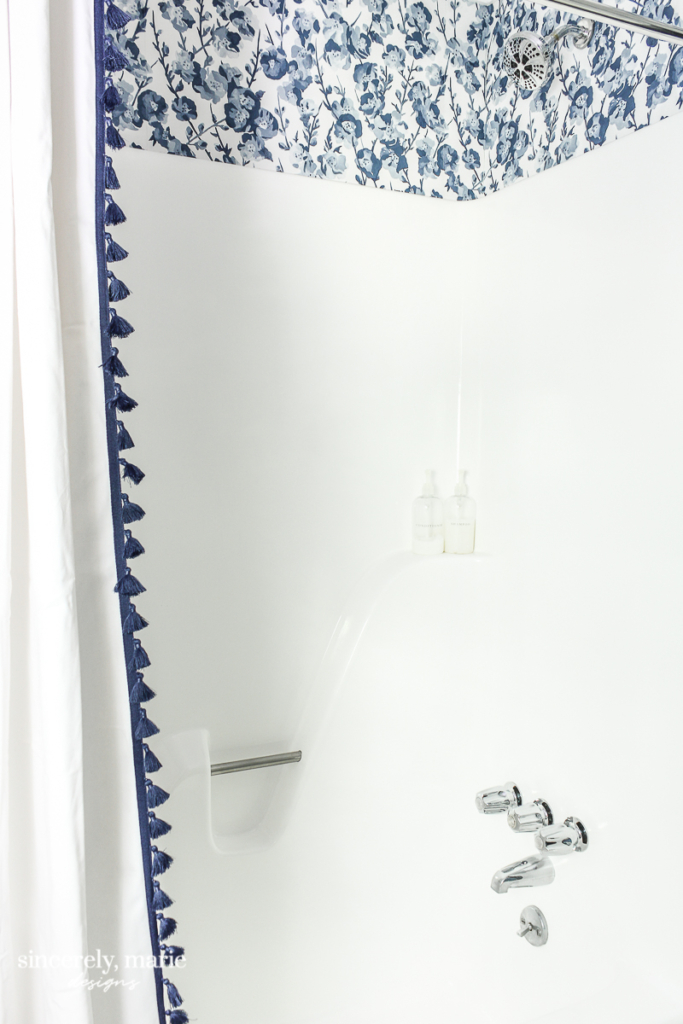
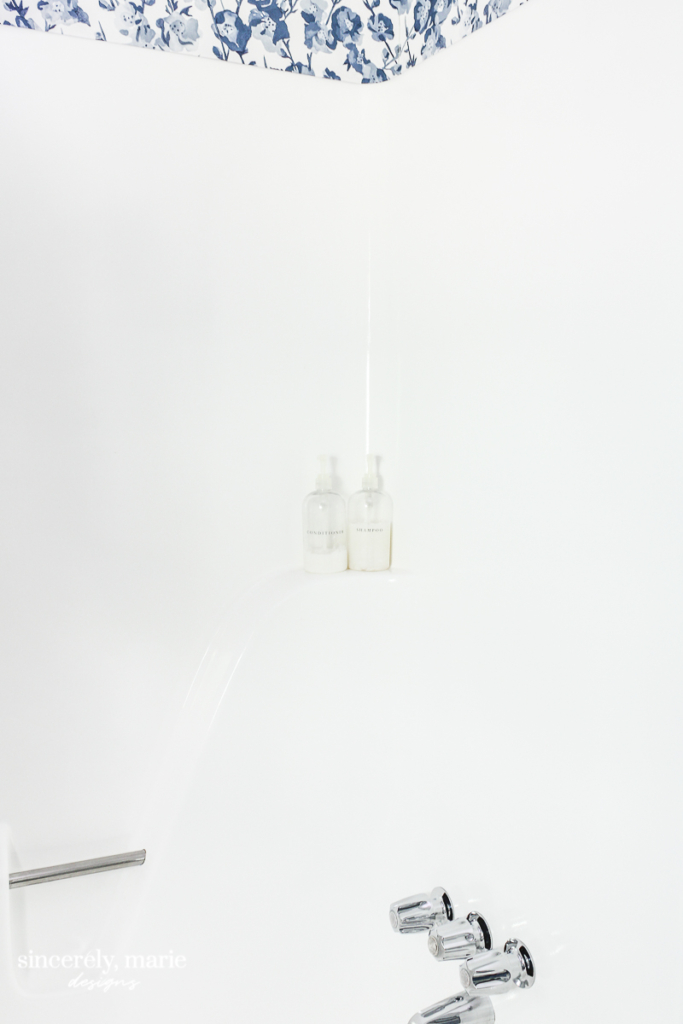
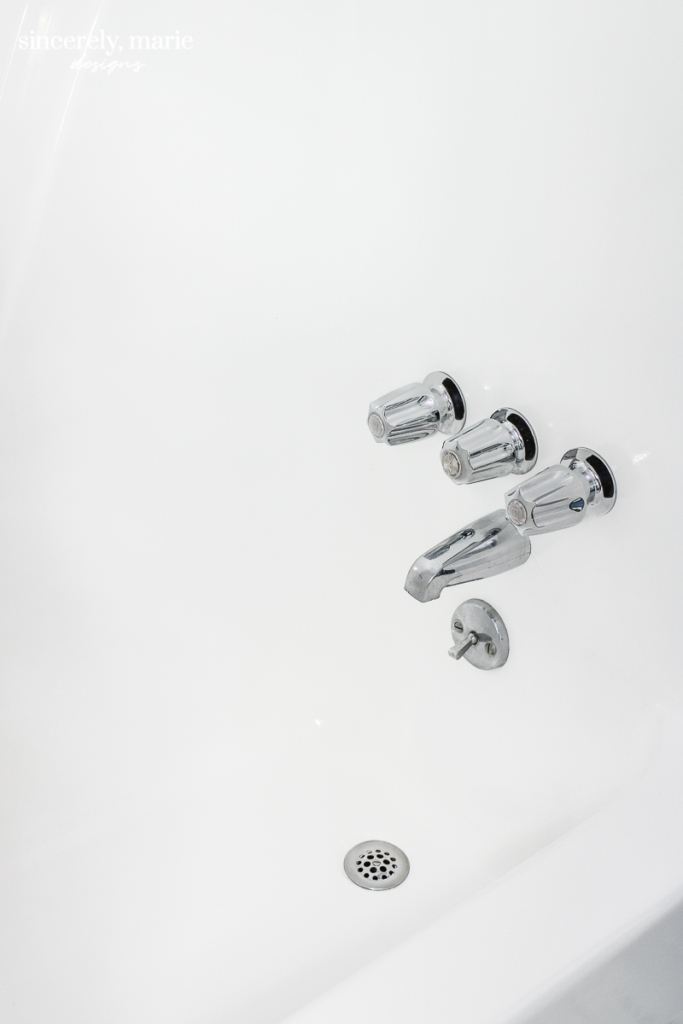
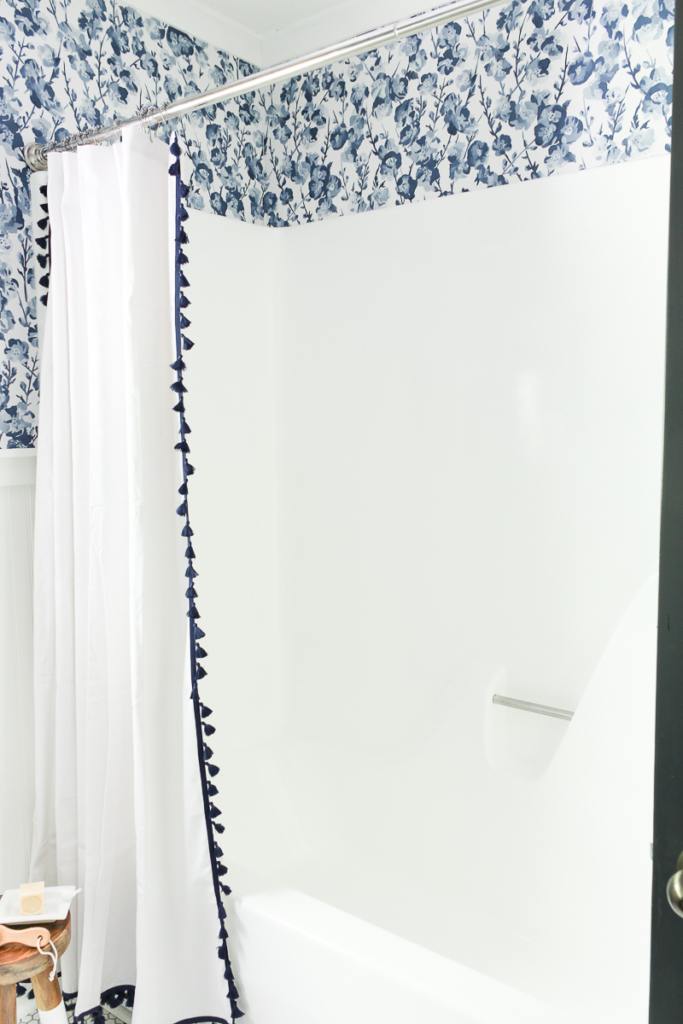
I’m anxious to see how it holds up. Since this bathroom does not get a ton of use I don’t think we’ll have any problems. I have read that those who use their tubs daily have had great results, so I’ll be sure to share our update and experience with it in 6-12 months. I’ve got hight hopes for it! If you’ve ever refinished a tub or shower I’d love to hear about your experience. If you’re planning on doing this same project in your home and have any questions, please let us know. Be sure to check back later this week and next for the full reveal to this guest bathroom. I hope you all have a wonderful week!




Wonderful job! You have given me the inspiration to tackle my 1960’s Master bathroom.
Thank you so much Crystal! I’m so glad that others found it helpful. I say go for it! It’s amazing what a little paint can do. 🙂
Where did you get the kit for $23. The cheapest I can find is $80 on Amazon
It looks like maybe the price has increased to about $40, but they’re now coming in a 2 pack for $80.
Wow! I cannot wait to see the whole bathroom.
Thanks Heather! I’m dying to share it. It should be on the blog no later than this coming Tuesday!
It looks absolutely beautiful! I’ve been researching this project myself. So it was very timely to see you report on it. We have a white tub, but we have beige tiles on the walls and ceiling! And beige tiled floors. I’ve read you can paint the floors as well. I’m just waiting for a block of time when I can tackle this project.
Thank you so much Ruth! I’m so glad it came at a good time. I’ve also read that you can use it on floor tile. You’ll have to let me know how it does once you’re able to tackle it. That would be such a great solution for those with dated floor tiles.
What an amazing difference! You did a great job on this and I love the wallpaper and trim on your shower curtain.
Hi, your tub looks fantastic! I am wanting to try this in my condo but I do not have a window in my bathroom. And there is a full time owner below me. Any suggestions for better ventilation? She is someone who gets angry at the drop of a pin so I don’t want to get her sick or mad at me.
Honestly, I don’t know that I would recommend it for a space without a window. The fumes are so so strong. We had to close the door, put towels across the bottom of the door to prevent the fumes from escaping and we also closed up and taped a bag around the air vent in the room. With that said, I’m not sure there would be a way to vent it out without window. If you do it, I would make plans to stay with family or friends for a few days until the smell is out of your house.
How would you recommend keeping things ventilated and not seeping into the whole house if I don’t have a window in the bathroom?
Ideally, A window is best for the fumes to escape the room. Because the fumes are so strong, they will travel through the rest of your home if your door and vent is not sealed. If you were to do it I would recommend leaving the door open, open windows in the parts of your home closest to the bathroom, run fans and make plans to stay with family or friends for a few days until the smell subsides.
Id love to know how it is holding up now. I hate my shower… but replacing it isn’t on the books anytime soon. Thank you!!
I’m going to do this in 2 possibly 3 bathrooms, I’ve used this same product in my motorhome and it looked good.
I can attest to it drying lightening quick, be prepared!! Your prep was spot on. I will use you advice for ventilation.
Your tub looked just beautiful. Thanks for posting!!