This is a simple step by step how-to for installing peel & stick wallpaper. It’s easy to do and gives a space instant character!
This past weekend I finally got around to a task I’ve only been putting off since March. I shared my plans for Charlie’s room makeover some time ago and you may remember from the design board that gingham wallpaper was to go on the wall behind his bed. Well, shortly after I began to question it. I had seen a couple other bloggers do the same thing months following and I wasn’t sure if it was really the direction I wanted to go. After waiting a couple of months for something I liked better to come along, I had nothing. I kept coming back to that one wallpaper.
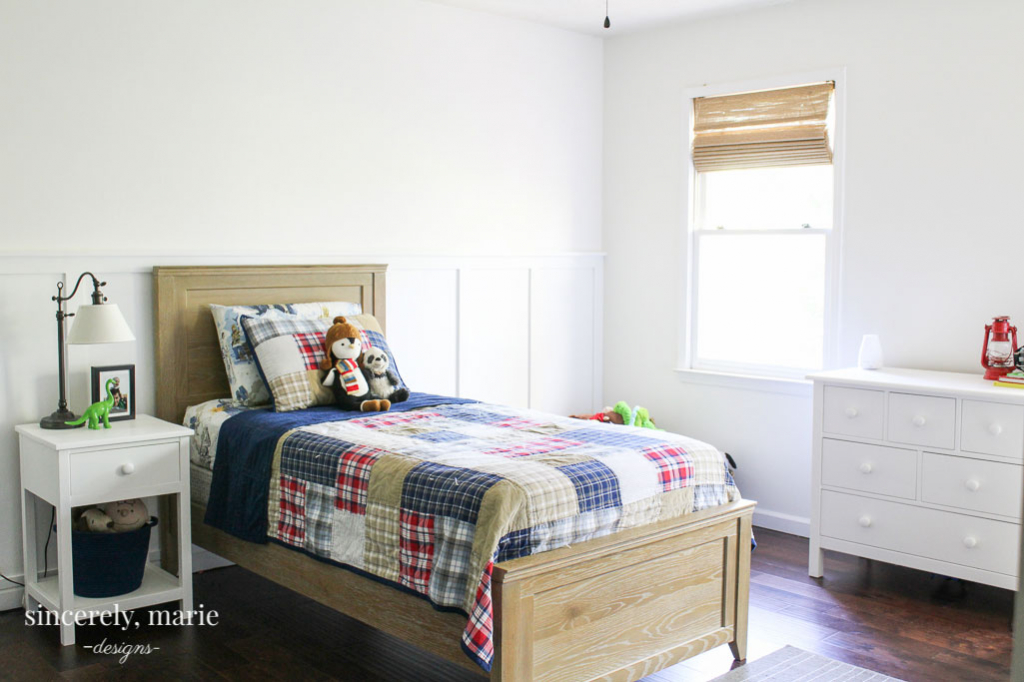
We’re a few months down the road now since I started this room refresh and I’m relieved to say the paper is up and we all absolutely love it! Here’s a glimpse at Charlie’s room half way through the makeover. We installed board and batten about 4 feet up the wall and installed the wallpaper went above it.
This post contains affiliate links. You can read our full disclosure here.
The Prep Work
The first step was to make sure we had a smooth wall. I made to give the wall a good look over and sand any bump that I found. I then wiped wall down. I wanted to remove any and all dust to make sure the paper would stick well.
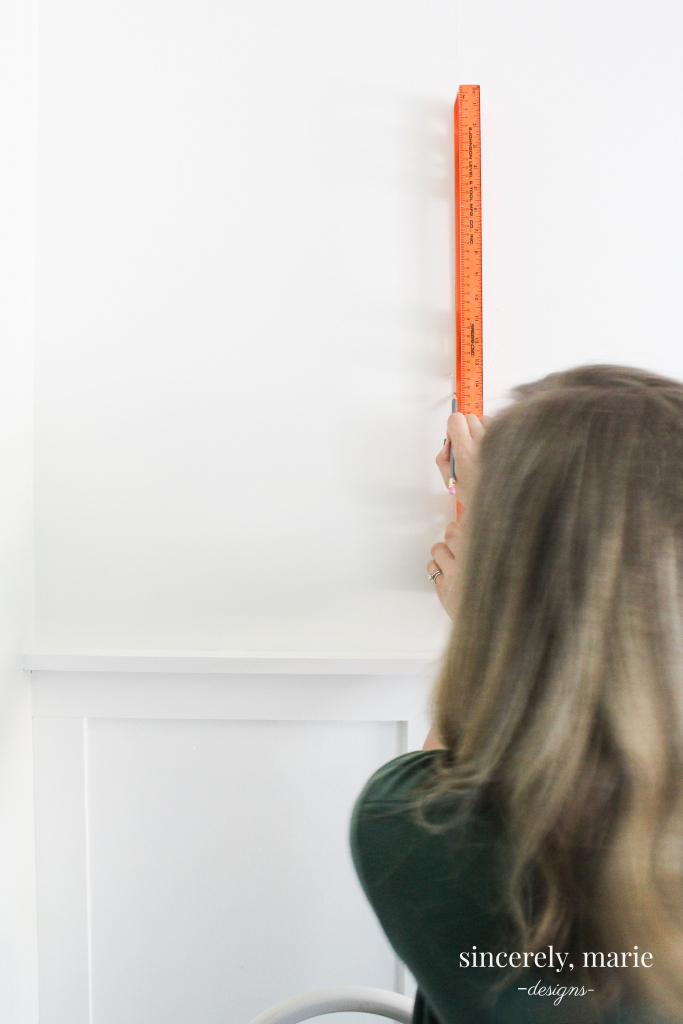
Next I measured my paper width and measured from the corner of my wall out. You can always start in the middle and work your way out so that the corners of you wall are exactly the same pattern. This didn’t really bother me since I was working with simple gingham print. Using a pencil and level, make a straight line from the ceiling down to create a guide for hanging your paper. Never follow the corner of the wall as a guide. Walls are very rarely ever square, so this will help to make sure your paper goes up straight.
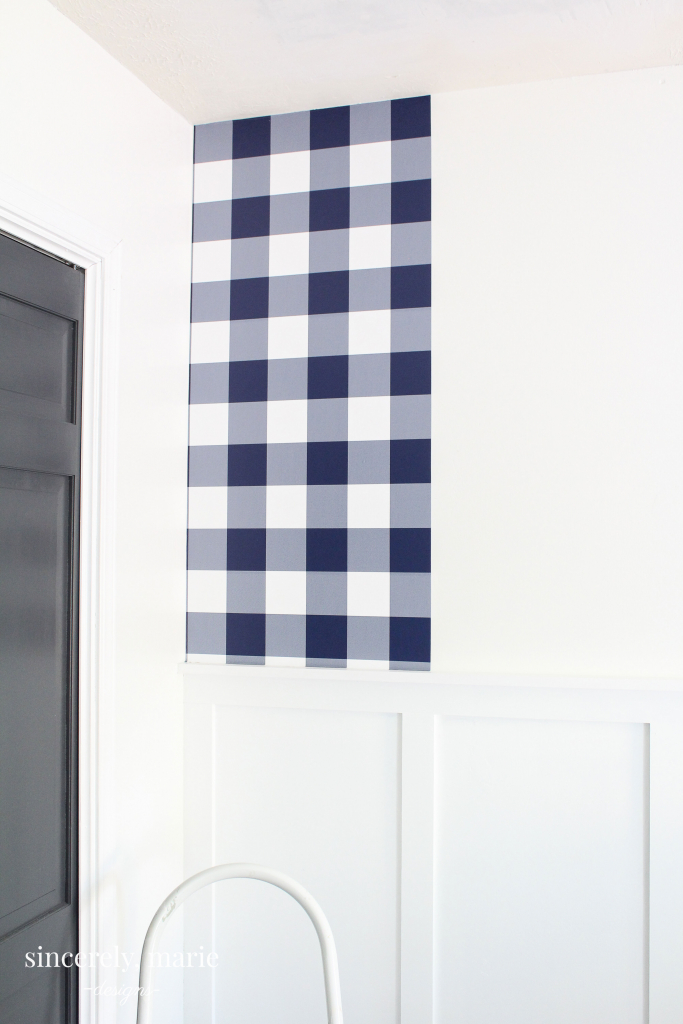
Wallpaper has come a long way since the 80’s. There’s so many beautiful patterns and it’s become much easier to install and remove. When I went on the hunt for a navy buffalo check paper I kept coming up short. What I found was either out of my budget or no longer available, until I found this peel & stick paper in navy. I was a little unsure at first but decided to keep it in the running. It was the right size squares and the color was perfect! After months of paper hunting I kept coming back to this one. Lucky me, when I decided to take the dive the paper was 50% off. I was one happy gal! Peel & stick is really the DIYer’s dream. You simple peek the paper backing off and stick it to the wall. If you don’t get it just right, peel it off and try again. The paper is fairly thick and the simple pattern made it very easy to hang. The best part, no getting messy with water and glue! This would be a perfect way to add some character in a rental home as well.

Installing Your Paper
I measured my wall and rolled my paper out. I gave myself an extra inch for play. The last thing you want to do it cut your paper too short. Following my pencil line, not the corner, I hung my paper from the top working down. I peeled the backing about 1/3 of the way and peeled more as I worked my way down. I made sure to use a wallpaper smooth tool to smooth out any air bubbles. Last, I took a sharp knife and trimmed the over-hang at the bottom.
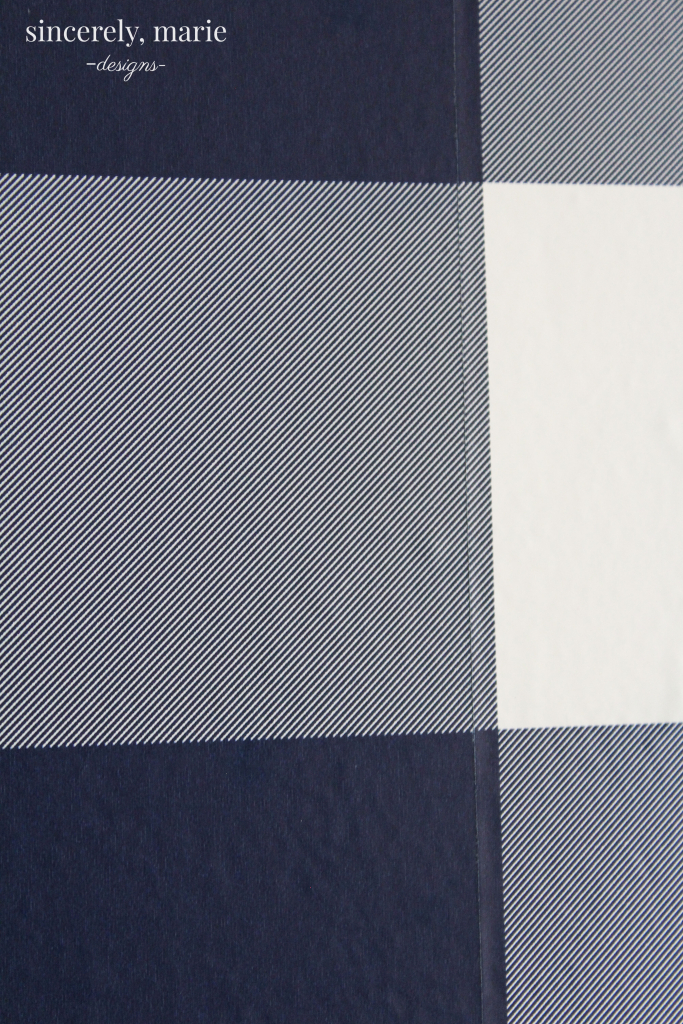
I wasn’t sure how the seams would come together on this paper. If you look really close you and see them, but when standing back they’re almost invisible!
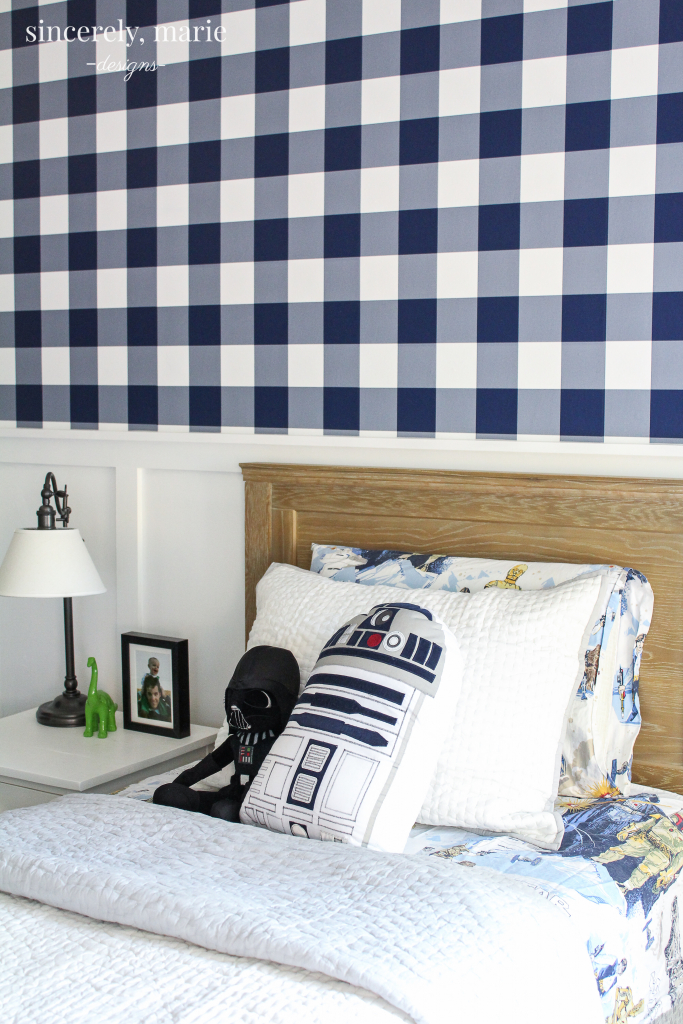
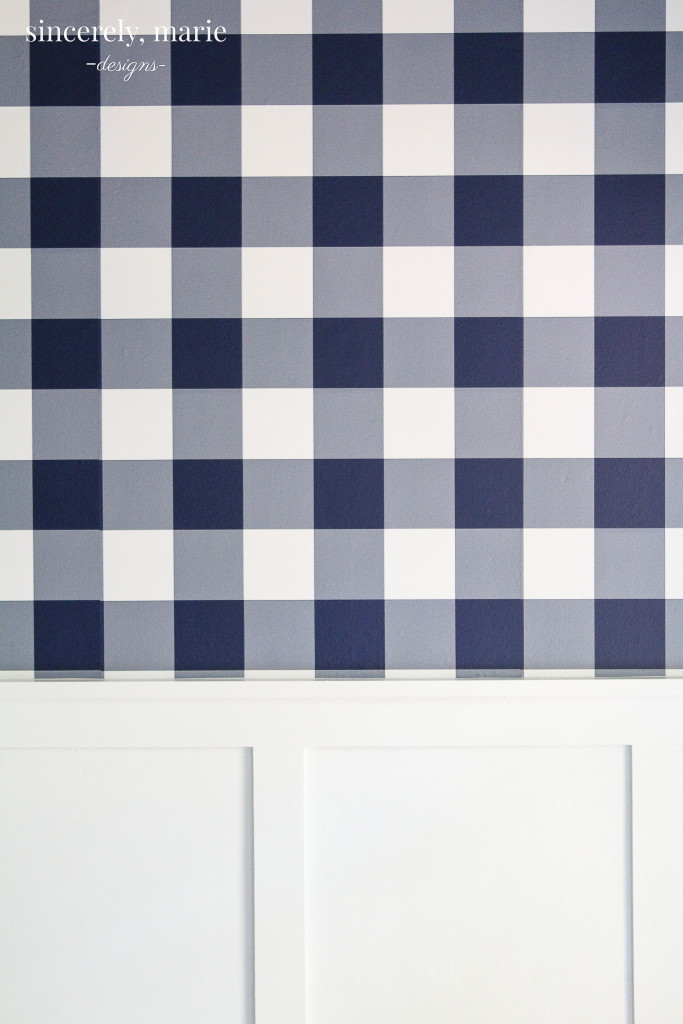
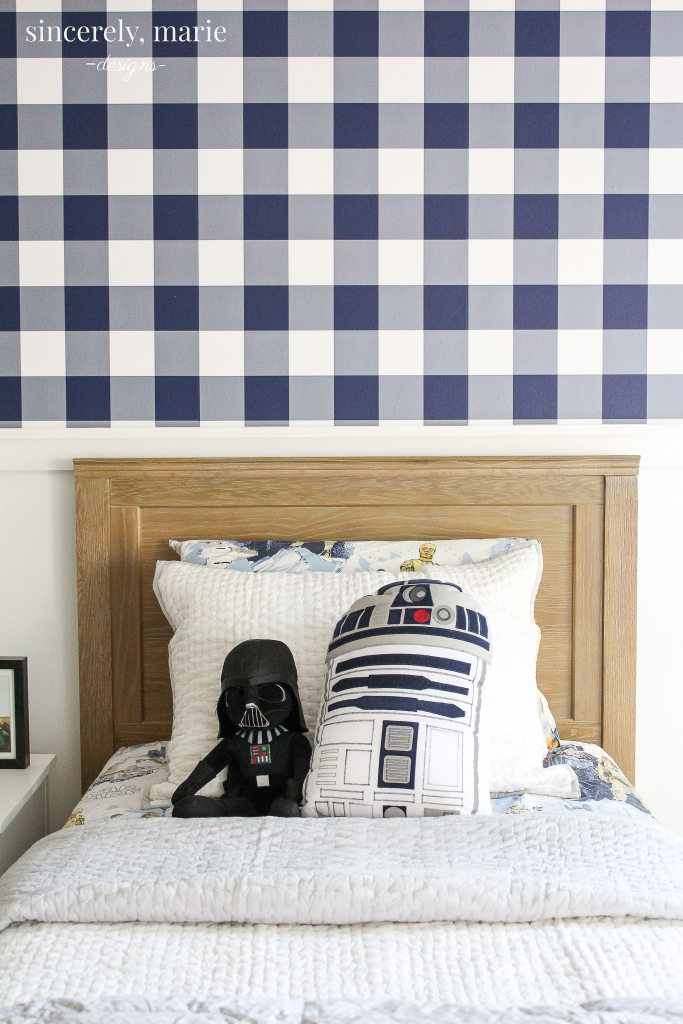
We really couldn’t be more pleased with it. It went up in just an afternoon with little effort. It gives his room the pop of color we wanted. This classic print won’t be going out of style anytime soon but if we ever get tired of it, it peels right off! I’m very excited to share the full room with you but we still have a few finishing touches left, so I didn’t want to reveal too much in the photos.




It looks fantastic!!
I love the combination of navy and white. This looks amazing. Great job. Beautiful room for a little boy.
I love it – looks fantastic!
I love how it turned out! Nicely done!!! =)