Hooray for spring and planting season! I’m going to share with you on how to make your own herb markers today. The weather is warm here in north Georgia and perfect for getting the garden planted.
Not too long ago Charlie and I did a potted herb garden. We also got to finally make our own herb markers. It’s something I have been wanting to do the last couple of years but with moving and then renovations, it just didn’t happened. I’m so glad we made time for them this season!
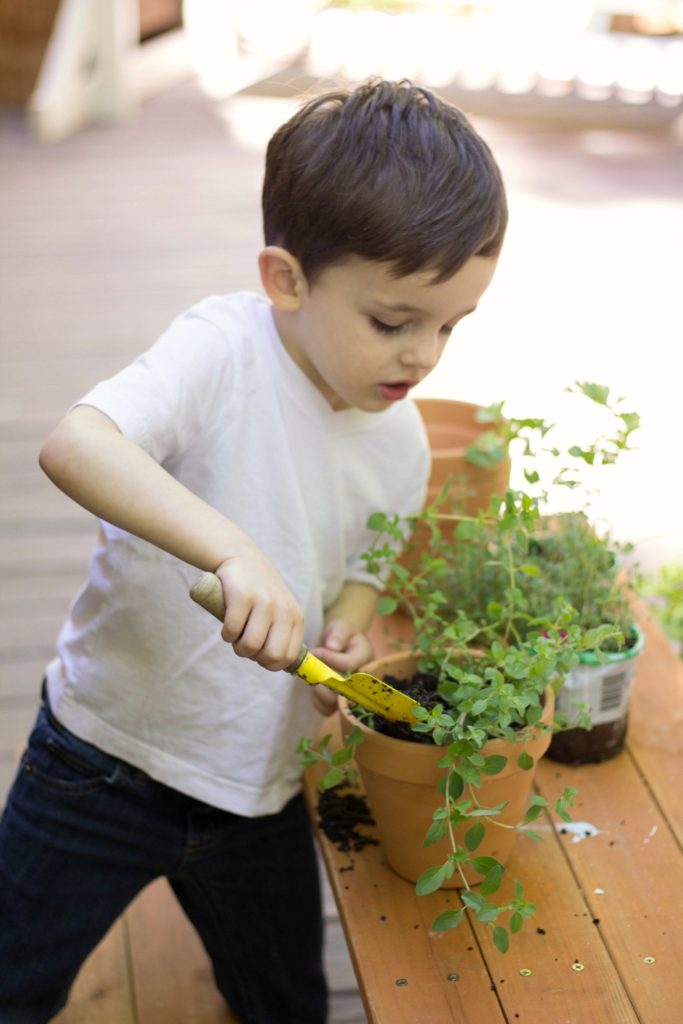

Charlie loves helping in the yard. Getting to help me pot flowers and herbs might be his favorite though. I have to say, for a four year old boy, he does great! I let him plant our first three herbs this season all by himself and I actually didn’t have to help him. We’ve trained him well!
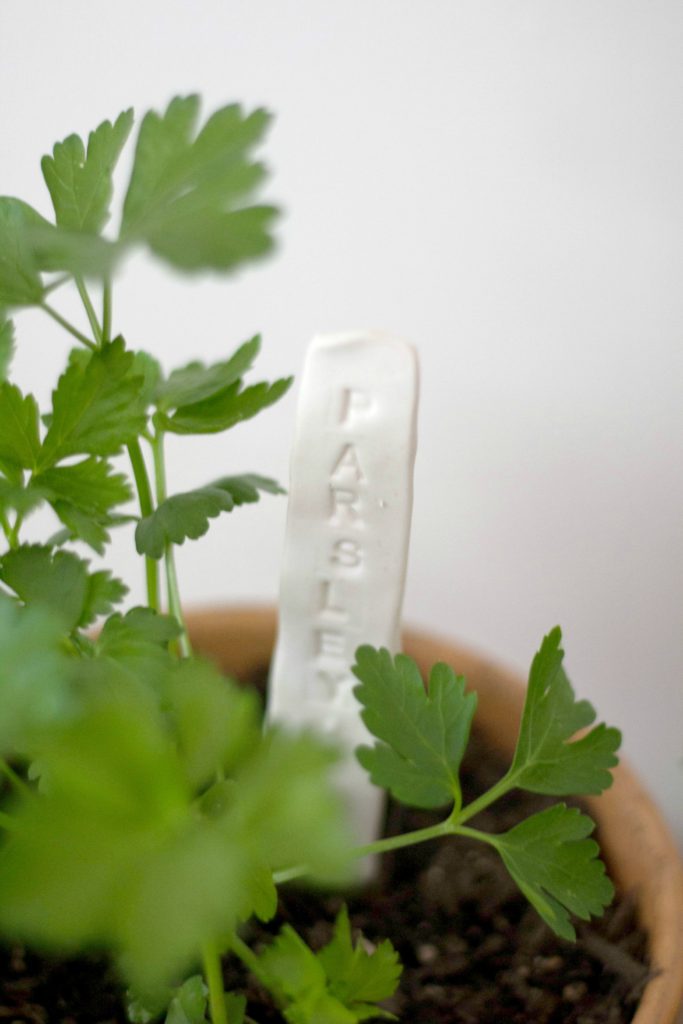
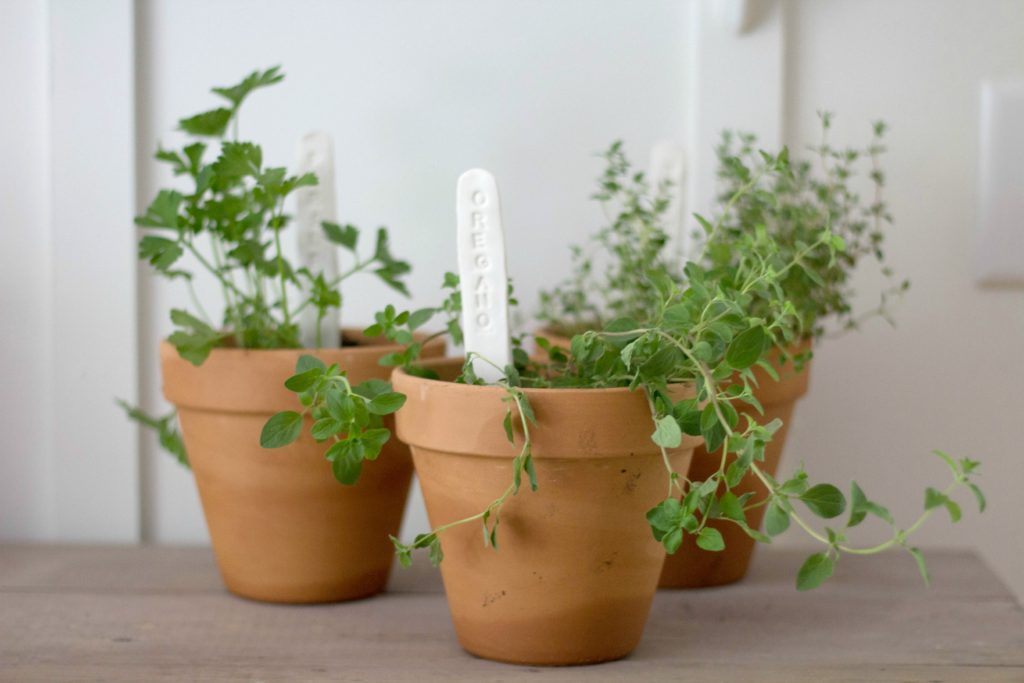
Our first three that we potted this season are oregano, parsley, and thyme. I use these three the most when cooking, so they were the perfect herbs to kick off the season with.
The herb markers we made took just minutes to roll out. Charlie had a blast with the clay. I let him make a couple of markers himself.
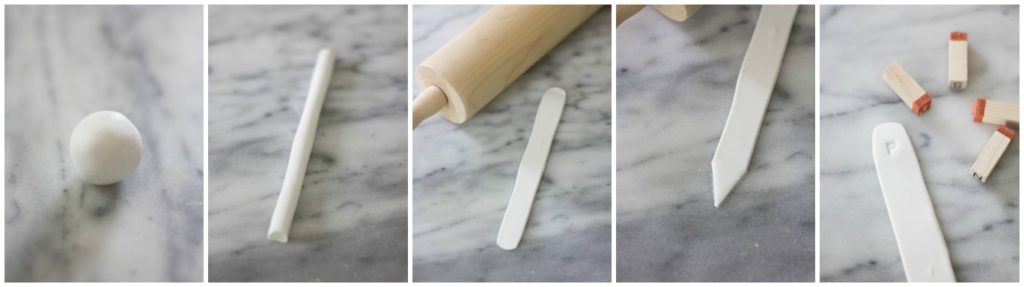
- Roll the clay into about an 1″ size ball.
- Shape into a snake and cut the ends off with a sharp knife.
- Using a rolling pin, roll the snake flat (about a 1/4″ thick).
- Cute a triangle into the clay with a sharp knife. This will allow the marker to go into the dirt easily.
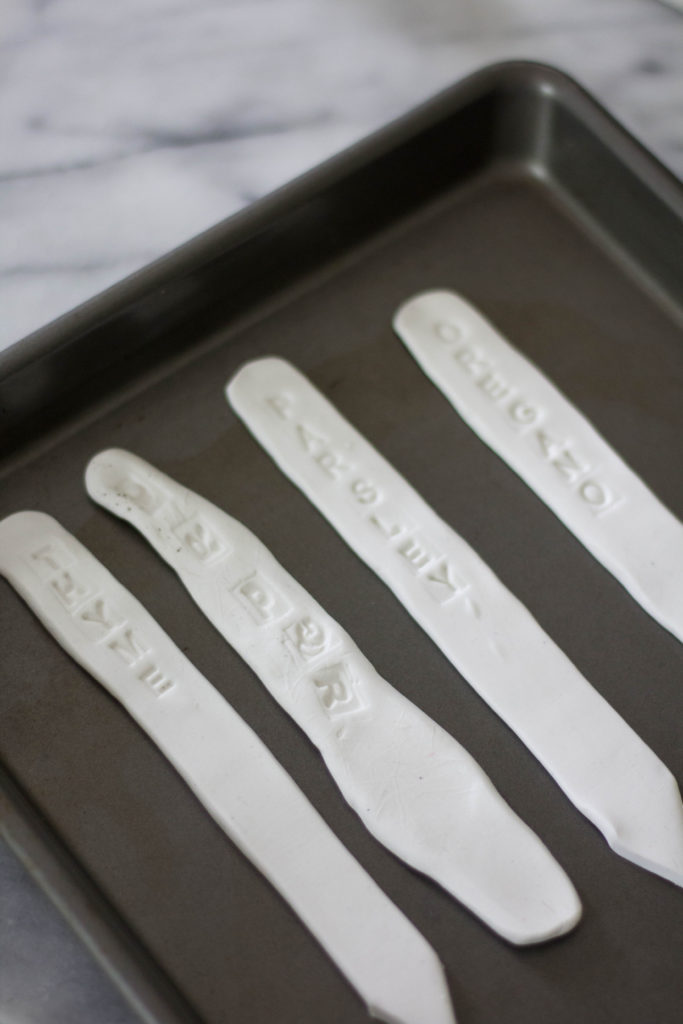
- Use rubber letter stamps to label each marker.
- Place on a cookie sheet and bake according to the clay’s instructions.
I’ve listed all of the supplies I used below, including the product links.
I bet you can’t tell which one Charlie made… ha!
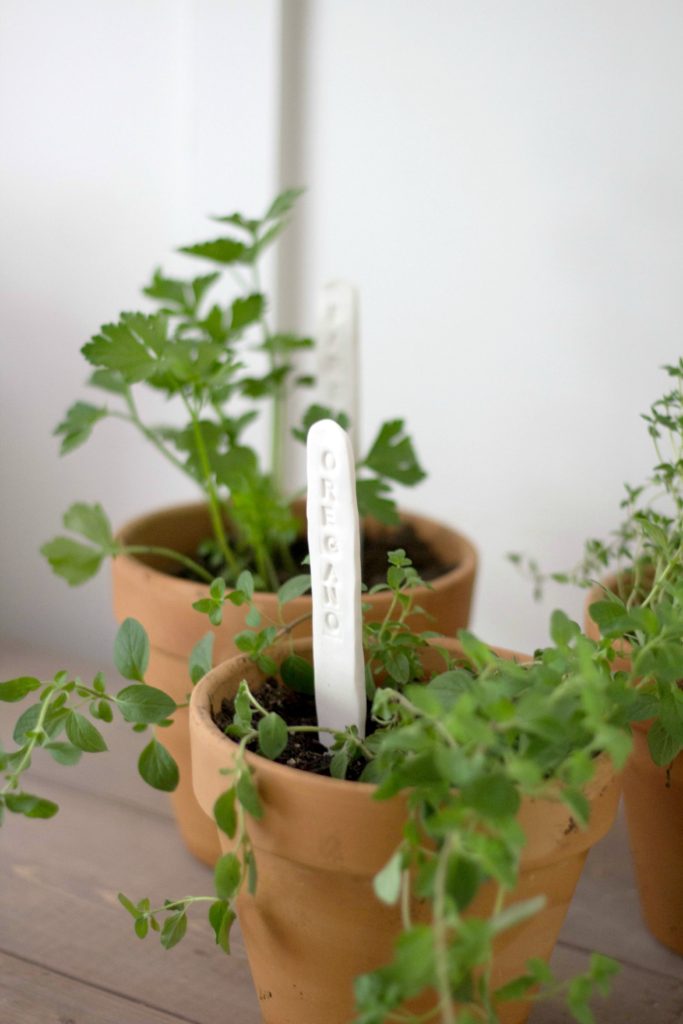
We just love how they turned out! I also made a couple more for future pots. I did play around with the extra labels. I used a fine tip sharpie and filled in the letters. They turned out pretty well, a little messy but cute. The solid white markers are by far my favorite.
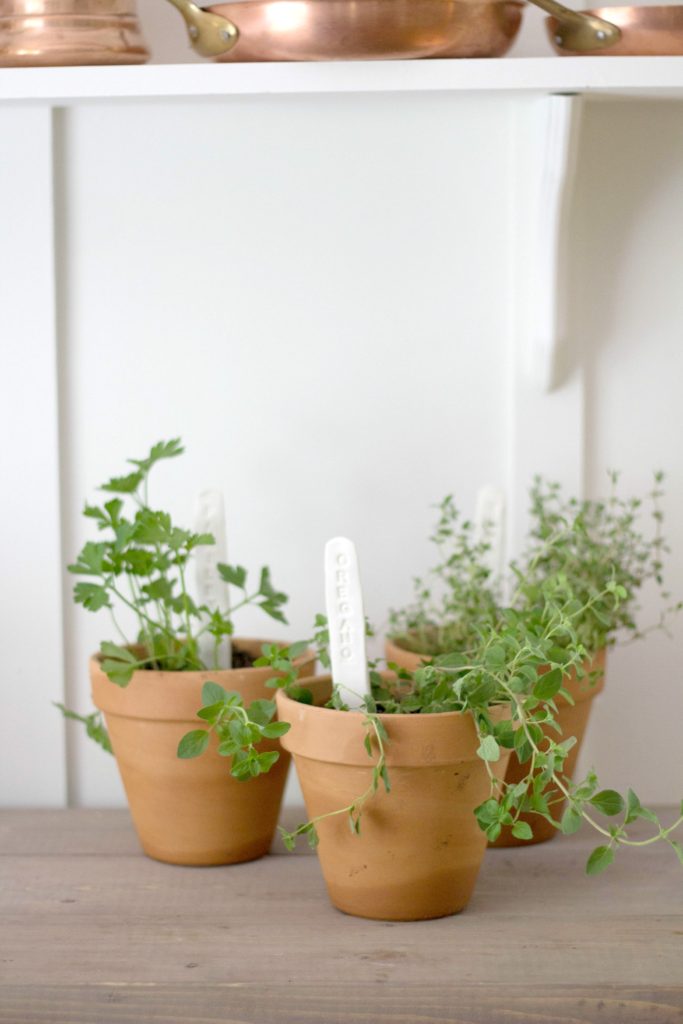
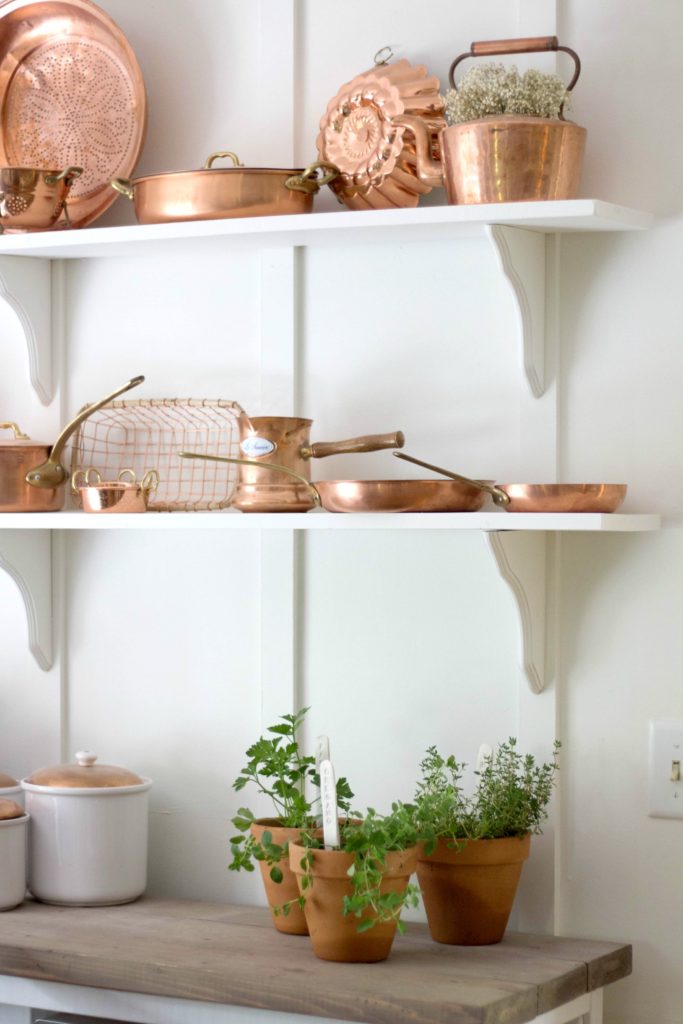
Our herbs were inside for a couple days when we had a few very cold nights. I’ve since moved them outside onto our kitchen window ledge. They’ve already almost doubled in size!
The labels are not perfect. If the look of irregularity bothers you, this might not be the project for you. Each one looks a little different and is unique. I think that’s why I love them so much. I don’t know about you, but I think it adds a great touch of character. I can’t wait to see the patina that starts to form on the terra cotta pots. There’s nothing quite like an herb garden in weathered terra cotta pots!
Baking Clay / Letter Stamps / Terra Cotta Pots
I hope you all have a wonderful spring week friends! In case you missed it, we shared the reveal of our laundry and powder room renovation last week. Be sure to check it out!

**This post contains affiliate links.**
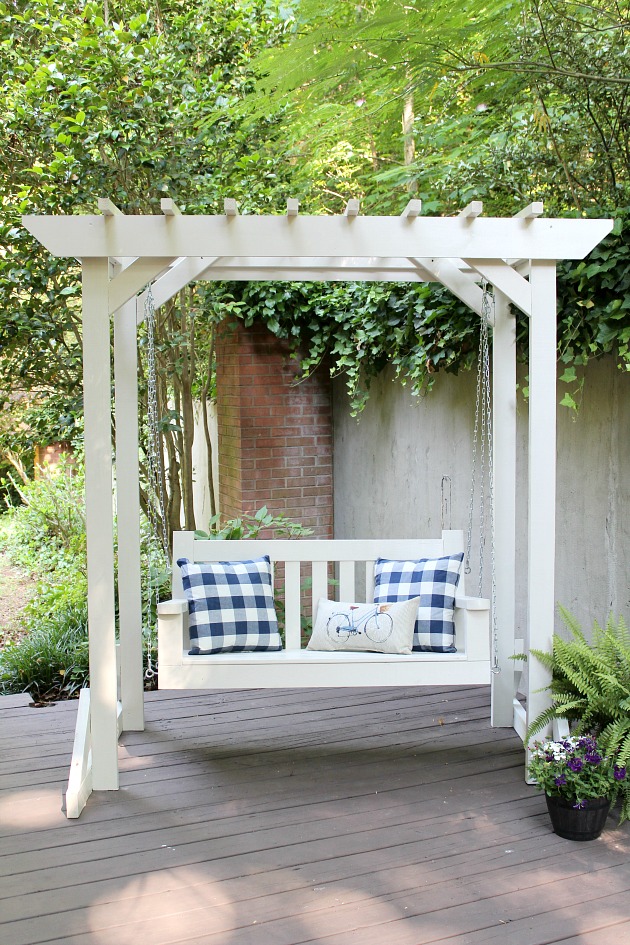
Check out some of our other outdoor projects
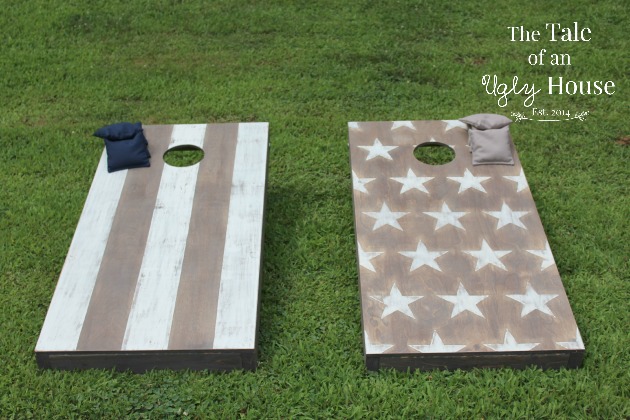
Stars & Stripes Corn Hole Boards

Leave a Reply