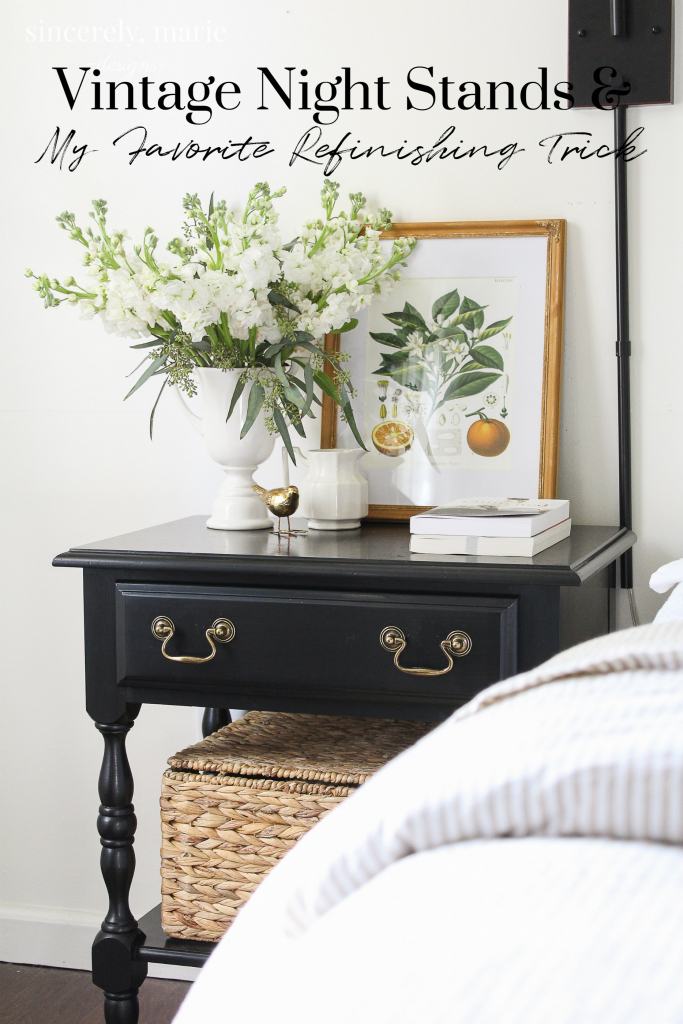
Over the last couple of years I’ve discovered the best furniture refinishing trick! It makes the job much easier and less messy. It hasn’t let me down yet!
Are you all sugared out yet? We trick or treated till we dropped last night and I had plans to get this post out much sooner but yesterday was a fun yet crazy day in our house. Today will be fueled by coffee and chocolate, of course. I hope you have a great Halloween friends! It’s smooth sailing into the holidays from here but today I wanted to share one of my most recent projects with you and what has become one of my favorite ways to refinish furniture.
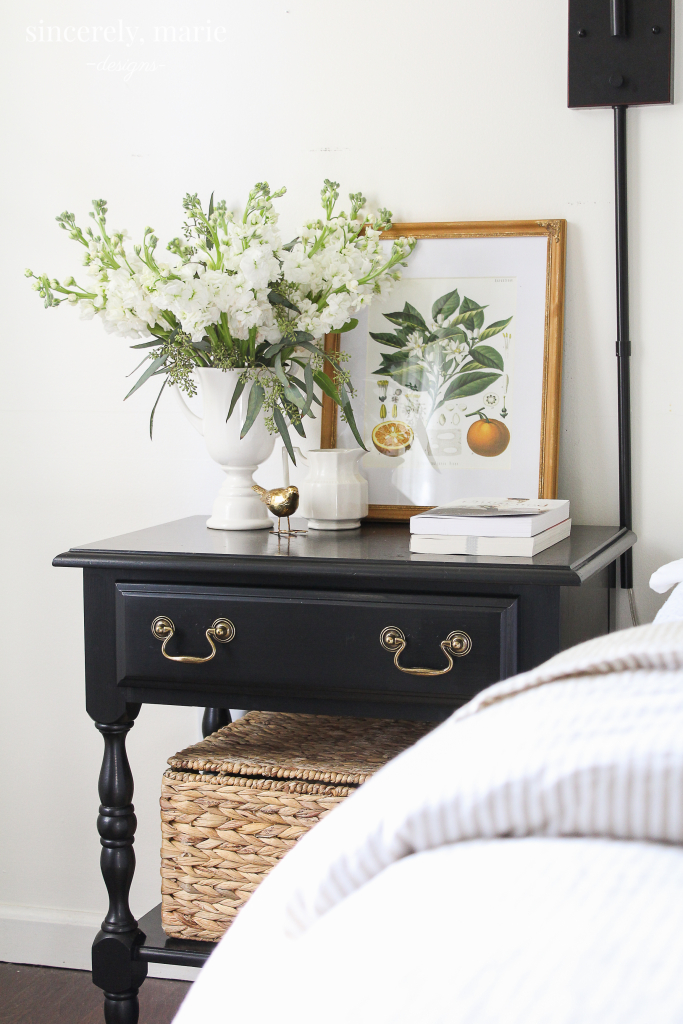
A few weeks ago I went to a weekend antique market. It was hosted by one of my favorite local shops. They host the sale twice a year and not only do they have a sale going on inside their store but they also have a parking lot sale for folks to set up a booth outside. It’s really a blast to attend. There’s always so many cool things to look at and there’s always great deals to be had. While I was shopping the sale I came across two vintage nightstands. I had been on the hunt for a matching set for our master bedroom for some time. Over the years I’ve gotten more picky with our home furnishings and had thought that I’d eventually just have to order new nightstands in order to check off the must haves off my list. That was until I came across these tables, but they didn’t always look this cute.
This post may contain affiliate links. You can read our full disclosure here.
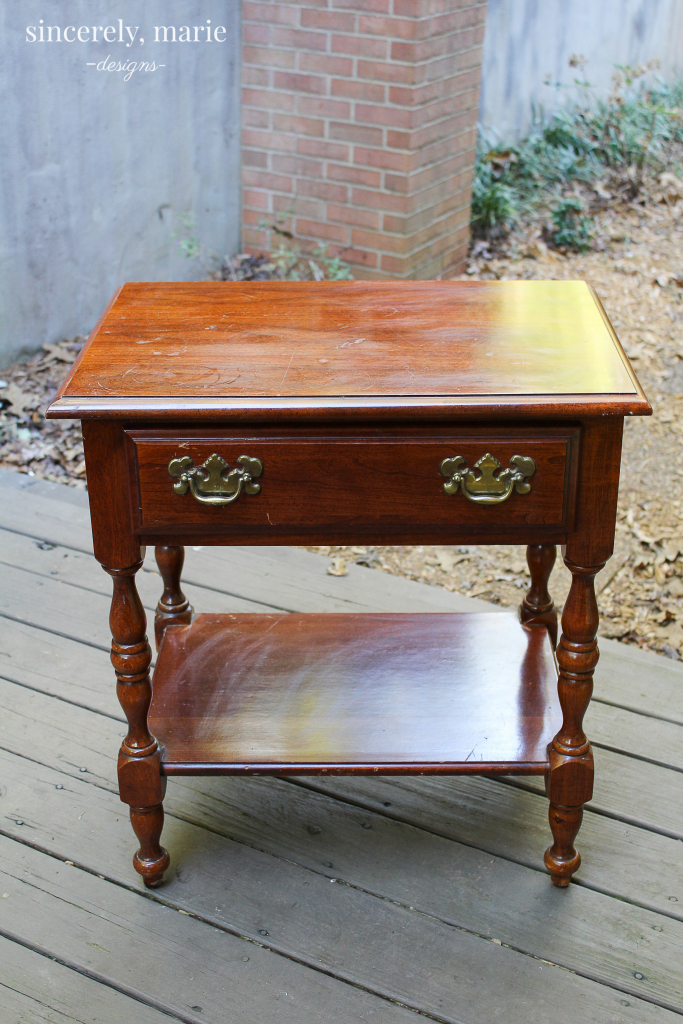
Here’s what they looked like when I purchased them. The finish was less than stellar and the hardware was a bit dated and not in the best way. These were all things I could change and for $50 each I knew that it was well worth a little elbow grease. I just couldn’t turn down those legs. I’m a sucker for pretty turned table legs!
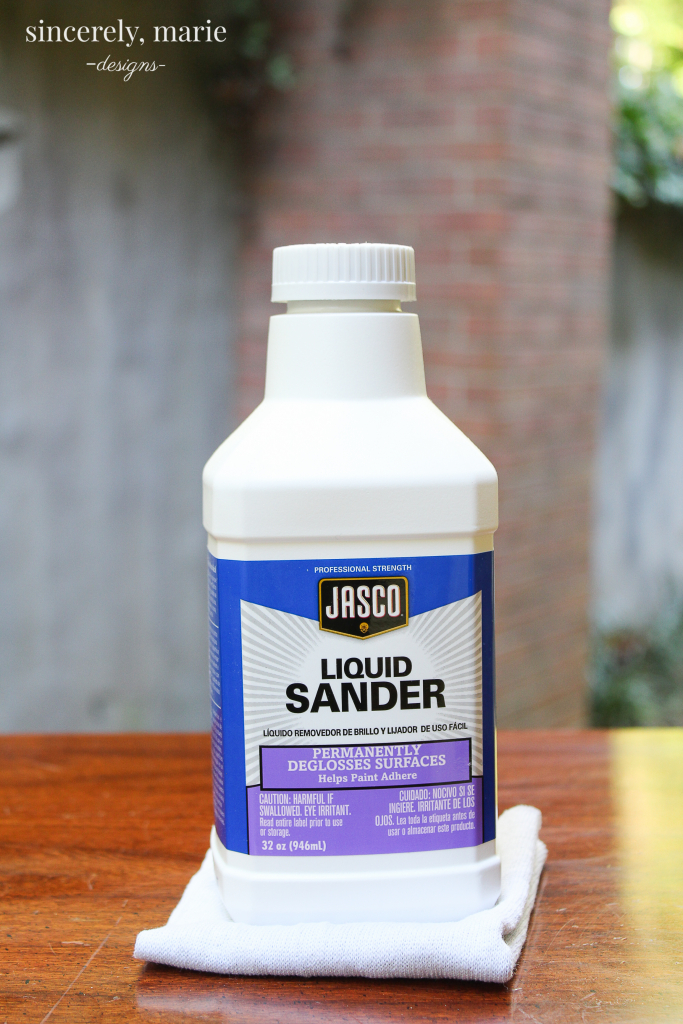
A year or two ago I learned a simple and quick trick for those pieces you plan to paint. It has become one of my favorite ways to refinish furniture. You can skip getting the sander out and instead use liquid sander. The first time I used it I was a little more than skeptical. To my surprise it worked just as advertised. You use a cotton rag and simply rub the liquid sander unto the furniture in a circular pattern. You can do one to two coats depending on how glossy the finish is on your furniture piece. It dries clear and that’s it! There’s no messy clean up or dust.

I also recently discovered what has become one of my favorite furniture paints to use. American Decor makes a satin enamel paint that is closes to a factory finish than any other paint I’ve used. It covered extremely well, doesn’t require a primer and doesn’t need a protective coating once painted. I used a good brush to apply it but you could roll it as well. There’s 10 colors available and I love the satin finish. I went with their classic black and I couldn’t be more pleased.
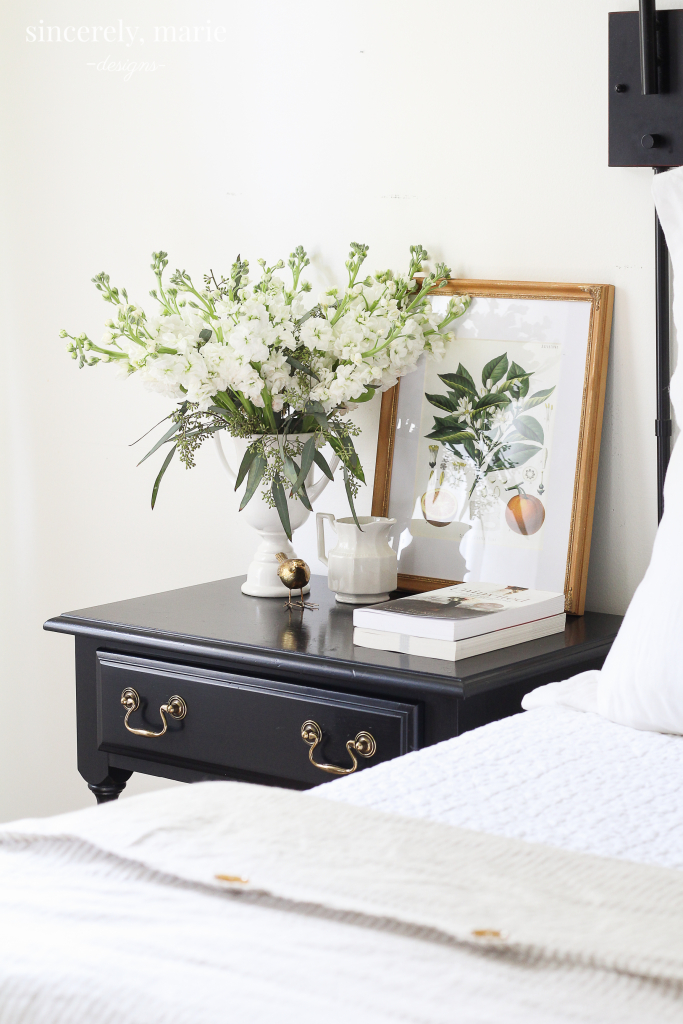
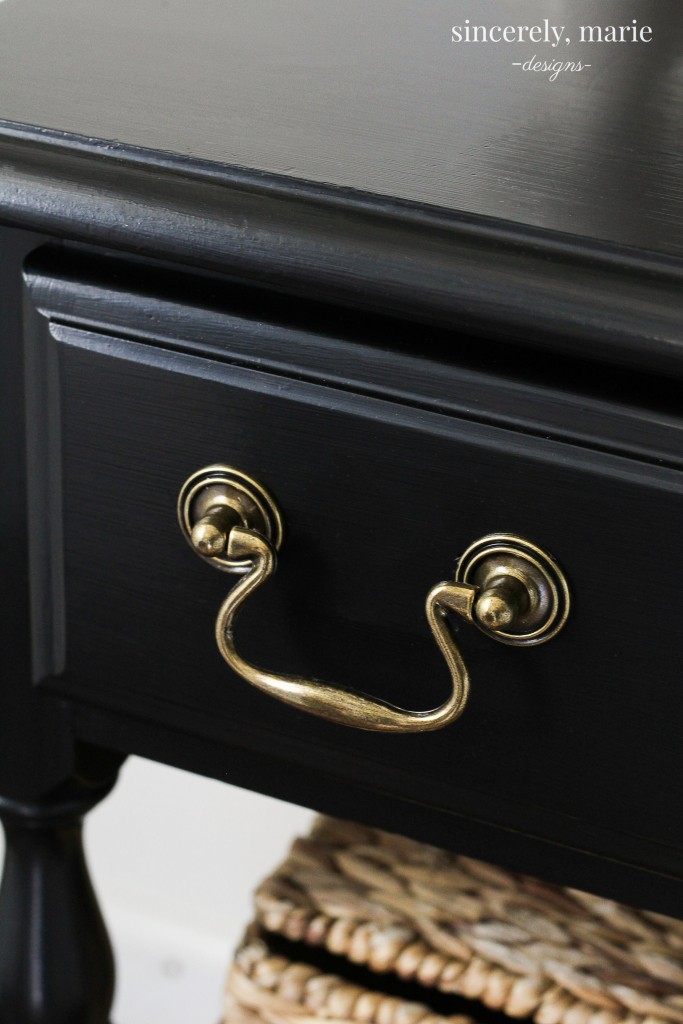
I swapped out the old hardware for these timeless brass pulls. I purchased them from here. I was a little nervous to order them due to their extremely low cost but I was pleasantly surprised when they arrived. They’re good quality and I had them within only a couple of days. I’m thrilled I found such an affordable place to get hardware.
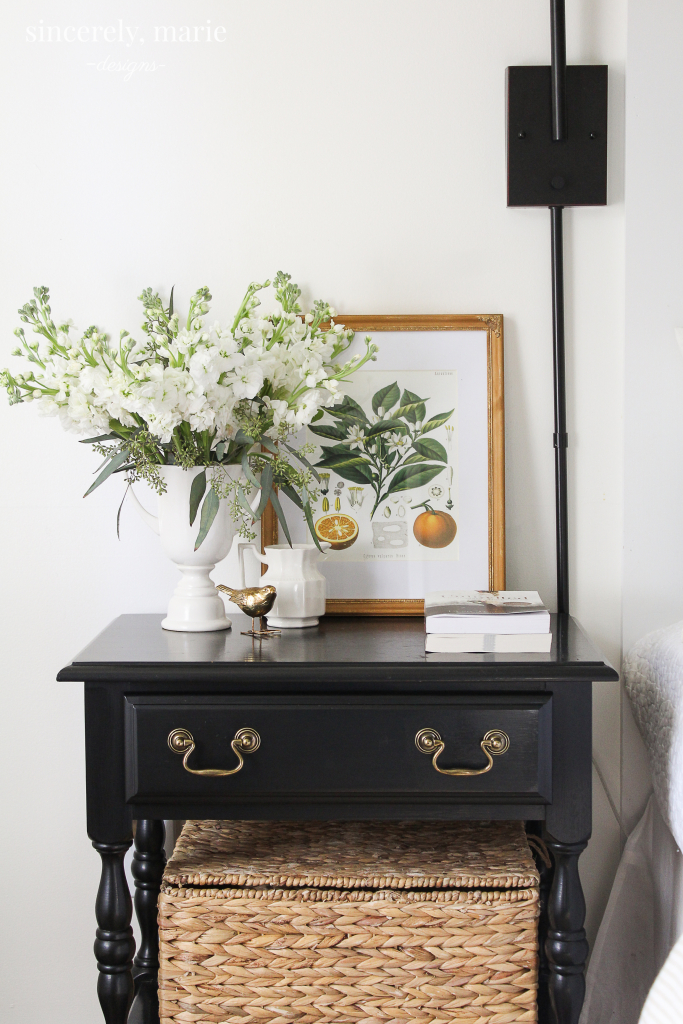

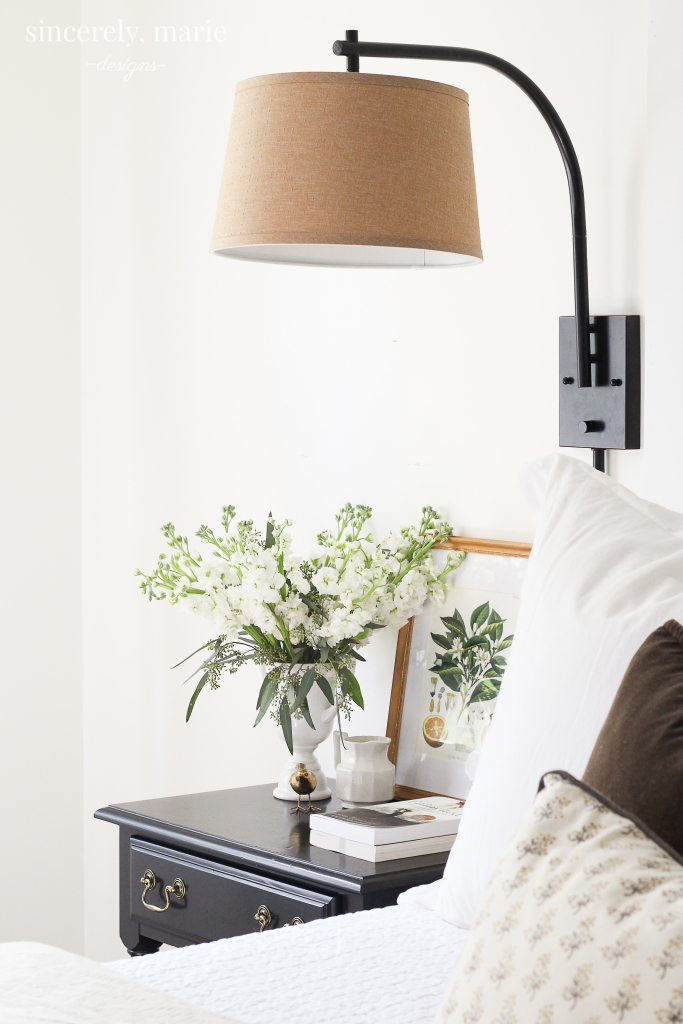
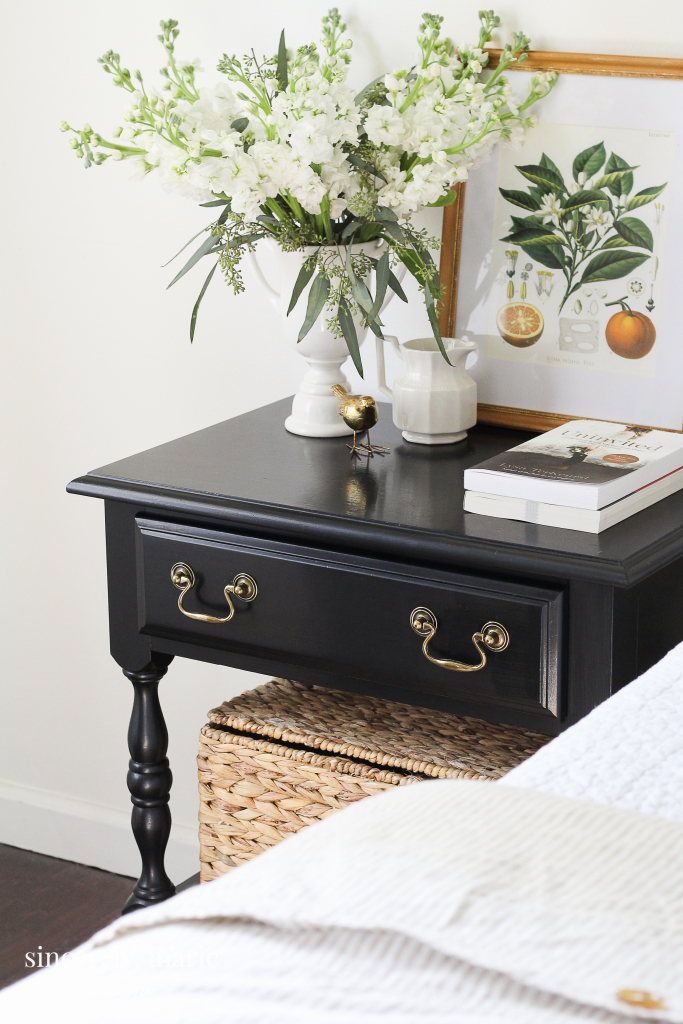



I loved the previous table I had been using as night stand but it was a bit over-sized for the space and we’re using it elsewhere now. The matching set completes the room and is more to scale. We’re also been able to add a basket to the lower shelves for more storage.
I’m currently hard at work in my office, which I hope to share with you very soon. I’m still working a few things out but the progress we’ve made the last couple weeks has been huge. Until then, have a great rest of your week, friends! Talk soon.




Would love to know which antique store you referred to in this post!
These came from City Antiques in Roswell, GA. I’ve also found so many things at The Green Bean Exchange in Cumming, Ga. 🙂
Those are so pretty! I will have to make a note of that paint brand.
Thank you so much, Isabella! I’m so thrilled with how they turned out. I was a little hesitant to try a new kind of paint on them but it all worked out!
PS I looked up the paint. How many containers did you purchase for this project? Thanks!
I used just one for both nightstands. I did two coats and I still have a little bit left.
A_ma_zing!! What a wonderful bargain and they look amazing!! I had not heard about the liquid sander but must try to find some here. You see I live in a different country.
Thank you, Nancy! I was completely new to it as well until about a year or so ago. I’ve used it several times and so far it’s been great! Good luck on your hunt. 🙂
THANK YOU so much!!! This is so extremely helpful I had never heard about this liquid sander before I will be searching for that! I had a question about the paint. Do you find it marks up easily or is it pretty rough? How does it do with water getting on it? Cleans nicely? Thank you so much!
Absolutely and thanks Vicky! It was new to me as well a year or so ago. I’m so happy I gave it a try. I’ve used it several times and so far so good! I have not experience any markings and so far I’ve only had crumbs and a little water here or there spill on them. As of now I haven’t have any issues with the paint. I hope that helps.
WOW! What an amazing transformation! Well done – your bedroom looks amazing.
Love also those wall sconces – they’re timeless.
Thank you so much, Michele! It’s my peaceful place, for sure. The wall sconces are a favorite touch of mine. I found them randomly but have loved them ever since!
I just happen to stumble upon this blog. I only wish I had found you 2 was ago. I just painted my 2 oak dressers and “one new to me” nightstand with turned legs. Could have used these tips but I think my pieces, despite taking two weeks to do all the steps correctly, turned out beautiful.
My living room is up next so I will be using your tips. Thank you and you got a new follower in me!!
Regards,
Donna
Hi, I was wondering where you got the two gold picture frames on the night table. Love them.