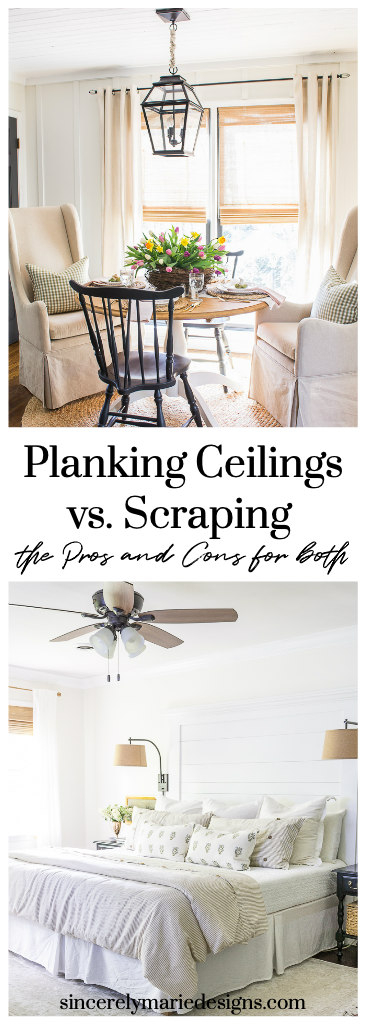
We’ve planked and we’ve scraped our texture ceilings. Today we’re discussing planking vs. scraping textured ceilings! We’re sharing our list of pros and cons for both options.
It has been quite the last two months friends! Josh and I successfully scraped and painted all of the upstairs ceilings. What was once grungy textured ceilings are now bright and smooth. I’m kicking myself that we waited so long but to be honest we had planned on planking the ceilings upstairs just as we did downstairs. It wasn’t until boredom from the quarantine kicked in that we decided to give scraping a try.
If you remember the story of me trying to scrap our kitchen ceiling a number of years ago you might remember the disaster that turned out to be! It was a mess with a capital M! After that I had decided that scraping wasn’t worth it. I’m so glad we decided to give it another go because we really found our groove this time. By the time we finished the 6th ceiling we had learned exactly what to do and what not to do. Today I want to go over exactly what we did and our thoughts on planking a ceiling vs. scraping them, the pros and the cons to both.

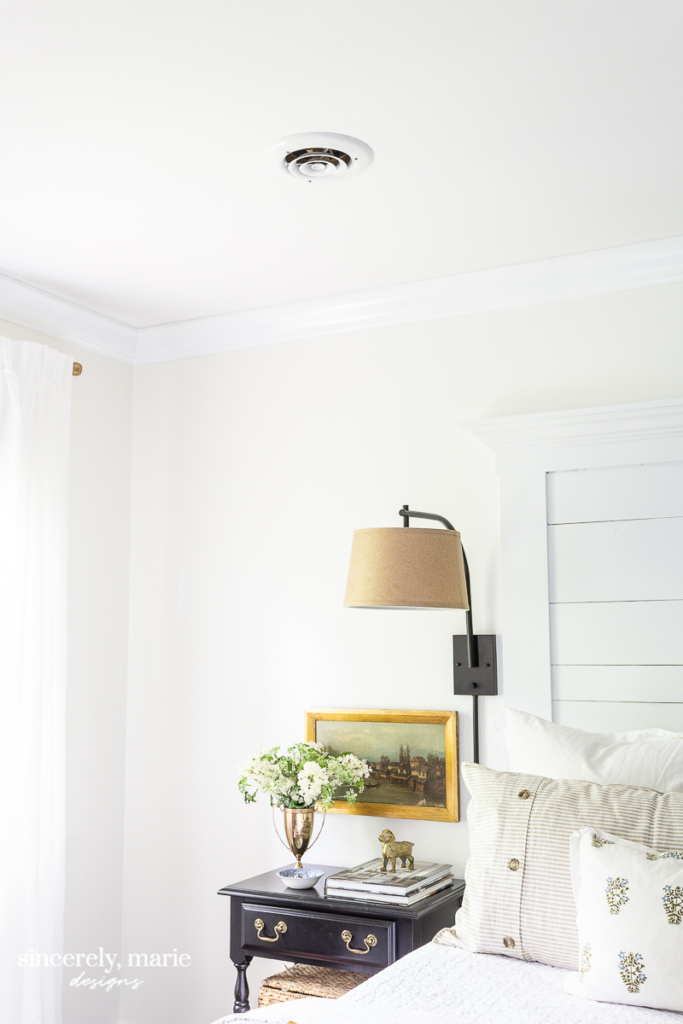
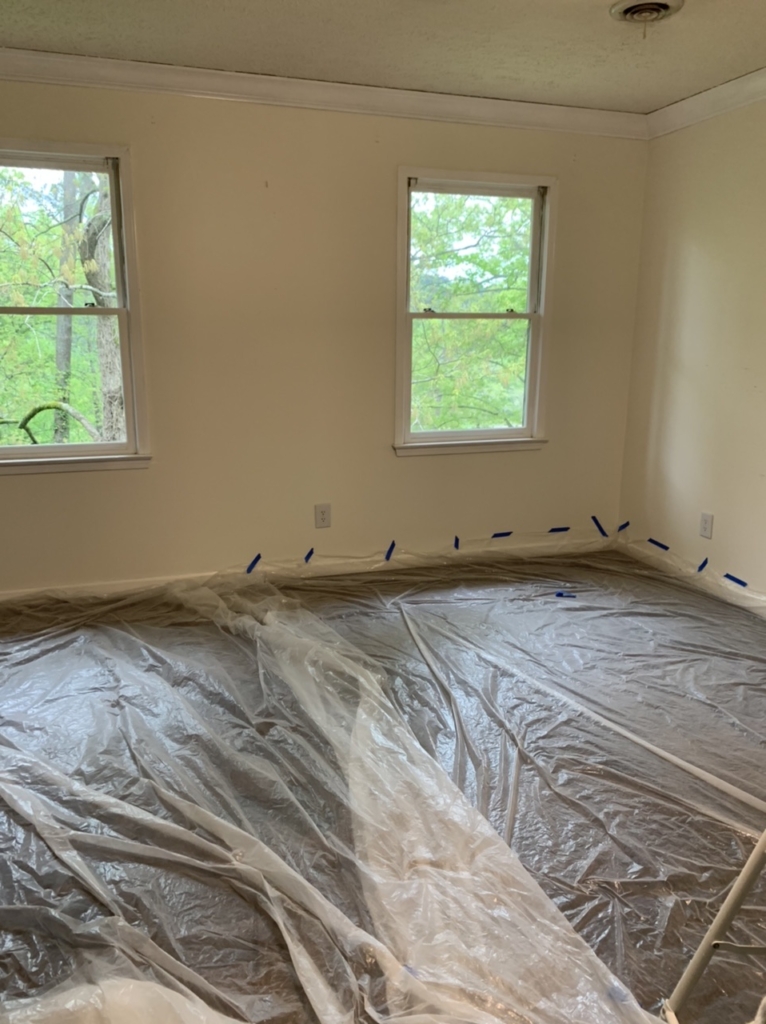
Let’s talk scraping first. Here is a photo I took this week of our master bedroom with the pretty new ceilings. I apologize for the shadows. We’ve been getting quite a bit of rain lately, so not too much natural light to work with. Below is a before photo of our master bedroom. It’s a little hard to make out the texture on the ceiling but you get the picture.
Before
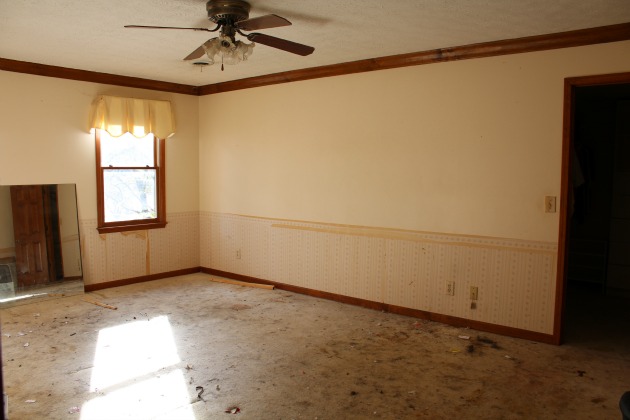
The texture looks much more subdued in this photo but trust me it was not. It was dirty and did not reflect natural lighting at all.
After scraping and applying a fresh coat of paint, it’s clean and bright!
This post contains affiliate links. You can read my full disclosure here.
Here’s how we did it:
- We removed the furniture from the room and taped plastic drop cloths to the walls and the floor. We also covered our light fixtures and fans with plastic as well. DON’T skip drop cloths! The process is extremely messy.

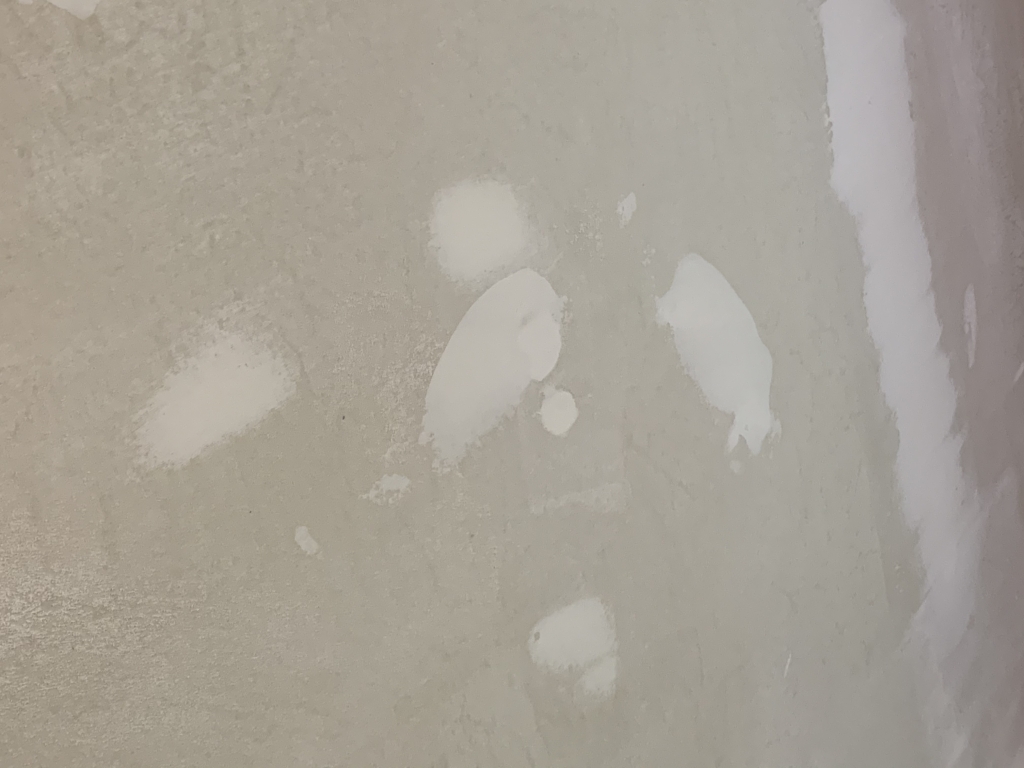
- We used a pump sprayer to spray the ceilings in small 8’x4′ parts until the water began to drip off the ceiling slightly. If you do not have a pump sprayer you can use a hand held spray bottle (It does work, it just gives your hand muscles a workout!). Wait 5 minutes and then using a flat, metal scraper at about a 25 or 30 degree angle, apply slight pressure and scrap off the texture or popcorn. Watch the corners of the scraper to make sure you do not gage the ceiling. Once you begin scraping you’ll notice seams in the sheetrock. Don’t scrap with too much pressure that you start to rip the seam tape. You want your seams to remain in tact and to be smooth to prevent heavy mudding and sanding before you paint. Note* You may need to spray an area a second time if the texture or popcorn does not come off easily. If you have to push hard it needs more water!
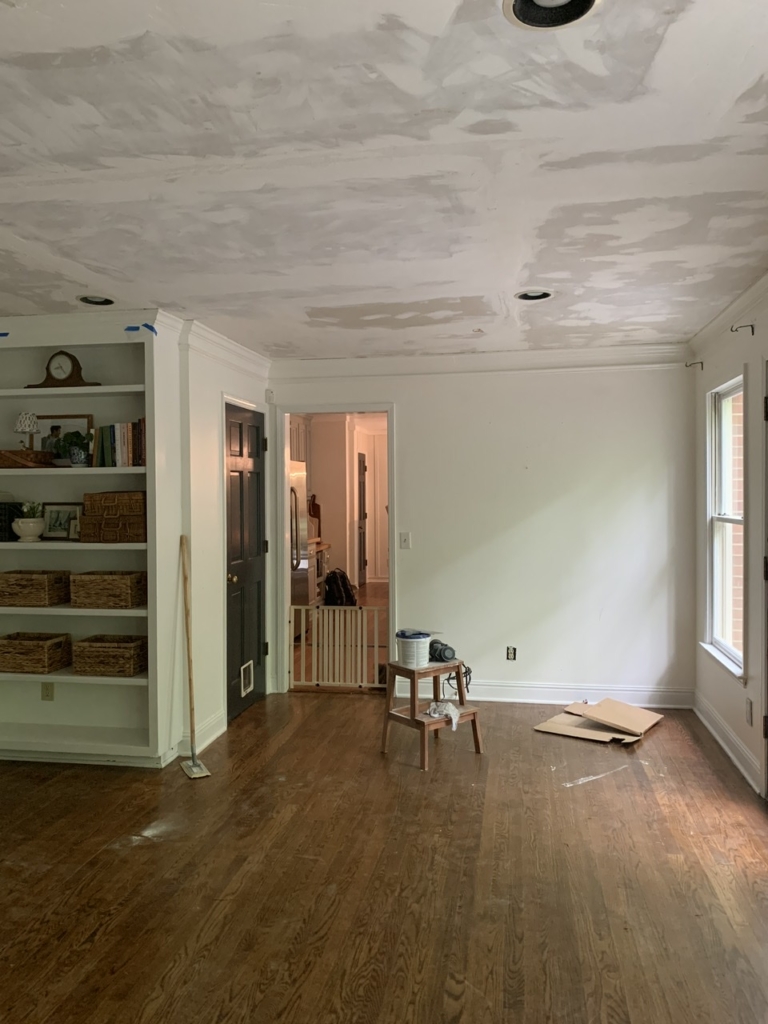
- Look for dents or nail holes that need to be patched with joint compound and do that once the ceiling is no longer damp. Be sure to check out our seams. Sand them and smooth them out with a little joint compound if needed. Let that dry for 24 hours and then come back and sand smooth using a pole sander. ( I came across THIS after we finished our ceilings. I have not used it but it looks like a great tool for this project!) This past is very dusty but also very important. You want a smooth ceiling when you’re finished!

- Once your ceiling is sanded double check that it is smooth and that you do not need to re-mud anywhere. Once that is done you’re ready to roll on your ceiling paint! We applied two coats of Valspar’s ceiling paint with a quality roller for good coverage.
- Lastly, install crown molding of your chose if you do not have any already and sit back and enjoy your fresh ceilings!
NOTE* – We did not worry to much about the edges of the ceiling being perfect because we knew we wanted to install crown molding in all of the rooms that did not already have it. If you are not installed crown molding before to be careful scraping along the edges of the room. You can easily rip the corner tape and that means more mud work before you sand.
Let’s talk pros and cons to scraping as we see them!
Pro’s –
- It doesn’t get much cheaper than scraping ceilings. For the cost of a few plastic drop cloths, sand paper and some paint you can have smooth ceilings. It’s extremely budget-friendly!
- It doesn’t take a lot of DIY experience. With a little patience and elbow grease you can do this!
- It’s fresh and modern. Who doesn’t like to walk into a room with bright smooth ceilings? I know I do! It instantly gives a space an updated look.
- Painting and cleaning is simple. When it comes to painting the ceiling it’s smooth, so there isn’t any grooves like there is with planking. This makes painting and regular dusting easy.
Con’s –
- It’s messy! I can’t overstate that enough. Josh and I have decided that the only way we would want to scrape the ceilings of another house again would be to do it before we move in. No matter how many precautions you take there’s just a ton of dust! Even though we used plastic drop cloths that fine little dust just gets on everything. I think I dustied and mopped each room at least three times before it was all gone. Oh the dust!
- It’s takes more time than planking. A lot of the time is waiting for the ceiling to dry and then the mud, but none the less it’s not quite as fast as planking. Make sure to give yourself a few days to get this project done.
- It’s a little more labor intensive. Josh and I get to skip upper body workouts for at least the next three months, ha! Scraping, sanding, mudding, sanding again and painting really take it out of your upper body. We’re still recovering a couple weeks later.
- It’s harder to hide imperfections. When you’re wanting a smooth ceiling every imperfection tends to show. It’s really important to sand everything smooth and level. This requires a lot of attention to the mudding and sanding process. As we learned in our living room, if there has been any ceiling damage or leaks you’re going to know! We decided for that room it made more sense to plank it. After scraping it and seeing what would be required to get it nice and smooth we decided our skills were best used for planking and covering that stuff right up! Short version, you want ceilings that are smooth and flawless.

Now for the pros and cons of planking!
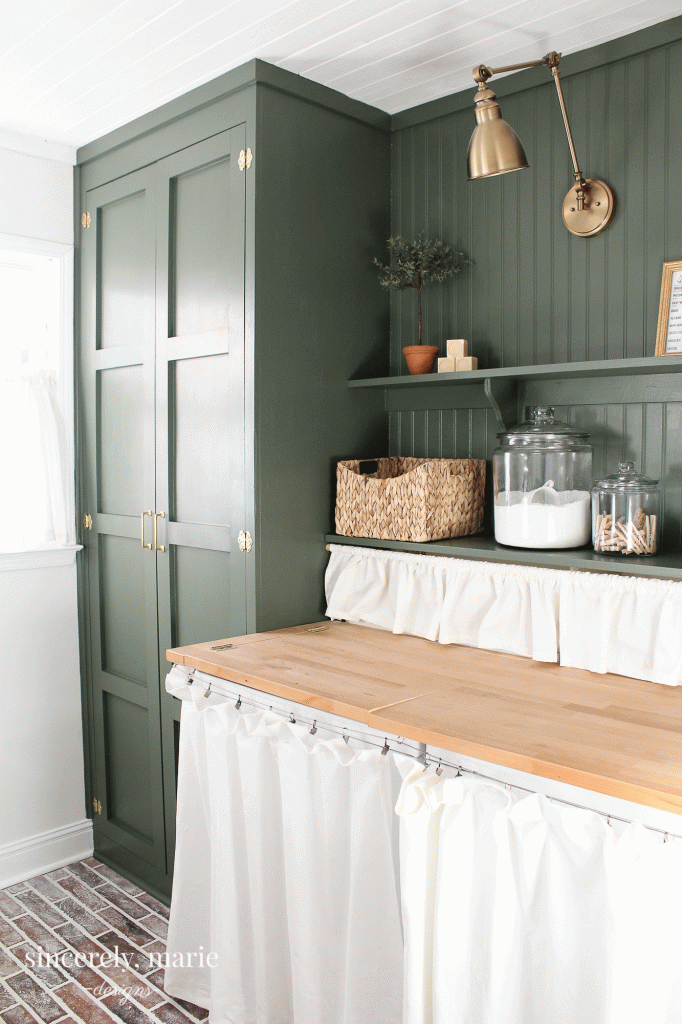
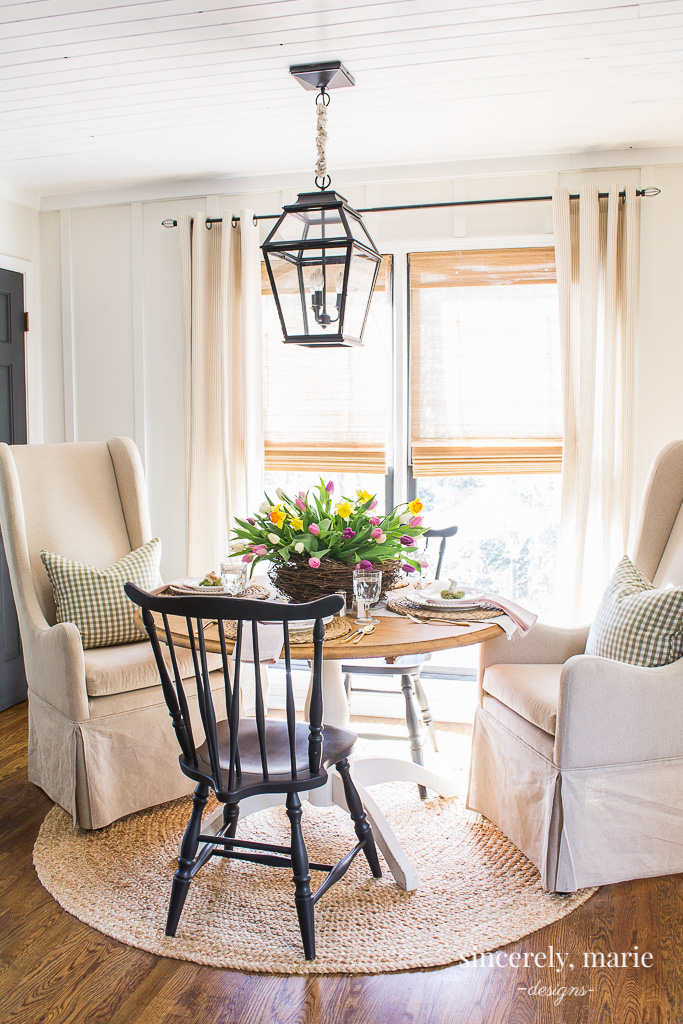
I won’t give you a step by step how-to on planking ceilings because I’ve already done there HERE. Over the last four years of living in our home we’ve planked the ceilings in 5 different rooms – kitchen, laundry/powder room, master bathroom, dining room and the foyer. I knew when we bought our colonial that I wanted to plank the ceilings or some of them at least. Planked ceilings are historic and add so much charm to a space.
Pros –
- It’s not as messy as scraping ceilings! That’s probably a given but it’s the first thing that pops out at me after scraping the upstairs ceilings. Other than a little saw dust outside from your cuts, its super tidy!
- It’s charming! There’s just something about planked ceilings that screams charm. Whether it’s in a colonial, a cottage or bungalow, it’s timeless. It’s you’re looking for a way to bring a little character into your space plank your ceiling. It’s instant character.
- It hides imperfections in your ceiling. If you ceiling is stained or has cracks or unsightly blemishes in the sheet rock planking is a great way to hide all of that!
- It’s a little faster than scraping. Planking a ceiling can easily be done in a weekend. The actually planking process can be achieved in just a days time depending on the size of the room. I love that you can go from outdated popcorn or textured ceiling in the morning to a beautiful tongue and groove ceiling by the evening.
What about the cons?
Cons-
- It can be pricey. There are a number of options out there for planking your ceilings. Some look and will hold up better in the long run than others but there are options. We used a pine tongue and groove planking that we purchased at Lowes. It was not the most expensive planking product but it wasn’t the cheapest route either. If you’re looking for a solution for your entire house the cost of planking can add up very quickly.
- It requires more tools. Unlike scraping, planking ceilings does require a few more tools, one of the more expensive tools being a chop saw, jigsaw and air compressor with nail gun. If you’re a seasoned DIY’er than you probably already have all of the tools required.
- It requires a little more prep work. It’s very important that you find out where your ceiling joist are. You’ll want to be sure to shoot your nails into the studs and not just into the sheetrock. Failing to do this can result in a sagging ceiling or the possibility of puncturing electrical wires above the ceiling. Do your homework and mark your studs with a chalk line!
- It’s not as easy to paint. Painting the planks ahead of time is probably a good way to start but even then you’ll have to come back and touch up and if you want to fill all the nail holes and that can take some time. Just remember you’ll need a good brush to get into all of those grooves if you paint after the install. There’s just a little more detail to work around. It’s not horrible, just a little more troublesome than painting drywall ceilings.

If you’ve been weighing your options when it comes to your ceilings I hope this post helps you. After completely both methods we’ve found them both to be great options depending on your ceiling and budget. No matter which option you choose your home is bound to be brighter and you’ll be happy you tackled it! In the weeks to come we’ll be installing a third ceiling option in our living room – bead board. I’m so excited about it. It’s something that I have wanted to do for some time and when scraping it didn’t really work out I knew my first option was going to happen after all! I’ll make sure to share the results with you as soon as its complete. Have a great rest of the week, friends!




Thanks for this post. I used to have textured ceilings in another house I lived in. Good to know the options.
This room is beautiful! I love the lamps on either side of your bed. Do you have a source for these?
1 question, our ceiling in our living room is 146 inches at the lowest point. We rent a scaffold to paint. Do you think it would be ok to paint the planks before putting them up? We scraped a cathedral ceiling in our bedroom, I would never do thst again.
Thanks Kim