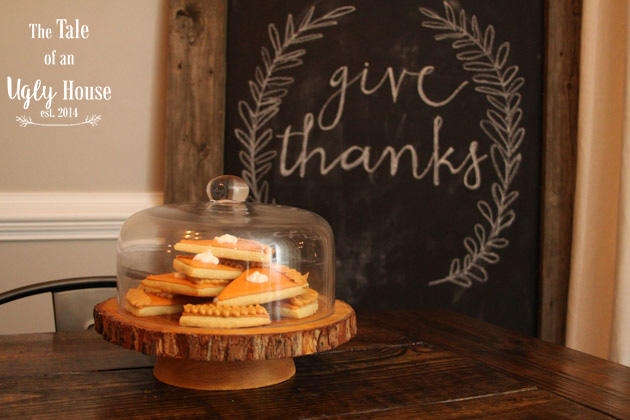
Cookie decorating has been a passion of mine for about 8 years now. I love how a little bit of icing and creativity, along with a good dose of patience, can turn a simple sugar cookie into something so cute and delightful. With Thanksgiving quickly approaching, I wanted to share one of my absolute favorite cookie designs for the season! These pumpkin pie cookies would be so cute displayed on a platter at your Thanksgiving dinner, or put into individual bags to give to friends and family members that you are especially thankful for. The best part? These cookies stay fresh way longer than pumpkin pie, AND you don’t even have to like pumpkin pie to love these!
First, let’s talk cookie recipe. This is the recipe that I use for ALL of my cutout cookies. They are sturdy enough to withstand stacking and transport (you can mail them!), but still soft and moist. They are also not overly sweet. The icing brings in that sugar-sweet taste that keeps people coming back for more cookies. You might want to make twice as many as you think you’ll need. Trust me on this one.
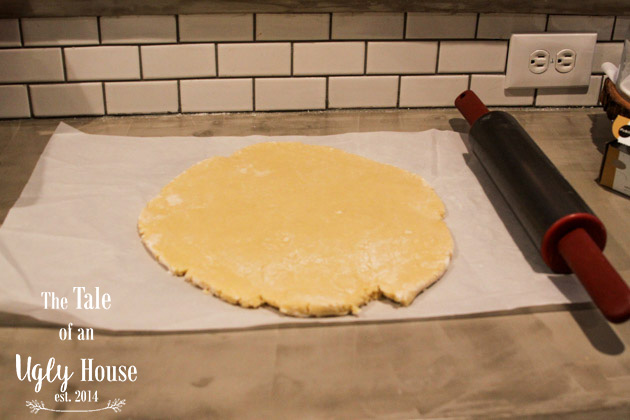
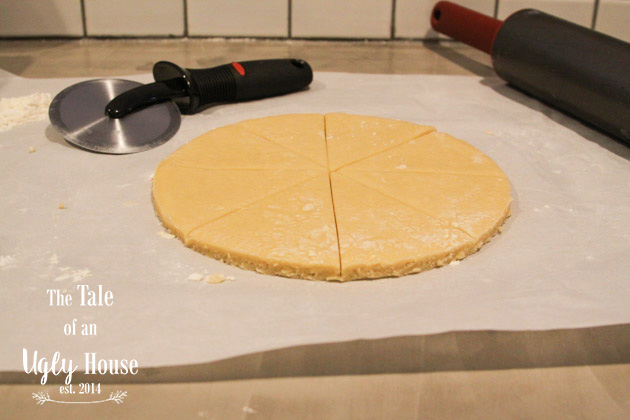
[yumprint-recipe id=’11’]Here is my dough all rolled out and ready to go. For these specific cookies, you will want to cut out triangles. If you’re like me and don’t have a triangle cookie cutter, you can easily make pie slice shapes by forming your dough into a sizable circle (try tracing a round cake pan or small plate with a butter knife), and using a pizza cutter to create wedges. That is my method of choice for these particular cookies because it gives you a slightly rounded edge, just like a real slice of pumpkin pie. If you want to make sure you get the full 24 cookies out of this recipe, you’ll want to make them on the smaller side (no more than 3 inches).
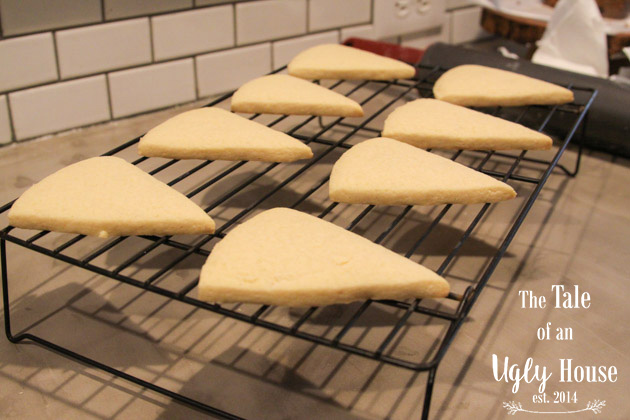
Bake the cookies according to the recipe, and then make sure to let them cool completely.
For the icing, I follow Wilton’s recipe for Royal Icing. One batch should be all that you need. If you have never used Meringue Powder before, it can usually be found in the cake decorating section of your local craft store. The only other ingredients you will need are confectioner’s sugar and water.
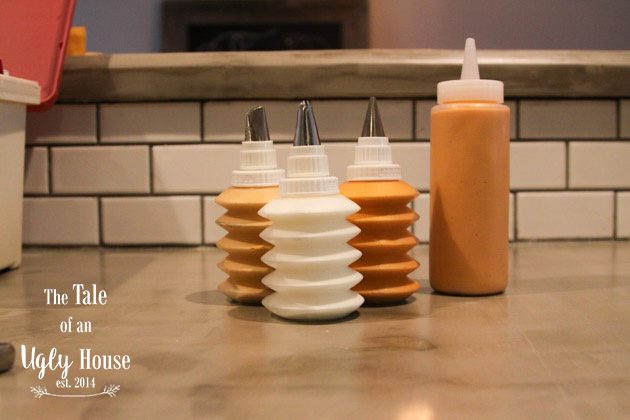
Once your icing is mixed, it’s time to divide it up and tint it. You will need about ½ cup of tan for the crust, ½ cup of orange to outline the pie slices, and ½ cup of white to add a dollop of “whipped cream.” The consistency of these should be fairly stiff, but still easy to squeeze through a decorating bag. Think peanut butter consistency. It should hold it’s shape rather than spreading. The icing that remains in the bowl will be your “flood” icing for filling in the pie slices. All you have to do to make the icing for flooding is add water to the royal icing. Be sure to add it a little at a time, so it’s not too runny. Aim for milkshake consistency on this one. It should flow easily to fill in the cookie outline. After it’s thinned, it will be tinted pumpkin orange as well.
As for the food coloring, I like to use gel food coloring. It goes a long way, the colors are vibrant, and it’s less mess. For the crust color, you will want to create a light golden brown. I used a tiny bit of brown and an even tinier amount of yellow to achieve this color. For the pumpkin pie color, add a little bit of brown to a fairly saturated orange.
Now, load all of your icing into decorating bags, squirt bottles, etc.. You will need a small round tip (for orange outline), a petal tip (for brown crust), and a star tip (for white whipped cream). Put the flood icing in a squirt bottle, and then you are ready to rock n’ roll!
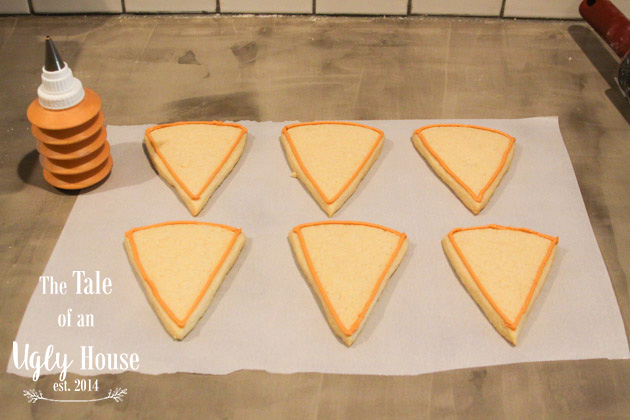
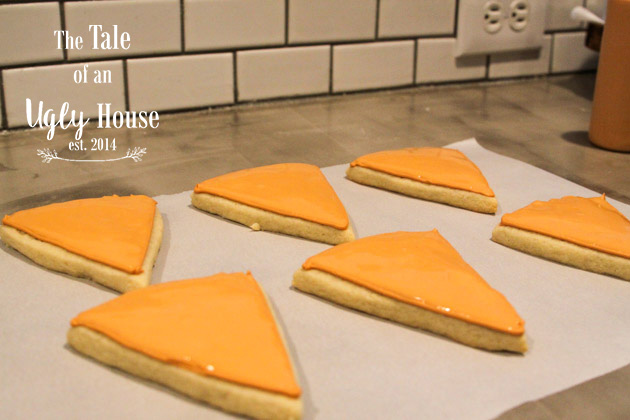
Step one for decorating the cookies is to outline the whole triangle in orange icing with a small round tip. Let it set for 20-30 minutes. Once it is dry to the touch, you can fill in the cookies. I like to use a squirt bottle to flood large areas like these. It’s quick, but is still easy to control.
This is the hardest part…waiting. The thinner icing takes quite a while to dry. Based on the temperature and humidity in your house, it can take anywhere from 8-12 hours or so to be mostly dry. I like to flood the cookies right before bed, and let them dry while I sleep. It keeps me from getting so impatient. Hahaha. If you do this, just make sure that your unused icing is totally sealed up so that it won’t dry out.
When the icing is dry to the touch and doesn’t yield to light pressure, you can put on the finishing touches. For the pie crust, use the petal tip and a zig-zag motion to distribute the tan icing along the top of the pie slice. Then, use the star tip to add a dollop of whipped cream to the center of your pie slice.

Let the icing totally finish drying, and then you’re ready to share them with family and friends! These can be packaged and displayed in so many cute ways, so use your imagination and get creative!


So cute! I love the short squirt bottles you have for the royal icing. I tend to avoid things that call for pastry bags, but I could see myself using these.
Tiffany, the squirt bottles are so handy! I know that Pampered Chef sells them. I’m sure there are more inexpensive options out there too, but so far, the Pampered Chef ones have lasted 3 or 4 years of really intense cookie decorating!
Yes, I know you put your set has been well testsed!
I went on Amazon & looked around after commenting. There was a Betty Crocker set that looked a lot like yours, but some people were complaining about the bottles splitting on the seams. Then I found an OXO set where the bottoms are made of silicone, like those flexible baking pans. You can even flip them inside out to clean! Those are going on my Christmas list!
So I may have went to Williams Sonoma this weekend and bought a decorating kit that had the squirt bottles… what can I say, you’re an inspiration! Christmas cookies here I come 😉
LOVE! You are so talented and creative.
Madi is the best cookie decorator I know Sarah! Theses pumpkin pie cookies are perfection.