If you’re anything like me, one of the most difficult parts of decorating a room is choosing the right curtains and the best curtain rod to hang them with. Between wood, wrought iron, plastic, and aluminum, there is just so much to choose from! It can certainly be an overwhelming decision. We have been in our home for 6 months, and I am just now hanging curtains. (Yes, it took me that long to make a decision.)
The other thing about curtain rods is that they can be SO expensive. I found myself in a conundrum when I fell absolutely head-over-heels in love with a curtain rod from West Elm. Everything about it was perfect! Well, everything except for the price tag. Thankfully, it didn’t take me long to realize that it would be so easy to replicate this curtain rod at a fraction of the price.

Here is how we did it:
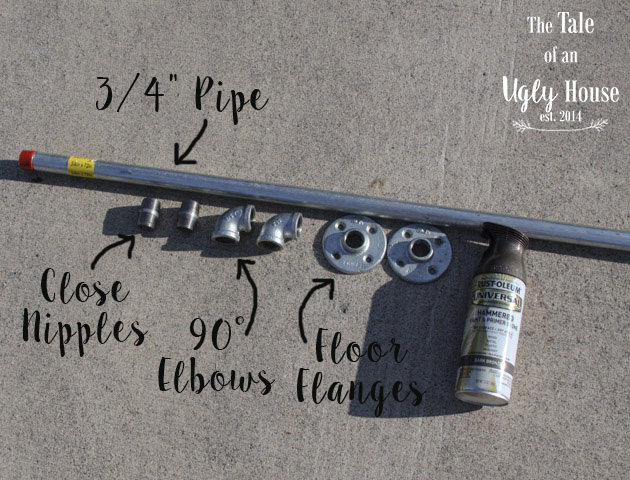
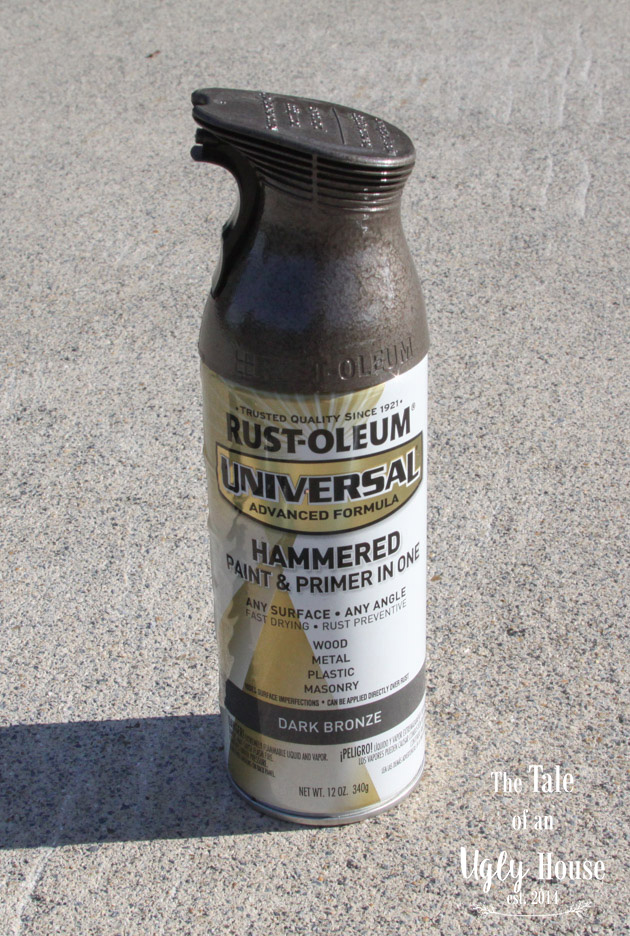
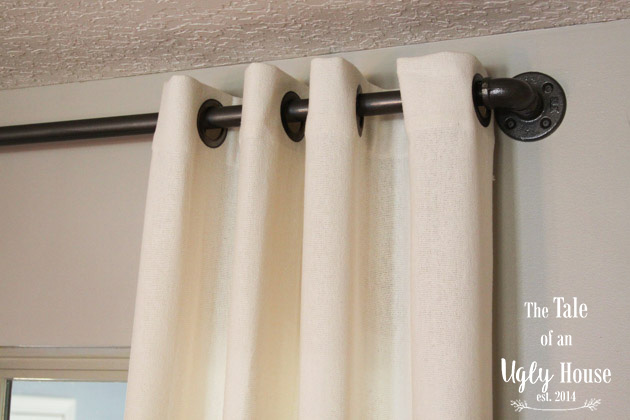
Ah, the cast of characters. You will need one galvanized pipe that is wider than your window (I think curtains look best when hung high and wide), two 90 degree elbows, two nipples threaded on both ends (length is dependent on how far you want your curtain rod to be from the wall), and two floor flanges. When you are buying these, just make sure that you choose fittings with the same diameter. They should be clearly labeled at your local home improvement store. We wanted ours to look fairly substantial, so we chose ¾” fittings. If you would like a color other than silver, choose a rust-resistant spray paint in the finish of your choice. We chose dark bronze, but it looks more like a charcoal/gunmetal color in our house.
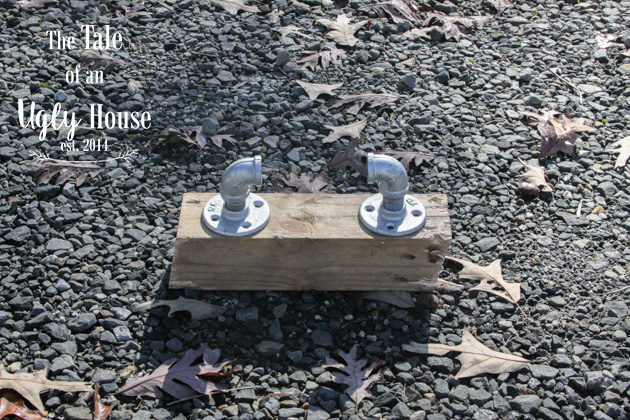
Start by making sure that all stickers and residue are off of your long pipe. A damp paper towel and a little bit of dish soap will usually take care of this. I also like to go ahead and assemble the end pieces of the curtain rod. All you have to do is connect the elbows and floor flanges using the nipples. Make sure that they are even so that your curtain rod won’t be closer to the wall on one end than the other.
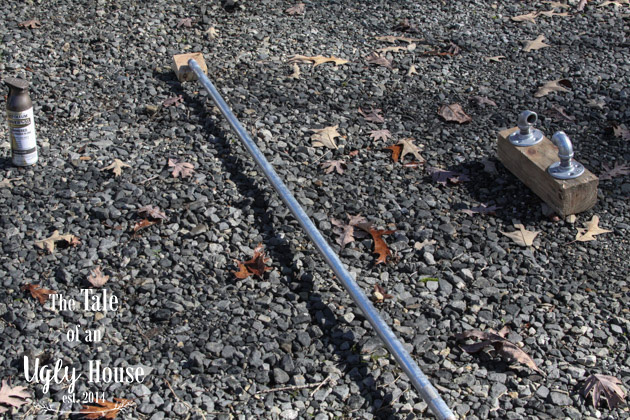
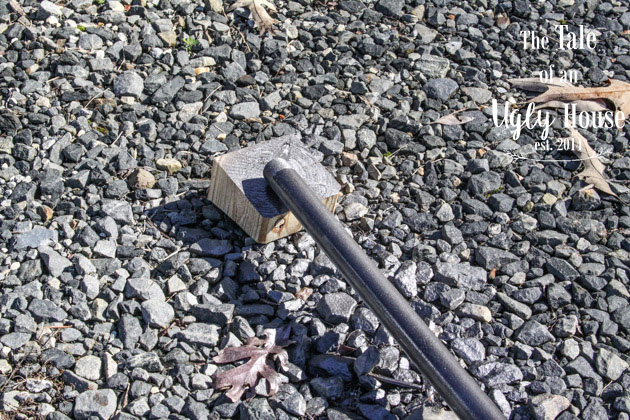
Next, pick an outdoor area suitable for spray painting. Unless you have a tarp, don’t use the driveway. Spray paint particles are sneaky, and they will paint the concrete. I like to use our gravel driveway, and utilize some wood scraps to prop up the pieces. Doing this also makes it easy to rotate your pieces for even coverage without messing up what you have already painted.
Follow the instructions on your spray paint can to get even coverage and minimize drips. I found that two coats were sufficient. Make sure you don’t touch it until it’s dry!
For good measure, I would give the curtain rod a couple of days to cure. It should create a nice, scratch-proof, smooth enamel. Once it’s totally dry, you are ready to assemble the pieces, add curtains, and hang it up!
Keep in mind that this is not an adjustable curtain rod. Once it is up, it’s not going anywhere until you unscrew it from the wall. Because of this, I would recommend using curtains with hooks or button closures for easy removal and cleaning. If you have a way to clean the curtains vertically (steamer or vacuum attachment), you might be comfortable using grommet-top curtains. Just something to keep in mind before you embark on this project.
We love our industrial curtain rods and the charm that they add to our windows. We also love that they were just a fraction of the price of the West Elm version!



I came over from Instagram when I saw these great rods! LOVE this idea! Pinning it for inspiration when I do our industrial guest room 🙂
Oh I’m so glad you did and good luck on your room Lindi!
Haha, good point about not being able to remove the curtains to clean them. I wouldn’t have thought about that until it was too late. Perhaps you could use an adjustable curtain bar that could fit inside of the elbows?
Can you tell me what paint colors you used in this room?
Where did you get your table? Gorgeous!!