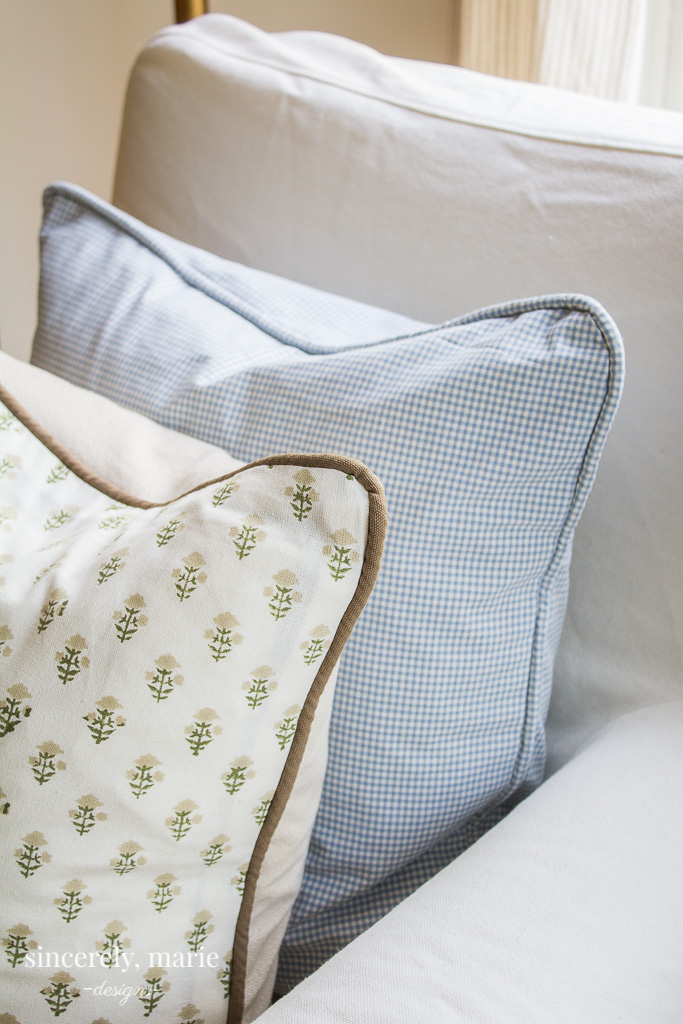
Where are all my sewing friends? I know that some of you may not sew. I myself didn’t several years ago. This post might come as a disappointment to those of your who do not sew but instead I hope that it might encourage you to give it a try. For years I watched in admiration as one of my closet friends sewed something the most beautiful things. Watching her I felt intimidated. It wasn’t until my dear mother bought me a sewing machine for my birthday and basically forced me into the world of sewing. Three years later and I don’t I could be more grateful for those two women. It has opened a whole new world to me in terms of purchasing items and how I decorate our home.
Pillow covers are something I make a few times a year. I like to swap out our covers with the seasons. Making my own just makes sense. Most of the time the covers come out cheaper than buying them and for those times that it doesn’t at least I get the exact fabric I want. I wanted to share one of easiest covers you can make. The envelope cover is a great cover to start with. It’s simple and clean looking and it doesn’t require installing a zipper!
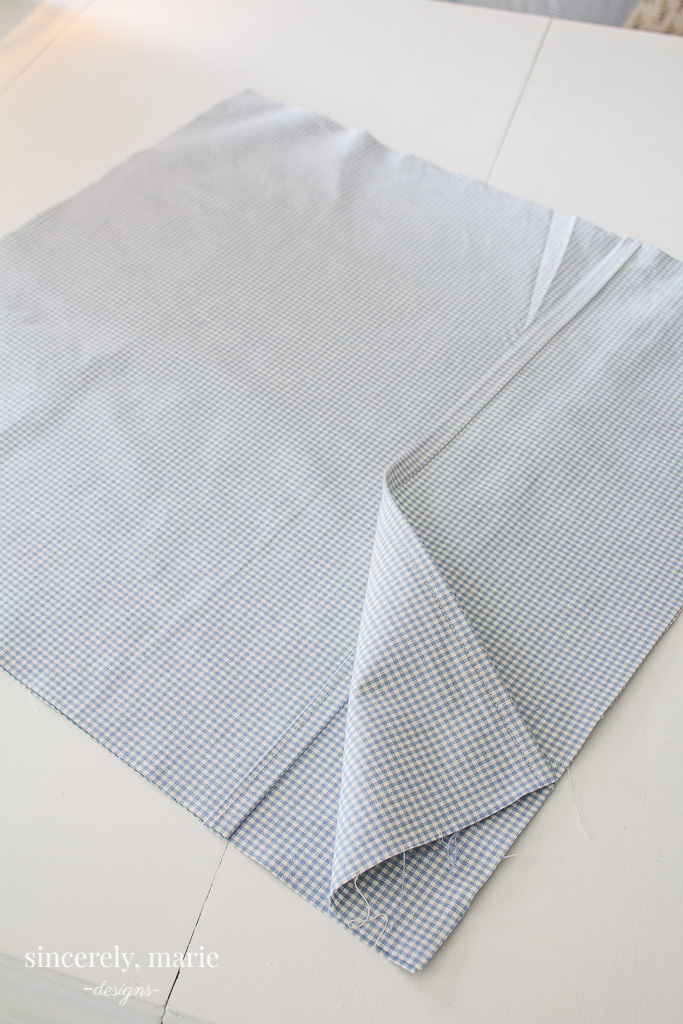
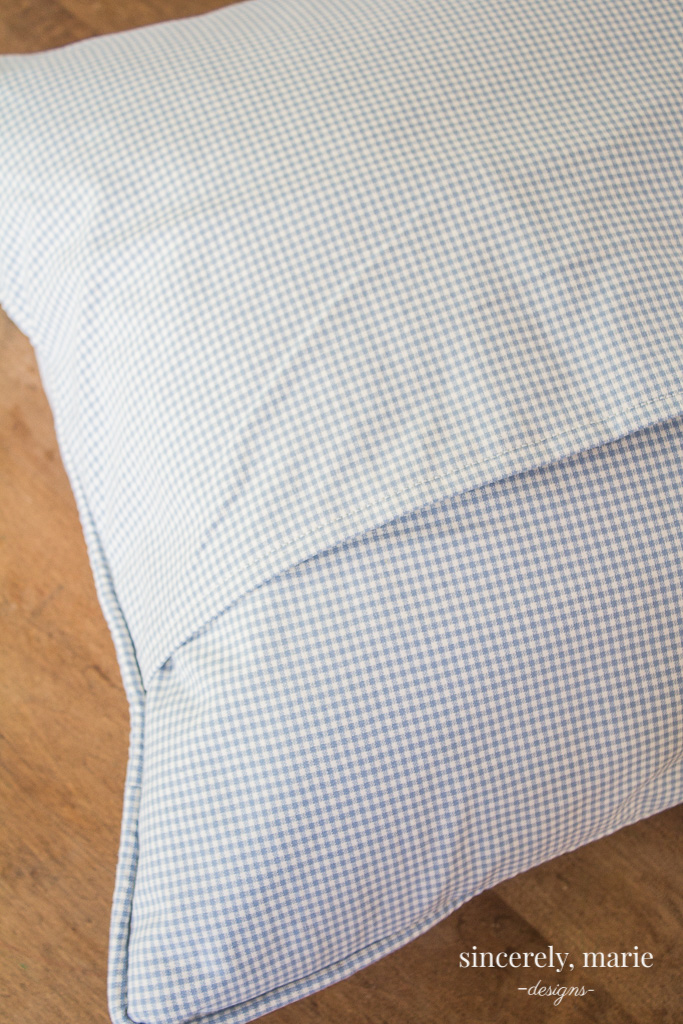
I typically make 20″x 20″ pillow cover. I cut the pillow front to 21″ x 21″. This will give you an inch on each side for finishing. For the back you want two pieces of fabric that over lap. I like my pieces to overlap several inches. This just assures that once the pillow insert is in that the opening doesn’t expose the insert. On each back piece you want to sew a half inch seam where the two ends will meet and be seen on the back side. This will give the edge a nice finished look. Fold over the edge 1/4″ and fold again. I use my iron to iron the fold to make it easier to stitch. Always remember to back stitch at the start and end of your stitching.
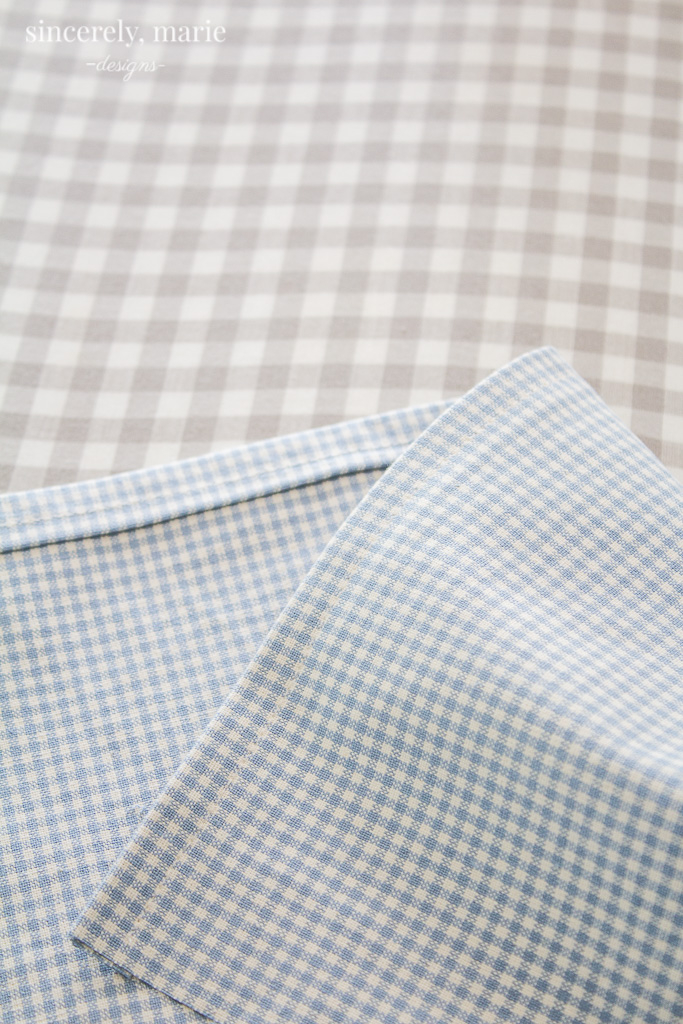

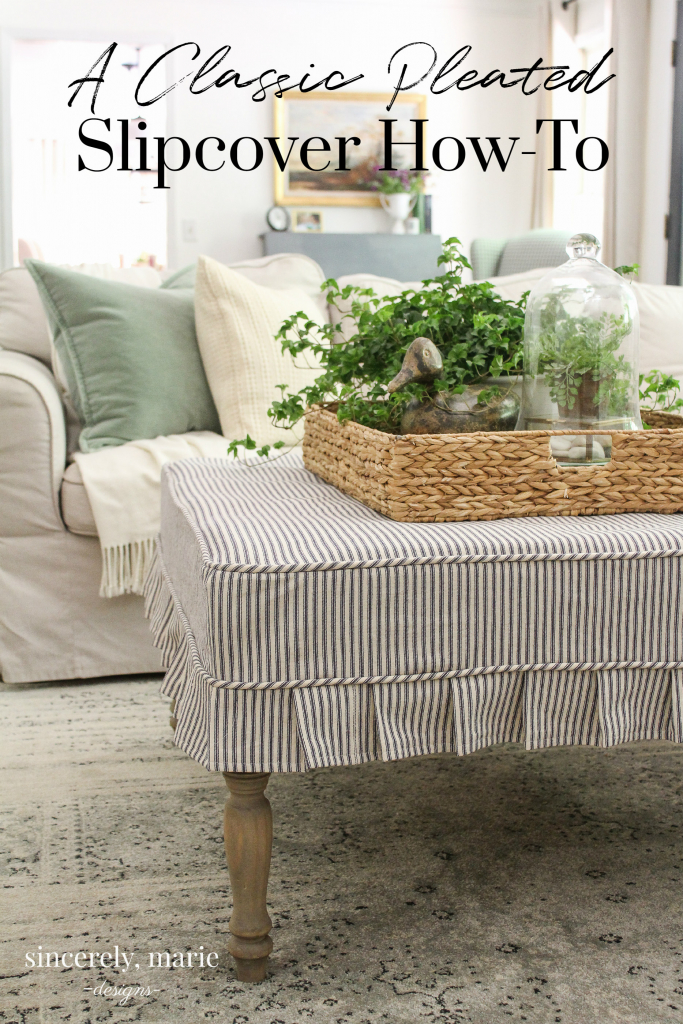
Next comes the piping. I’m not going to get into the details of making piping today. You can find the how-to for making piping in my pleated slipcover post. You will need a zipper foot for making piping. It took me a couple of tries before I got the hang of piping. It’s not difficult at all, just requires a little practice at first to get it nice and snug.
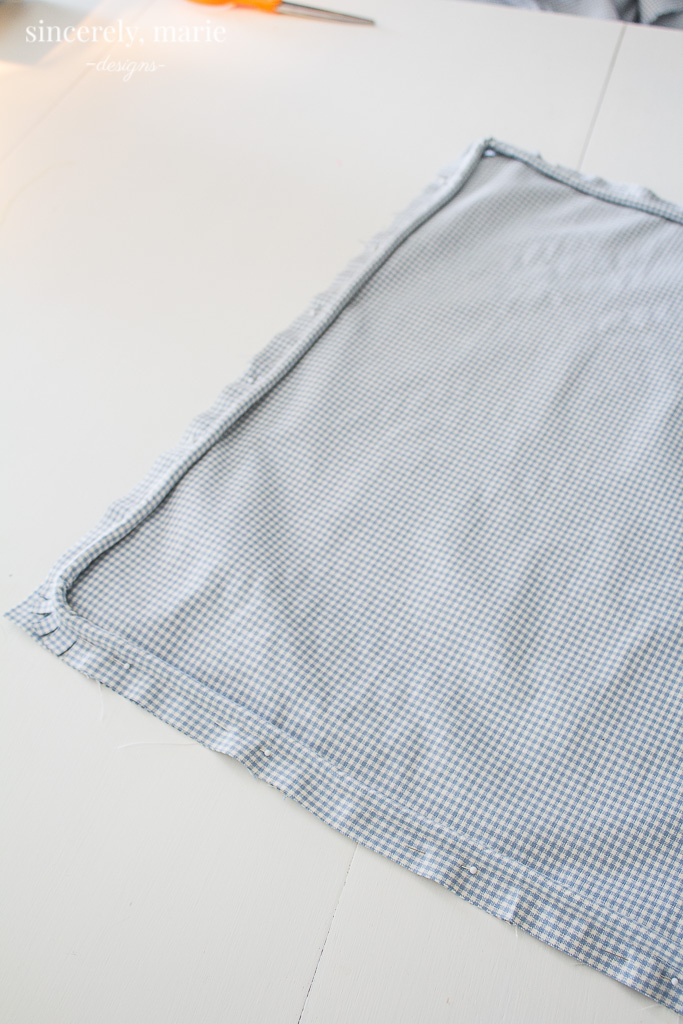
Once you’ve made your piping, use pins to secure it all the way around the pillow front. Pin it to the side that will be exposed. Cutting the fabric corners a couple of times will allow the piping to lay flat against the pillow font and will make it easier to sew smoothly.
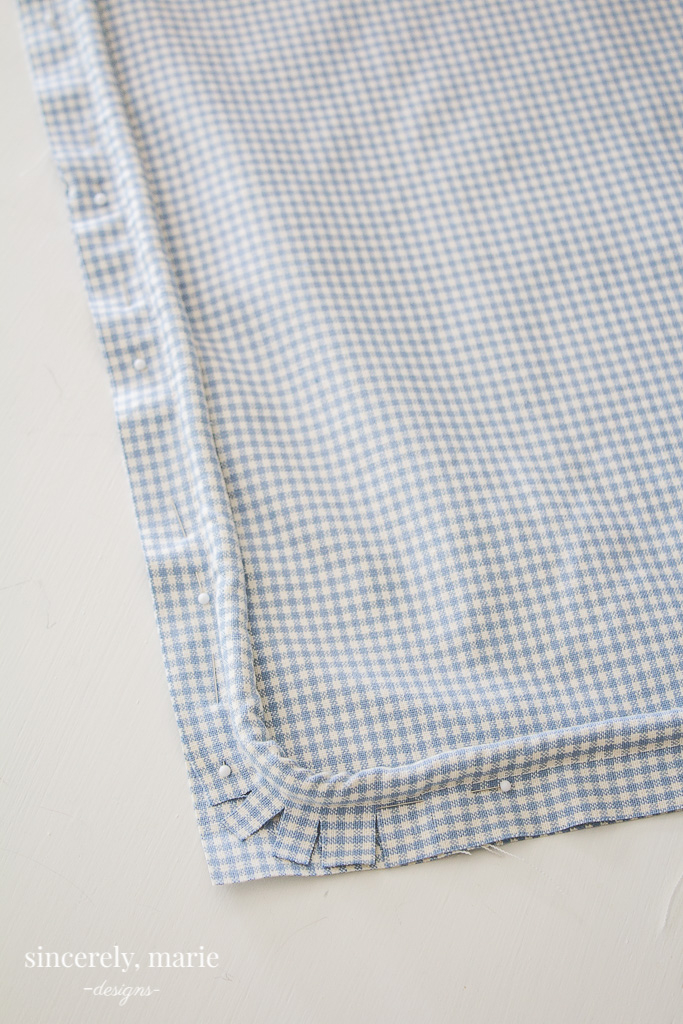
For the ends of the piping I made sure they met at the bottom of the pillow cover and slightly overlapped and then I pinned them into a down direction. You can trim these off later.
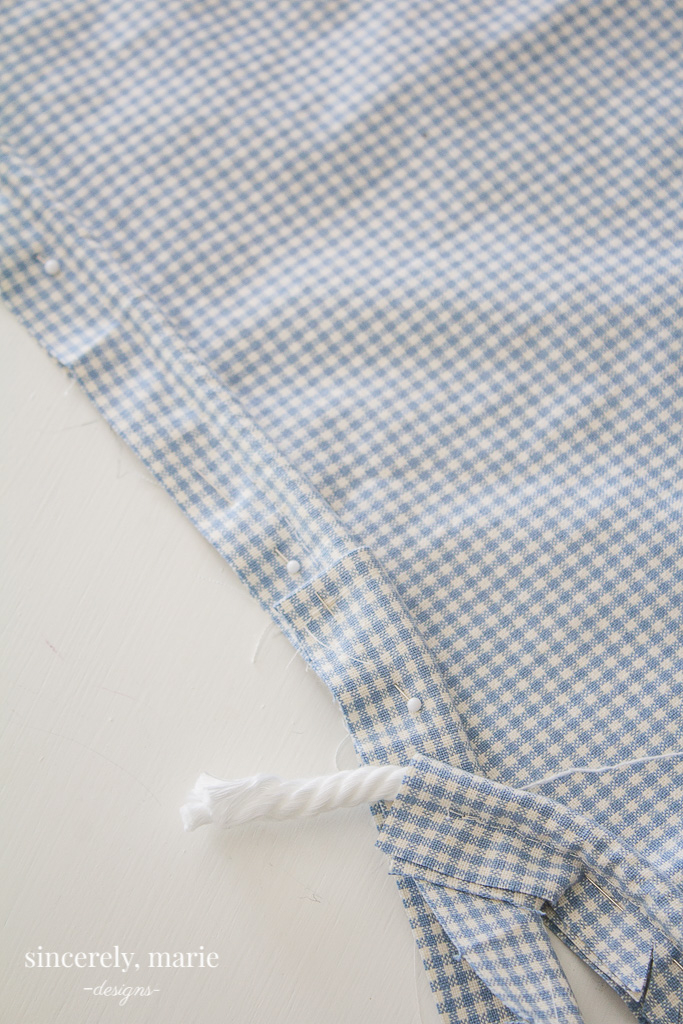
Once the piping is stitched onto the front of your cover using your zipper foot, pin the back pieces onto the front of the cover. Remember you’re stitching your cover together inside out, so make sure the exposed side of the back pieces if facing down towards the front of the pillow cover. I like to use a good bit of pins when I pin the back pieces. This just prevents the fabric from moving and keeps it right where you’ve pinned it.

Once you’ve stitched your sides together, trim off the extra fabric from the corners. This will allow for a cleaner corner without the bulk once turned right side out.
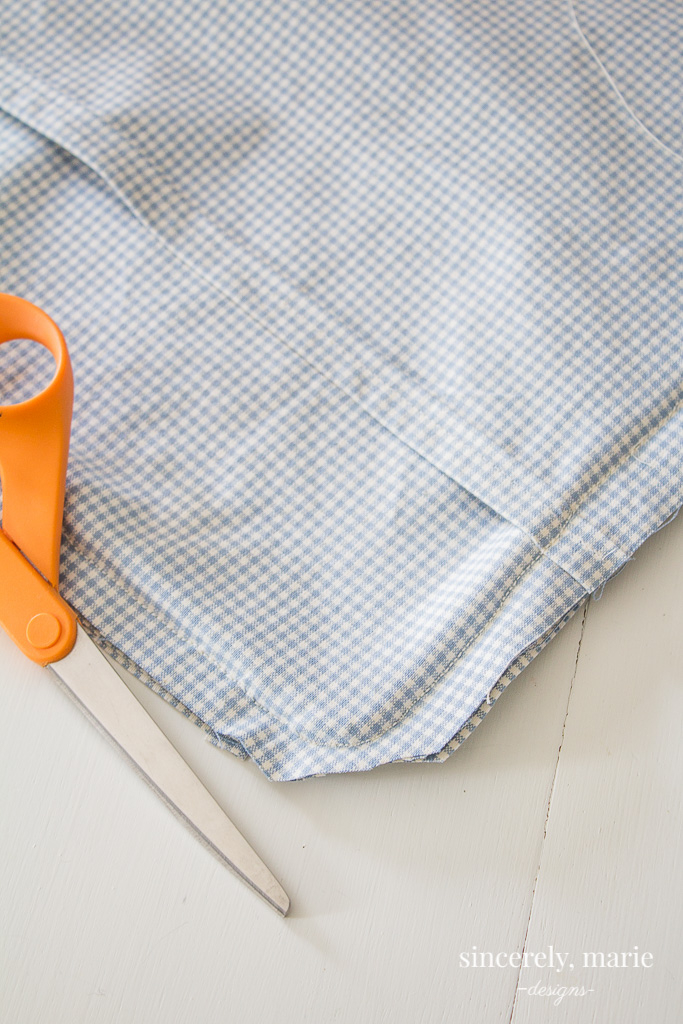
Remove all of your pins and flip right side out. I’ve been using these down inserts with all of my pillow covers for years. They hold up great and keep their shape.
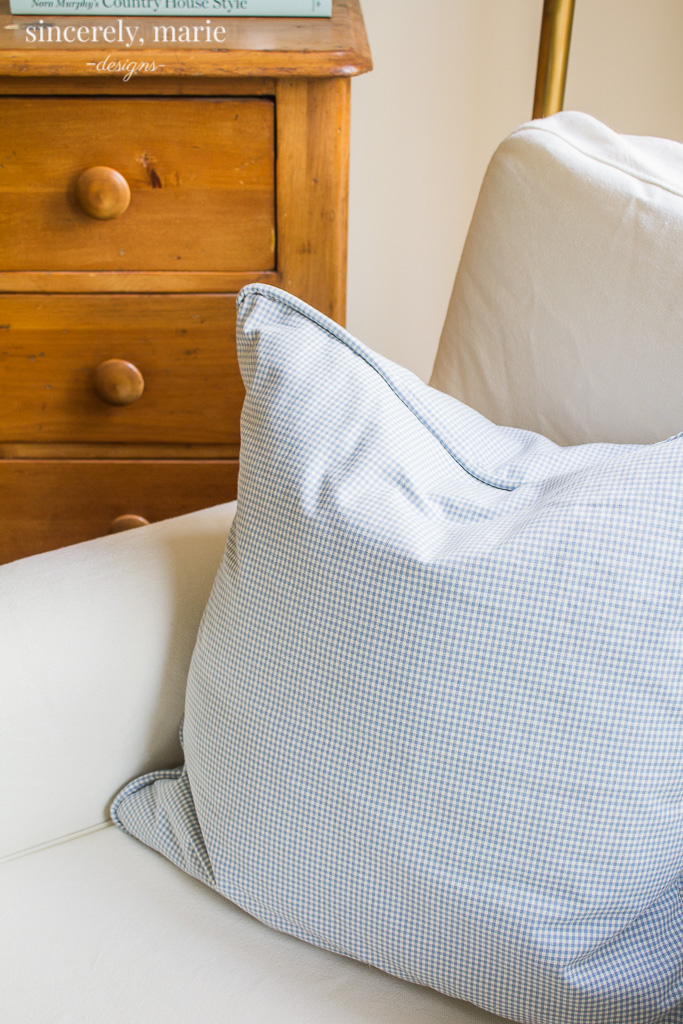
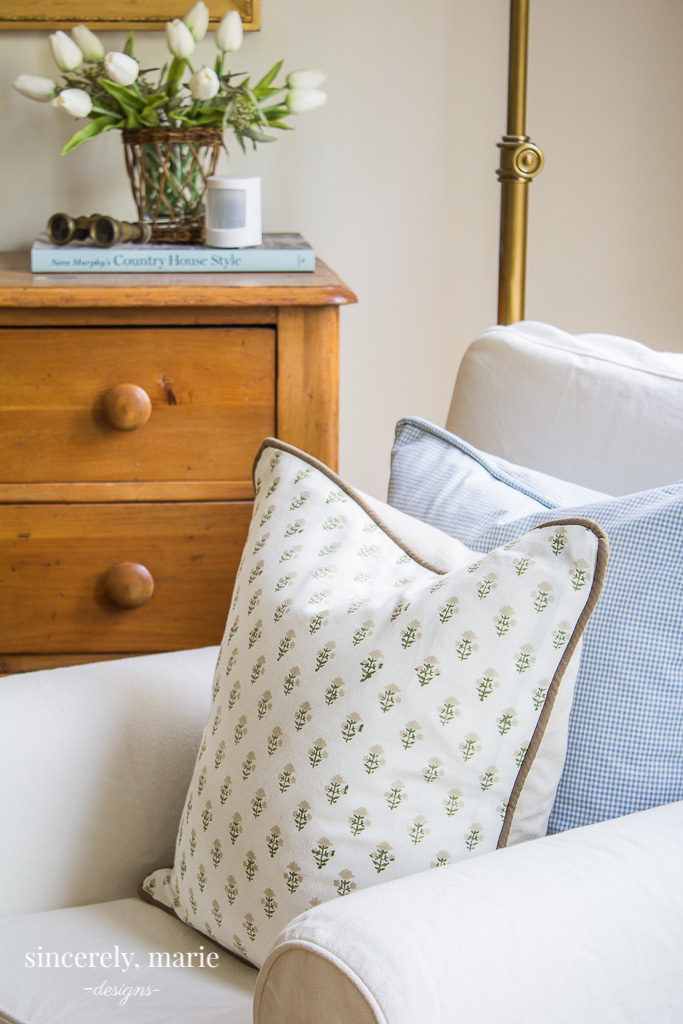
The floral pillow cover was made from some cotton napkins that I purchased with a coordinating beige cotton fabric for the back. I loved the fabric so I didn’t mind that they were actually napkins. I knew that they could be used for the perfect cover with just a little time and effort. I’ve also used tablecloths, shower curtains, drop cloths and curtain panels for sewing projects in the past. As long as it’s a print you love and the quality is nice, you can use it!

Sewing opens so many doors in the world of decorating. I love having more fabric options. I’m hoping to get a duvet completed this year. I’ll be sure to share to let you all know how it goes. I hope you’ll join me back here on the blog later this week. I’ll be sharing our spring home tour with you. Until then, have a great week and happy sewing!


Good ideas for easy sewing. My early decor sewing started with projects like these. I even made a cute pillow cover for our bed with individual pockets on the back for remotes! You don’t see those anywhere and so handy. Thanks for the inspiration.
This is perfect timing! I am getting ready to see several new pillow covers for my living room. Where do you get your fabric?
Oops…..”sew”
thank you so much! I had the general idea, but it wasn’t making sense. These direction are super simple and made it very easy to create exactly what I needed. Thank you
What size piping do you use?