We are over the moon with our new butler’s pantry! Today, I’ll share how we created custom inset cabinets from Home Depot stock cabinets. Here’s our simple tutorial on how to convert stock cabinets to inset cabinets.
I’m so excited to share this post with you all! Last week I shared our butler’s pantry reveal and I’ve had questions about our cabinets ever since. You can see the full pantry reveal here. There were so many of you surprised to learn that they’re simply stock cabinets from Home Depot. Today, I’m going share how we converted them into custom cabinets with inset doors.

We originally planned to build our own custom cabinets for our new pantry, but after making cabinets for our laundry room, we opted for a quicker solution. We decided to purchase a few stock cabinets instead. There was nothing wrong with the doors that these cabinets came with, but I had always envisioned inset cabinet doors for this space and I just didn’t want to give up on that charming design detail. We knew that there had to be a way to convert the doors. After telling Josh just how much I’d love inset doors, he got to work.
Here’s how the cabinets looked before –
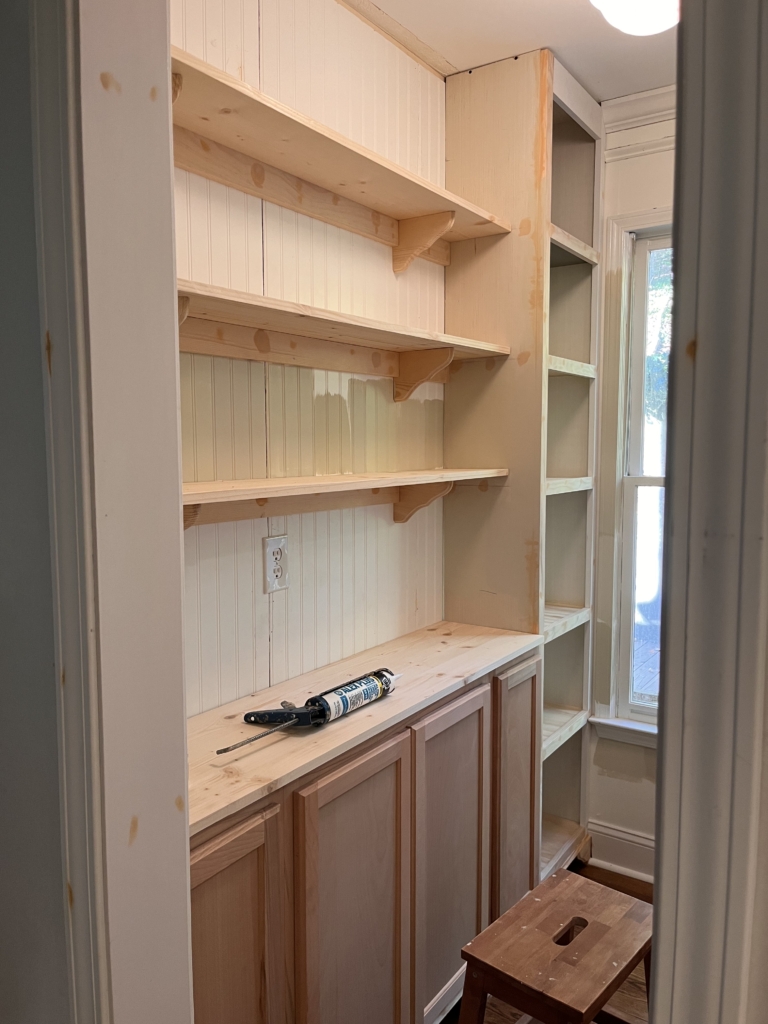
This is a list of the cabinets we purchased – 1 – 15” wall cabinet, 2 – 12” wall cabinets, 2 – 30” wall cabinets.
Create A Cabinet Base
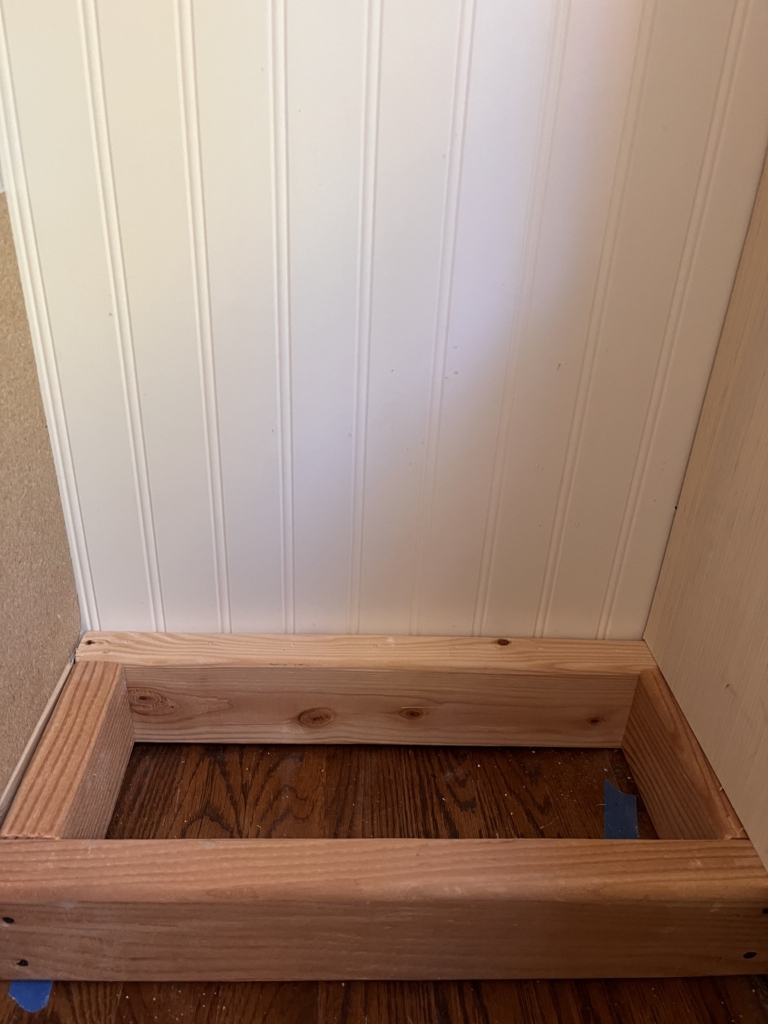
Our pantry is very narrow, so we used wall cabinets as our bases. We made boxes out of 2×4’s on their sides to sit the cabinets on. We attached the 2×4″ bases to the studs of the wall using wood screws. We made our bases the same length as our cabinets, but 3″ less deep than the cabinets for a toe kick. We sat our cabinets directly on top of the 2×4’s and attached the cabinets to the wall as directed in the cabinet instructions. I almost forgot to take a photo of this step. I remembered just before we installed the last cabinet. It’s just a simple box, nothing fancy.
Make The Feet
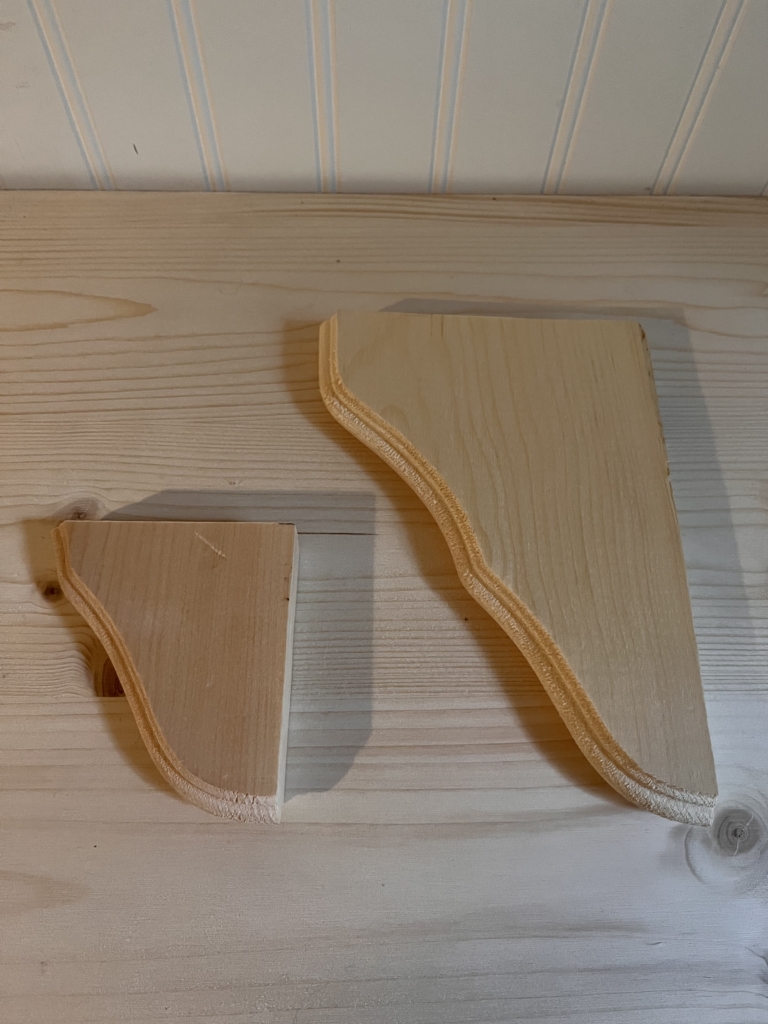
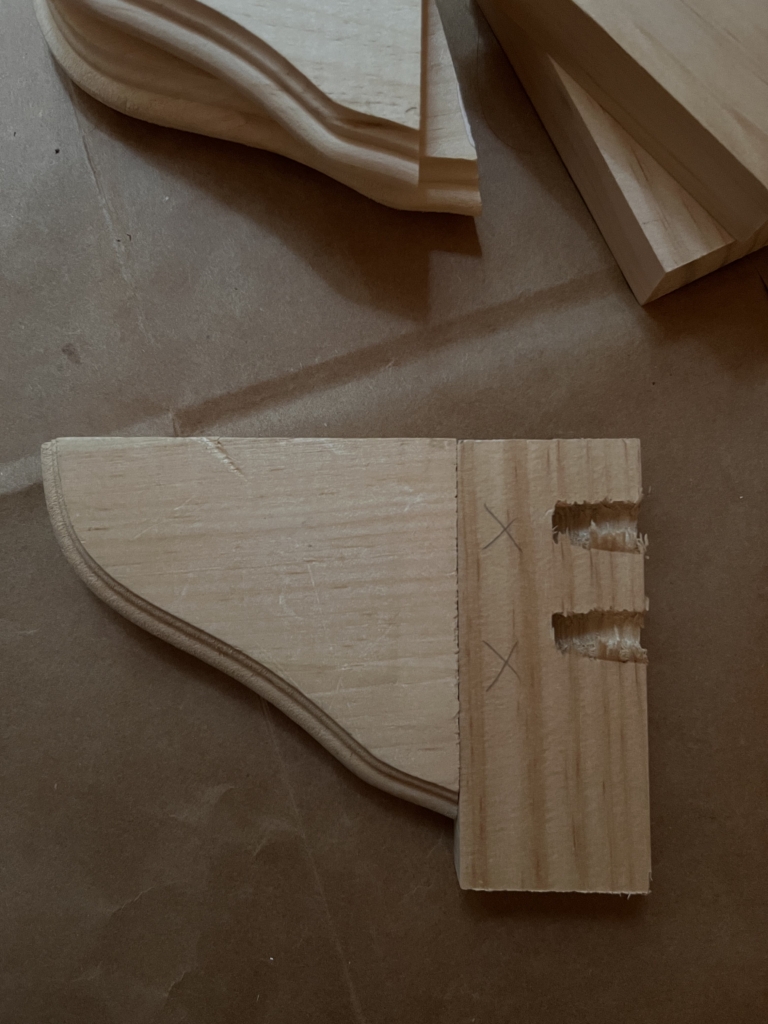
I knew I wanted the cabinets to have cute scalloped feet. Mt first thought was to use my jigsaw to cut them from a 1×4″, but after installing our wall shelves I realized that the cheap shelf brackets would work just as well! I cut the top of the brackets off using a miter saw. The size of the brackets/scalloped feet are personal preference, so I recommend creating some cardboard cutouts in different sizes to see what you like best. I then attached my cut brackets to 1×2″ pieces that were cut to the height of my cabinet from the floor. I used our Kreg Jig and some wood screws for this. (Note – Measure the gap under EACH cabinet. Rarely is a floor ever 100% level.)
I apologize for the dark basement photo. At times we were working on this pantry into the late evenings.
Installing The Trim & Feet
Before we installed the feet we glued and brad nailed small decorative trim to the bottom of the cabinet face frame. I used this cove molding from Lowes. I made sure to keep the trim flush with the bottom of the cabinet frame. Next, I dry fit my feet under the trim. At this point I also measured from the back side of the feet to the cabinet toe kick. I then cut a 2×4″ to that length to serve as something to secure my feet to. To attach the 2×4″ to the cabinet base, use brad nails and glue or a Kreg Jig and wood screws. Make sure to also attach your feet to the decorate trim using some wood glue and a couple of brad nails. Fill all the holes with wood filler and paint.
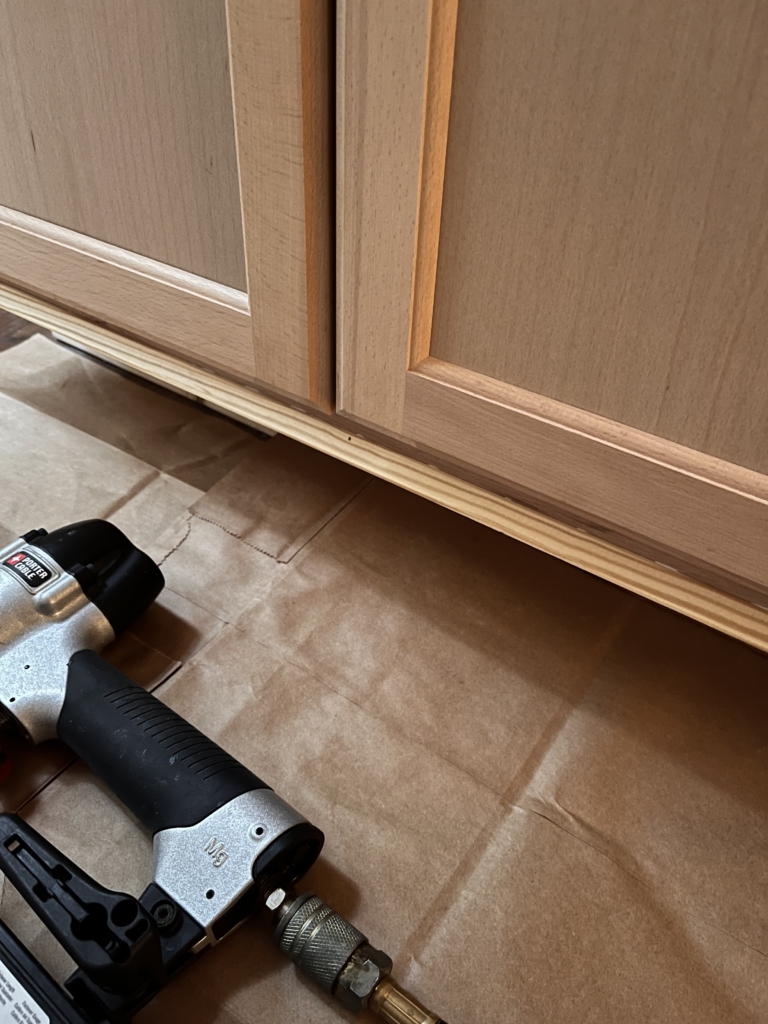
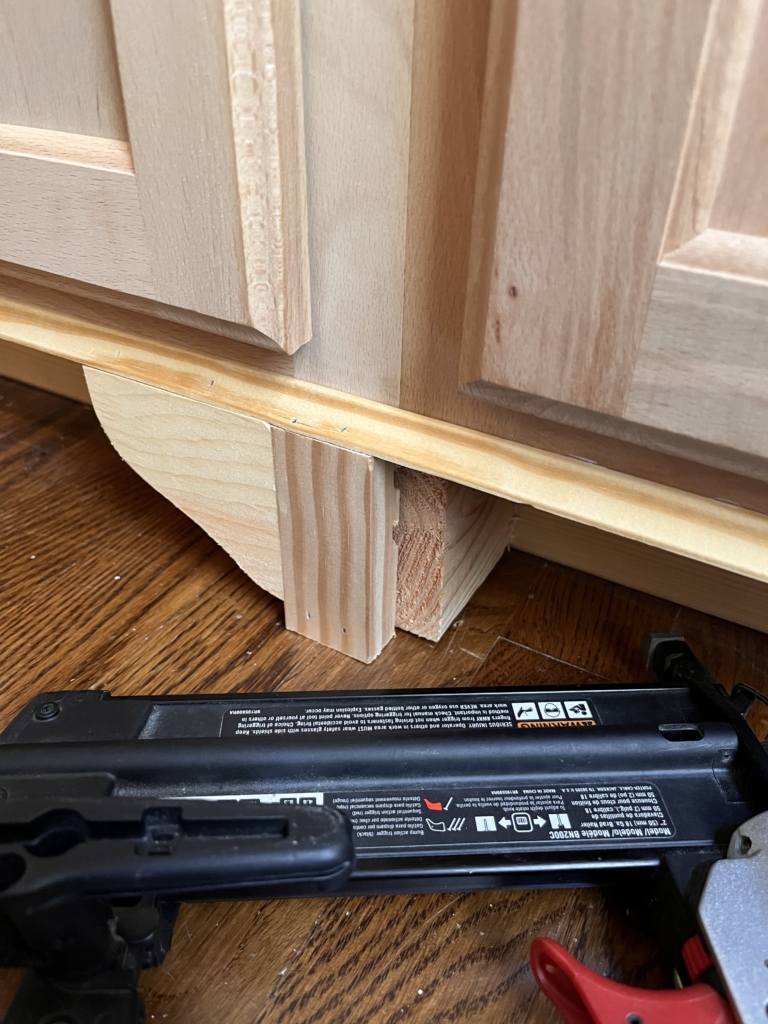

Creating Inset Doors
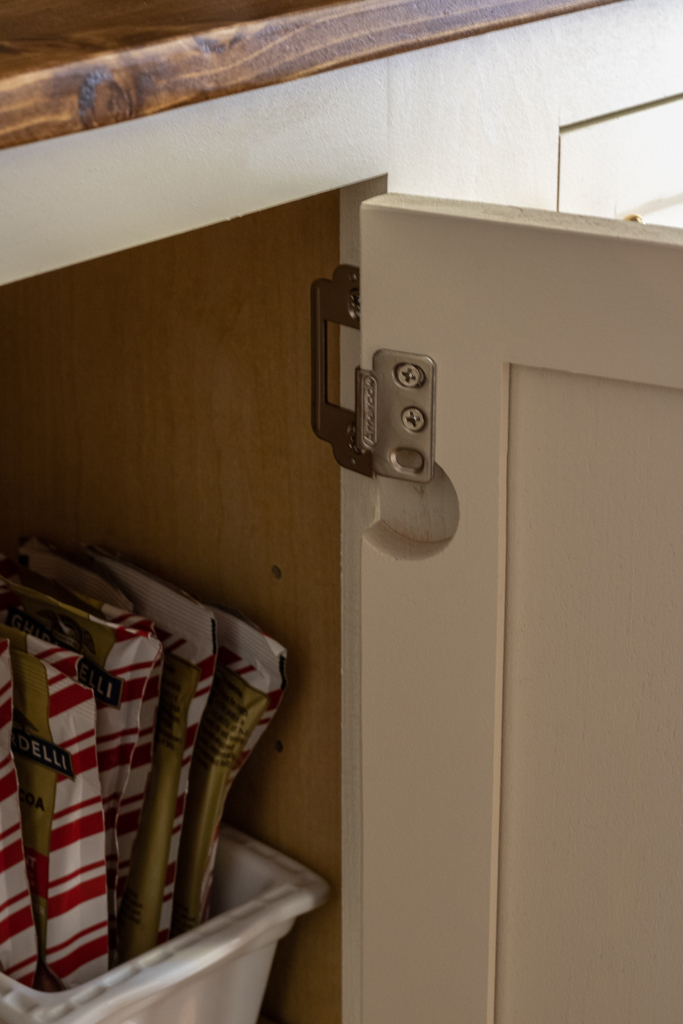
We decided to start with the smallest door in case we made a mistake, since it would have been the cheapest door to replace. We started by carefully measuring the opening of the cabinet. We then measured the thickness of our non-mortice cabinet hinges. (Note – the hinges that come with the cabinet doors will not work with inset doors.) We wanted about an 1/16” gap between the door and the cabinet facing on all sides. For instance – our cabinet opening was 9” wide and our cut door ended up being 1/8” shy of that. Also, be sure to label each door before cutting so that the doors go back to their correct cabinet. Just because the cabinets are stock doesn’t mean they all have the exact same measurements.
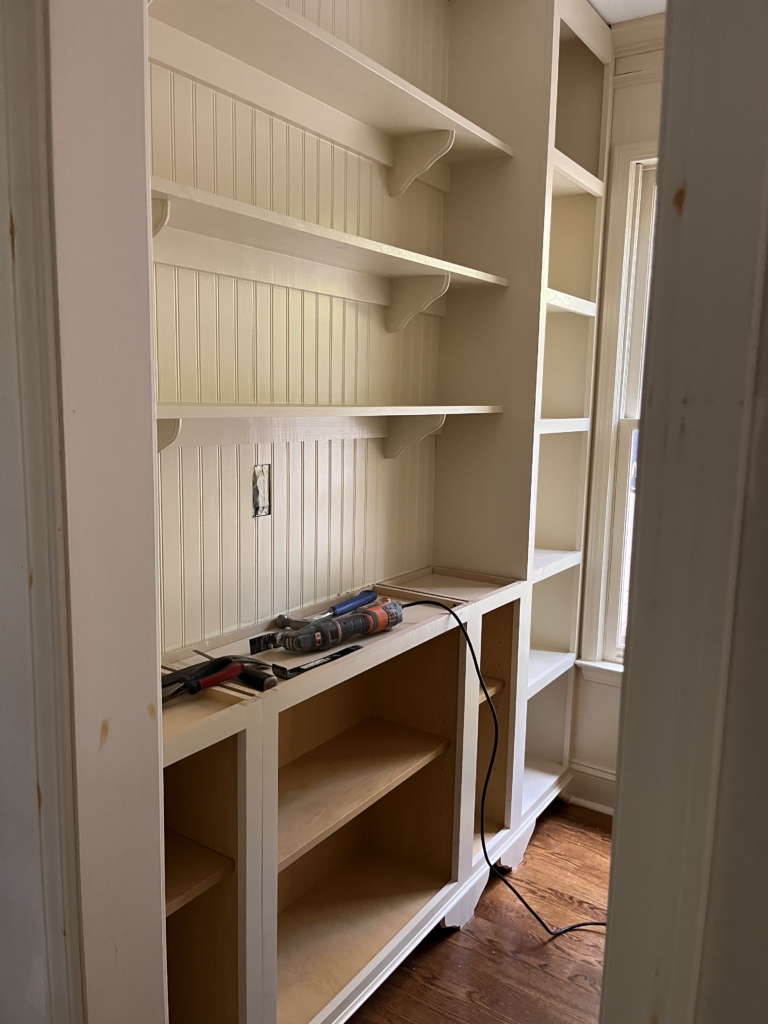
To cut the doors, we used our table saw. I wouldn’t recommend using any other saw. You want a very smooth and consistent cut. We measured every door and every side before making our cuts. There is not a lot of room for error with this project. We took off about 1/4″ on each side of the doors.
I was a little worried that trimming off the sides of the doors would make the slates and rails too narrow, but it turned out just fine. If that’s something that would bother you, this method wouldn’t be a great option. Once you’ve measured your openings and made your cuts, dry fit your doors. Don’t be surprised if you need to shave a bit off here or there. Once you dry fit the doors, you can paint them. Make sure you do not leave any paint drips or runs, especially on the sides. This can cause your doors to stick or scrub once installed.
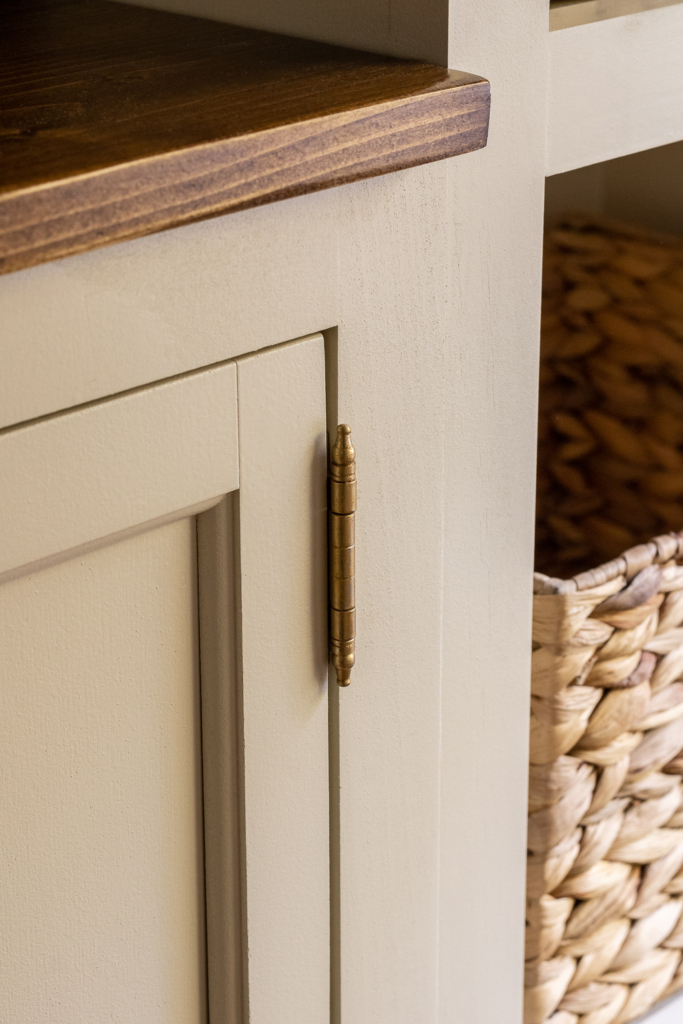
For the hinges we used these non-mortise hinges. I was unable to find the hinges in an un-lacquered brass finish, so I used Rub n’ Buff in gold leaf. I’ve found that gold leaf is the closest to the color of un-lacquered brass once it patinas. The new hinges have to go just above or below where the old hinges were. The hinges that come with the cabinets are bored out. You can fill that hole if you choose. We just left them. We’re the only ones going into our pantry, so we weren’t worried about it. This might be the only con to this project.
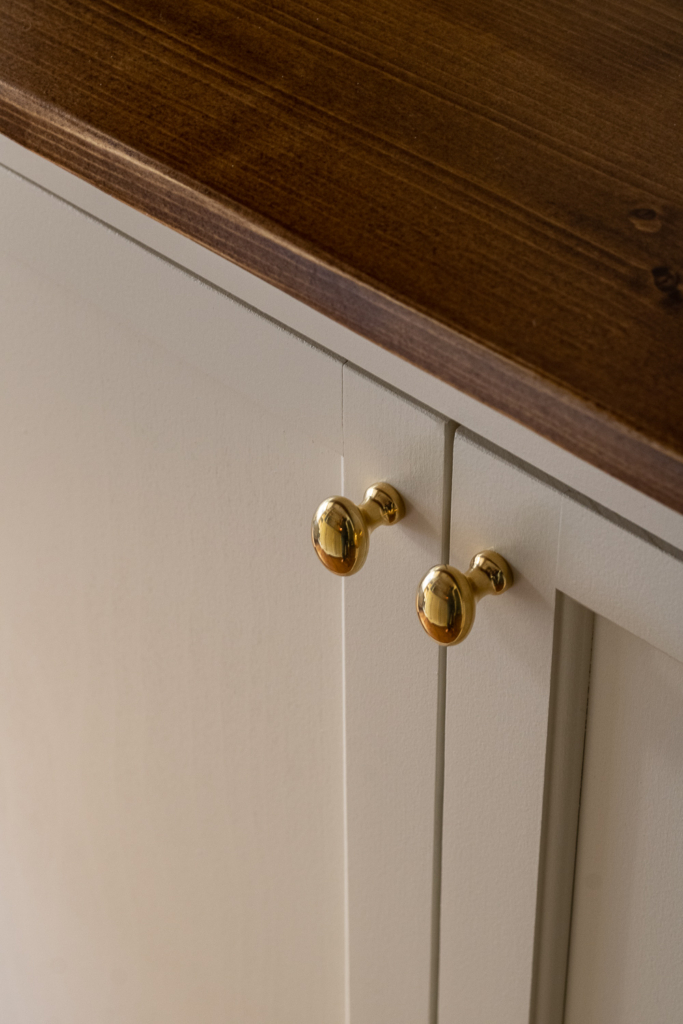
We chose the same knobs that we used in our kitchen. You can find those here.
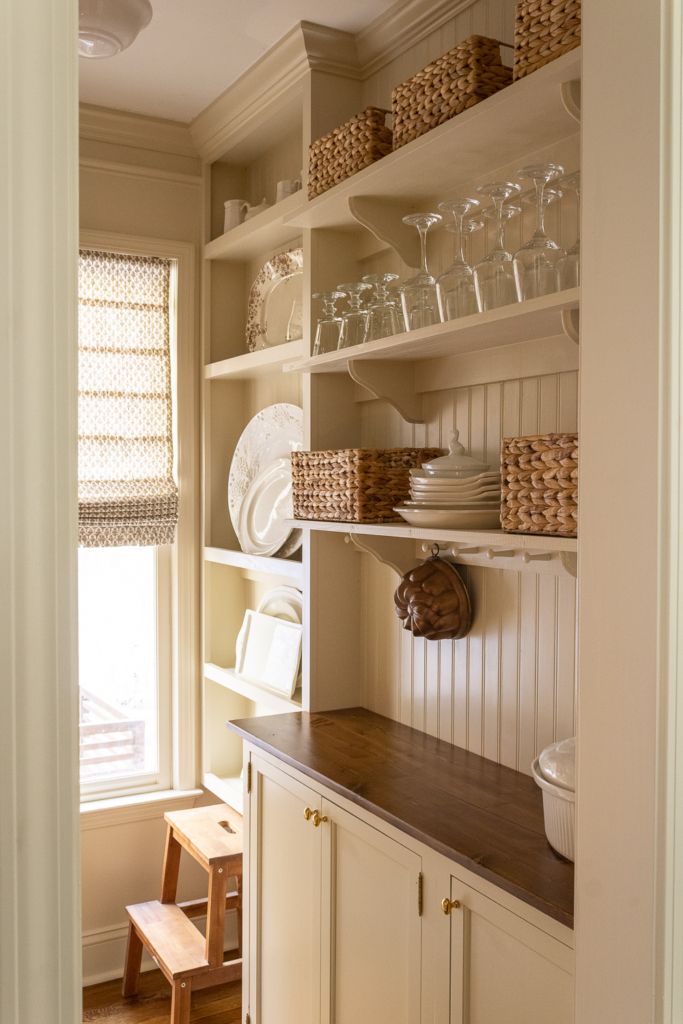
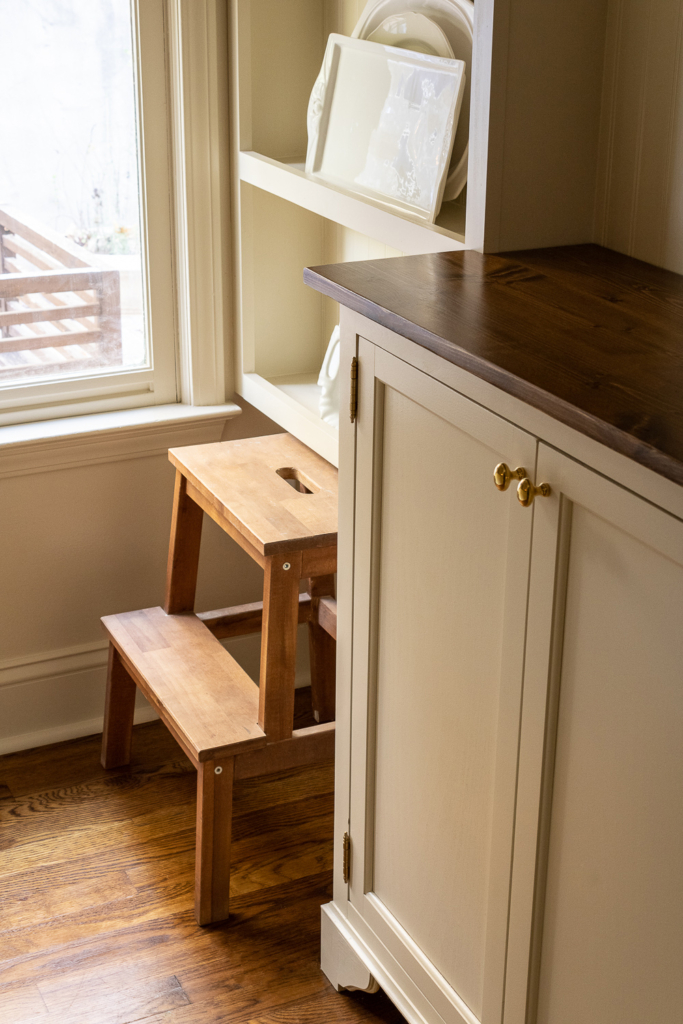
Everything turned out just how I had hoped it would! I’m so glad we took a chance and cut that first door. Stock cabinets are a very convenient and affordable option, so I’m thrilled that we were able to make them our own. When people see our pantry they always think the cabinets are custom.
I hope you find this tutorial helpful and that it gives you hope if you’re renovating on a small budget, but love inset cabinets as much as I do. It just proves you can have a timeless space with custom touches on a budget. Have a great rest of your week, friends!


Great tutorial, even I could understand ! Super ideas and the end result is wonderful
Thank you so much, Deborah! It really was a pretty easy solution, but I’m so pleased with the outcome! Have a great weekend!
Beautiful !! What color are your cabinets?
Thank you! The color is a mix. All the details on that are in the pantry reveal post. There’s a link for it at the top of this post. ☺️
Thank you for sharing! I can’t wait to try this! I am also interested in what brand and color of paint you used.
Thank you so much, Dennise! We’re so pleased with the outcome. We used Benjamin Moore paint, but you can find all the paint details in the reveal post. There’s a link for it at the top of this one. ☺️
Great tutorial! Would you mind sharing the dimensions of your counter and the mounted shelves please?
Thank you!
Thanks Beth! The base cabinets are actually wall cabinets, as mentioned above. The dimensions for all of those are in the product links, but the counter is only about 13” deep. The wall shelves above the counter tops are about 9” deep.
Total Awesomeness !!
Thank you, Cindy! ❤️❤️❤️
What was the base color of the hinges you used gold leaf on? This all looks lovely. I might have to give my pantry a face-lift like this.
I bought the brushed nickel. Although, I don’t think it would matter much. I’ve used Rub n’ Buff on brass, black and nickel metals and it seemed to cover all same. Have a great weekend!
Really inspiring, Amanda Marie! One of the best DIY projects to date. It all turned out so well and looks like a million bucks! 🖐🏻
It’s official, I need to hire your husband lol this is beautiful guys. Great job.
Thank you so much, Genevieve! That means the world to me. 🧡 It’s amazing what you can do with a little creativity.
My mom has always said, “where there’s a will, there’s a way.” I hope you have a wonderful weekend!
I so enjoy your emails. You have such a beautiful home. Beautiful pantry. Love your decorating style.
That means so much to me, Nancy! Thank you ☺️ I’m so glad they can helpful and inspire. I hope you have a lovely holiday season!
I found your great tutorial here! Thank you!!
Absolutely beautiful! Kudos to your hubbie!
So beautiful! Did you use a brush or a paint sprayer for the cabinets?
Thank you so much, Mindy! I used the Homeright paint sprayer from Home Depot.
Your pantry is beautiful! We’re getting ready to tackle ours, but it’s pretty narrow. I’ll only be able to have cabinets on one side and on the back end wall and may have to remove the door trim on the inside of the pantry door. So do you have an actual door, or is it just a cased opening?
Im looking to do this method to our entire farmhouse kitchen. Do you think drawers would be the same process of trimming 1/4″ away on all sides?
I love the inset look, it’s beautiful!
Beautiful!!! Would this also work with base drawer cabinets?
Thanks Kara! It would, just know that you would need to adjust the depth of the drawers so that the drawer front would sit flush with the cabinet frame. It would require a little more work.
I LOVE THIS IDEA!! Im curious- have you ever- or do you have any ideas on how this could be done with a stock cabinet with drawers? Im actually inspried to do my whole kitchen on a budget- now that I see how much this elevated the look!!
I was wondering the same thing. I think the drawer box would have to be cut down.
This is stunning! I used the same stock cabinets in my narrow laundry room but the inset door you did is genius! Everything looks beautiful! Bravo!