Hello everyone! I’m finally sharing our DIY pinch pleat drapes today. It’s a project that I completed in the fall and had wanted to share before the holidays, but of course life got busy and I didn’t get a chance to share. I’ll be up front in saying that I don’t exactly love writing tutorials on sewing projects. Mainly because I don’t consider myself an expert, but instead someone who is self-taught and still learning the ins and outs. I also find that typing the step by step can be a bit tedious, so bear with me friends. I’m going to do my best to share my simple step-by-step. If you’re not into sewing or don’t feel like your skill level is quite there yet, these drapes can certainly be made using a no-sew method. Using a good quality fabric glue would be just fine.
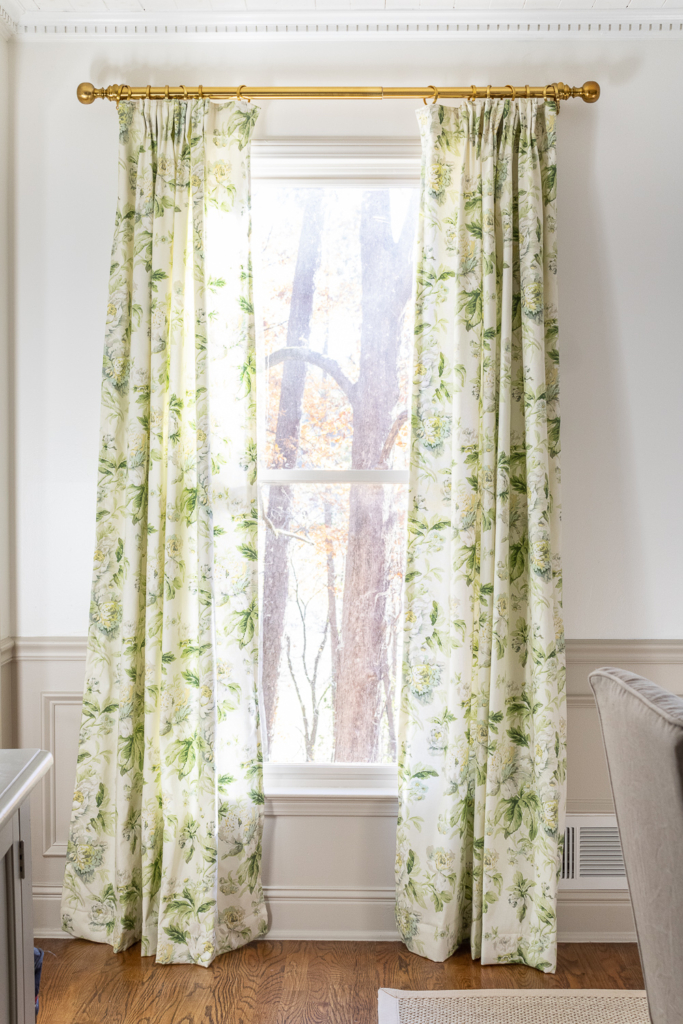
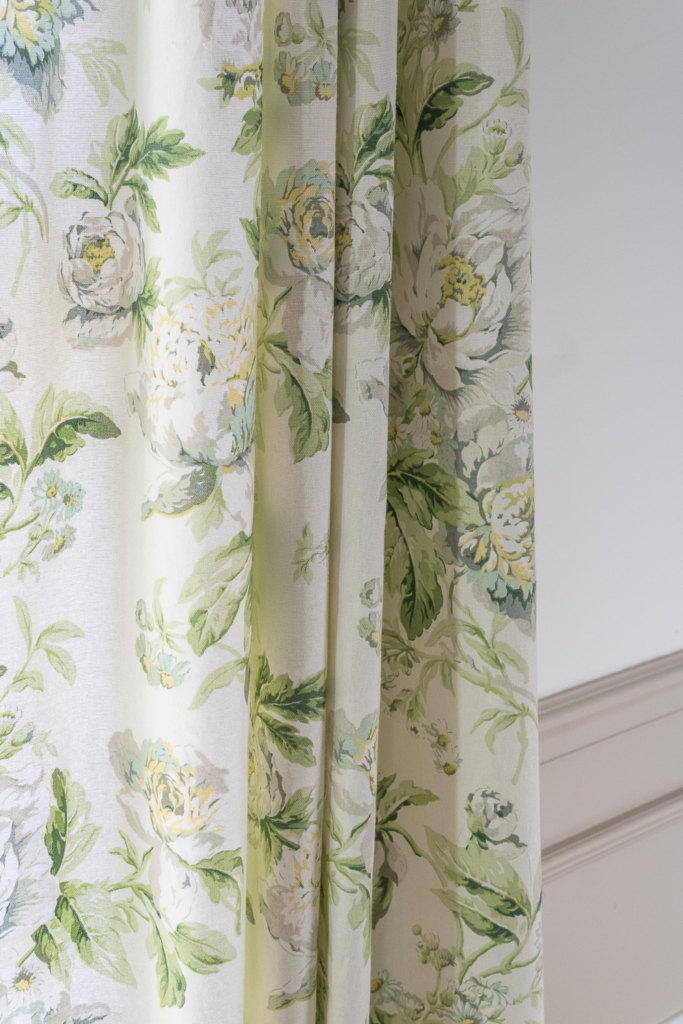
I have always loved pinch pleat drapery. They have a very classy and timeless look to them, however I always felt that they might be too complicated to make myself. Nice drapery fabric can be pricey, so I didn’t want to waste precious fabric with mistakes. When I began updating our dining room last fall I knew that pleated drapes would be perfect. For years I had put them off, but finally decided to try my hand at them after I scored 14 yards of this Waverly fabric on clearance at fabric.com for just under $60. Here’s the easy method I used to make the pinch pleat drapes for our dining room and later the drapes in our master bedroom.
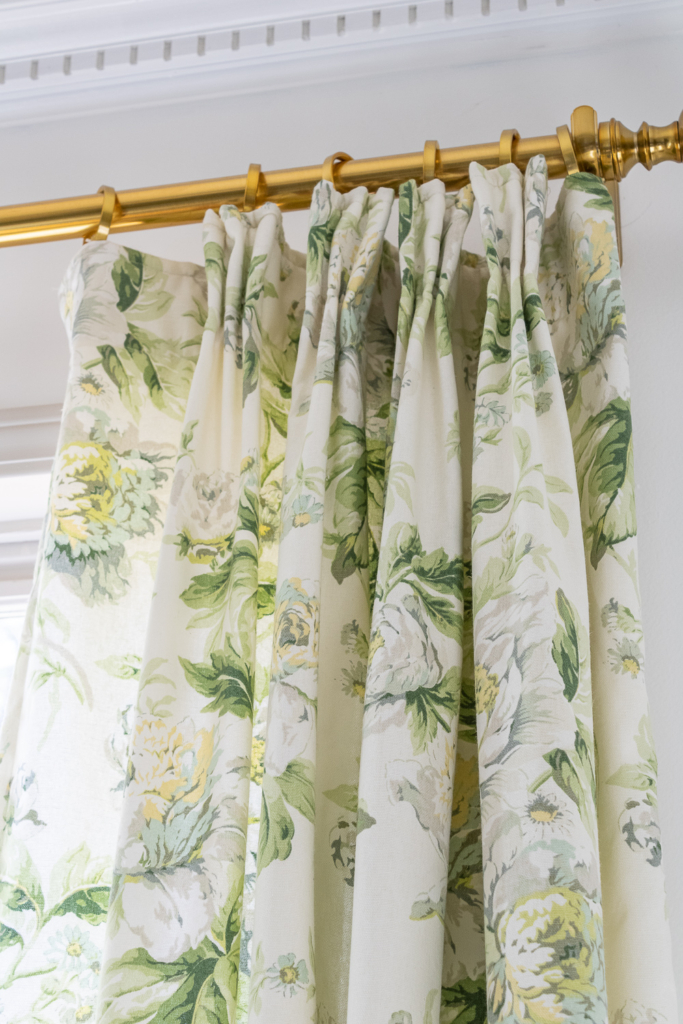
First to hang pinch pleat drapes you’ll need curtain rings with small hoops on the bottoms to attach the pleating hooks. You can find our brass dining room rods HERE and the rings that I used HERE.
Pinch Pleat Drapery How-To
Materials:
- Drapery fabric of choice
- Sewing Machine or fabric glue
- Pleating Tape
- Hooks, four prong & single
- Curtain rods and rings of choice
Instructions
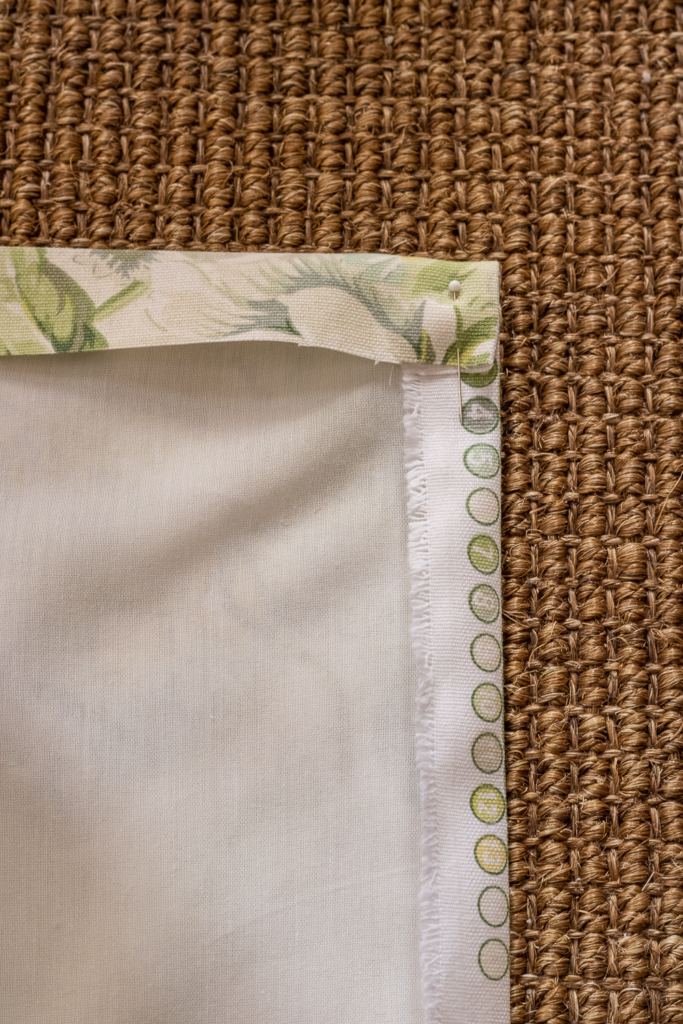
- Start by cutting your fabric to the proper length. I recommend giving yourself an extra 8 -10 inches per curtain, 4 inches for the top and 4 for the bottom. You’ll also want to take into account that the curtain will over-lay above the curtain ring loop by about an inch once hung. You can find a photo of that below. The first thing I did was to fold and iron the fabric over 1 inch on the top and the sides.
Lining Your Drapes
A great way to create a lining for drapes is to use an inexpensive cotton curtain. I used a thin white curtain from Ikea that I already had to line these curtains. You can find a similar curtain here. Once I had folded the top and sides once, I placed the Ikea curtain (lining) on top, just before I added the pleating tape.
2. Pin the pleating tape 1/4″ to 1/2″ from the top of the curtain, running the width of the curtain. Be sure that the pleating tape is right side up with the hook opening on the bottom.
3. Fold the sides once over the top of the tape and pin. This will give your drapes a nice finished edge.
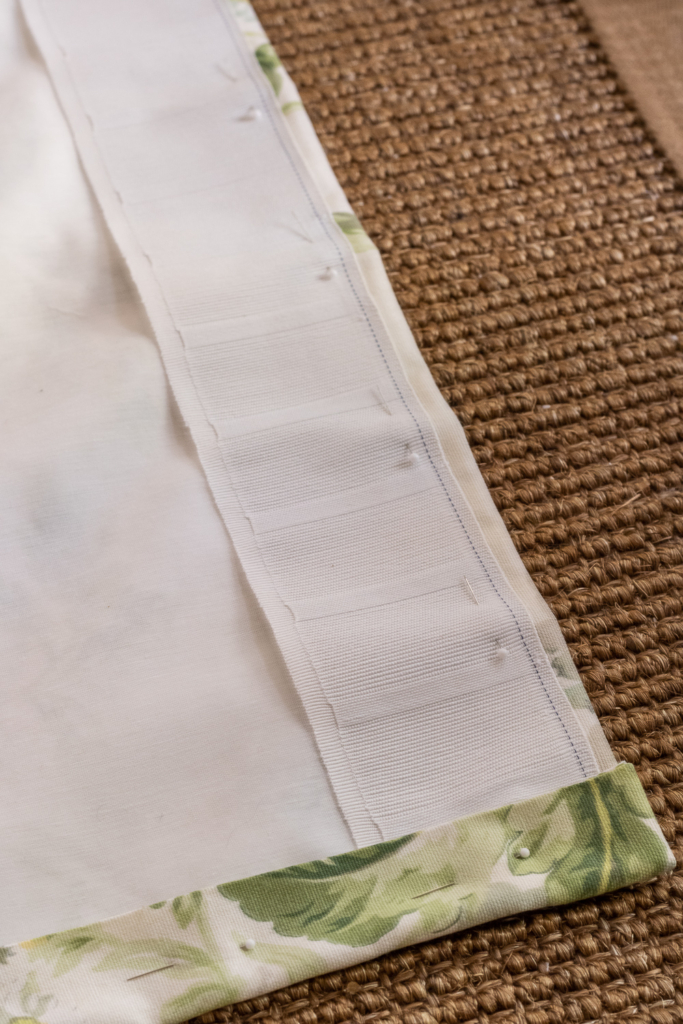
4. Using your sewing machine, stitch across the top of the pleating tape and across the bottom, below the hook openings. Then stitch the sides of the curtains.
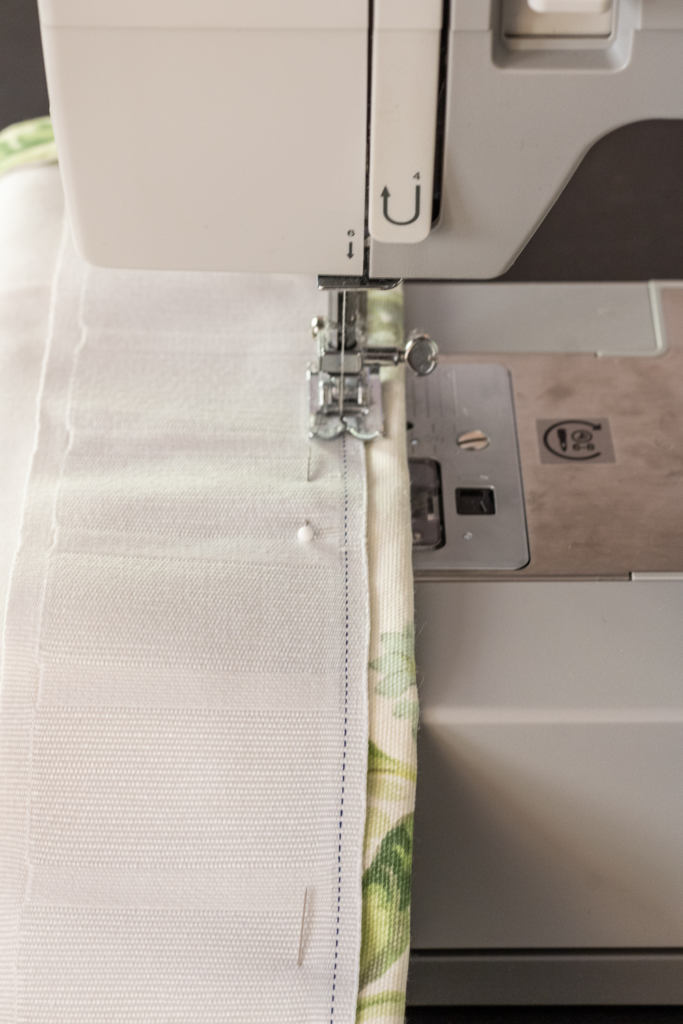
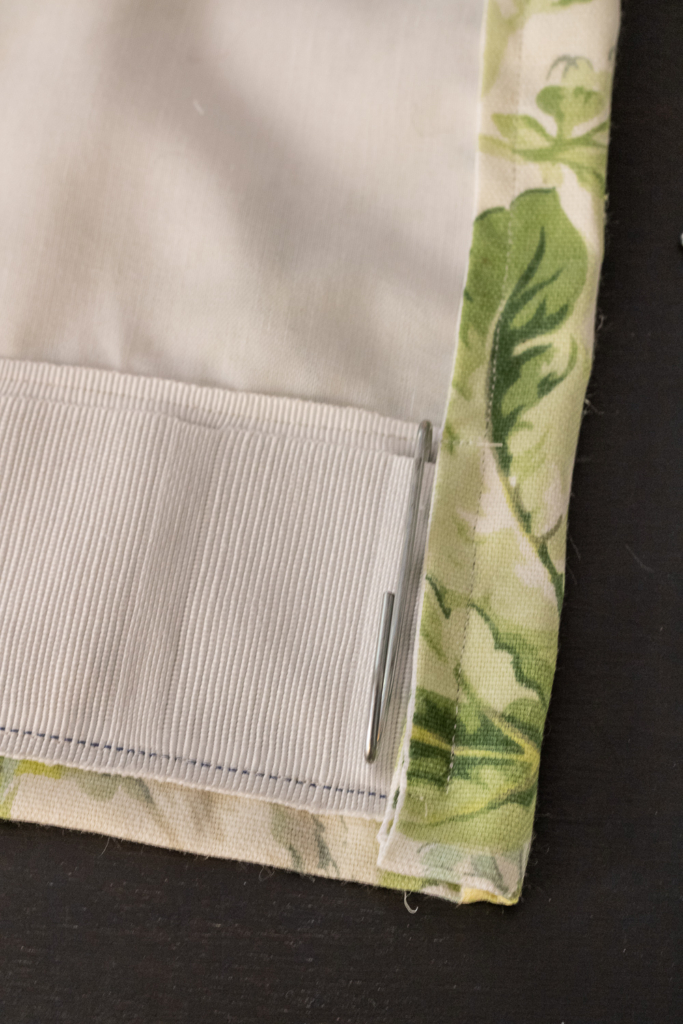
4. I like to make sure my drapes are just barely resting on the floor, so I like to hang them before I finish stitching bottom. Attach your hooks by inserting each prong of the hook into a hook openings. This is going to create your pleats.
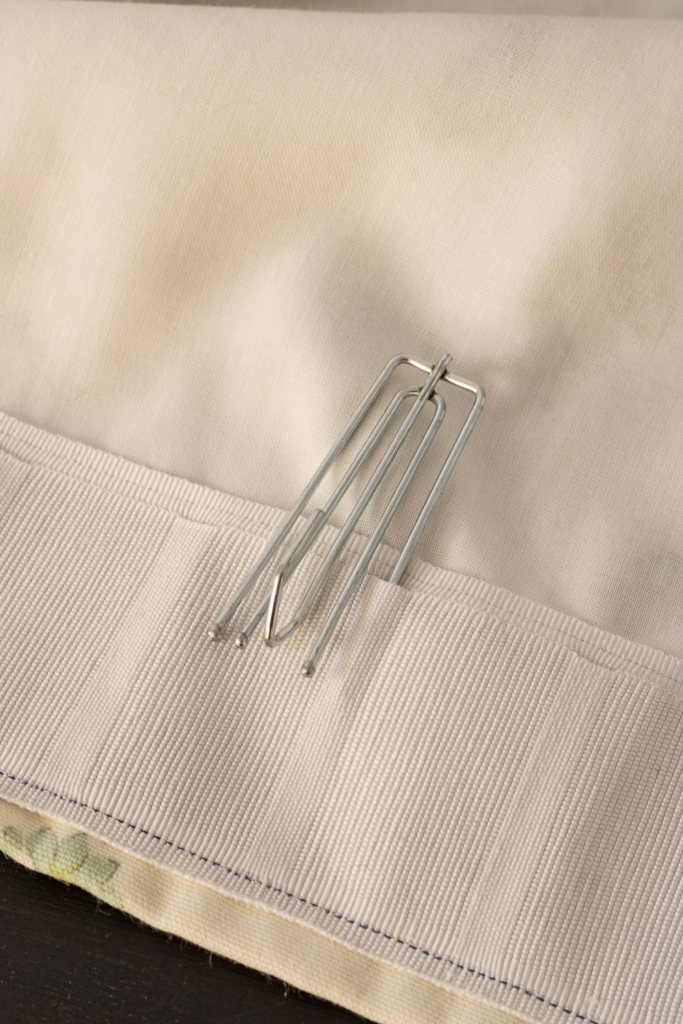
You’ll need a little patience for this step. It was a bit tricky at first. The prongs would want to come out while I was trying to get the others in, but I eventually got the hang of it. Depending on the width of your curtains will depend on how many hooks you need. It will also depend on how many pleats your want. I used 4 – five prong hooks and 2 single hooks for each drape. I placed a single hook on each end and the five prong hooks every three hook opening.
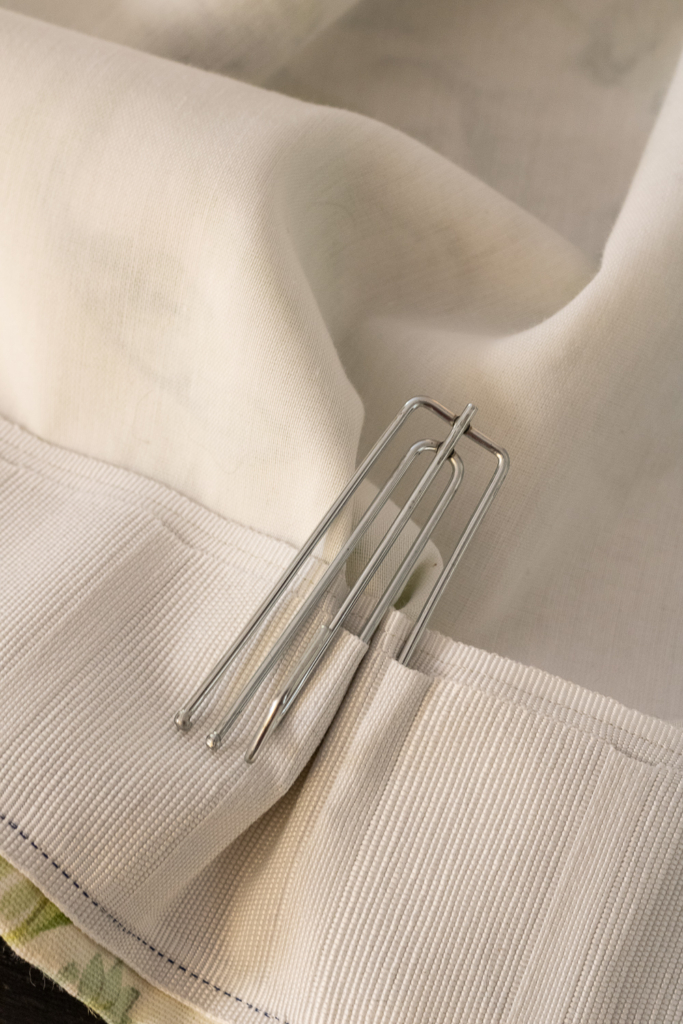
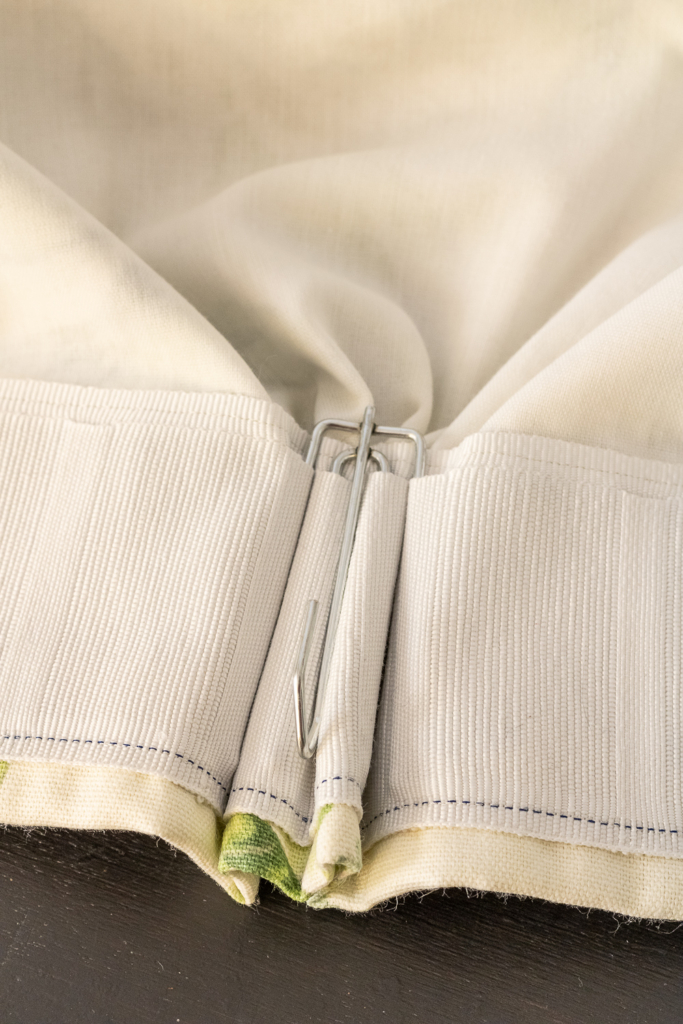
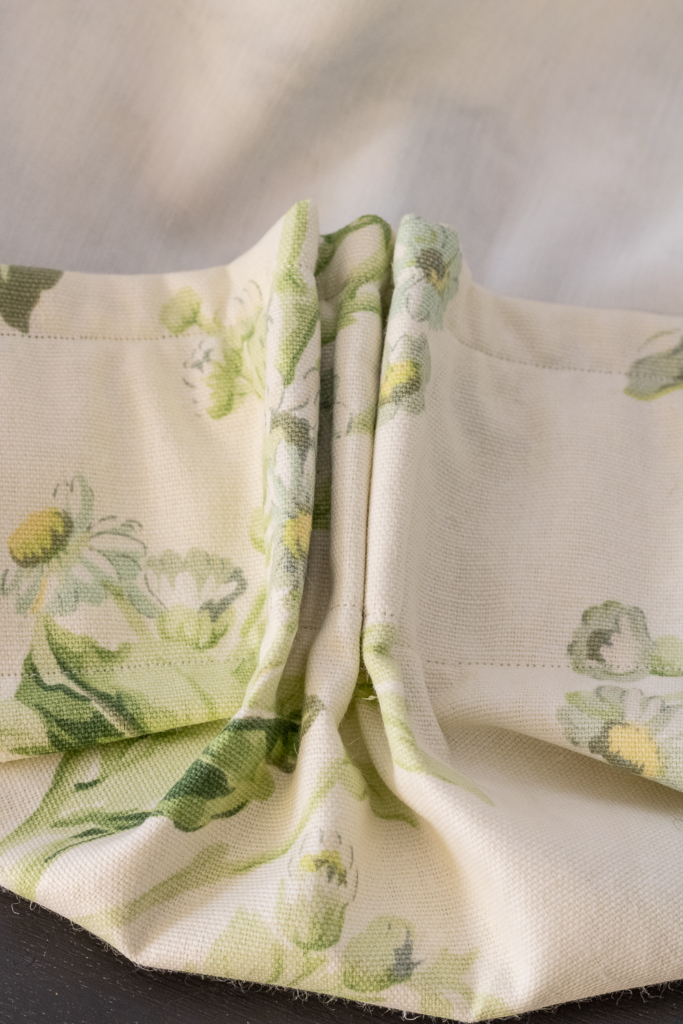
5. Place each hook onto the curtain rings. I used 6 rings for each drapery panel.
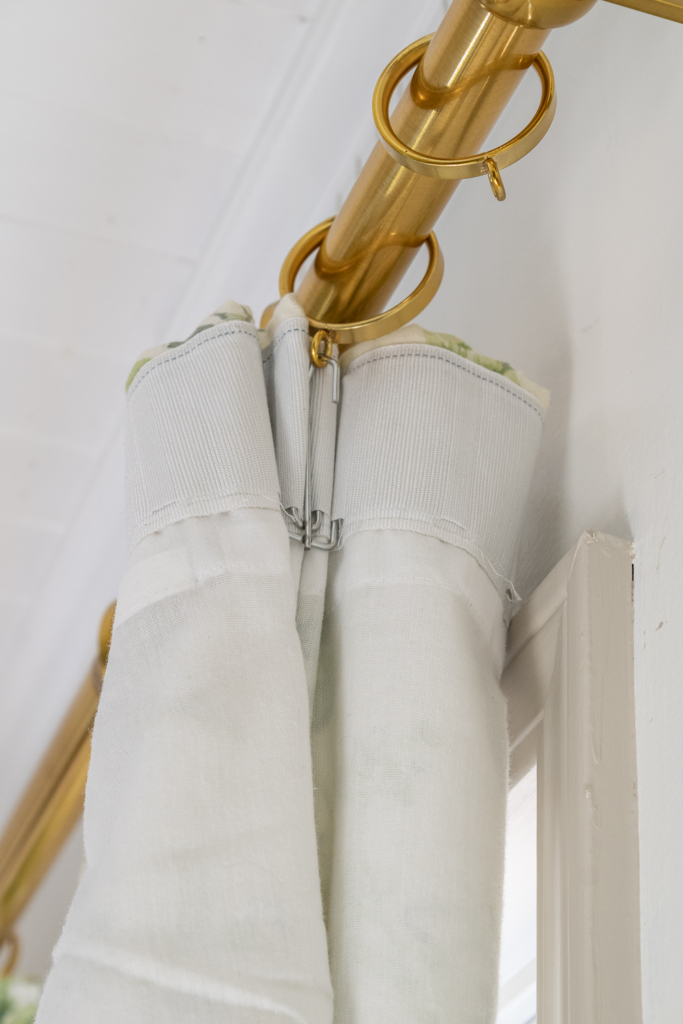
7. Once your curtains are hanging, pin the bottom of the curtain in place. Stitch the bottoms just as you did the top and sides, folding the bottom 1/4″ – 1/2″ and then folding again to hide the raw edge. I like fold the fabric 3-4″ from the bottom the second time for a nice tailored look that resembles the top.
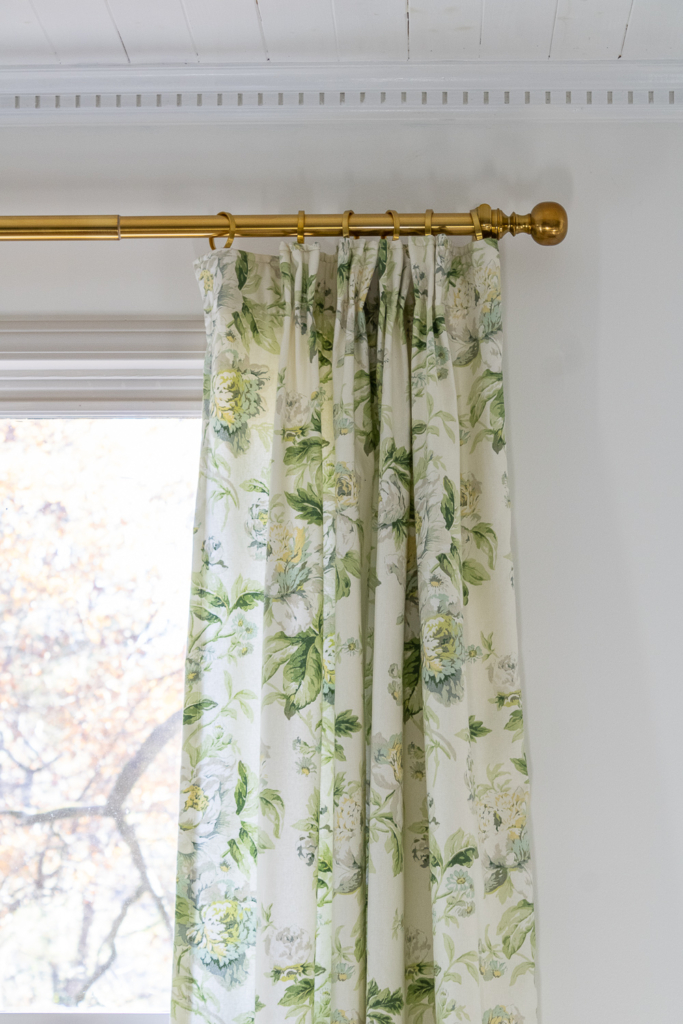
8. This step is optional, but if you choose you can use thick thread and a needle to stitch the pleats tightly together at the base of the pleat.
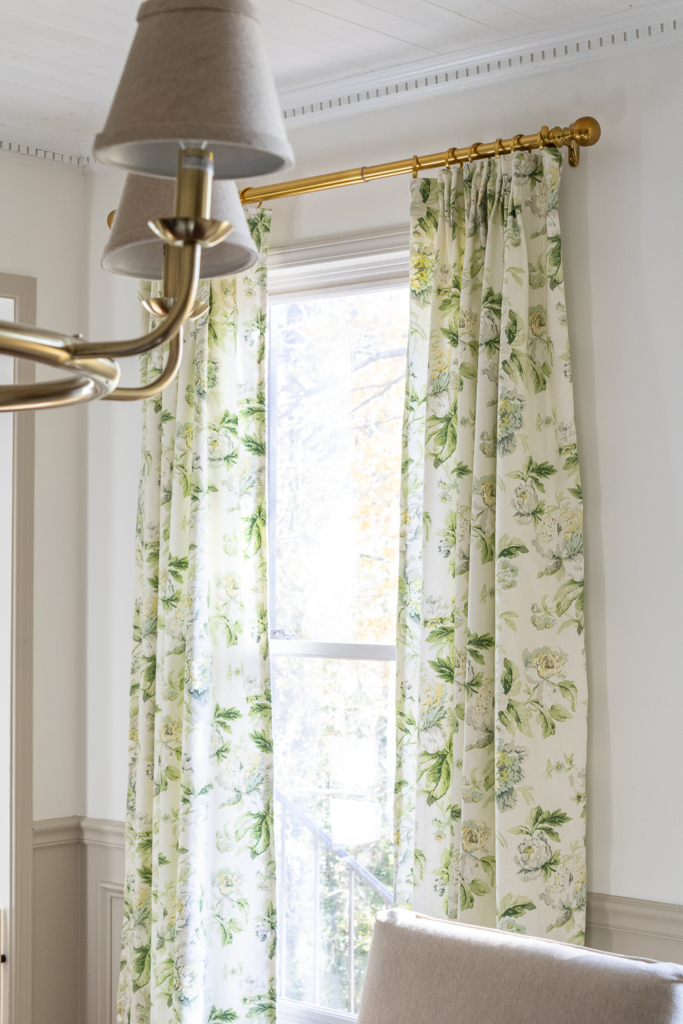
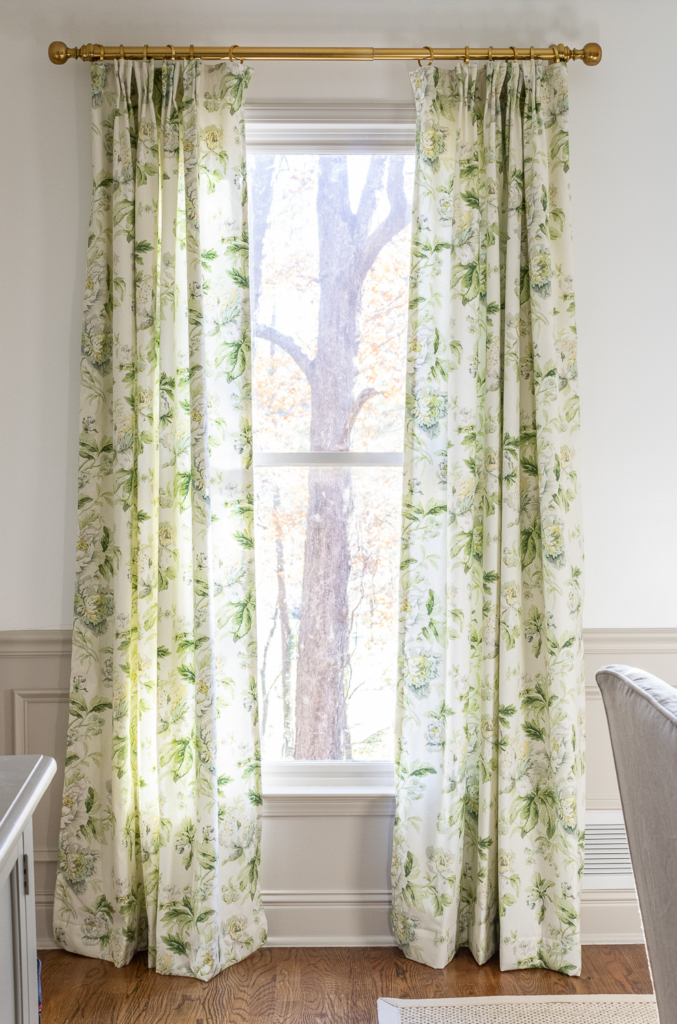
Here’s our drapery complete! I haven’t stitched the pleats together quite yet. That’s something I may do this spring, but for now I’m just enjoying them as it. They’ve added a great pop or color and pattern that the room so desperately needed. Lucky enough, I have just enough fabric left to make two pillow covers for our armchairs in the room!
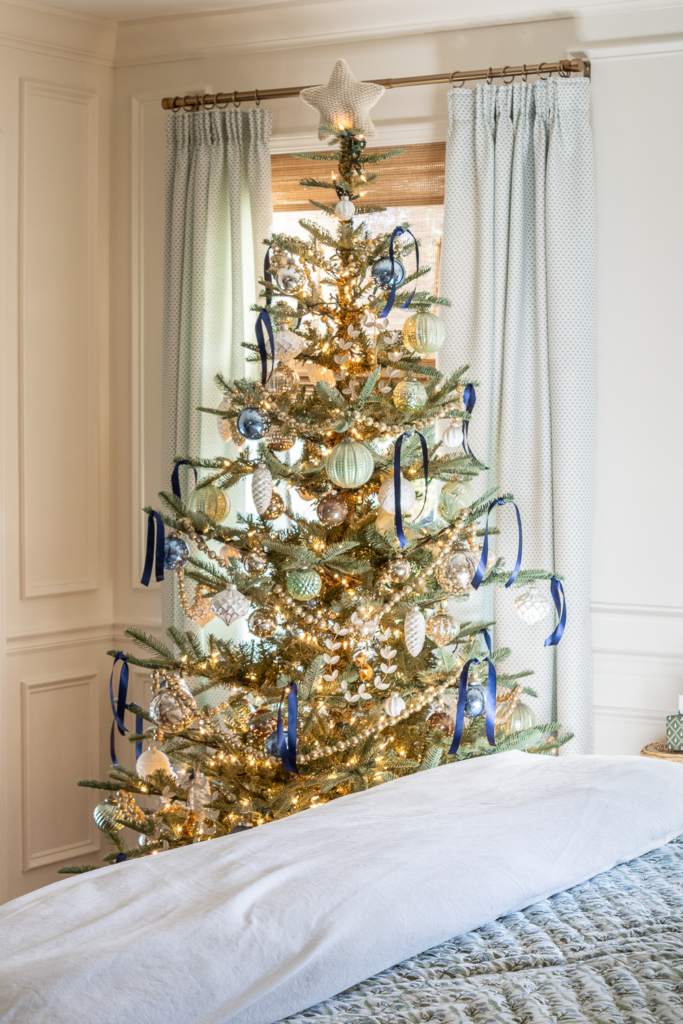
Here’s a peek at the pleated drapes I made for our master bedroom. The fabric is from Ballard Designs, but sadly has been discontinued. They have some beautiful drapery options. You can see those HERE. You can find our bedroom curtain rods here and the rings here.
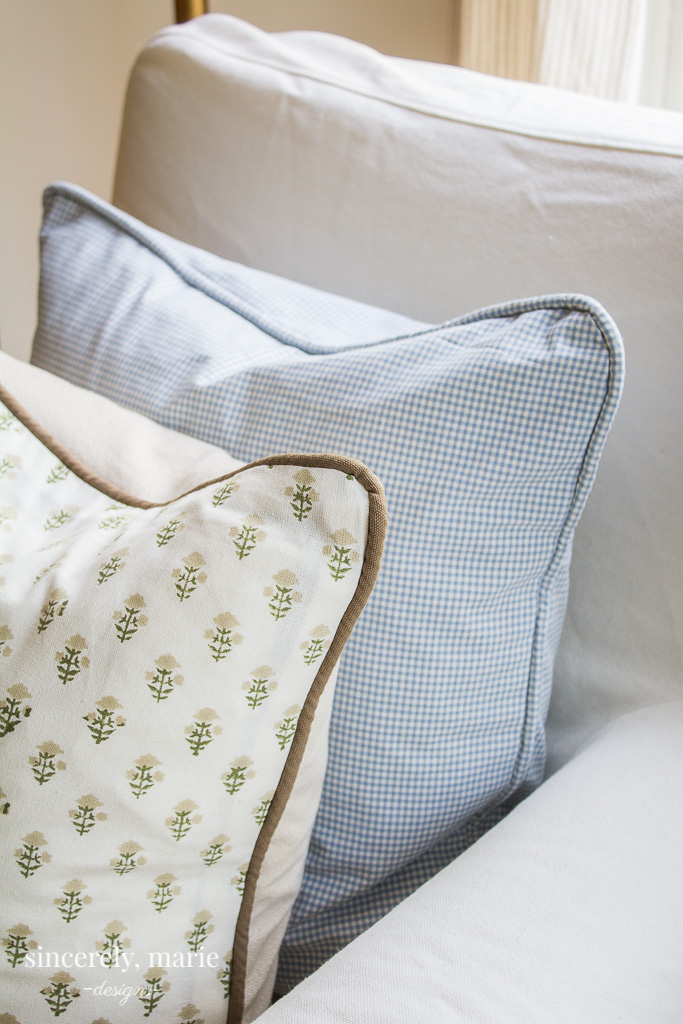 Simple Pillow Cover with Piping
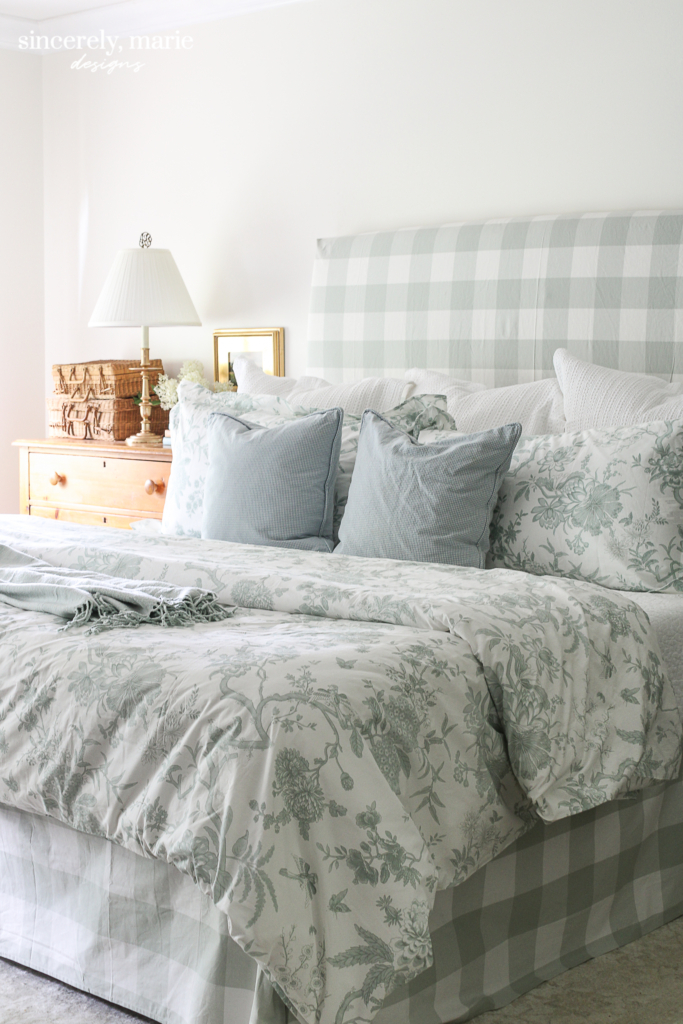 Quick Headboard Slipcover Solution





They look amazing! I love the fabric! Sadly I cannot sew, my mom makes all of my curtains. I am off to check out your easy roman shade.
Thank you so much Elizabeth! You could certainly make these without sewing. I would just swap the sewing machine for fabric adhesive!
Beautiful ideas 😍
Thank you so much Ruth!
Hi! Thanks for the tutorial! Could you please provide the source for the single and 5 prong hooks? The link takes me to the pinch pleat tape and I’d like to make sure I purchase the right hooks that worked well for you. Did you order extra 5 prong hooks besides what came in the pack with the tape? Thanks for your help!
You’re so welcome Diane! There’s a second link for them later in the instructions. I apologize. I somehow added the same link twice in the supply list. It’s been updated, so it will send you to the single hooks now. Thank you for letting me know!
Amanda – what is the width of your panels?
Hi! I know that this was posted quite awhile ago, so I am kind of shooting in the dark, but could you please let me know what the name of this fabric is? I have been scouring the internet trying to find it and this post is the only place that I have gotten some answers. I see that it is a Waverly, but the link no longer works for fabric.com. I am trying to make tablecloths for my wedding and the only thing I seem to like (this specific fabric) is probably no longer sold. I would be eternally grateful if you still knew the name. Thank you!!
Hi Caroline, the fabric has since been discontinued. You may still be able to find it on ebay or Etsy. The name of is was Waverly – Fleuretta Spring Fabric. I hope that helps in your search!