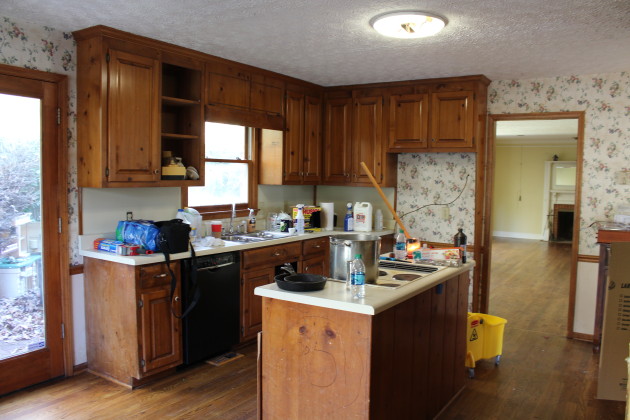
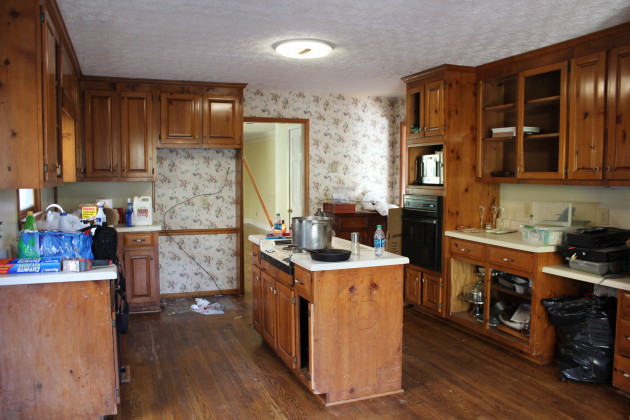
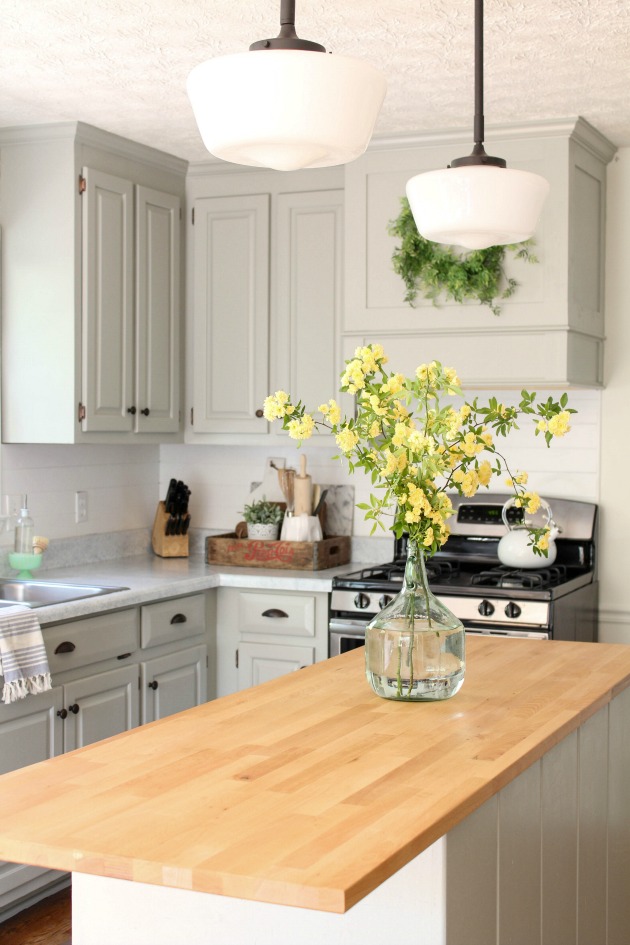
It’s embarrassing how long I have wanted to write this blog post and that I’m just now doing it. After we painted our kitchen cabinets in our new house this past January, I have had more e-mails asking for tips on painting cabinets than I would have ever imagined. Everyone seems to want to know how we got them so smooth and without any brush stokes. Here’s a recap of our kitchen before we moved in and what it looks like now.
I’ve painted many a cabinets in my short days but honestly, with just a few pointers anyone can do it and do it well. I am not a professional just a girl that loves DIY projects. With that in mind, here’s what I’ve learned over the years when it comes to painting cabinets.
Prep work: No matter how tempting, NEVER skip the prep work. This is by far one of the most important steps.
- Remove all hardware, clean all cabinets and doors with a de-greaser. I have found TSP works great for this. If you do not get all the grease and grim off your cabinets, your paint will not adhere.
- After deep cleaning your cabinets, let them dry. Next is sanding. I’ll admit I hate sanding more than anyone. Trust me! Sanding is huge. I use 80-120 grit sand paper along with my handy palm sander. Using a palm sander gets the job done much quicker than sanding by hand. Vacuum up the dust first and then wipe off all cabinets with a damp cloth.
- Fill any holes, cracks in your cabinets with wood filler and re-sand those areas.
Buying Paint: Choosing the right paint can seem overwhelming and confusing. I’ve heard of people using chalk paint, spray paint, etc. I’ve always used latex, cabinet paint. I really love Benjamin Moore’s cabinet paint as well as Valspar’s Reserve line. Both are great quality and hold up to heavy use. You can use a Polyacrylic as a top coat if you chose. I usually do not and mine have always held up great!
Painting: There is a couple different methods. You can certainly use a paint sprayer which works great! I actually did not use a paint sprayer with my kitchen cabinets. Some one was borrowing it at the time so I used my tried and true method.
What you need if you’re not using a sprayer: A good quality brush. Here is the brush that I always use on projects like this one. A small roller with a foam cover or a cover rated for smooth- semi smooth surfaces. I personally use the foam rollers for cabinets.
To start, paint the back of the doors first. This way, when you go to flip them, if you scuff them while painting the front side the scuff mark is on the back. Thinner coats of paint are always better than really thick coats. You want to avoid running and or puddling. I apply at least two coats, three if needed. Let them completely dry overnight before flipping to paint the front side. Once the back sides are dry flip the doors. If your doors have raised centers or if they are shaker style use your paint brush to paint any edges or cracks where the roller can not get. You can see in the photo below where I used my brush first and then rolled the rest after.
You then can used your roller to roll the rest of the paint onto the doors.
The cabinet bases are painted in the same way. I use a brush to paint all inside corners and then use a roller behind it to cover all the flat surfaces. I also use the roller on all of my drawer fronts.
Make sure to let your paint cure for a couple days before reattaching your doors.
I clean my cabinets with warm soapy water and for tougher jobs I use Clorox wipes.
The key is making sure to take the time to prep your cabinets and not to rush while painting. I’m the worlds worst when it comes to this part. I always want to hang the doors up before they’re completely dry. I’ve paid the price for it in the past. Don’t rush my friends! You’ll be so happy you took the time when it’s all said and done.
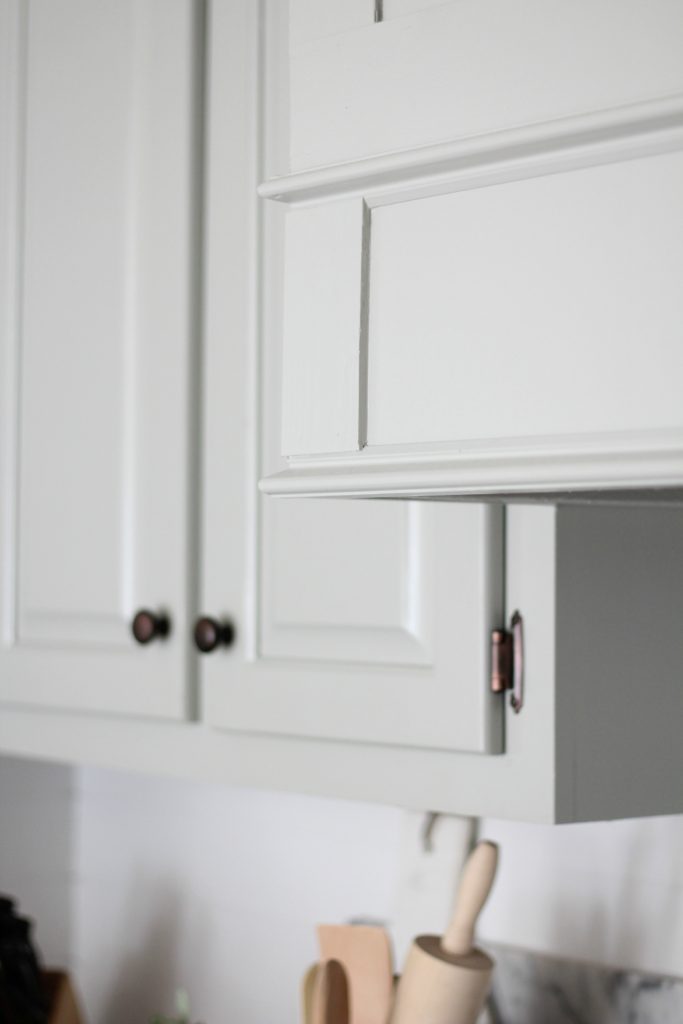
You can find cabinet hardware like ours here and here.
I hope you all have a great weekend! I’m hoping to get some patriotic touches out around our house this weekend. The fourth of July will be here very soon!
This post does include affiliate links for your convenience as well as to keep this little blog going 😉
You can see a painted bathroom cabinet that we did last year as well – Guest Bathroom Makeover




Hi Amanda! Thanks so much for this article! The cabinets are gorgeous. I’m curious … are the hinges also the Cosmas brand you linked for the pulls and knobs?
Thank you so much Kelli! I apologize that I didn’t include those. Yes, they are the same. Here is the link to the hinges – http://amzn.to/28TNy0G I hope that helps!
What is the cabinets color?
The color is called Fieldstone by Benjamin Moore.
Thanks! 🙂
Hello, just wondering whIch line of Benjamin Moore paint you used for the cabinets? I absolutely love them!
Cynthia, for the Benjamin Moore it would be the Regal line of paint in a semi-gloss or satin. Thank you so much! 🙂
I’ve never painted kitchen cabinets before… seems so intimidating, but think I’m going to convince the hubs to try with me. You can tell that you put a lot of work into it. Definitely paid off. Your kitchen transformation looks amazing!
Thanks for the terrific manual