I almost tossed that old skimpy tree but decided to try and dress it up first. I’m glad I did. It turns out you don’t need much. I’m sharing how to dress up a skimpy tree with ease!
I think we’ve all had one of those trees at some point or another. You might have one right now! Either the Christmas tree was given to us, super cheap or it’s just seen better days since years of use. We’ve had one of those trees for almost 12 years. It was a cheap tree that we purchased for our finished basement in our previous home. We were young and just wanted something festive at the time. For a years I haven’t even taken it out of the attic, but this year while getting the decor down I felt sorry for it. I thought about donating it but decided to try and give it a little love first.
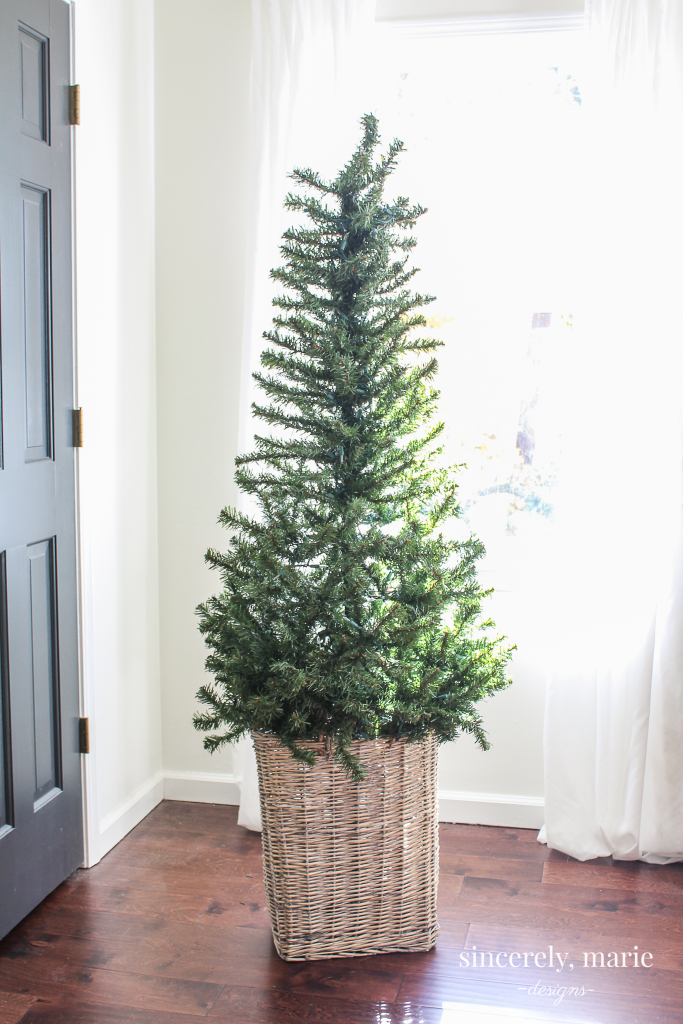
We moved our flocked tree that we used in our master bedroom into Charlie’s room this year and I share a little about that tree in a bit. The first thing I did with this skippy tree was to take it off the stand that it came on and placed it into a basket that I had. The basket is narrow but I placed two of the tree’s limbs through through the basket handles. It gave the tree from height and made the bottom of the tree fuller.
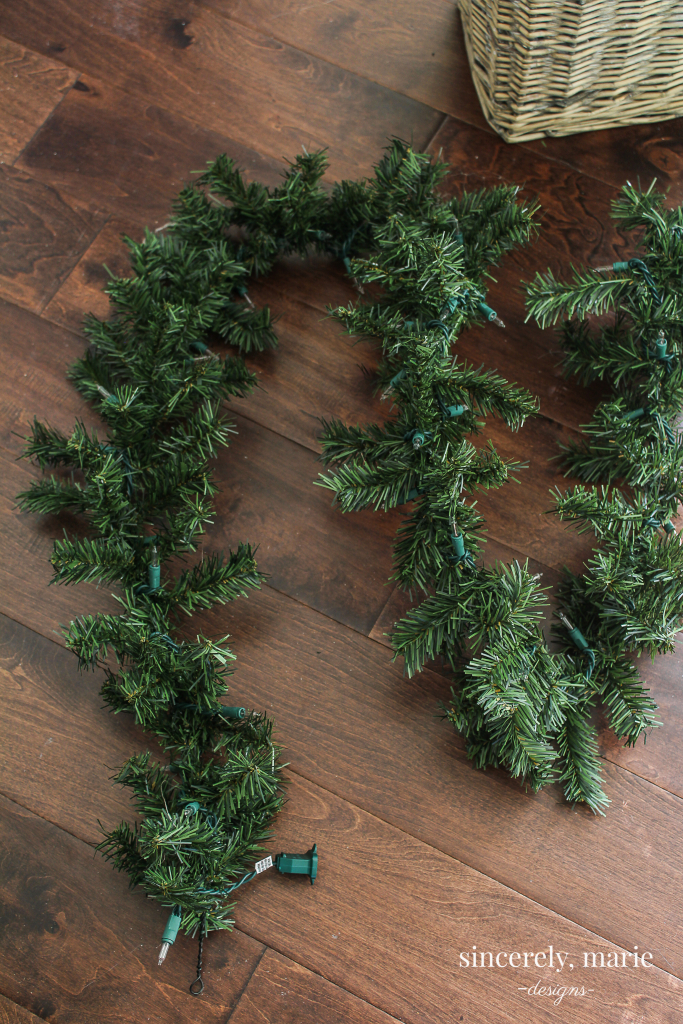
To give the tree a fuller look I picked up this garland are Michael;s at for $4. It’s not my favorite kind of garland but it matches the tree, and you want it to blend easily. This particular garland did not come with lights. I used a strand of lights that I had on hard and wrapped it before placing it on the tree.
I started towards the bottom of the tree. I weaved the garland through the branches allowing it to sit towards the front, working my way around and up the tree. This three is pretty petite so it only took one strand of 9′ garland.
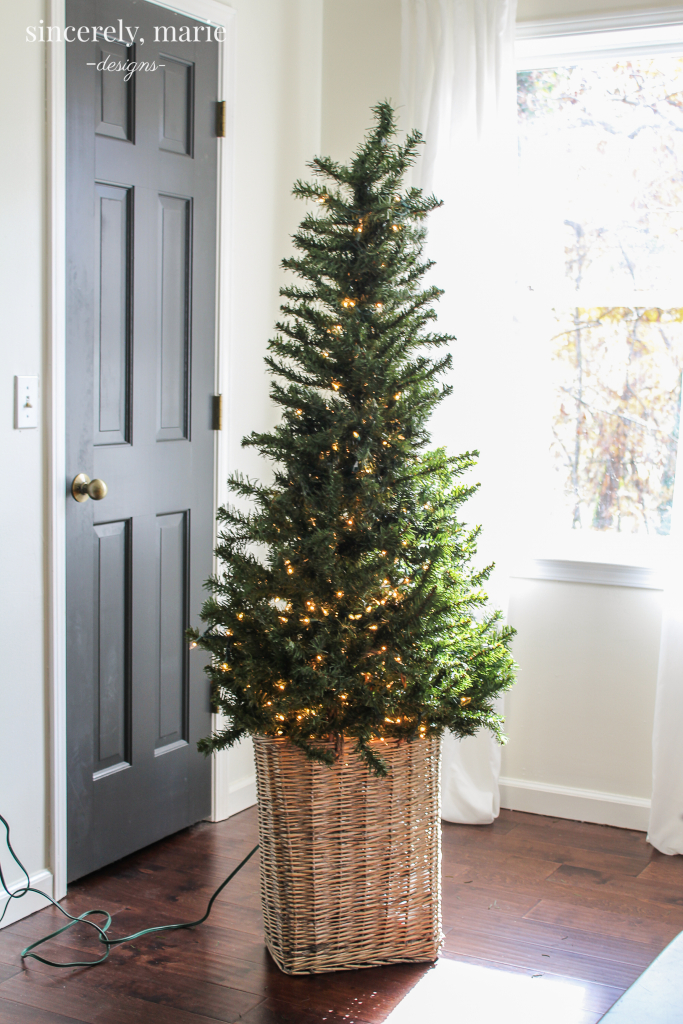
To fill it in further I placed big ornaments to fill holes or gaps. I also added berry stems for added texture and color. I placed those in the same direction of the limbs. You can play with those to get them how you like them. I’ve had them going in a downward motion on past trees. For this tree they looked best pointing upward.
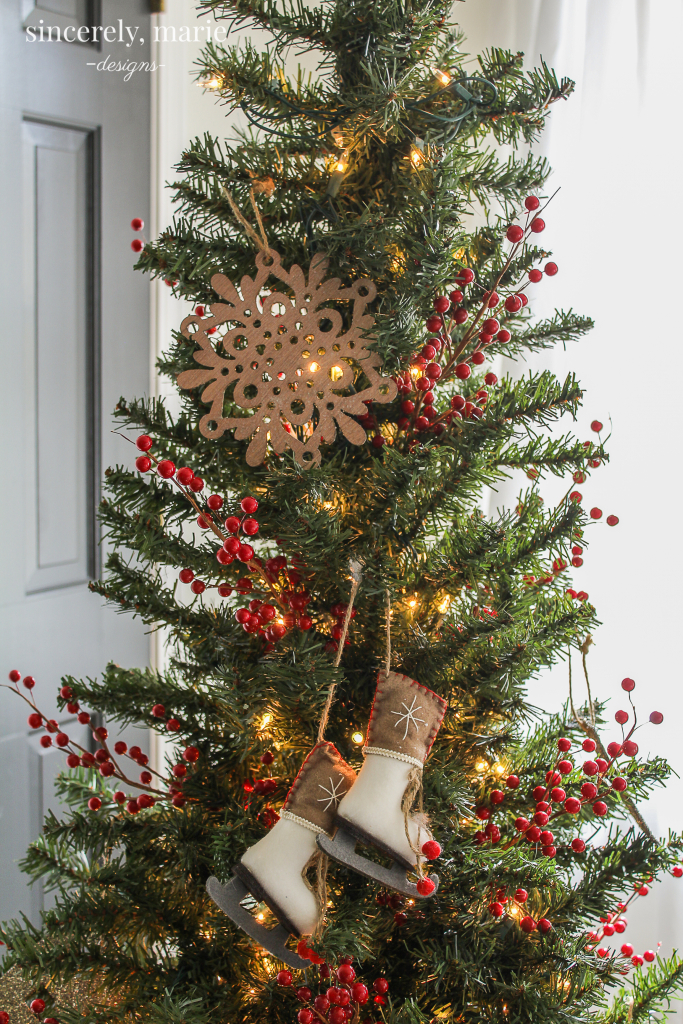
Once your large ornaments and stems of choice are on, add your smaller ornaments and weave a little ribbon or a banner through the branches and ornaments. I’m not big on tree toppers so I left the top free.
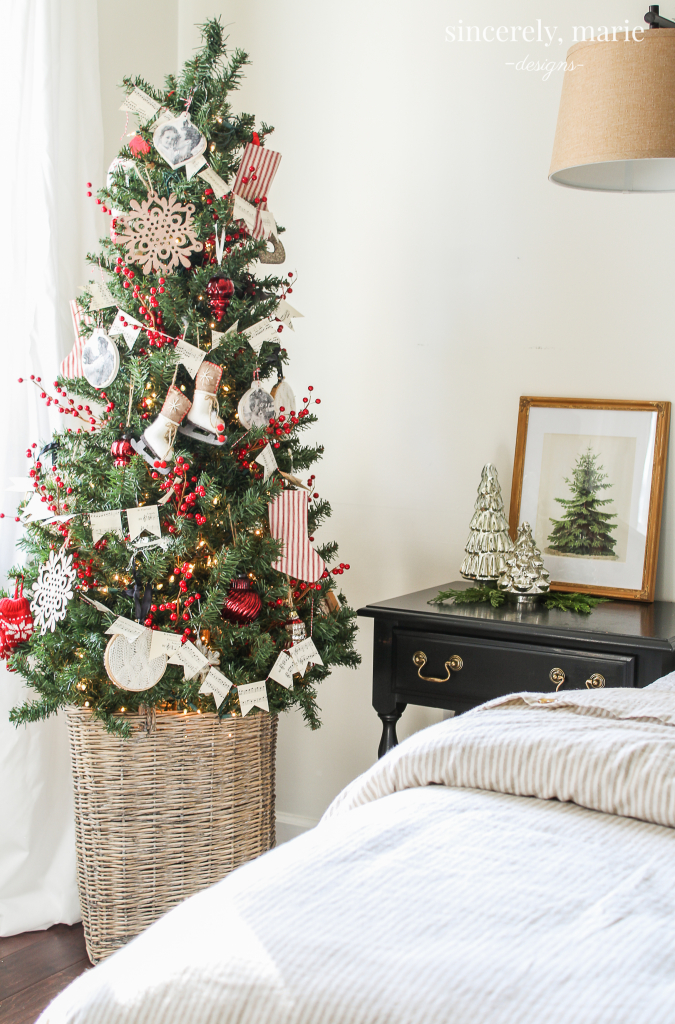
This little $30 dollar tree isn’t sitting too bad today! With some garland and the right ornaments she cleaned up nicely.
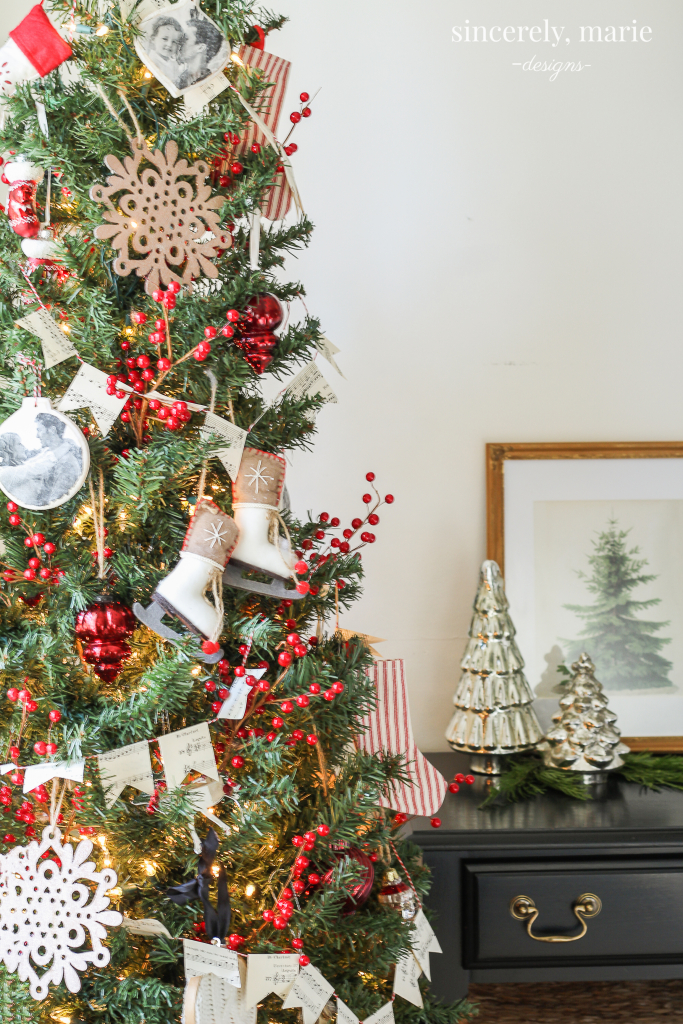
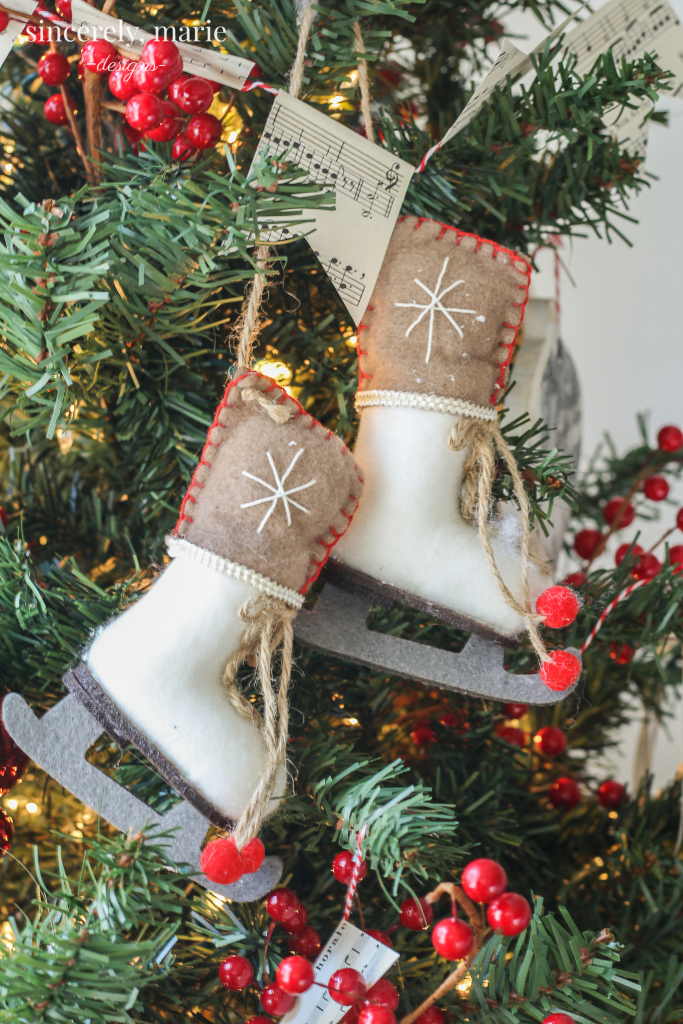
Here’s a little glimpse into our Christmas bedroom that I’ll be sharing next week with a few fellow bloggers. I hope you’ll join me back here!
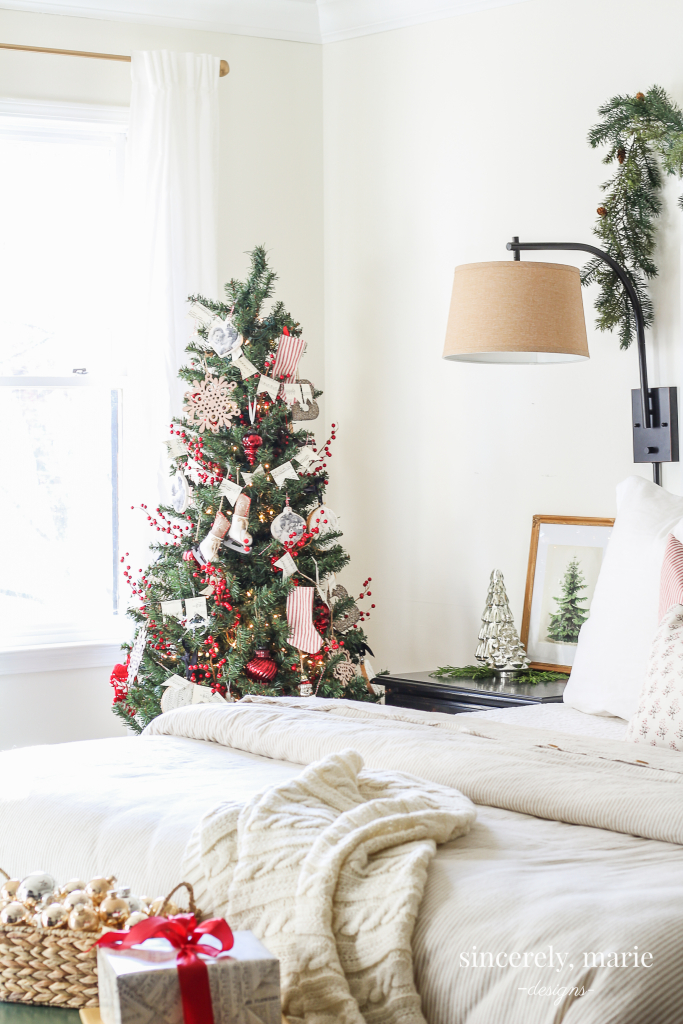
I don’t love pipe cleaner trees but I wanted something simple in our room this year. It’s nice to use what’s on hand sometimes, especially if you can make it something a little more than what it was.

Lets talk flocked trees! Some of your may remember our master bedroom tree from last year. You can see that tree and tour here. That 6′ tree was only $35 from Walmart. Let’s just say it looked like a $35 dollar tree too! It was one of the cheapest flocked trees that I found and I didn’t want to spend an arm and a leg on a tree for our bedroom. (This size tree is currently out of stock but I have linked to the next size up at the end of the post that is available.) I’m glad I didn’t because I was able to fill it in easily once I got it home. First I strung some white lights on it and then took just some simple cotton stuffing that I had left over from a previous project and filled in the gaps of the tree with it. It took less than a bag and made it look pretty magical. Charlie loved it so much that I decided to let him use it in his room this year. I can’t wait to share his tree with you this year. I did the same snowy method with cotton stuffing and with his animal ornaments it’s the epitome of adorable!
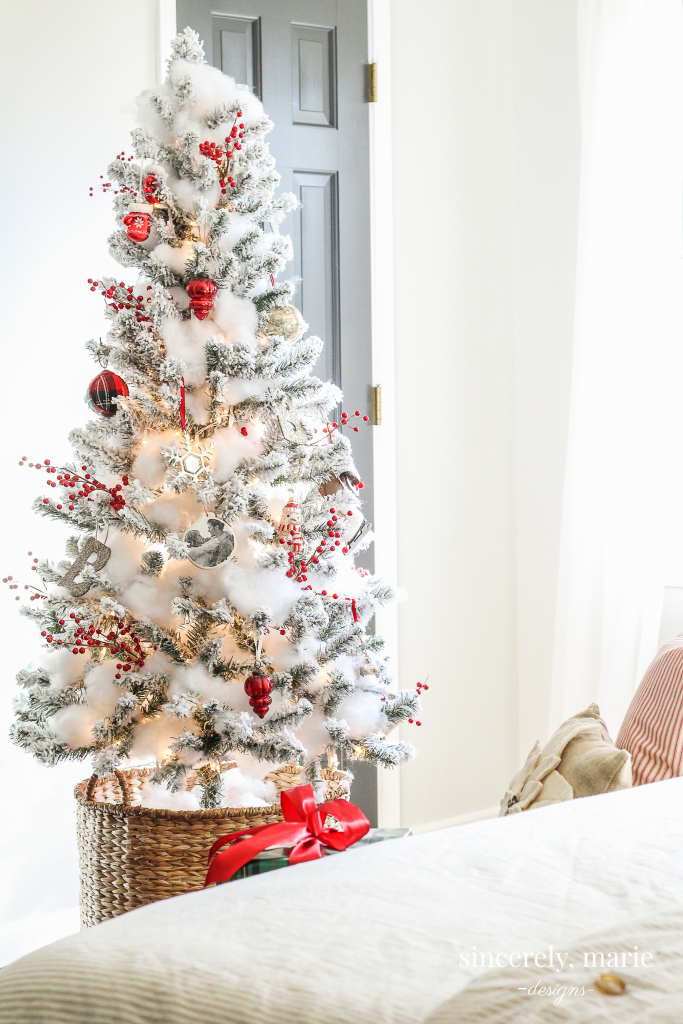

With a little time and just a few inexpensive things you can take a skimpy tree and make it into a full and elegant one. Just get creative and have fun with it. I hope you all have a wonderful Thanksgiving and happy decorating, friends!


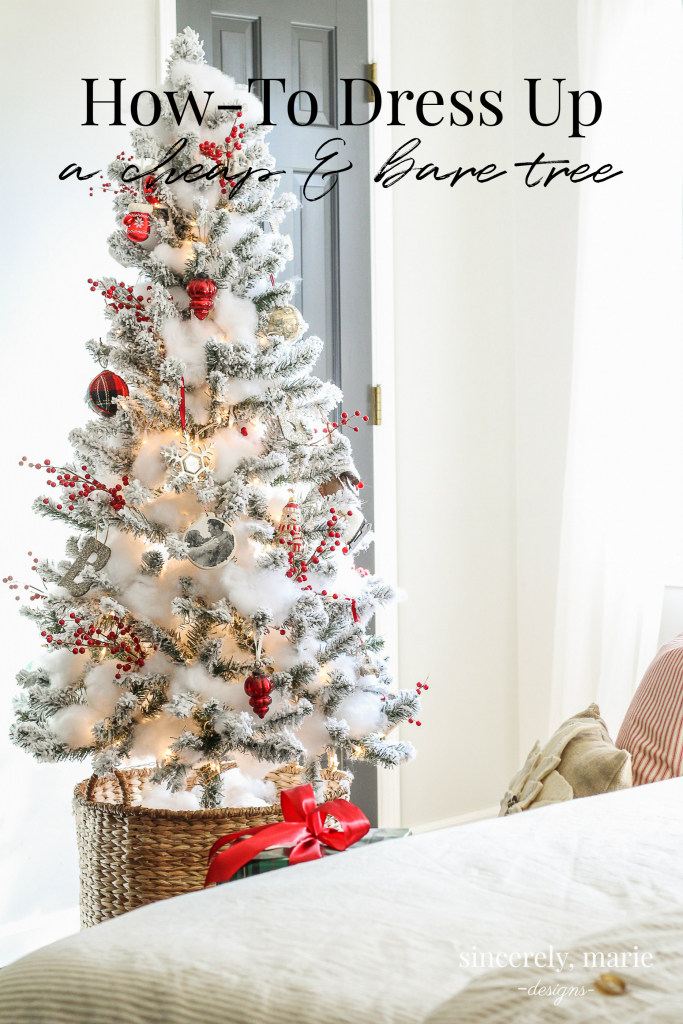


This just shows you that the cheaper trees can look gorgeous and decorate the home for Christmas. A great post.
Thank you so much, Nancy! I’m so glad folks found it helpful and you’re so right. Sometimes things just need a little extra love. Have a great Christmas season!
I love how they both turned out….so pretty!! Thanks for sharing the great tips and the step by step instructions – I’m going to do some of those same “tricks” on my small tree too!! Hope you have a wonderful Thanksgiving!
Thank you so much, Lanita! I hope it help inspire anyone who has a tree that has seen better days. Have a lovely Christmas season!
What super ideas. I love both trees and they both look so elegant.
Thank you so much, Marty! It’s a big improvement from their humble beginnings.
Yes LOVE what you have done here! The tree is now a keeper! ha Sometimes you really need to look beyond what you actually see! Great job!!
AH! Forgot to ask how did you get the tree situated in the basket? Rocks? Styrofoam? other? On a much smaller scale I’ve used styrofoam and rocks/marbles and yet wonder something this size how does this work? Thank you!