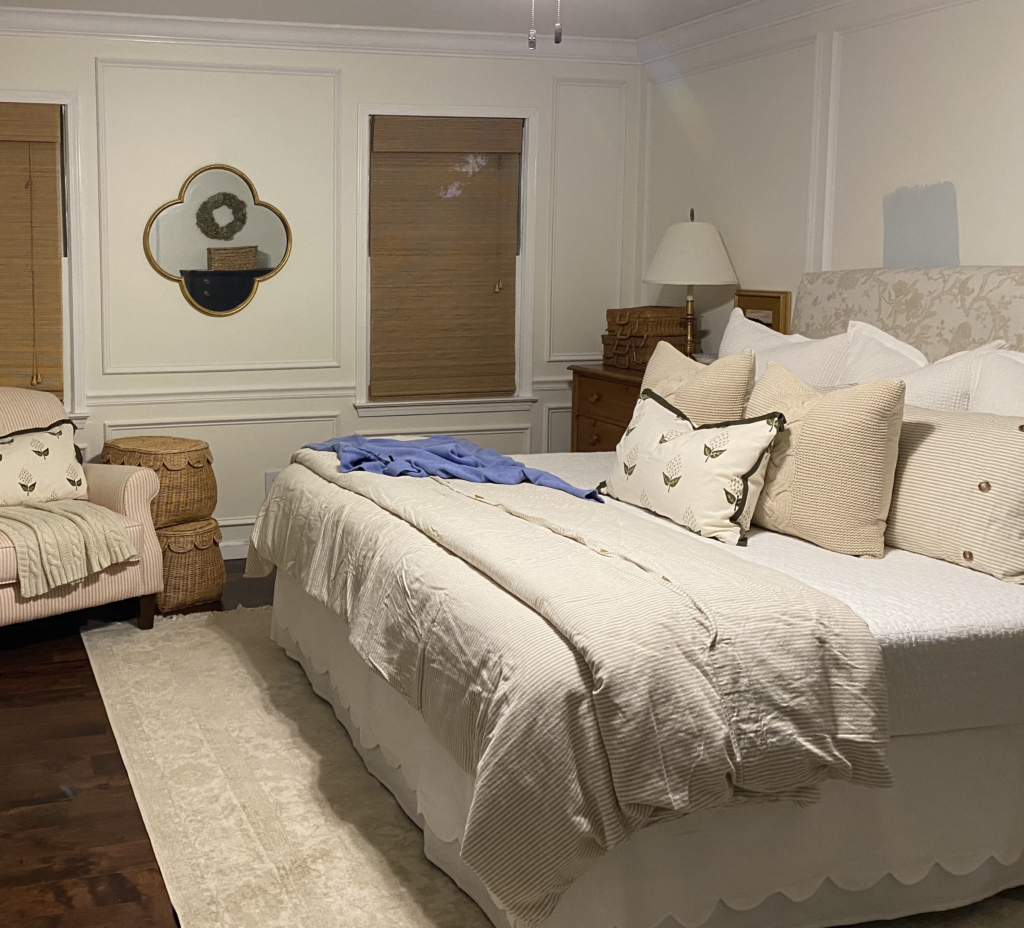
Last week I shared a little snap shot in my IG stories of a project I was working on in our master bedroom. In case you missed it, I wanted to be sure to share what I’ve been up to here. For a couple of years I’ve wanted to add some finishing touches to our bedroom. I’ve tossed around the idea of installing picture frame molding many times. I just love the timelessness and elegance it adds to a space. After many months of thinking on it, I finally just did it and I’m so glad I did!

Our bedroom is rectangular in space and really lacked that cozy feel I’ve been able to achieve in the rest of our home. It just felt a little bare and vast. It turns out that the picture frame molding has added so much warmth and charm to the room already.
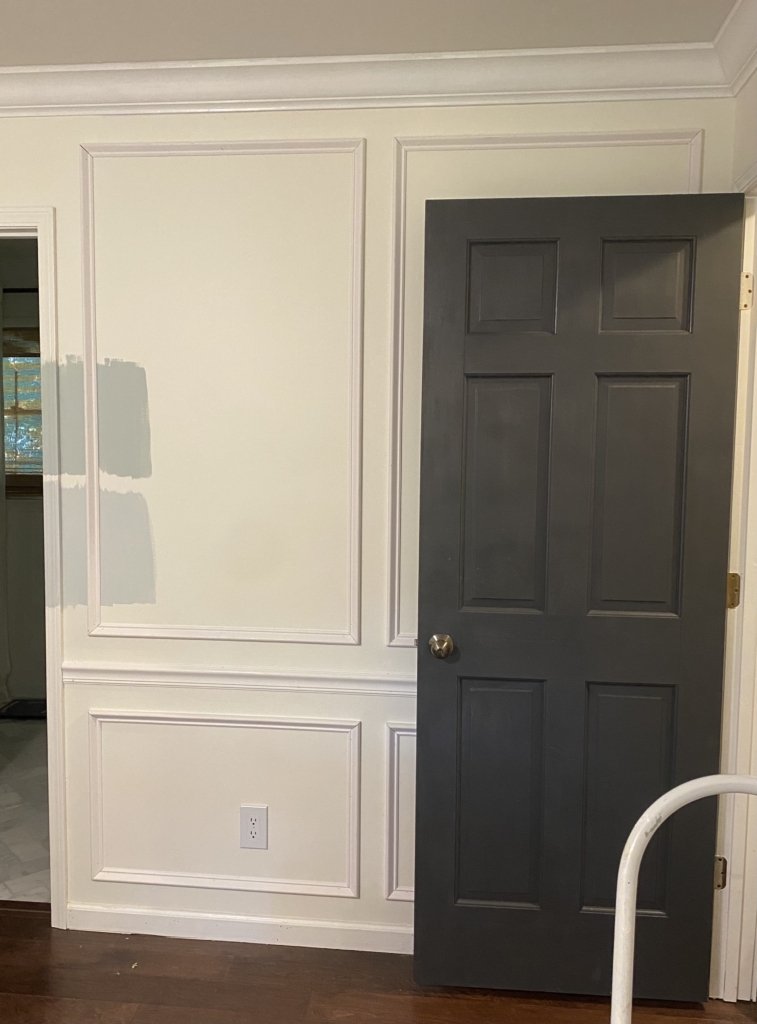
This project is not for those who lack patience. It took me a couple of days to install the chair railing and picture frame molding. We went with a 3” space between the trim and molding. All trim was purchased from Lowe’s. It all came in around $600, including paint. After it was installed, it all had to be caulked and painted. It took many several days to decide on a color. I originally had the idea that I would go with a soft, dusty blue or green. After living with those colors on the wall for a couple of days, although they’re beautiful colors, I quickly realized that it wasn’t what I really wanted for the space after all. Instead, I chose a warm, creamy white. I love bold color in rooms that I’m not spending tons of time in, like our guest room, TV room and guest bathroom. When it comes to our bedroom, I wanted a warm neutral backdrop that would work well with all different textile colors and patterns that ill use each season.

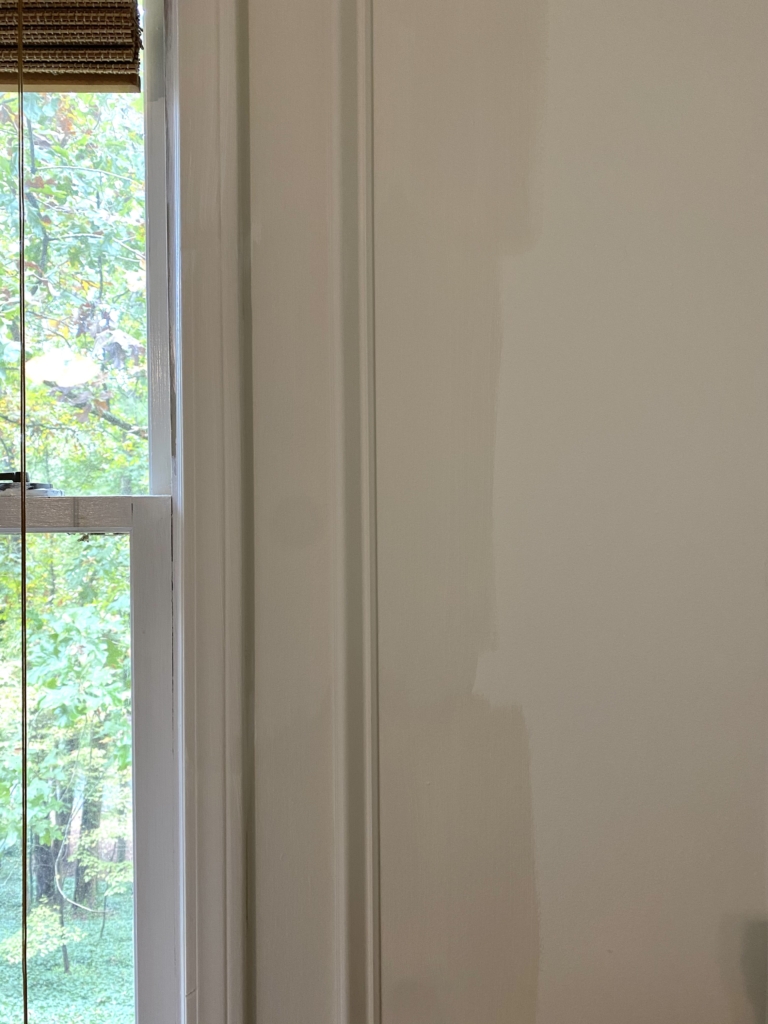
Painting this room has been quite the undertaking. I’m still in the painting process. I’ve had to break it up in to several days. Using a paint sprayer would have been ideal, but that requires covering everything, including the ceiling. I just wasn’t feeling up to that, so I’m taking my time and using a brush and roller. Note the photo below. The top shade is BM color and paint from a Benjamin Moore store. The middle is a BM color and paint but mixed at an Ace Hardware. Lastly, the bottom color is a BM color mixed at Lowe’s in a Valspar paint. All three shades are different, especially the top and bottom. This is a great reminder that you don’t always get the true color when you’re color matching. It’s best to purchase BM paint from a BM store and SW from a SW store. 
I hesitated to share these photos. They were taken just before I started painting with my phone one evening. The lighting is very poor, but I was so anxious to give you all a sneak peek. I’m looking forward to bringing in color with new drapery fabric, bedding and artwork.
I would say that I hope to share this space very soon, but I think we all know that these things take time and it will probably take more time than I even anticipate. I’ll be sure to keep ya posted!
I will be sharing a fall recipe and our family room this week, so stayed tuned. Have a great week, friends!


This is truly beautiful and worth the time and patience required. I can’t wait to see it finished.
I know whatever color you choose, it will be gorgeous!
Love the molding! That is so interesting about the paint mix. I purchased like six gallons of Simply White at the Benjamin Moore store across town and then purchased the rest I needed at Ace Hardware and the color was exactly the same. They’re supposed to be using the same machine and formula, according to my Ace owner. I had a horrible experience at the BM store and the BM rep told the Ace owner to give me a free gallon (after I relayed the story). I always go to Ace for mine now but I guess it could be different depending on your Ace store! Benjamin Moore is my favorite – will not be using another brand again, I don’t think.