I woke up feeling so excited this morning! I’m thrilled to finally share our master bedroom reveal with you. Over eight months ago I shared that we were in the midst of adding picture frame molding to our walls. I had planned to share the finished space shortly after, but time got away from me. Before I knew it, it was the holidays and life got busy. You know how that goes, friends. Oh happy day! Today is the day you get to see the full before and after. This space is such a haven for Josh and I. It’s our retreat and has become such a restful place. The new molding has only solidified that. Let’s get to it!
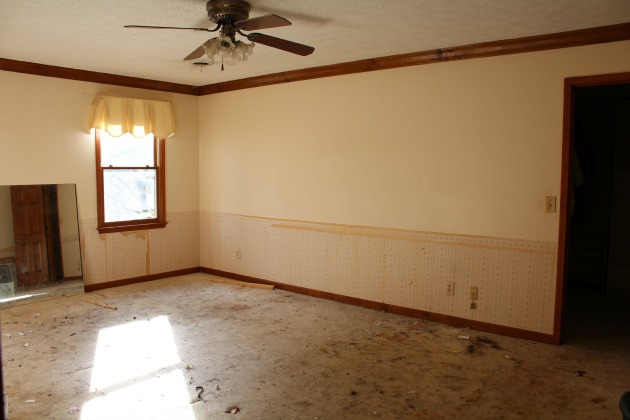
Before
When we purchased our home this room had to be “snow shoved” and practically gutted. We removed the trash, old carpet, light fixture and wallpaper. We installed new flooring, scrapped the ceiling ( You can read about that process here.) and painted. Today it’s truly a different space. Very little resembles the old room. It was not an overnight process. Renovating this room from a construction stand point took just a couple of months, but from a decorating stand point it took years, 6 years to be exact. It’s a room that I’m still tweaking and making just right, including finding the perfect fabric to make a new headboard slipcover, but for now the linen fabric works fine.
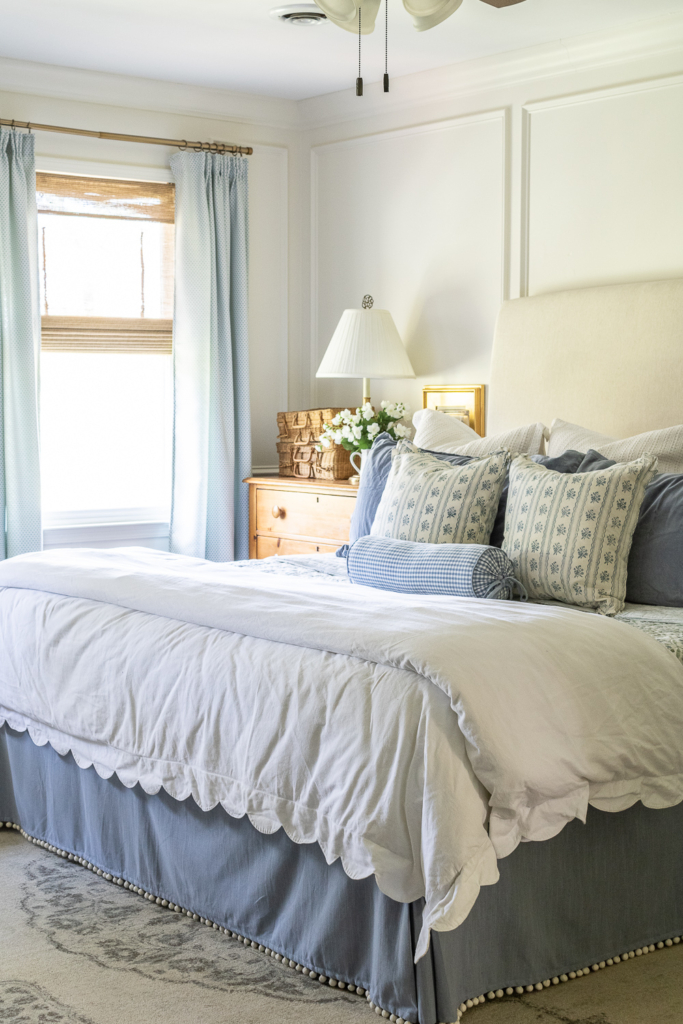
Here’s our primary bedroom today –
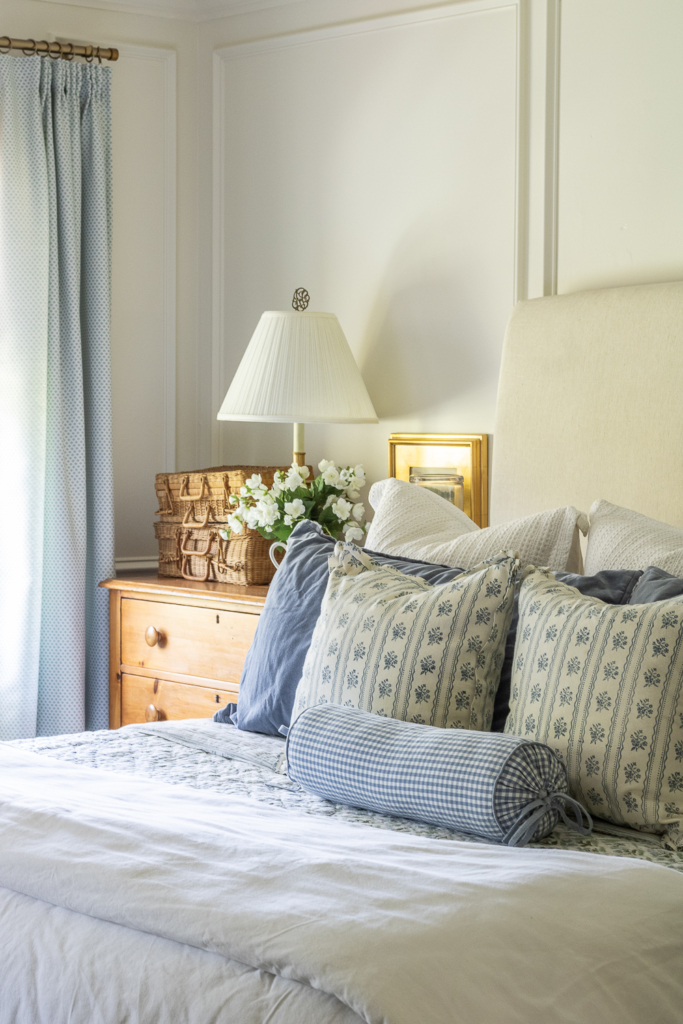
Today
Installing The Picture Frame Molding
I can’t believe how much character that picture frame molding has added. It has made the room so much cozier! It really draws you into the space and creates just the right amount of interest. What is picture frame molding? Simply, it’s trimmed out boxes attached to the wall. You can either add chair railing as we did or let the boxes stand on their own. This project was not the most expensive DIY but it was not the cheapest either. The total cost of trim came in around $400. Our bedroom is a nice size, depending on the size of your room, you might be able to do this project for less.
I’m not going to share a step-by-step how-to because there are a million of them online already. However, I will share some details on what we used. We used chair railing that measured just over 2.5″ wide and picture frame molding that is just over 1.5″ wide, all purchased from Lowes. I decided on 3 inch spacing between the molding, baseboards, crown, window trim and chair rail. (The spacing between your trim is just based on your personal taste.) We cut two – 3″ blocks from scrap wood to keep our spacing consistent as we worked and we used a nail gun to attached it all to our walls. Our box sizes are personalized to our rooms dimensions. You’ll need to measure the length of your walls to calculate the best sizes for your boxes.
Lastly, we filled all of the nail holes and cracks with caulking. This is the part where I have zero patience, such a long and painful task but so worth it in the end.
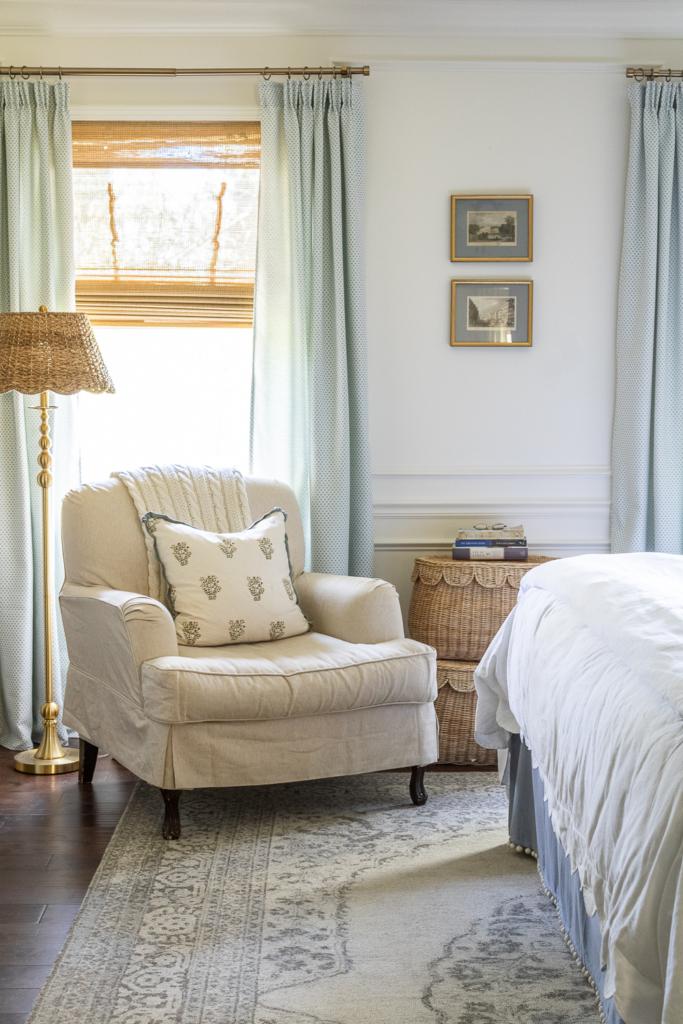
As for the paint color I chose, it’s actually the combination of two different colors. It’s a long time trick by the very talented architect – Patrick Ahearn. Josh laughed when I ordered my paint cans. He couldn’t possibly see why we would need to mix two different shades of white. He thinks I’m crazy but loves me always, ha! The color combination is 50% China White by Benjamin Moore and 50% Linen White by Benjamin Moore. We went with BM’s pearl finish for the walls and trim, just their fancy term for satin.
It produces the warmest, coziest and prettiest white I’ve seen! It will appear brighter in spaces with more natural lighting. It looks a little darker in our space because we have so many trees outside our bedroom windows. I wish I could capture the true color more accurately, but you know cameras. They don’t do it justice!
FYI – I’ve talked about this in the past, but I’ll mention it again. It’s very likely that you’ll end up with a different shade of paint if you order these BM colors from a Lowes, Home Depot, etc. In order to get the real shade of a BM or SW color you really need to have your colors mixed in their stores. Just for kicks before I painted my room, I tried this same color combination but from Lowe’s sample paint cans and I couldn’t believe the color difference. It was no where close to the same color! If you follow my IG you saw the difference in my stories. I kick myself for not taking a photo to share here. Sorry everyone!
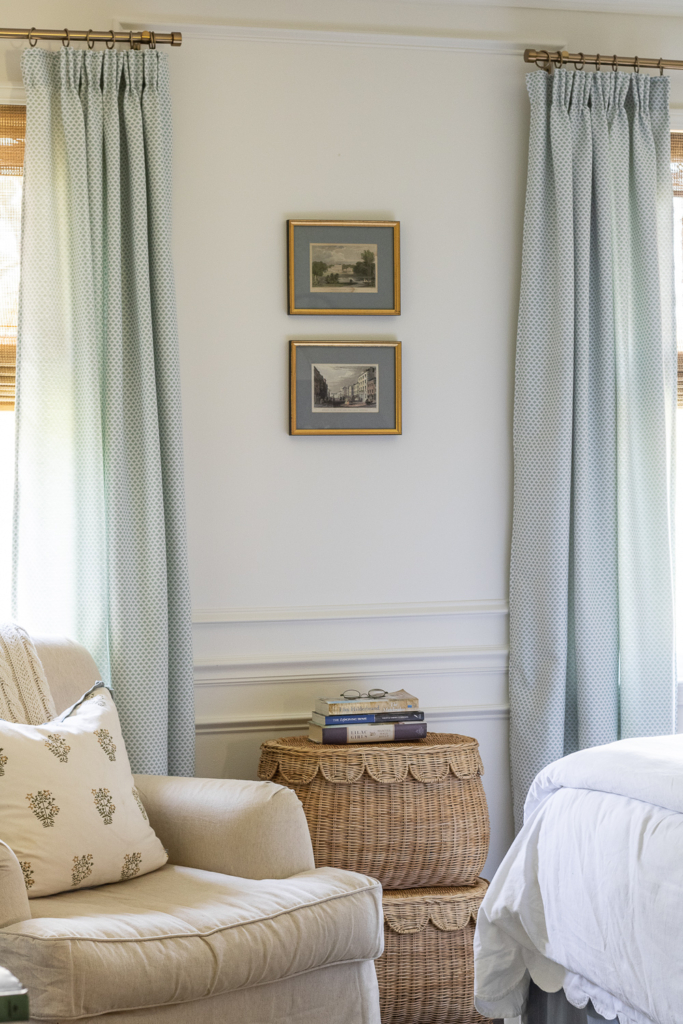
The drapery was homemade using fabric from Ballard Designs. Sadly, I believe it’s since been discontinued but you can find my how-to for making pinch pleat drapery here.
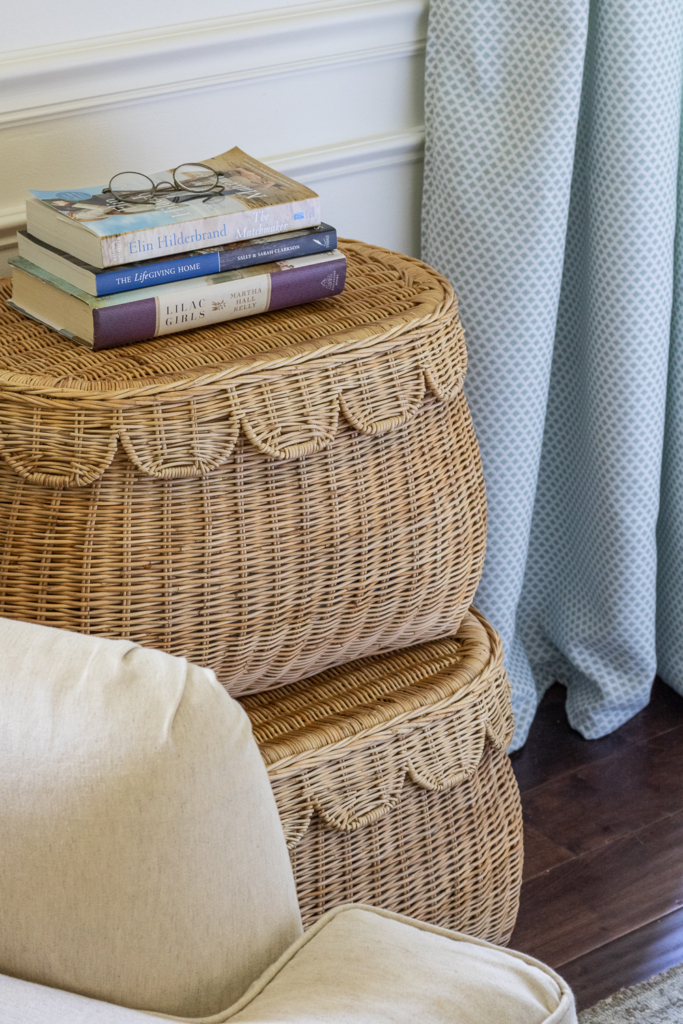 Lot’s of texture is key in this space to keep it cozy with its white walls. I love my stacked scalloped baskets from Serena & Lily. I’m a big believer in pretty storage! Everyone stuff that isn’t exactly pretty and you want to showcase. Baskets are a great place to store those items.
My newest addition to the space are two of these wicker lampshades. Wicker and brass is always a win!

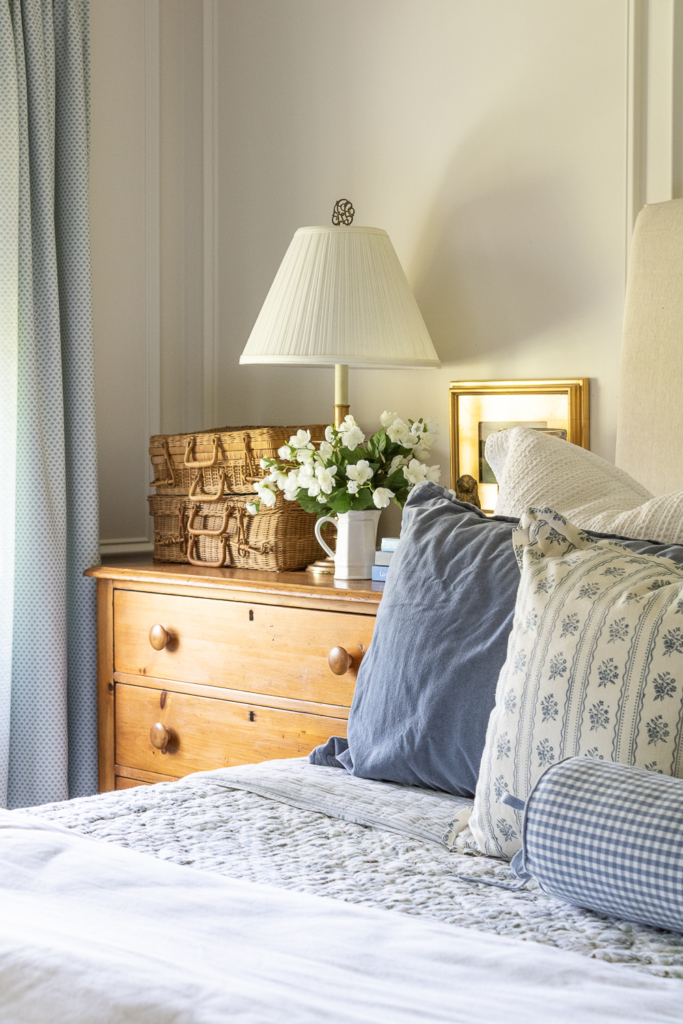
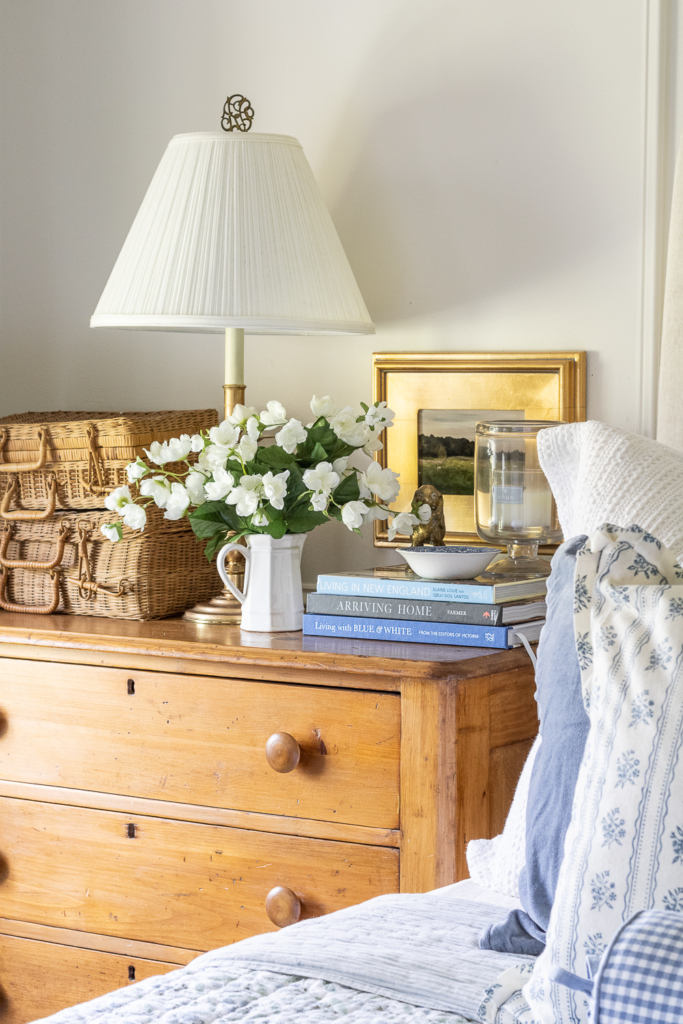
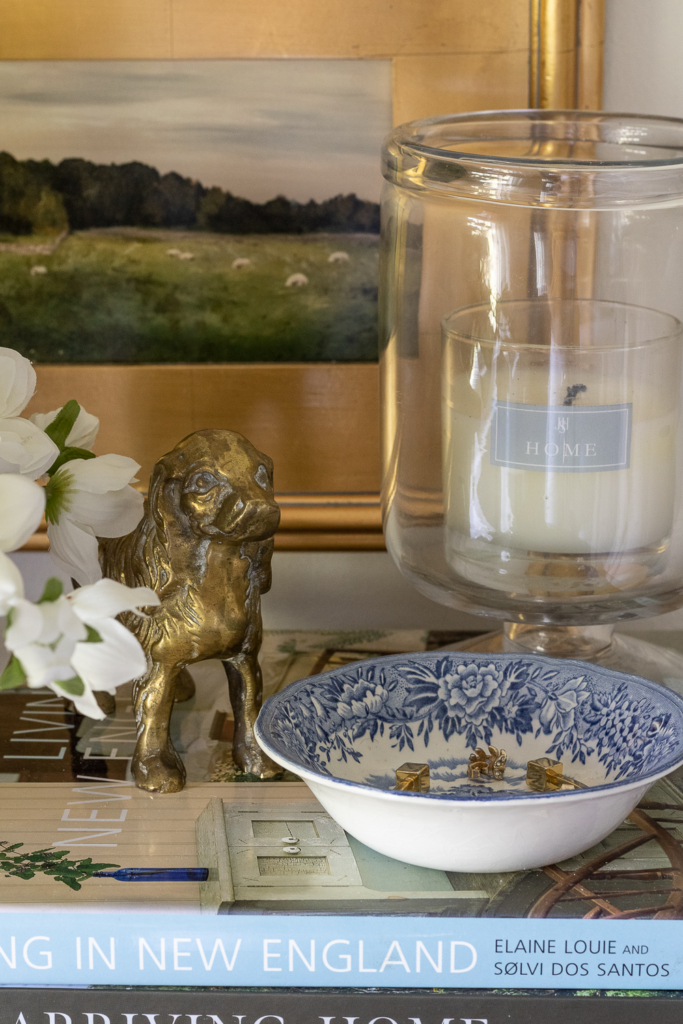
I don’t always keep flowers on my bedside table. I like to keep it fairly clutter-free, but its a nice touch for spring. An antique bowl is a great place to put jewelry at the end of the day. It’s pretty and practical!
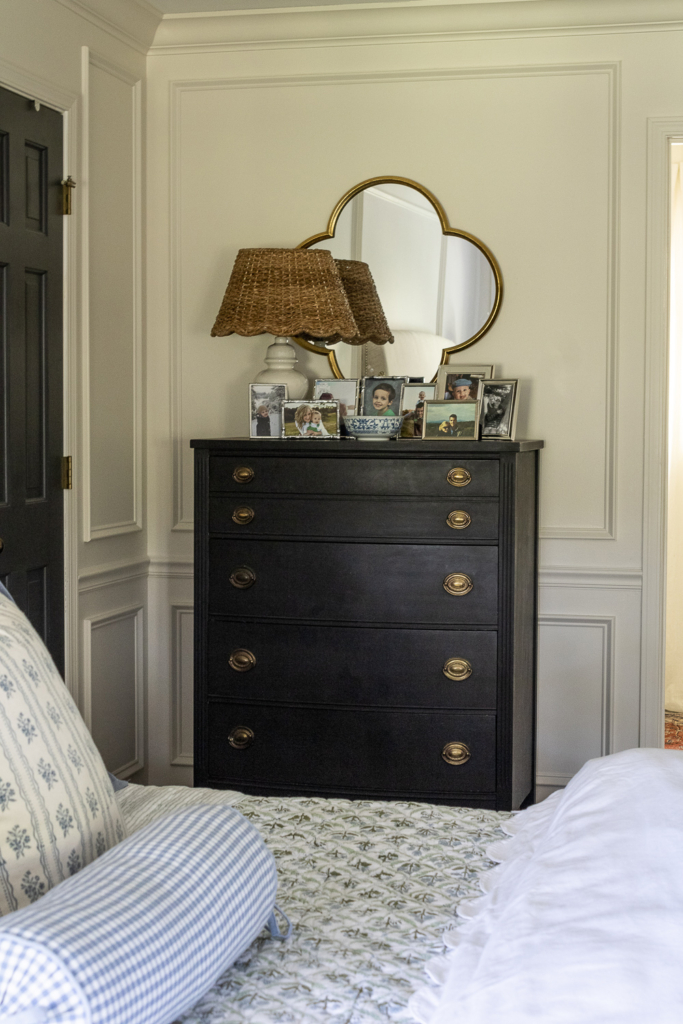
I don’t share this corner of our room too much. It’s sandwiched in between our closet and master bath. This old dresser was purchased for $25 at a yard sale. I painted it 14 years ago and it’s held up beautifully. I don’t know that I’ll keep it forever, but it works for now.
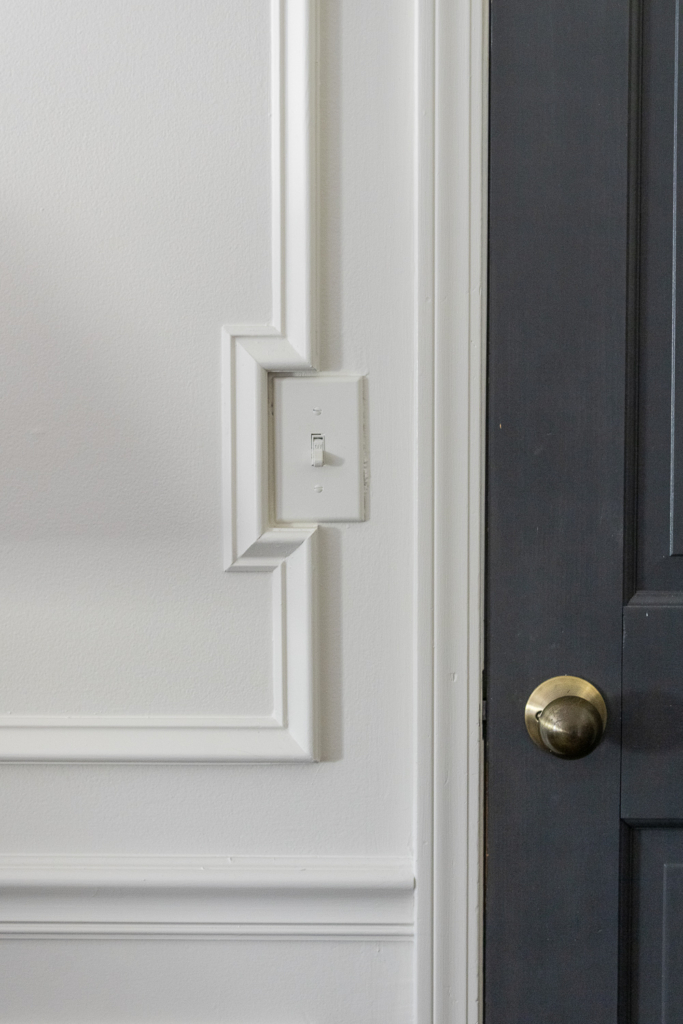
Here’s a snap shot of how we worked around our light switches with the trim. Instead of abruptly stopping, it looks much nicer and flows better when you cut the trim and continue it around the switches and outlets. It takes a little more time but looks much nicer.
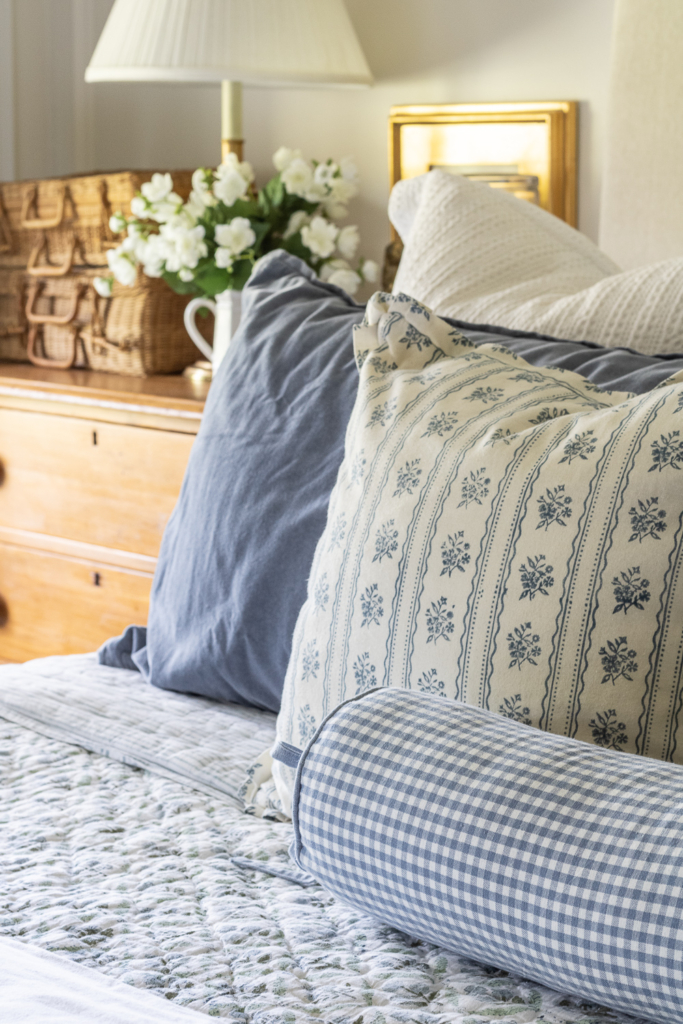
Our bedding is a mixture of prints and textures, purchased from different place. You can read all about my block print quilt and some of my other favorite quilts here. The pillow covers and duvet are from JSH Essentials, Pottery Barn, Target and Ballard Designs. Items that are still available are linked at the bottom of the post.
I’m still in search of a fabric for a new headboard slipover. I’ve made several covers in the past and you can see that how-to post here. I love being able to swap them out and try new patterns and colors with the changing seasons.
There’s nothing quite like seeing a room and vision come together. It’s a slow process and has some trial and error to it. I just kept my 7 tips for creating a collected space in mind while planning and executing this space. I hope that it inspires you in your home and if you’re in the midst of a renovation to keep going. It’s so worth the time and effort in the end. I hope you all have a great week friends!


Room Sources:
Wall & Trim Color – 50% China White by Benjamin Moore & 50% Linen White by Benjamin Moore – Pearl Finish
Upholstered Head Board – Pottery Barn (Similar Bed)
European Pine Chest – Local antique store find
Vintage Brass Table Lamps – FB marketplace
Ginger Jar Lamp – Thrift store
Brass Floor Lamp – Homegoods (Brand is Ralph Lauren)
Slipcovered Chair – Ballard Designs (Discontinues)
Area Rug – Pottery Barn Outlet
Antique Framed Wall Etchings – Local antique store
Scalloped Stackable Baskets & Similar Baskets


Love this redo! Where did you get the chair slipcover?
Thank you so much Karen! The chair & slipcover is from Ballard Designs. It’s the Rebecca chair. Sadly, it’s been discontinued. However, you can still find the slipcovers from time to time at the Ballard’s outlets.
I absolutely love all of it!!💕 Could you please share where you purchased your floor lamp or one similar? Thank you so much!!
Thanks Lisa! The floor lamp is from Homegoods. It’s by Ralph Lauren, so you might be able to located one elsewhere.
So beautiful, cozy!!!! The molding is classic and timeless. Thank you for the inspiration!!!
Thank you so much Janie! It’s one of those projects that will last a lifetime, well worth the time and cost. Have a great week!
This is very pretty! How tall are your ceilings?
Thank you! We have 8 foot ceilings.
Beautiful room! I love how much info you share on your process and the sources you used. It’s so helpful. The mixing of the 2 white paints is genius! I’m using that idea soon.👍😉
Thanks Sharon! I’m so glad sharing the process is helpful. I try to give much detail as I possibly can without making the post a novel, ha! The two paint color really does make for a beautiful warm white. Have a great week!
Love this room. The moulding added so much character and interest to the walls and love the colour. Says English country style to me. You have a great talent and taste.
I agree Dorothy! Thank you so much! I will forever love English country interiors. I’m aways drawn to English pieces in antique stores as well. I suppose we like what we like. 🙂 Have a wonderful rest of your week!
Beautiful! Did you use the same color for the trim and ceiling – maybe in different sheens? Thanks.
Thanks Ana! Yes, it’s the same color on the walls and trim, all in a pearl or satin finish.
hey girl- love the room! oh so pretty!!
Thanks so much Shawnna!
Such a lovely, lovely space! I adored those scalloped baskets/lamp shade…. until I saw the price! 😖 Ouch. Gulp! and Bug Eyes… 😅 I can’t do a thousand dollars for a couple of baskets…. but they are soooo beautiful in your room!! I am happy that you have the means to enjoy them for me! 😅 Thank you once again for sharing your lovely eye candy of a home with us all! And thank you for tucking some genius tips in there that I *can* do – and soon! Your white paint makes me swoon happy! 🥰
Oh goodness, I wish, ha! Those baskets were both gifted to me from Serena & Lily after doing a project for them, perks of blogging I suppose. The Ballard Designs chair was a $30 yard sale find. The Pottery Barn headboard was a “Free” FB marketplace find, but I always link the exact product in the space when I can, or else I have folks messaging me wanting the exact links. They’re just to serve as inspiration! I’ve got readers of all budget sizes, so I never want to assume a reader wouldn’t buy one, even if I couldn’t. I do know that Ballard Designs has something similar for a lot less! I’m trying to remember the name of them . . . I’ll try and find them online and link them at the bottom of the post. I should have done that to begin with if I had thought about it. I’ve also purchased stackable lidded baskets in the past from PB that were much less as well. But thank you and I’m so glad you found some tips helpful! I’m still learning tricks of the trade and getting things just as I like them in our home. Have a great rest of your week!
Oh, I did not mean to sound unkind/make you need to explain!! I am so happy to hear you were able to get them via a collaboration, though, because I know you most definitely EARN them in your labor of love, creating this blog!! 🥰 I am excited to say this coming week I will be testing out your “Ahearn Paint” as we begin our own whole-house transformation in our new-to-us home! I’m so very grateful for your inspiration just in time!!! You’re doing such a great job, depositing peaceful beauty into the often not-so-lovely (nor peaceful!) online world! Thank you!!! ❤️
p.s. that picture in my initial comment at least is not me! 👆🏼 Isn’t that strange?!? 😅 (guess we’ll see what I look like in this comment!! 😁)
Your room is gorgeous!! The trim adds so much character! Your home is such an inspiration for me! Quick question- are your walls smooth or are they textured? I would love to do something similar to this trim our master bedroom but our walls are textured. I wonder if they would need to be sanded before applying the trim?
Thanks Ginny! Our walls are smooth. I think installing this trim is totally doable on textured walls, however I would recommend sanding bait first. You want your trim to rest against the walls as flat as possible to make sure your corners/joints line up and to prevent in large gaps. I hope that helps and good luck with your project!
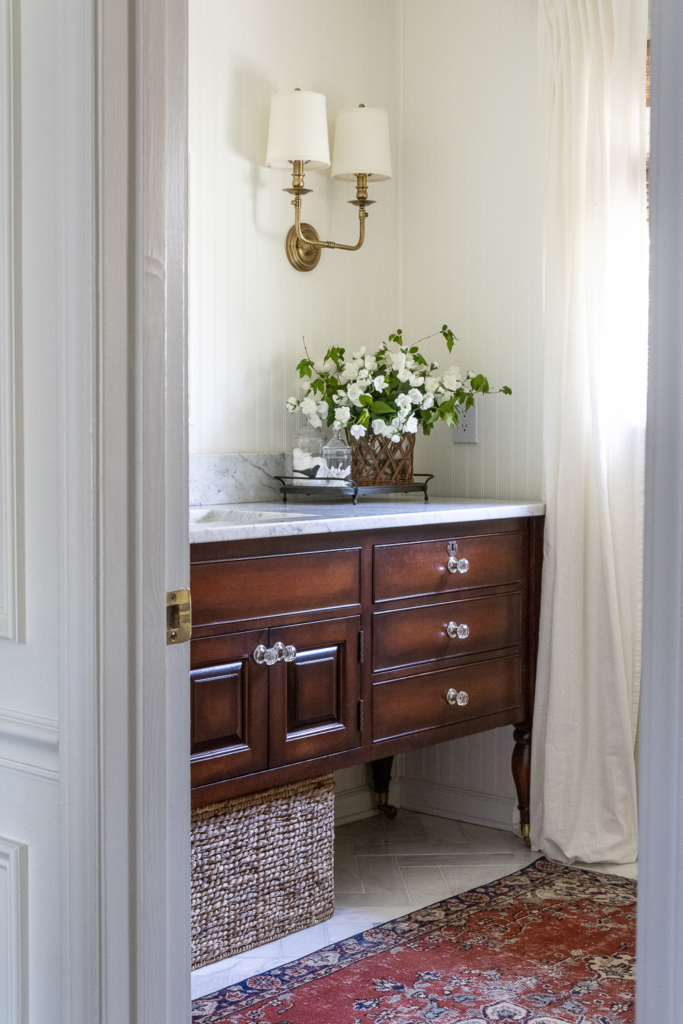
What a beautiful space!! I love every detail. The bathroom vanity is stunning. Did you purchase it or was it a refurbished project? Thanks for sharing!! Jacqulynn
I love the redo of your room. I’m especially fond of the walls and the cozy feel of the bedding and accessories that make the room so pretty.
Our master bedroom is on the list of rooms needing an upgrade, thank you for the inspiration and ideas.
Karen B.
Such a beautiful room! I was wondering where you bought your bamboo window shades?
This turned out gorgeous! I’ve been scouring the Internet for picture frame molding inspiration and fell in love with how you did yours! Some trim style have too much detail and some not enough but yours is just right. Could you please please please share the link to the materials, especially the trim, you bought to do this? I would very much appreciate it as there are so many options online but I don’t know which one will achieve this exact look!
Hi! I was wondering if you could tell me which ceiling fan you have in your bedroom? I love pull string fans and I bet yours is pretty!